
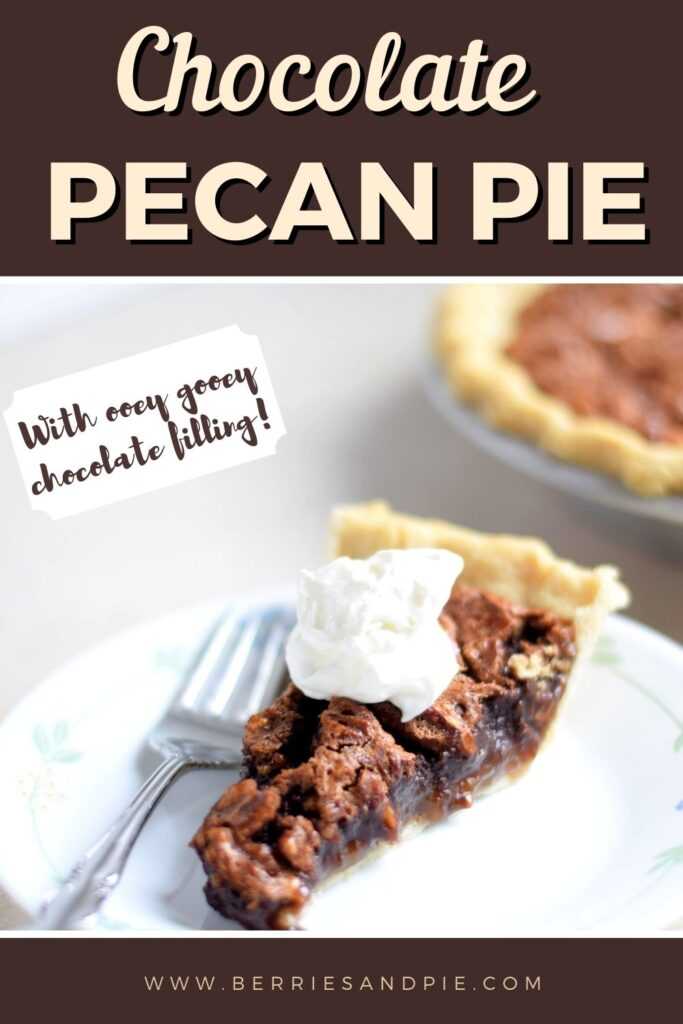
This chocolate pecan pie tastes like a cross between a pecan pie and a rich, chocolate brownie. It is sure to disappear quickly!
Up until recently I had never had a chocolate pecan pie. Unfortunately I never even knew what I was missing out on!
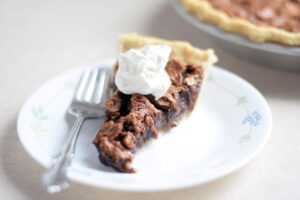
Chocolate pecan pie has a gooey center like traditional pecan pie but the addition of chocolate makes it taste rich and fudgy. Add in the crunch of the pecans and the flakey pie crust and you have a dessert that is sure to please!
Chocolate pecan pie is very easy to make and we will go through how to make it step-by-step. Let’s get started!
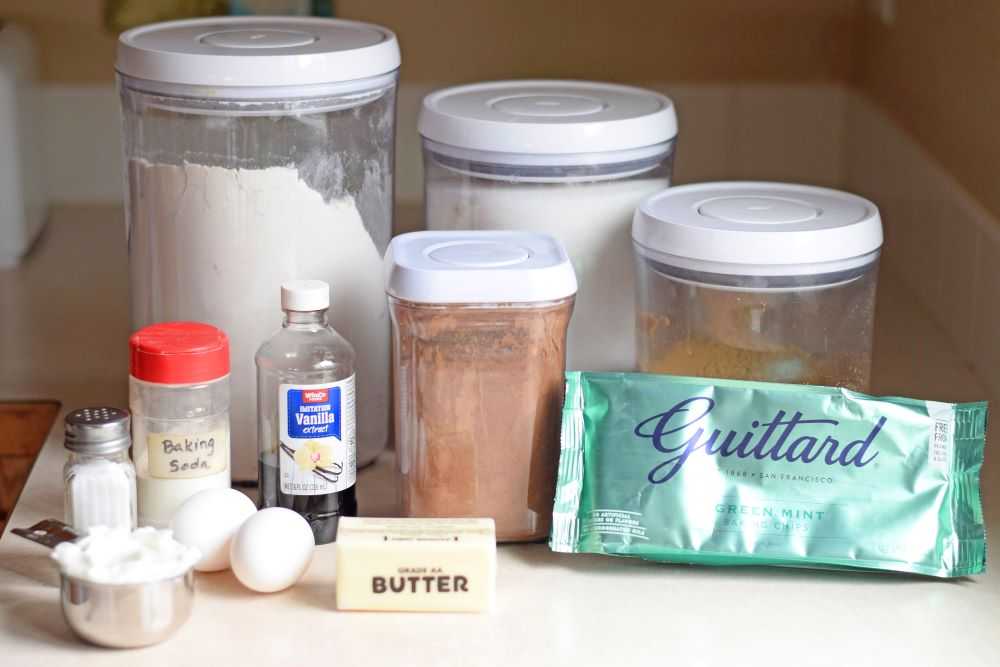
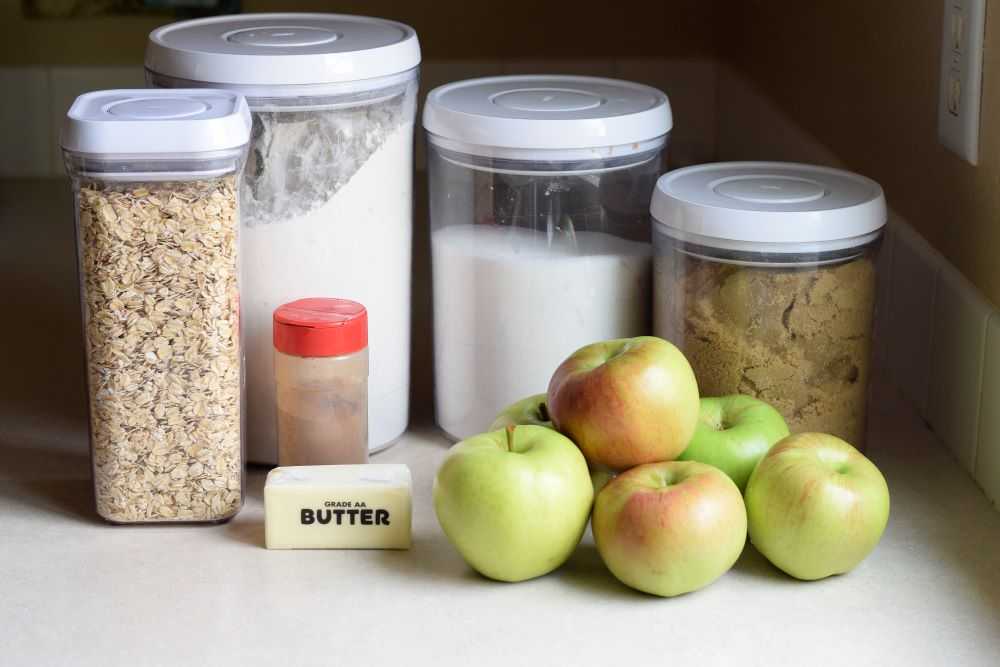
Ingredients for Chocolate Pecan Pie
Chocolate pecan pie has 10 ingredients:
Sugar and brown sugar – Sugar helps to sweeten the pie. Adding some brown sugar gives the pie a greater depth of flavor.
Corn syrup – Corn syrup sweetens the pie and helps to give pecan pie its characteristic texture. It also helps to prevent sugar crystallization. Light corn syrup is what you want here.
Eggs – Eggs help to give structure to the pie.
Vanilla – Vanilla brings out the chocolate flavor.
Salt – This helps to balance the flavor and cut down on the sweetness a bit.
Butter – I use salted butter.
Chocolate – You will need 2 ounces of semi-sweet or bittersweet chocolate. You can use squares of baking chocolate, chocolate chips, or whatever you have on hand. If you want you can double the chocolate if you want the pie to be extra fudgy!
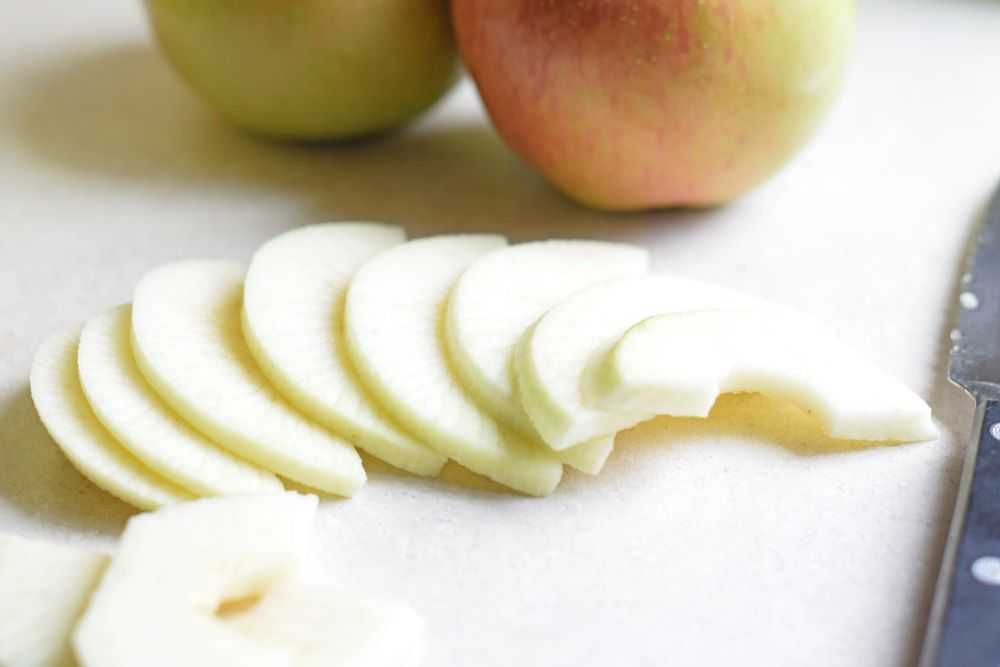
Pecans – I coarsely chop them so the pie is easier to serve and eat. You can also substitute walnuts if you prefer.
Pie crust – You will need an unbaked, single crust pie shell. You can make your own or purchase one from the store.
How to Make Chocolate Pecan Pie
Step 1: Prepare the pie crust
Roll out the pie crust and place it in a 9-inch pie pan. Flute the edges and set aside while you prepare the filling for the pie.

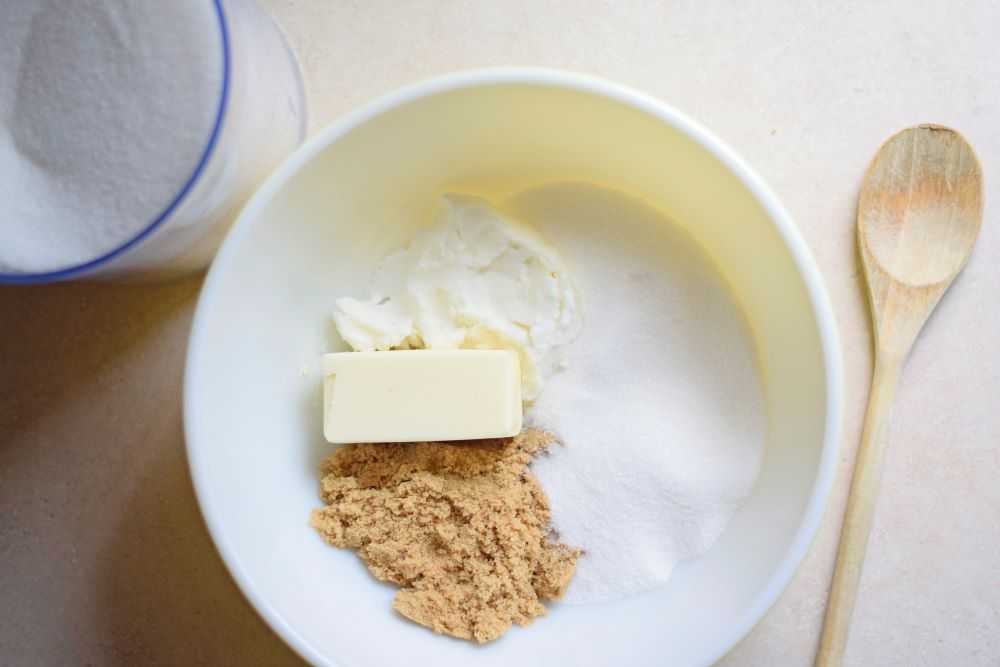
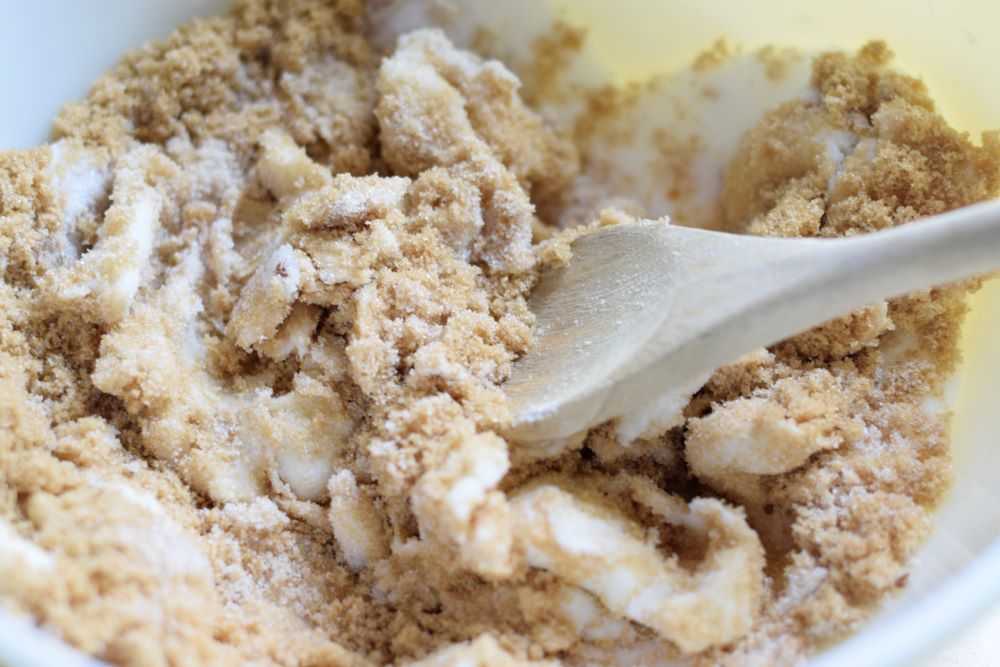
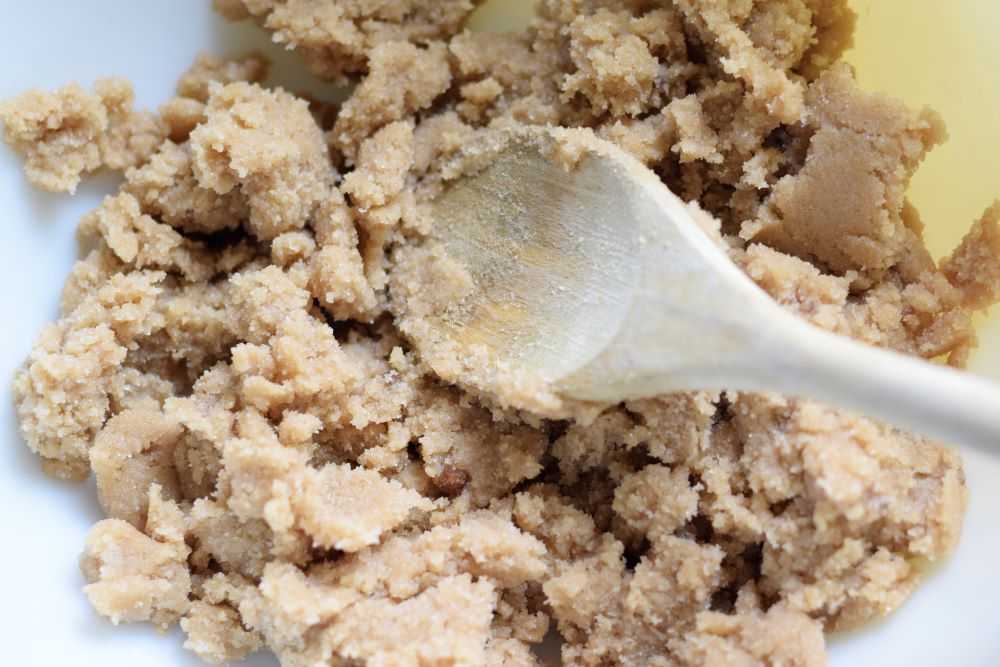
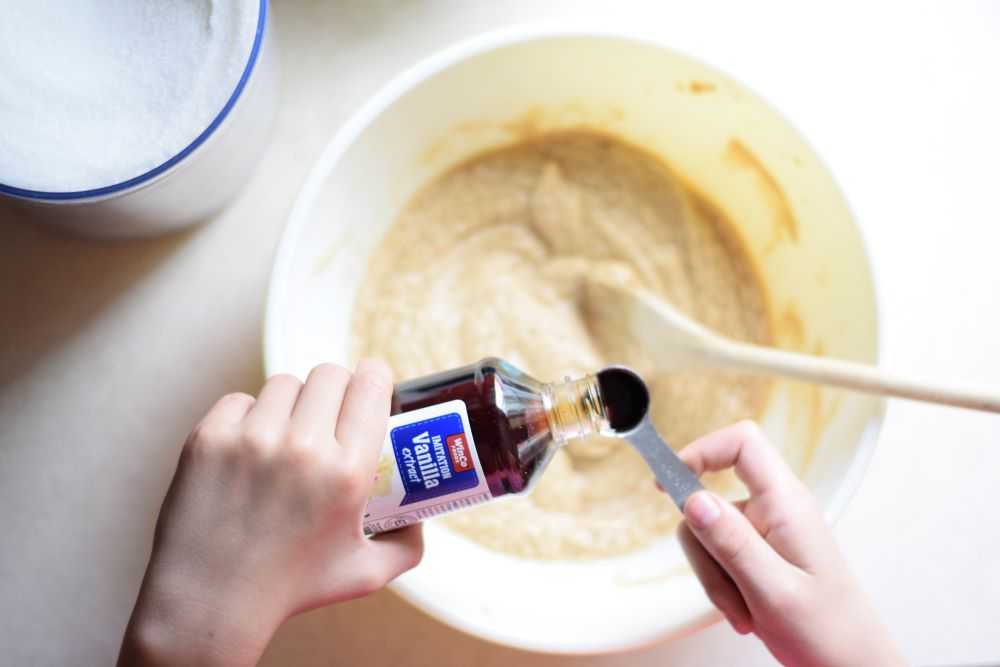
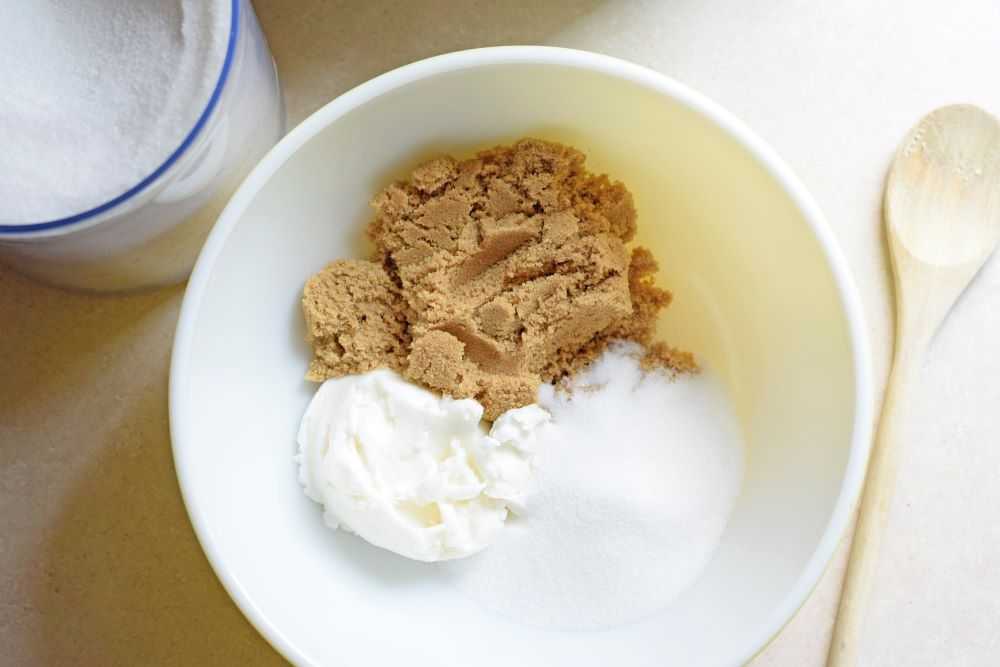
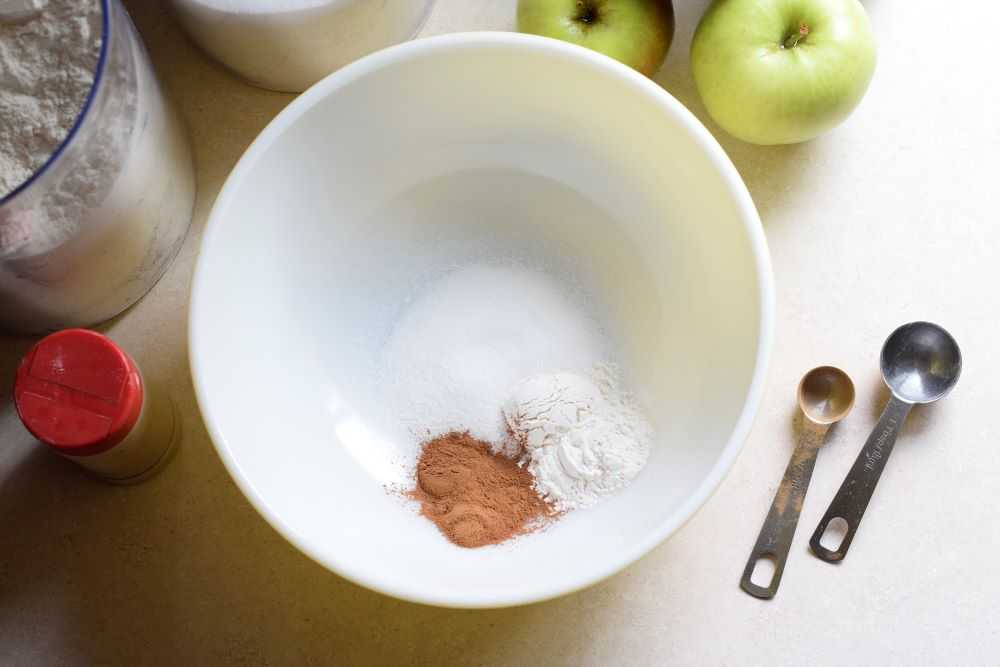
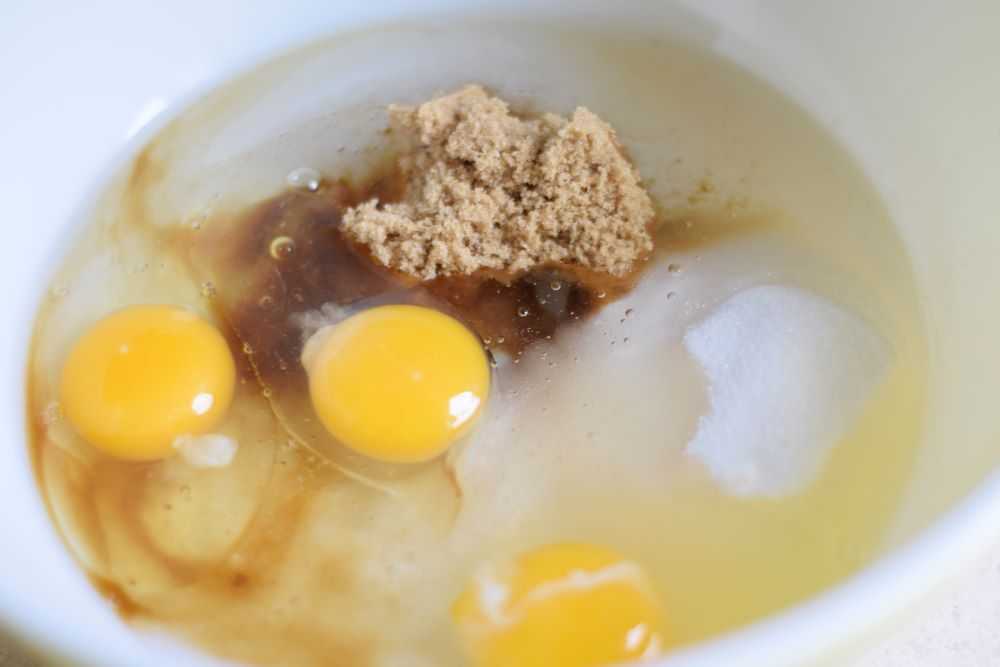
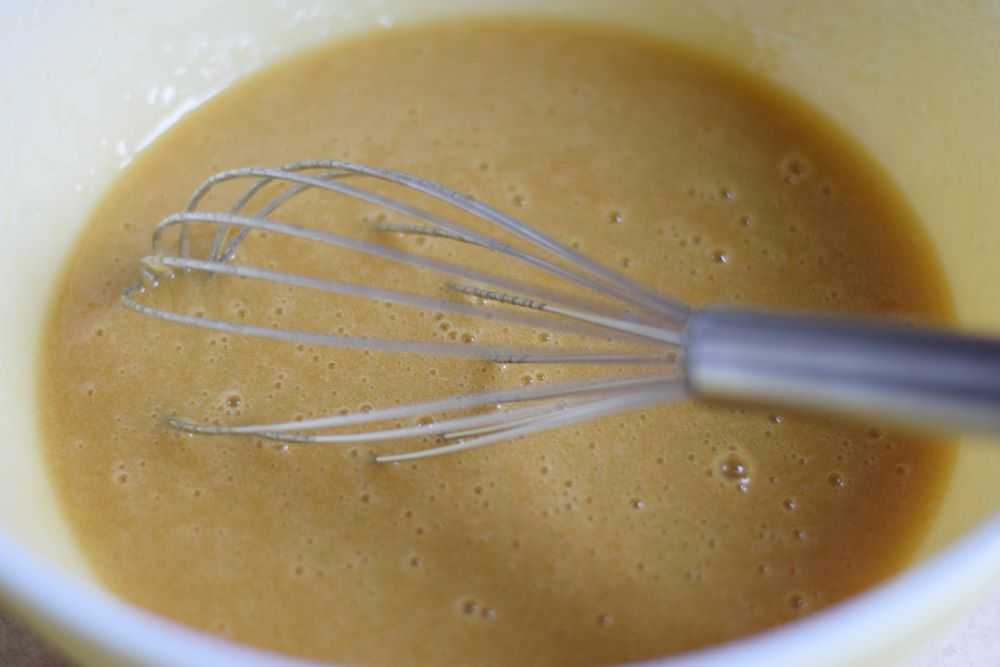
Step 2: Stir together the sugars, corn syrup, eggs, salt, and vanilla
Stir the sugar, brown sugar, corn syrup, eggs, salt, and vanilla together in a large bowl. Whisk it so that everything is smooth and set aside.
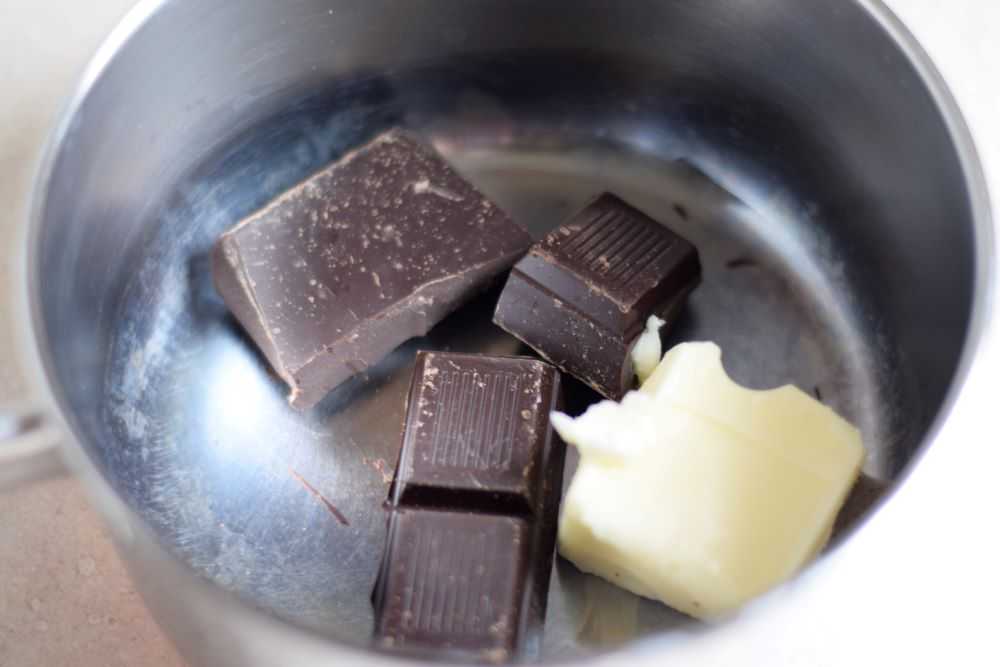
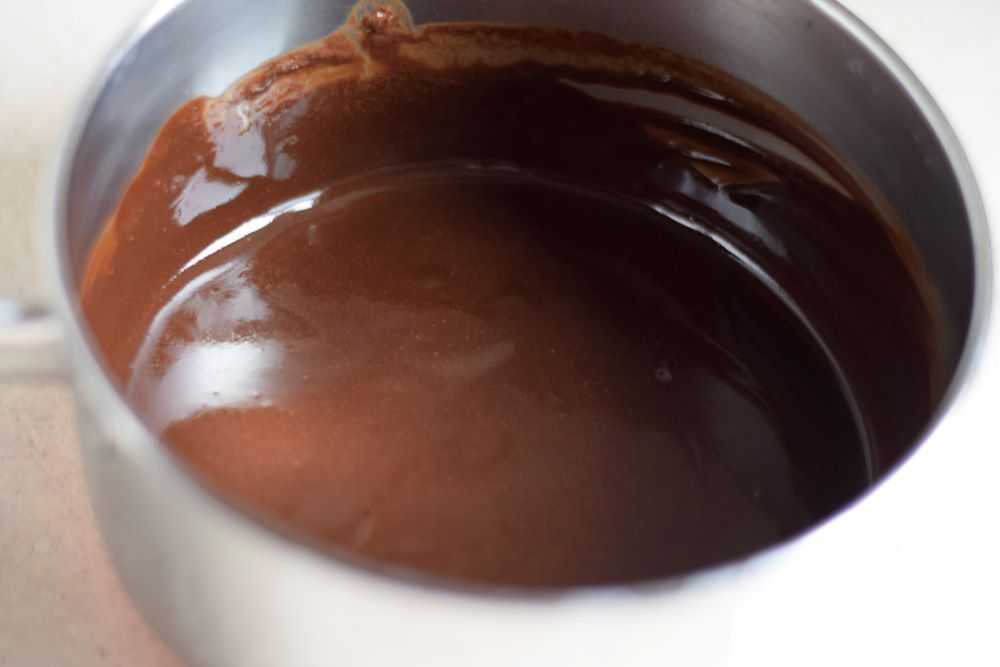
Step 3: Melt the chocolate and butter together
Place the chocolate and butter in a small saucepan. Heat over low heat, stirring constantly, until completely melted and smooth.
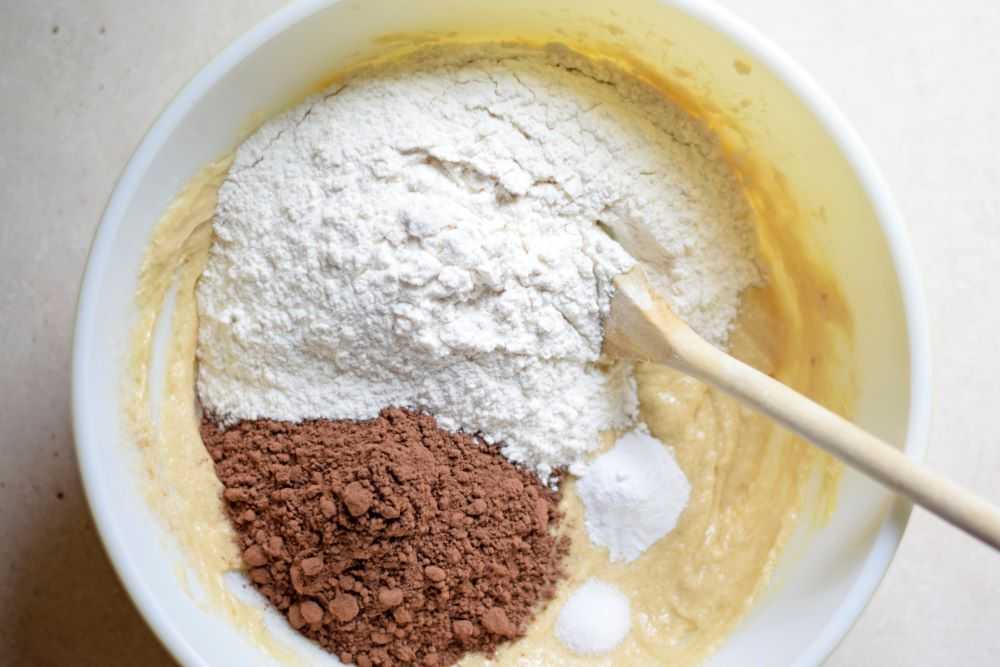
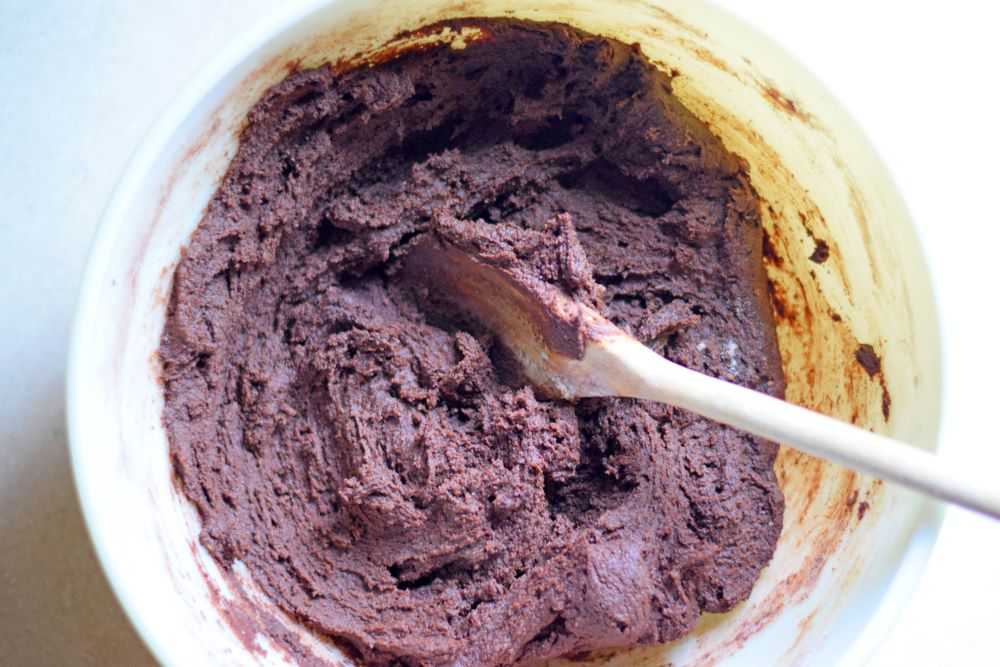
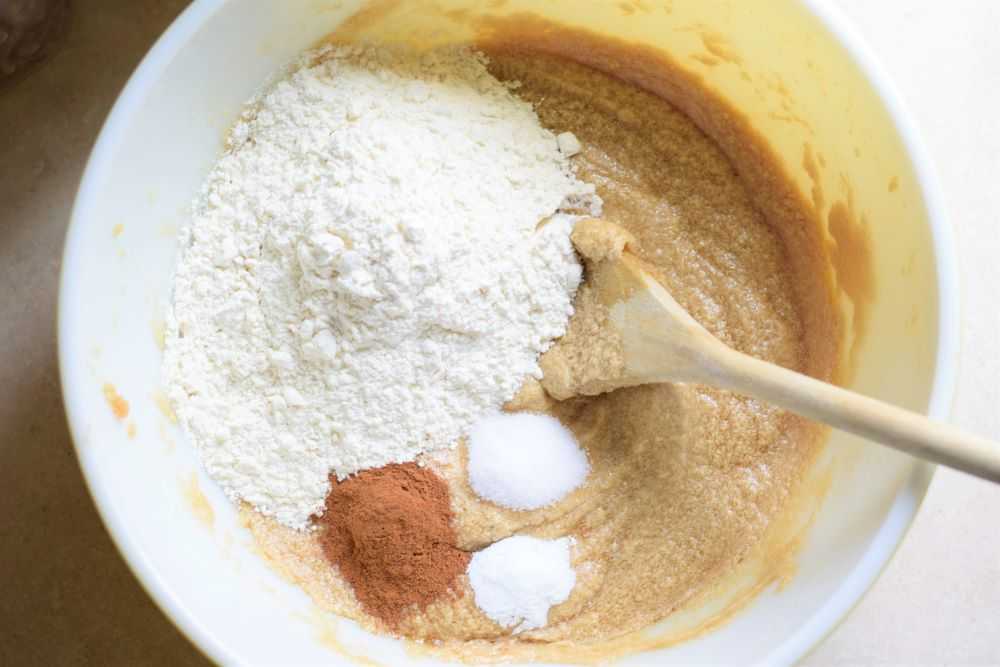
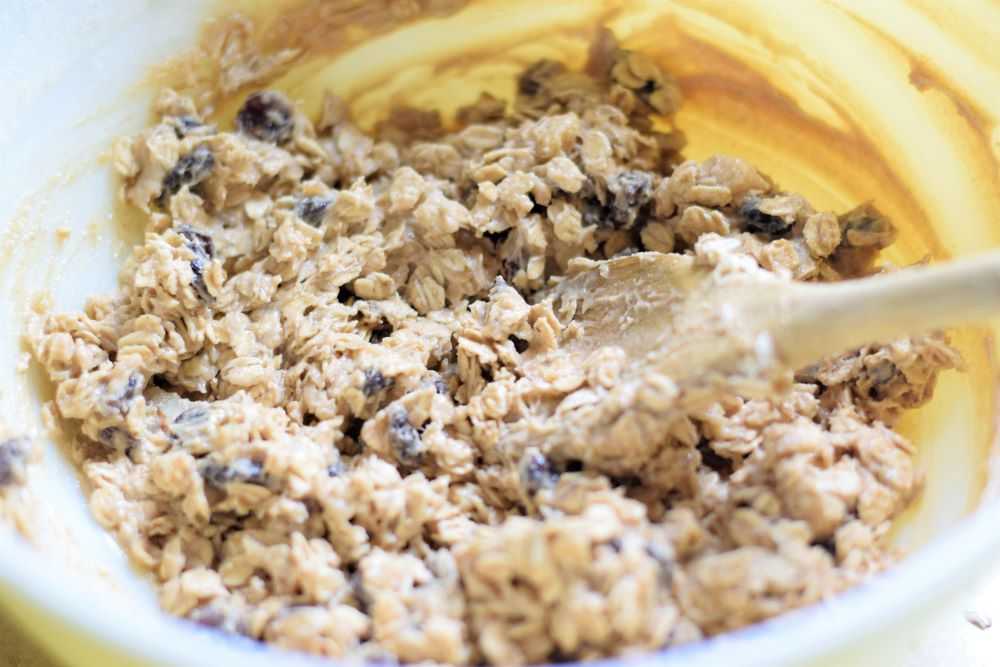
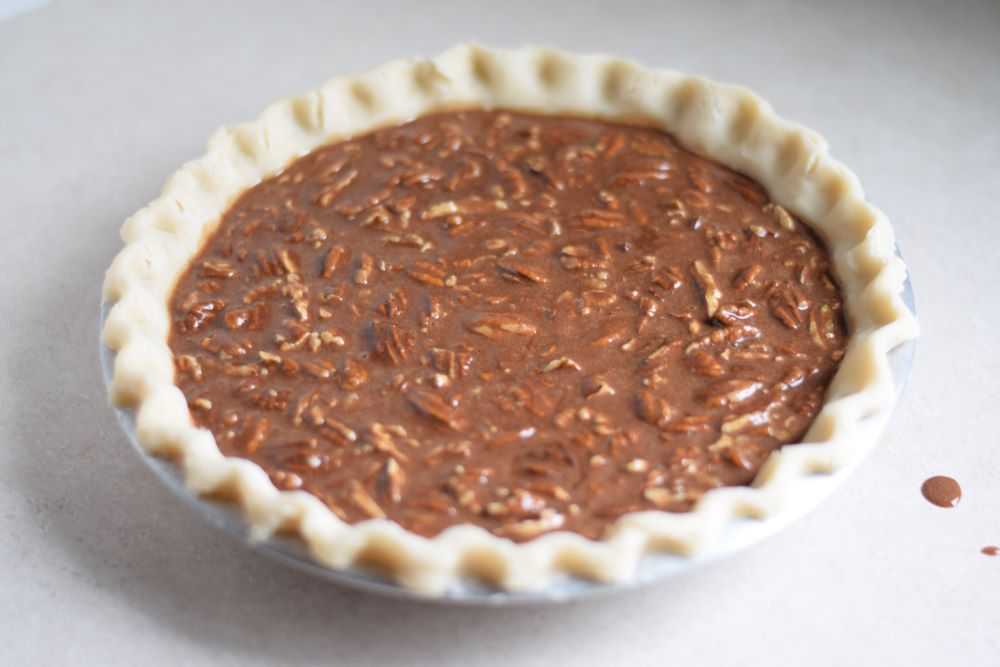
Step 4: Add the remaining ingredients
Stir the melted chocolate and pecans into the egg mixture. Whisk until smooth and pour into the unbaked pie crust. The pie is now ready for the oven!
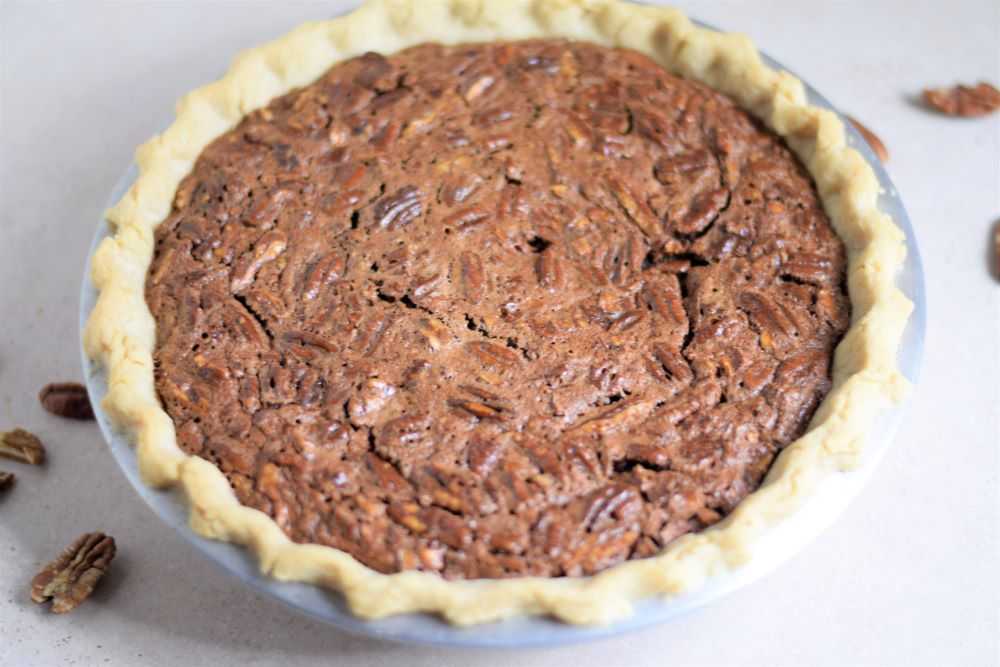
Step 5: Bake the pie
Bake the pie at 350 degrees for 55 minutes. The pie will still be very jiggly at this point but it will thicken as it cools. Place it on a wire rack to cool completely.
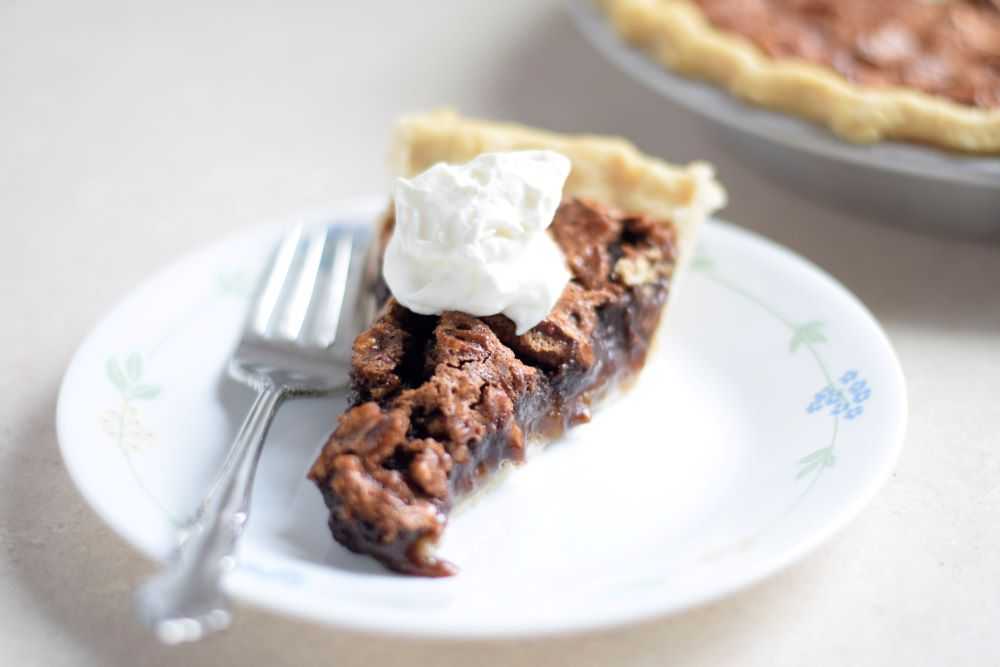
Serve
Let the pie cool for at least 2 hours before serving so it will hold its shape. It is delicious topped with whipped cream. Ice cream is surprisingly good too! Enjoy!
Chocolate Pecan Pie
Ingredients
- 1 unbaked pie crust
- ½ cup sugar
- ½ cup brown sugar
- 1 cup light corn syrup
- 3 eggs
- ¼ teaspoon salt
- 1 teaspoon vanilla
- 2 ounces semi-sweet or bittersweet chocolate (if you are using chocolate chips this is about ⅓ cup)
- 2 tablespoons butter
- 1¼ cup pecans, coarsely chopped if desired
Instructions
- Roll out the pie crust and place it in a 9-inch pie pan. Flute the edges and set aside.
- Preheat the oven to 350°.
- Stir the sugar, brown sugar, corn syrup, eggs, salt, and vanilla together in a large bowl. Whisk until smooth and set aside.
- Place the chocolate and butter in a small saucepan. Heat over low heat, stirring constantly, until completely melted and smooth.
- Stir the melted chocolate and pecans into the egg mixture. Whisk until smooth and pour into the unbaked pie crust.
- Bake the pie at 350° for 55 minutes. The pie will still be very jiggly at this point but it will thicken as it cools. Place it on a wire rack to cool completely.
- Let the pie cool for at least 2 hours before serving so it will hold its shape. It is delicious topped with whipped cream or ice cream. Enjoy!
You may also like: