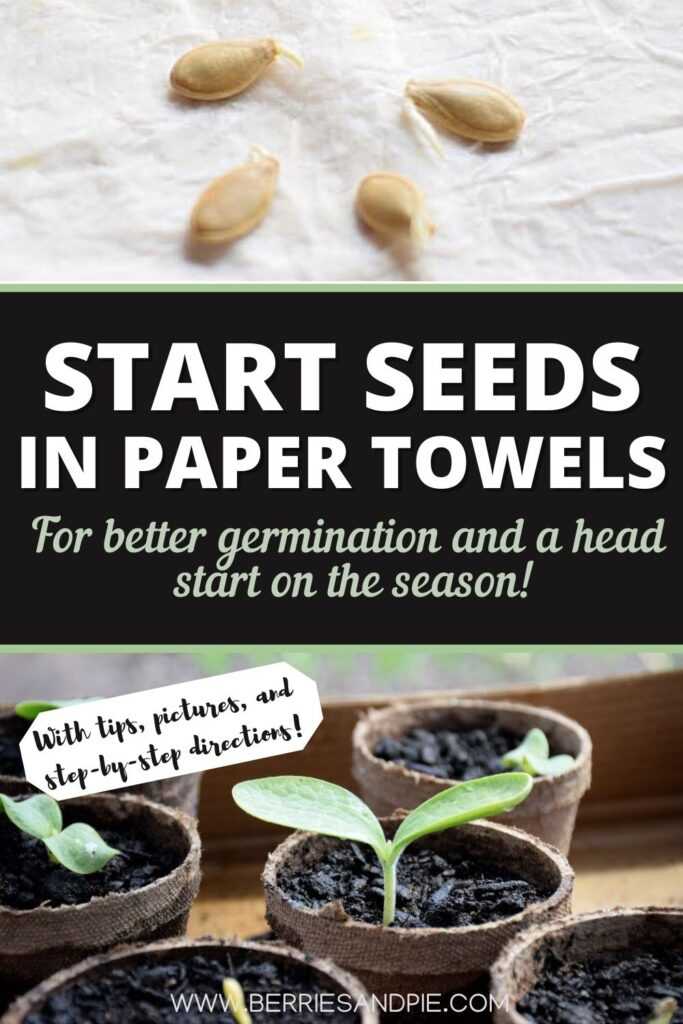
Germinating seeds in paper towels adds an extra step before planting but often leads to better outcomes. It is easy to do and takes just a few minutes!
Have you ever planted seeds just to wonder why they aren’t germinating? Maybe the seeds are old? Maybe the growing conditions aren’t right? Did I plant them too deep? If you have ever tried to start seeds indoors you know it can sometimes be a frustrating process.
Germinating seeds in paper towels before you plant them in containers adds an extra step but often leads to better outcomes. Seeds germinate more quickly and you can easily check on your seeds as they start to grow. Best of all, it is easy to do and just takes a few minutes.
Now we will go through this process step-by-step. Let’s get started!
Advantages to Germinating Seeds in Paper Towels Before Planting
You may be wondering, why germinate seeds in paper towels at all? Why not plant them directly in the soil and skip this step all together?
Excellent questions! Here are some reasons why I germinate many of my seeds in paper towels before planting:
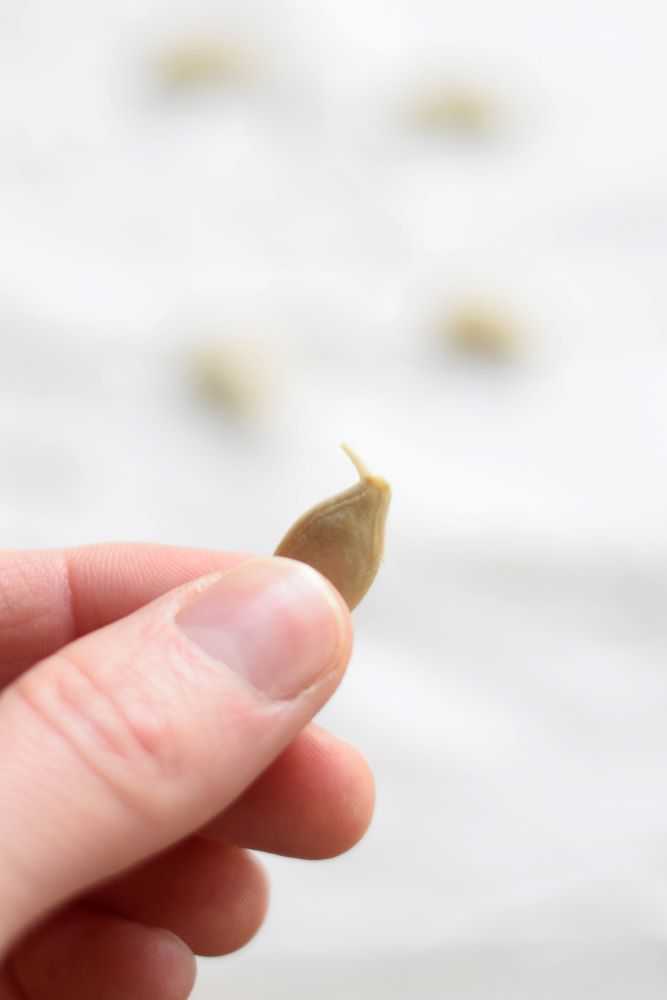
I use a lot of seeds that I have saved from previous years. It is impossible to know if seeds are still good just by looking at them. Within a couple of days I will know if the seeds are still viable or if I need to purchase new ones.
Putting the seeds in a damp paper towel in a plastic bag makes greenhouse-like conditions which often leads to faster germination.
You can see exactly which seeds have germinated so you only plant seeds that are sure to develop.
It is fun to check you seeds each day and watch them grow!
What types of seeds to germinate in paper towels?
If you have seeds saved from previous years, this method can be used to test germination of pretty much any type of seed. Place a few seeds in the paper towel and see if they start to grow. If all are duds, it is time to purchase some new seed!
Most of the time though, I just start seeds that I am going to start as transplants rather than seeds I would sow directly in the garden. Good choices for transplants are vegetables with a longer growing season than would be damaged from cold and frosty conditions. This way you can start them earlier and get a head start on the season.
Here are some of the seeds I regularly start inside:
Tomatoes
Peppers
Pumpkins
Zucchini
Squash
Cucumbers
Melons
Some flowers
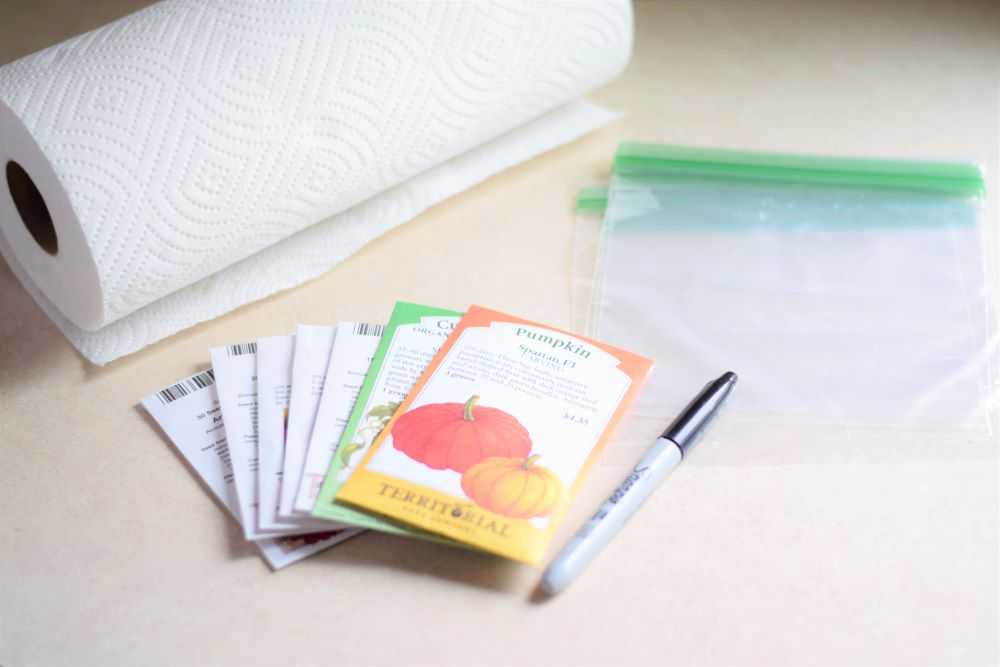
Materials
To germinate seeds in paper towels you will need:
Paper towels
Sandwich sized zip-top bags
A permanent marker
Seeds
How to Germinate Seeds in Paper Towels
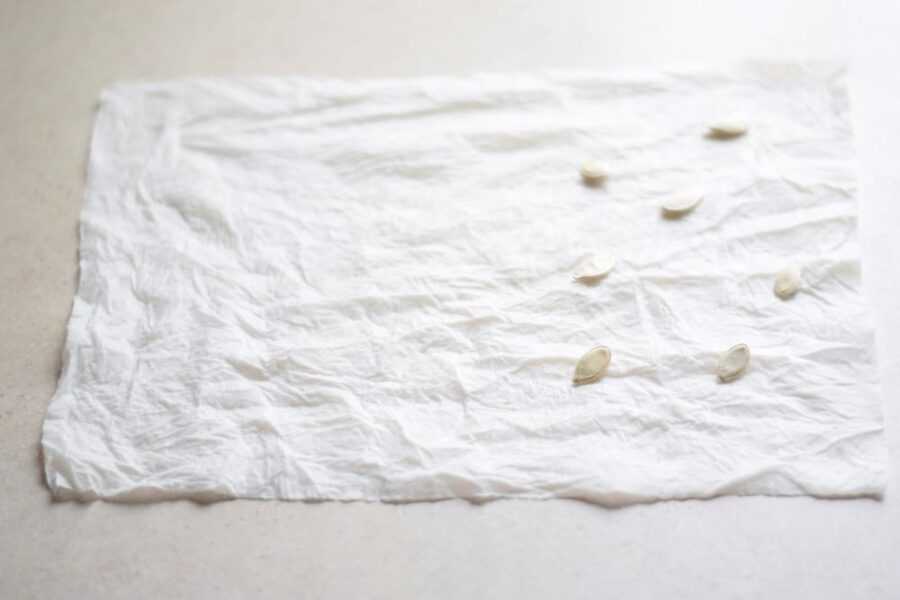
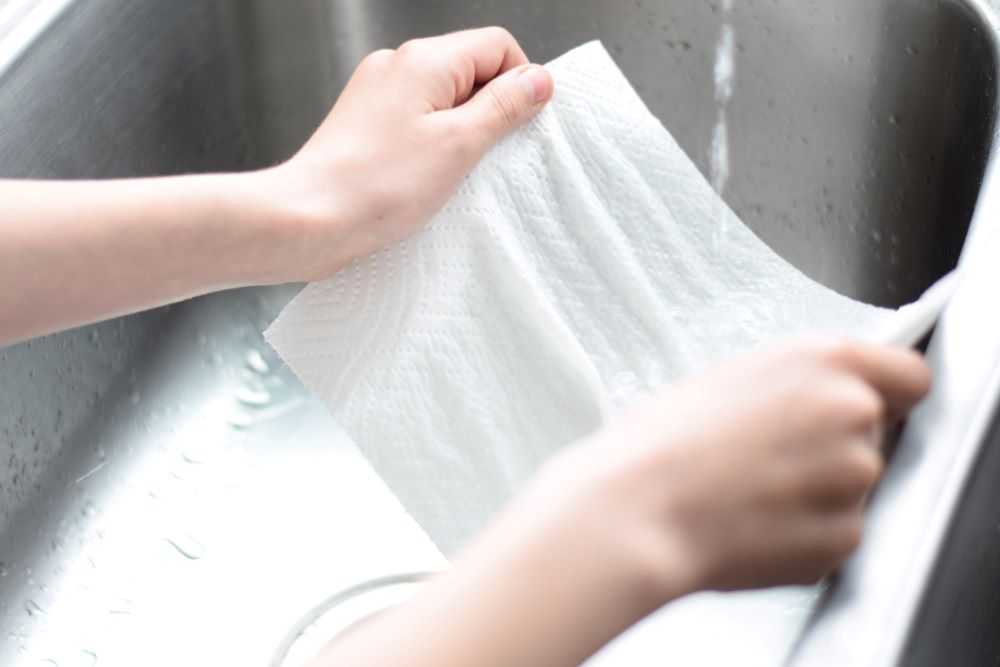
Start by wetting a paper towel. I usually use about 2 paper towels per type of seed. You want the paper towel to be fully moist but not dripping wet.
Start by wetting a paper towel or two. You want them moist but not dripping wet.
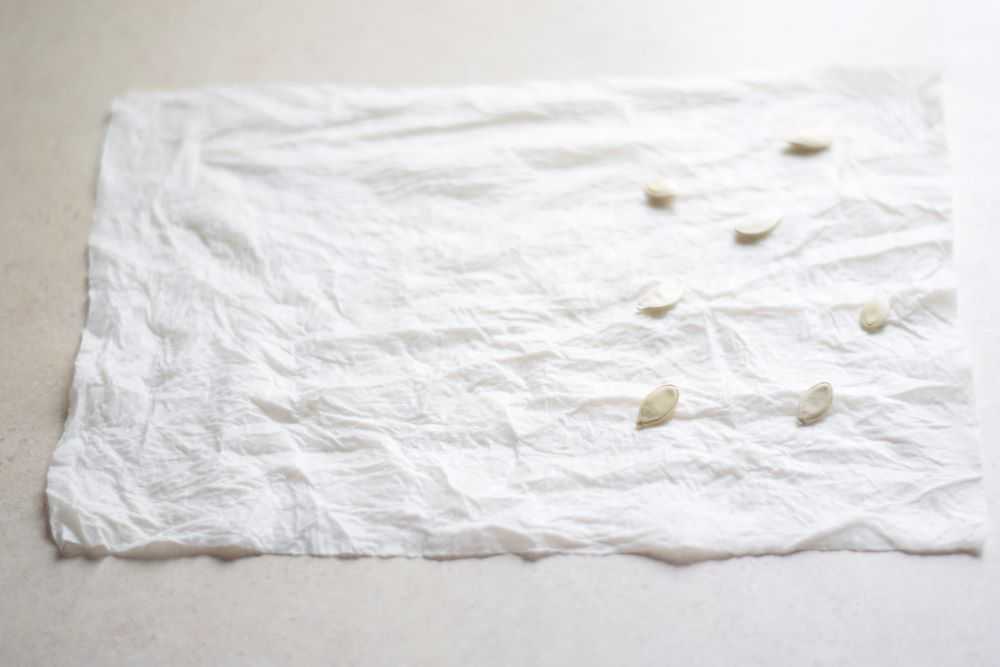
Lay the paper towels flat and place the seeds on one side. You can put however many seeds you want as long as you leave some space between them. This way they will not crowd each other as they start to grow. It is a good idea to start a few more seeds than you think you need because you will rarely get a 100% germination rate.
Lay the seeds on one side of the towel. It is a good idea to start a few more seeds than you think you will need.
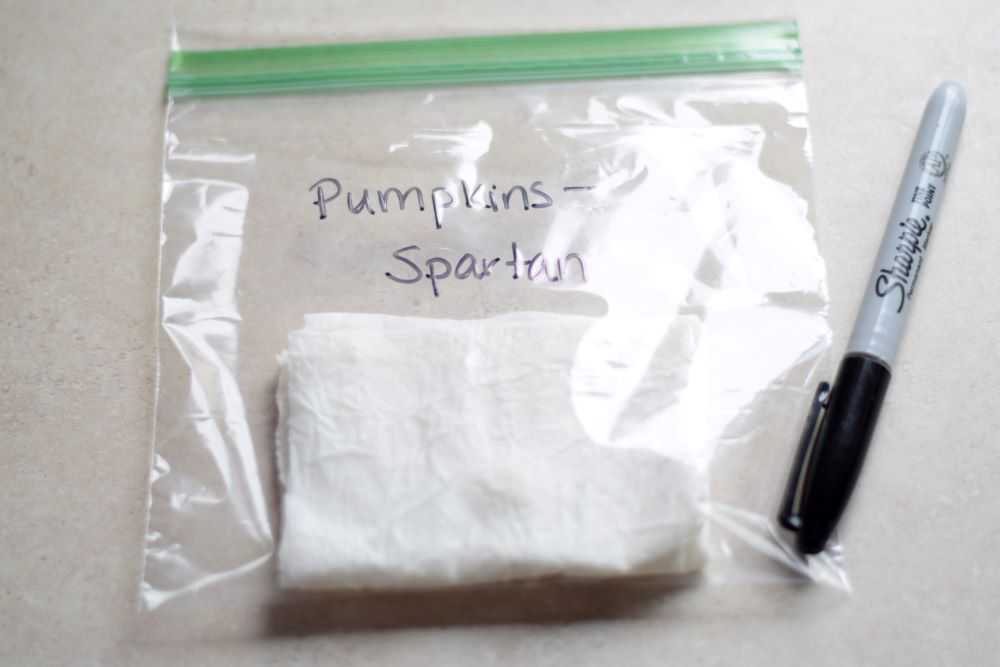
After you have placed your seeds fold the paper towel one or two more times so it will fit in your zip top bag. Place it inside the bag and seal it closed. Label the bag with the permanent marker.
Label the bag so you know what is inside!
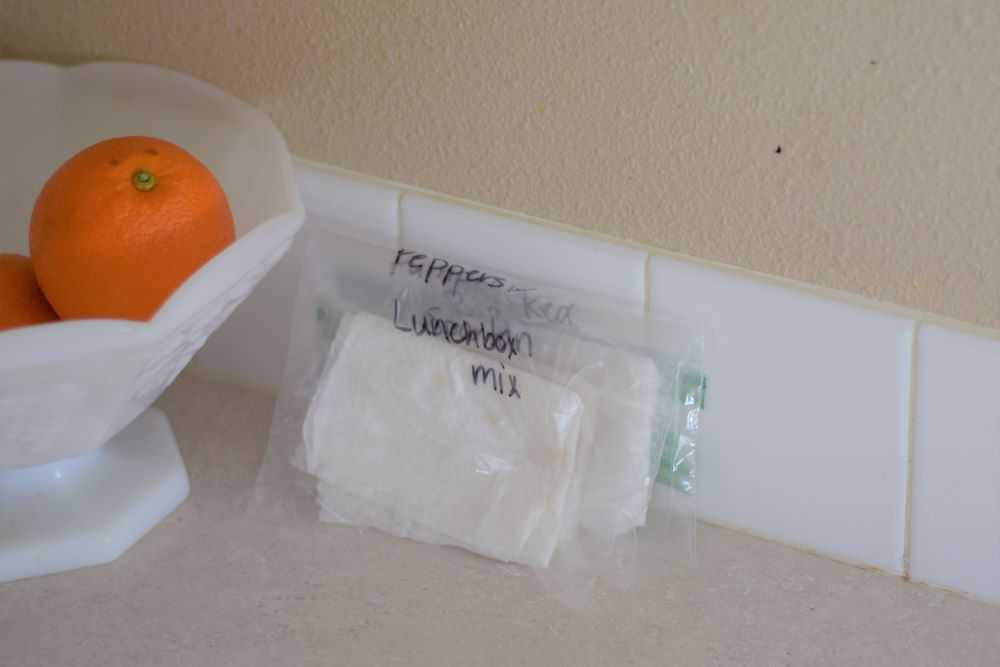
Place the plastic bags where they will not be disturbed. Since many seeds germinate well at room temperature, I usually just leave mine on the kitchen counter. This way I will not forget to check them often. Make sure you keep the seeds out of direct sunlight because they will easily become too hot.
Make sure you check your seeds every day for progress and signs of growth. If the paper towels seem like they have dried out, add a little more water to keep them moist.
Leave seeds where you remember to check on them often. I usually put mine on the kitchen counter.
When to Plant Your Seeds
Most seeds take 3-5 days to germinate. I have had some that have taken up to a week. As soon as you see some root growth you can plant them in peat pots, egg cartons, or plastic containers.
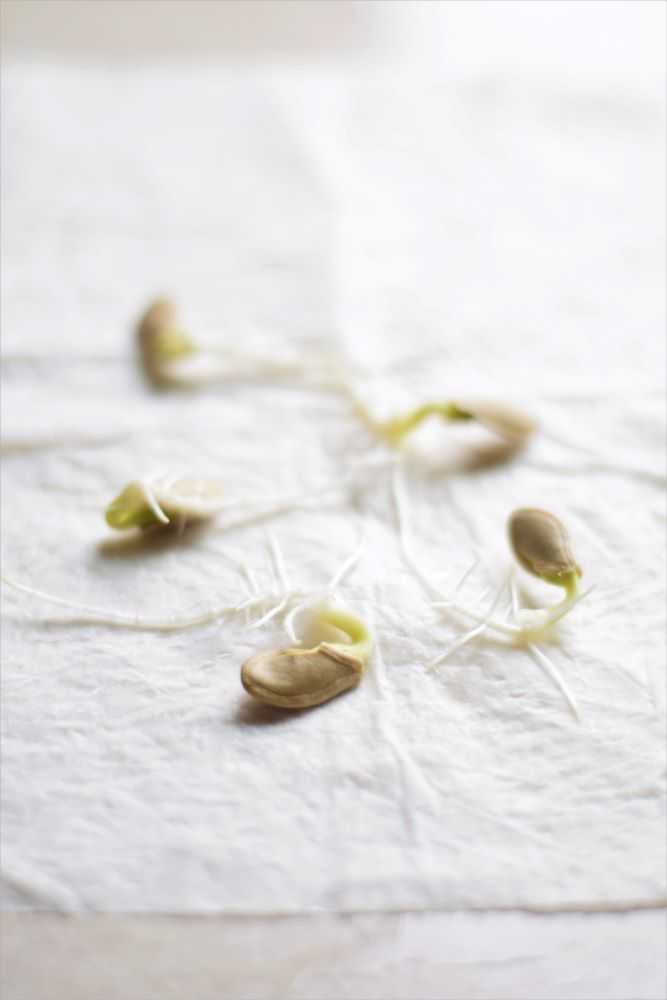
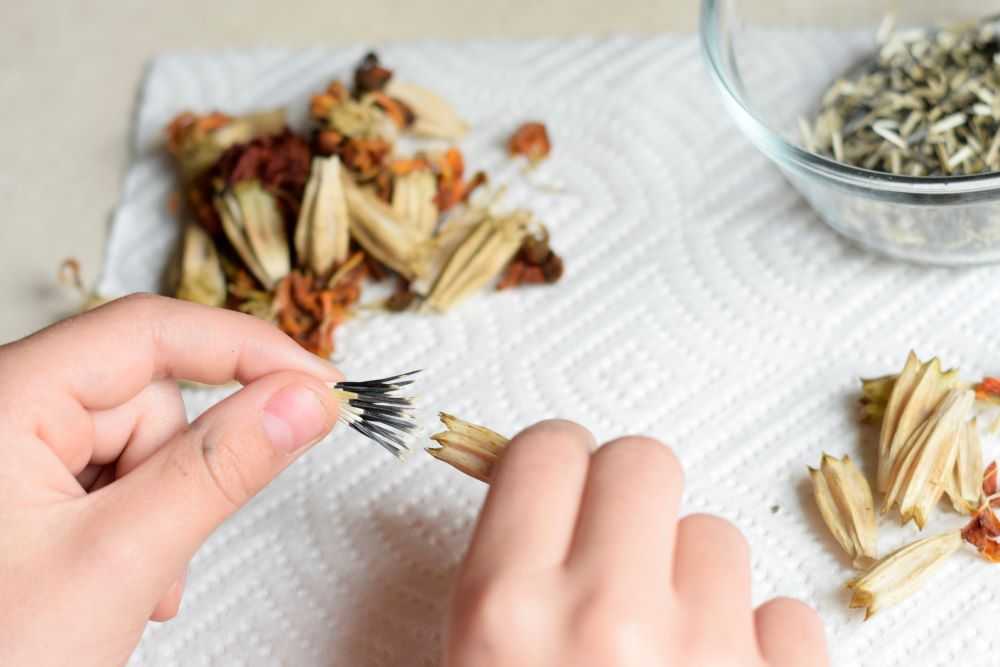
Transplanting the seeds as soon as possible makes is less likely that the roots will become damaged, which may impede growth and proper development. If you wait too long, the roots will become long and tangled in the paper towel and root damage is more likely to occur. After you plant your seeds, it generally takes 2-5 more days for the seedlings to emerge.
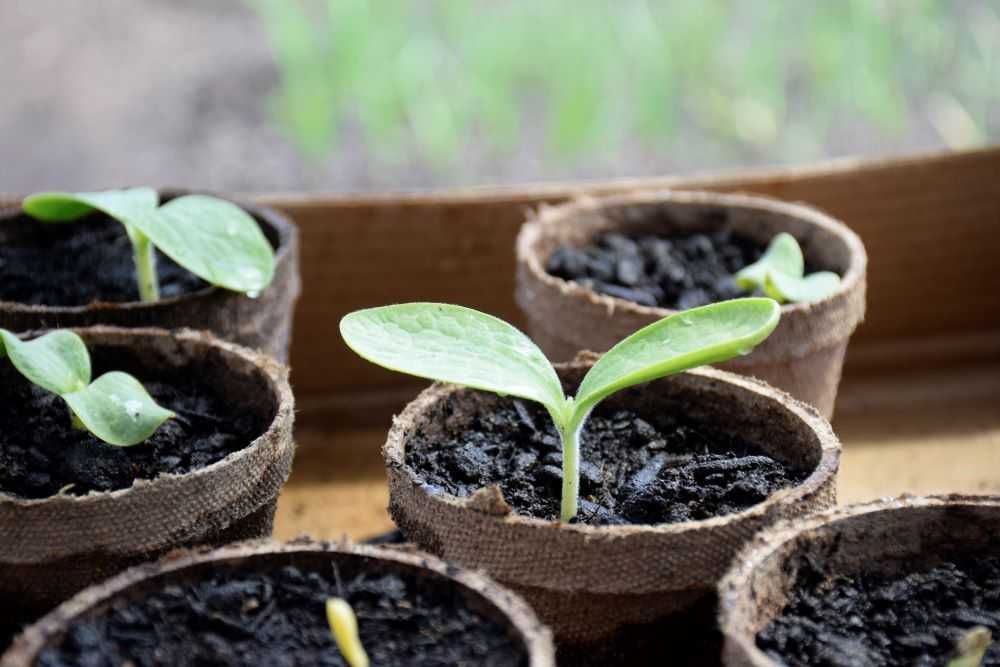
Check the seeds often and plant them as soon as the root starts to show like the picture on the left. By waiting only two more days, the roots grow quickly and become tangled in the paper towel like in the picture on the right. It becomes difficult to plant the seeds without damaging the roots.After your seeds germinate plant them in pots. They will usually emerge in a few more days.
Hope you get better and faster germination this year by starting your seeds in paper towels before transplanting. Happy Gardening!
Not ready to plant right now? Be sure to pin for later!
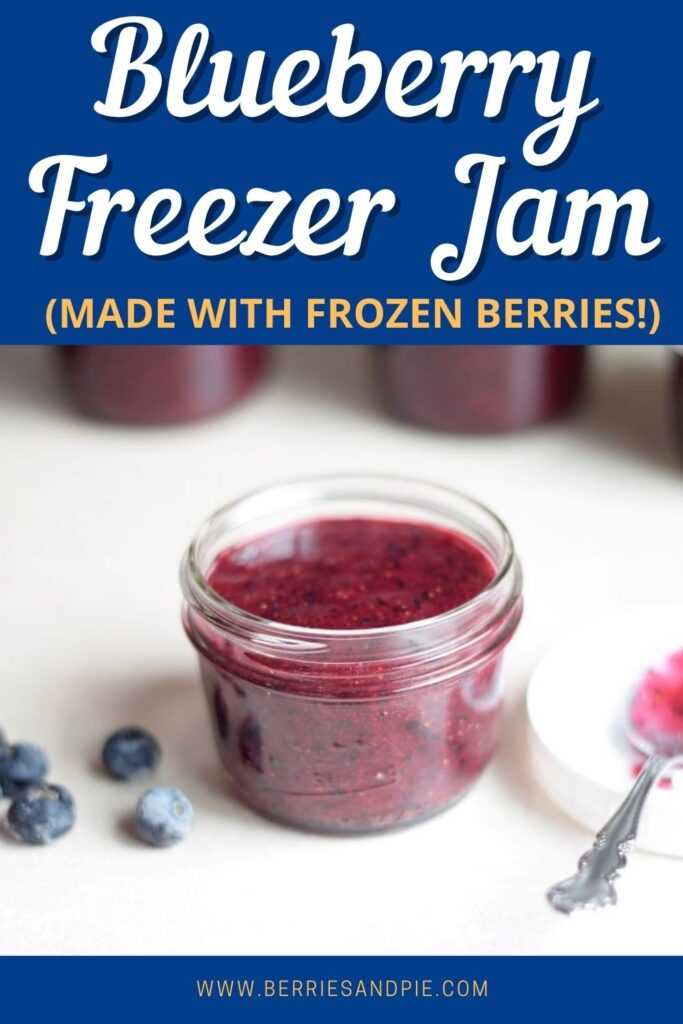
Blueberry freezer jam is easy to make at home! Frozen blueberries can be used so it can be made and enjoyed all throughout the year!
Note: This article may contain affiliate links, where I earn a small commission from qualifying purchases with no additional cost to you. I only provide links to products that are similar to what I use personally.
Do you ever crave homemade jam in the middle of winter? I know I do! While jam is usually made in the summer when fresh fruit is plentiful, it can be made all throughout the year by using frozen fruit. As an added bonus, frozen fruit is already picked and washed which makes the process even easier!
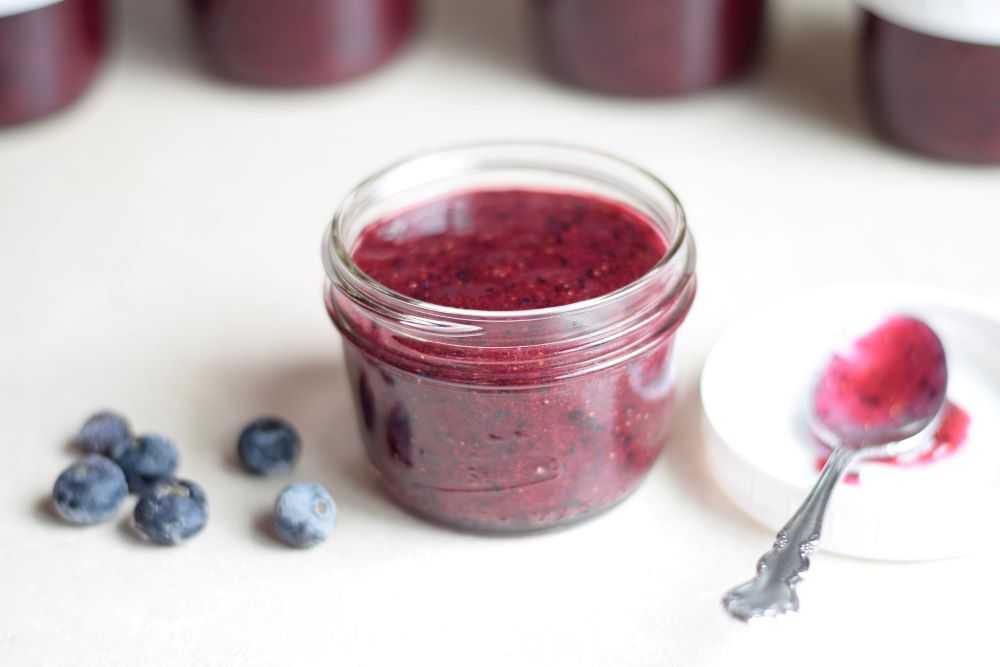
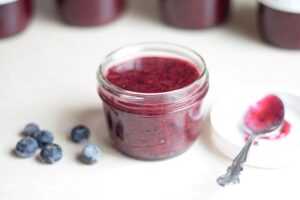
Blueberry freezer jam is one of my favorite types of freezer jam. Since the fruit in freezer jam is never cooked it keeps its fresh fruit taste. It’s like summer in a jar. Yum!!!
Blueberry jam is easy to make at home, requires only four ingredients, and can be made in under an hour. This post will take you through how to make blueberry freezer jam, step-by-step. Let’s get started!
Equipment for Blueberry Freezer Jam
You need some basic equipment to make blueberry freezer jam. We will go through the list now:
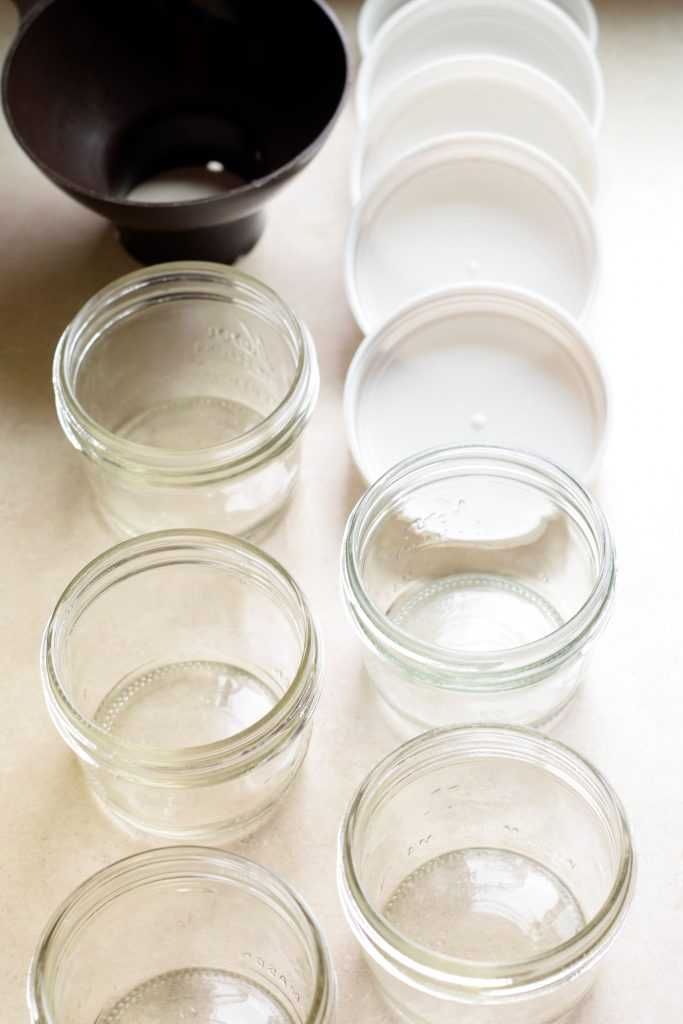
Clean your jars and lids so they will be ready when you need them. A jar funnel makes filling the jars much easier.
Jars
You need containers to hold about 6 cups of finished jam. Some people prefer plastic containers for freezer jam but I usually use half pint mason jars (one cup capacity). I prefer wide mouth jars so the jars are easier to fill. Jars similar to what I use can be found here. I use these plastic jar lids so the containers are easier to open and close.
Make sure that your jars or containers are cleaned in hot soapy water before use and allowed to air dry. I run the jars and lids through the dishwasher and they are ready to go!
Jar Funnel
This makes it SO MUCH EASIER to fill your jars. If you do not have a jar funnel you can purchase one similar to the one I use here .
Immersion Blender or Potato Masher
You need some way to crush the fruit for the jam. I prefer to use an immersion blender (or regular blender) to puree the fruit most of the way. If you don’t have a blender you can also use a potato masher or even a fork to crush the berries, especially if you like your jam a little on the chunky side.
Measuring Cups
I use a standard measuring cup for the sugar but I like a glass measuring cup for the blueberry puree because it is easier to measure and pour.
Other items needed: A large bowl, a small saucepan, a whisk, and a ladle.
Ingredients for Blueberry Freezer Jam
Only 4 ingredients are needed for making blueberry freezer jam.
Fresh or Frozen Blueberries
Fresh blueberries are great in this jam. But since it can be difficult to get fresh blueberries year round, I often use frozen blueberries. Flavor-wise fresh and frozen berries taste very similar in this jam and they are relatively inexpensive. Frozen blueberries are available year round and it is a real treat to be able to make and enjoy blueberry jam in the middle of the winter!
You need less fruit than you may think for jam, only about 2 cups of crushed or pureed fruit. One pound of whole blueberries is usually enough.
Sugar
Jam takes a LOT of sugar. About 4 cups of it to be exact! Plain old granulated sugar is what you want here. Do not try to reduce the amount of sugar or use a sugar substitute because the jam will not thicken properly.
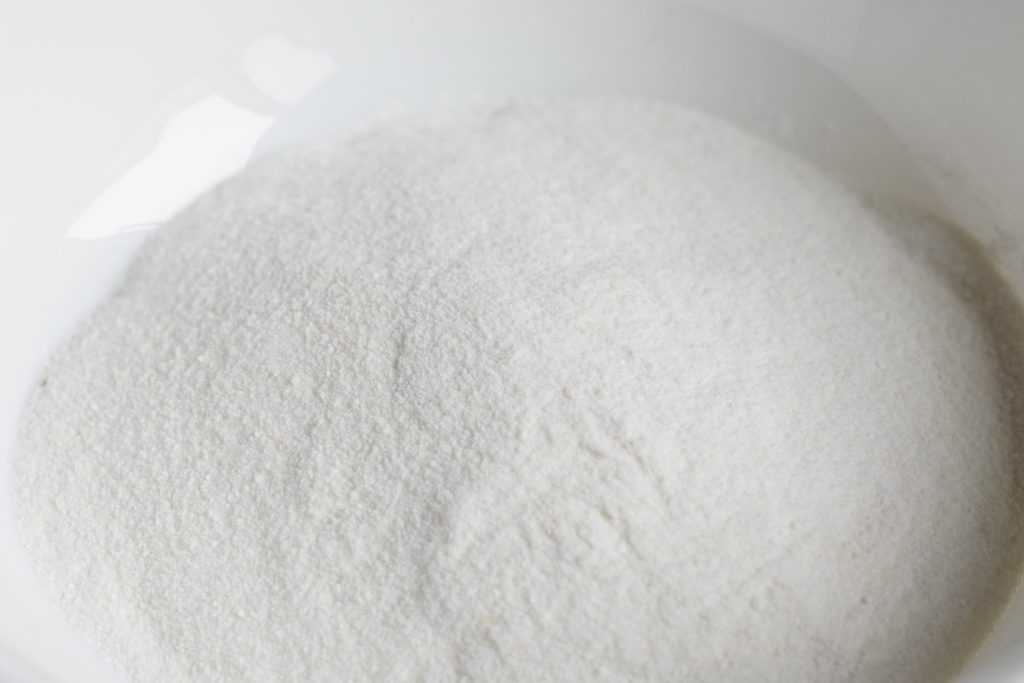
Pectin
Pectin is very important for making jam. It is what makes the jam gel and become thick. Many people have never bought or used pectin before, so we will now learn more about it.
Pectin is a type of fiber most commonly made from green apples or citrus fruits. It comes in a powdered form and is what makes jam thicken.
What is pectin? Pectin is a type of fiber that is usually made from green apples citrus fruits. Some dextrose and citric acid is also added to the powdered pectin so it tastes sour if you try it. This sour taste is good though because it helps to counter all the sweetness from the sugar and bring out the taste of the fruit. When heated along with with sugar and acid the pectin will gel and give the jam the correct texture.
What types of pectin should I buy? This recipe calls for powdered pectin that comes in a small box, usually 1.75 to 2 ounces depending on the brand. Make sure that you purchase regular pectin and not the type formulated for low sugar recipes.
Where can I find pectin? Pectin usually comes in a single-use box but you can also buy it in bulk on Amazon. Pectin is sold in many grocery stores in the summer months, when many people are making jam. If you can’t find it at your grocery store try looking at Bi-Mart or a farm store.
Pectin differs a little between brands and you may have more success with some brands than others. Today I am using MCP pectin (fun fact: MCP stands for Modified Citrus Pectin) but I have also used Mrs. Wages pectin in the past with great results. I do not have a favorite brand and usually buy what is on sale.
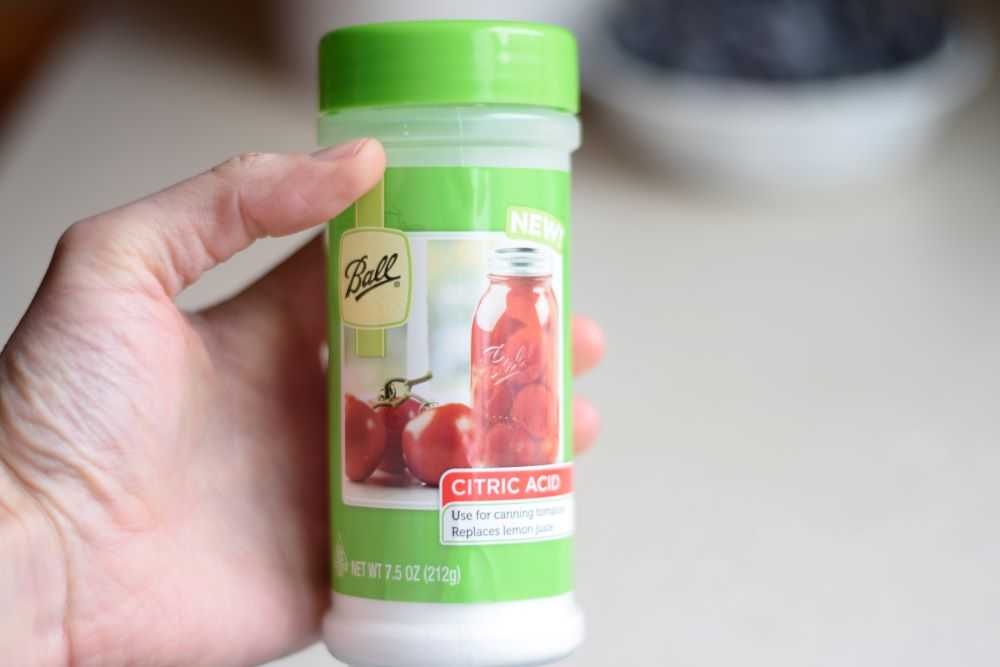
Citric Acid (optional)
Citric acid is my secret ingredient for blueberry jam. I find that blueberries are often sweeter with less acid than other types of fruit or berries. Add several cups of sugar to them when you are making jam and they can easily become too sweet. Adding some citric acid to the blueberry jam brightens the flavor and takes this jam from good to amazing!
Citric acid is a type of acid that is found in many citrus fruits. It comes as a powder that can be found in the canning aisle of many grocery stores. Lemon juice can also be added but I prefer citric acid because it is shelf stable (so I always have it available) and does not have any flavor of its own. Citric acid or lemon juice are optional ingredients and you can leave them out if you wish.
Citric acid is found in the canning aisle of many grocery stores. It is an optional ingredient that can brighten the flavor of blueberry jam.
Now that that you have everything you need, let’s go through the process of making homemade blueberry freezer jam!
How to Make Blueberry Freezer Jam
Step 1: Prepare the blueberries
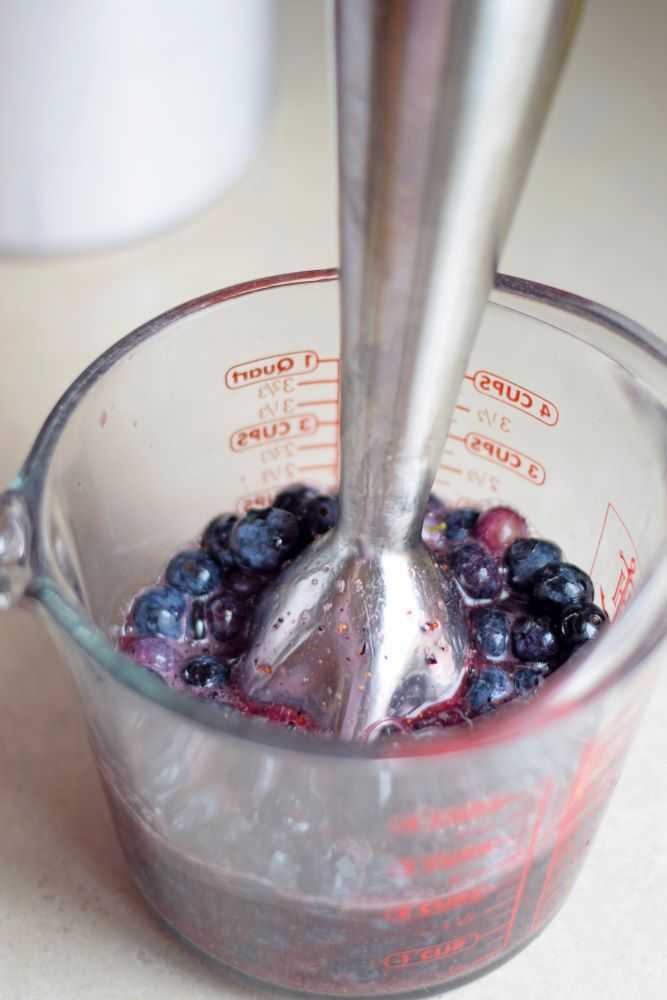
Start by thawing the blueberries if they are frozen. Move them from the freezer to the refrigerator the day before you are going to make the jam so they can defrost overnight. Or you can put them in the microwave for a minute or two. Just be careful not to cook them too much or you may lose that fresh blueberry taste! Then puree or mash the fruit until the desired consistency is reached.
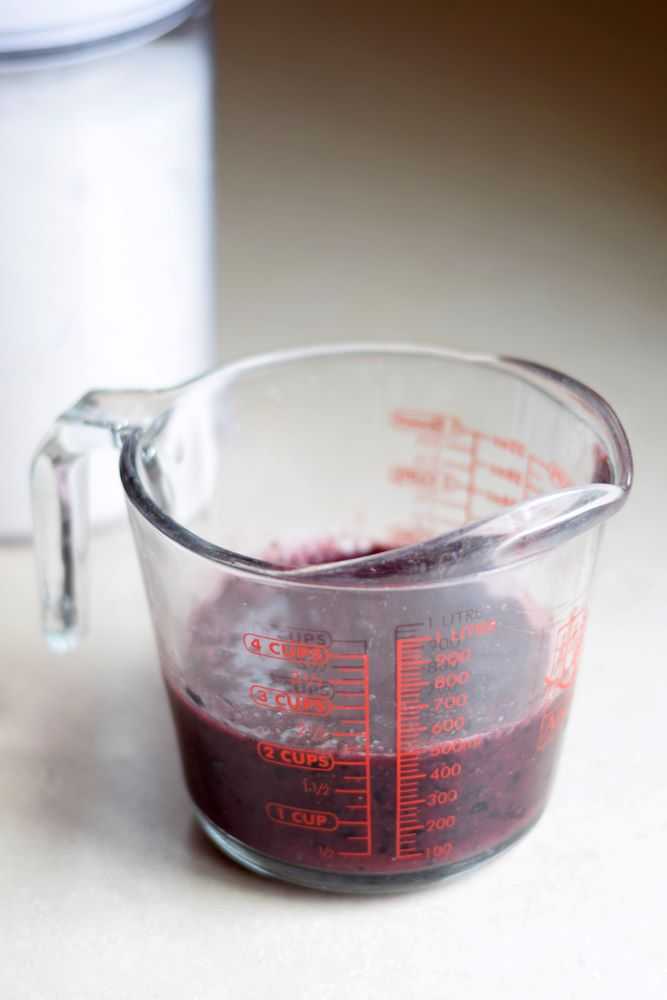
Puree or mash the thawed blueberries until the desired consistency is reached. Measure out two cups of berries and proceed to the next step.
There are several ways to crush the berries. Some people spread the fruit into a 9×13 inch pan and mash them with a potato masher. I prefer to put the blueberries in a four cup glass measuring cup and use my immersion blender to puree them most of the way, leaving a few small pieces here and there. You can leave your fruit a little chunky or puree it until it is perfectly smooth. The choice is up to you!
After the blueberries are mashed measure out exactly two cups of fruit. You are now ready to add the sugar!
Step 2: Stir the blueberries and sugar together
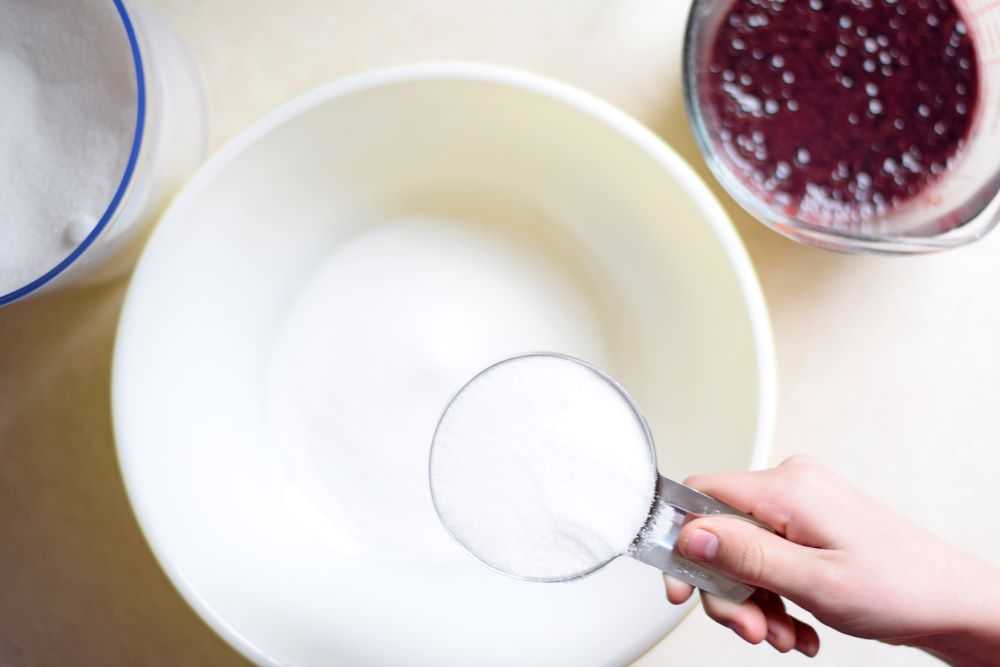
Measure out 4 cups of sugar into a large bowl. Add in the pureed blueberries and stir well. Let the blueberries and sugar sit in the bowl for 20 minutes, stirring occasionally. This will allow the sugar to dissolve most of the way.
Measure the sugar into a large bowl, then stir in the blueberry puree.
To test whether the sugar has dissolved enough you can take out a little jam and rub it between your fingers. By the end of the 20 minutes it should be much less gritty that it was initially (but it is okay if it is not perfectly smooth at this point). Towards the end of the 20 minutes you can start to cook the pectin.
Step 3: Cook the pectin
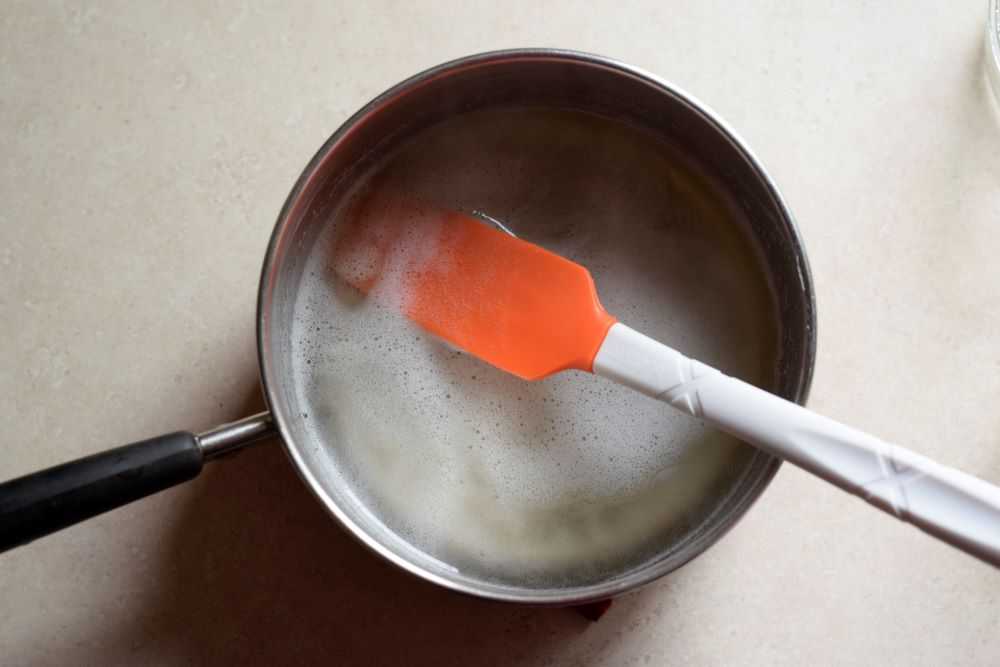
Empty the box of pectin into a small saucepan. Add 1 cup of cool water and stir well with a whisk to break up any clumps. Heat the pectin over medium high heat, stirring constantly, until it comes to a full boil. Boil for one minute and then remove from heat.
Cook the pectin and water together in a saucepan. Boil for one minute and then remove from heat.
Step 4: Add the pectin to the fruit
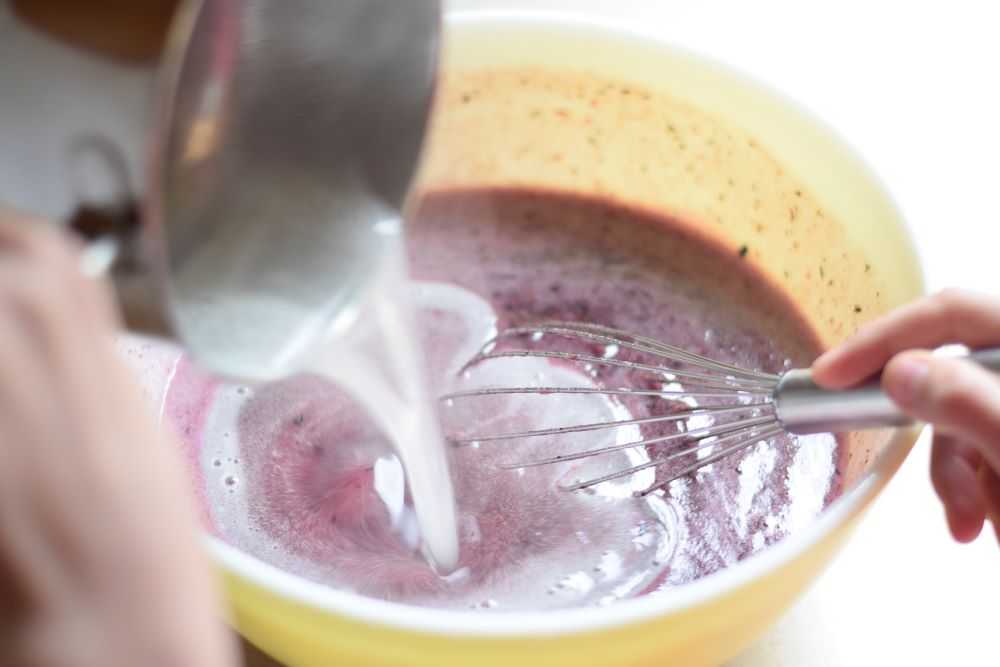
Add the hot pectin to the fruit and sugar. Whisk briskly for 1-2 minutes or until thoroughly incorporated. Instead of being watery the fruit should now have a thicker, more syrupy consistency. Your jam is almost done!
Add the pectin into the fruit. Stir briskly for 1-2 minutes or until thoroughly incorporated.
Step 5: Add in citric acid to taste
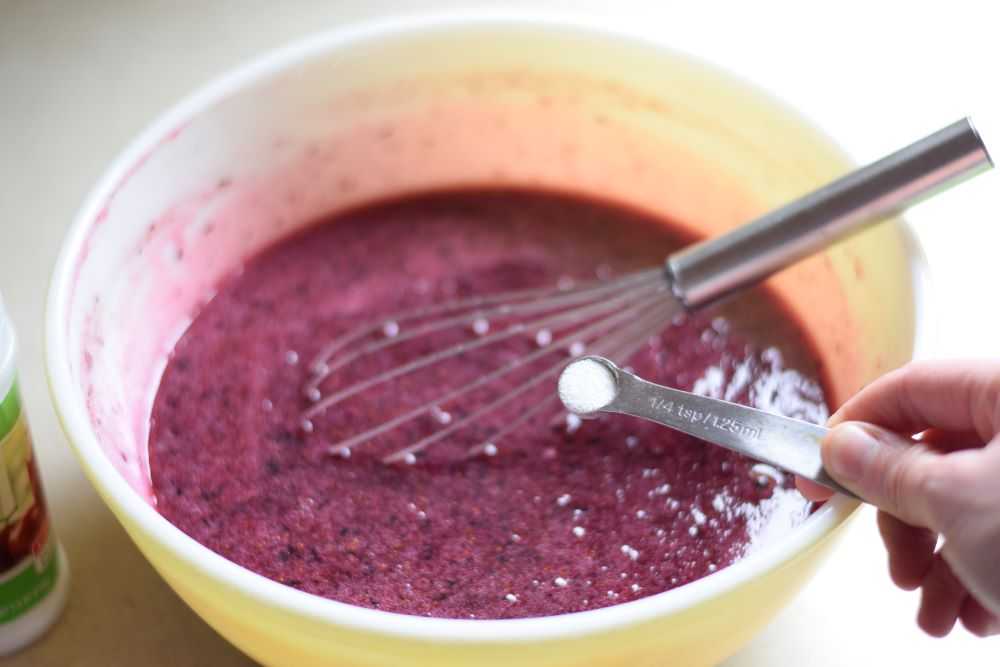
Adding citric acid or lemon juice is optional depending on the sweetness of the berries you are using and your preferences. Add the citric acid, about a 1/4 teaspoon at a time, and stir well. Lemon juice can be added about a tablespoon at a time. Taste the jam and add more if desired. I ended up using 1/2 teaspoon citric acid for this batch of jam. As soon as you are happy with your jam it is time to fill the jars!
Stir in citric acid to taste. A little goes a long way, so add it a little at a time and taste as you go.
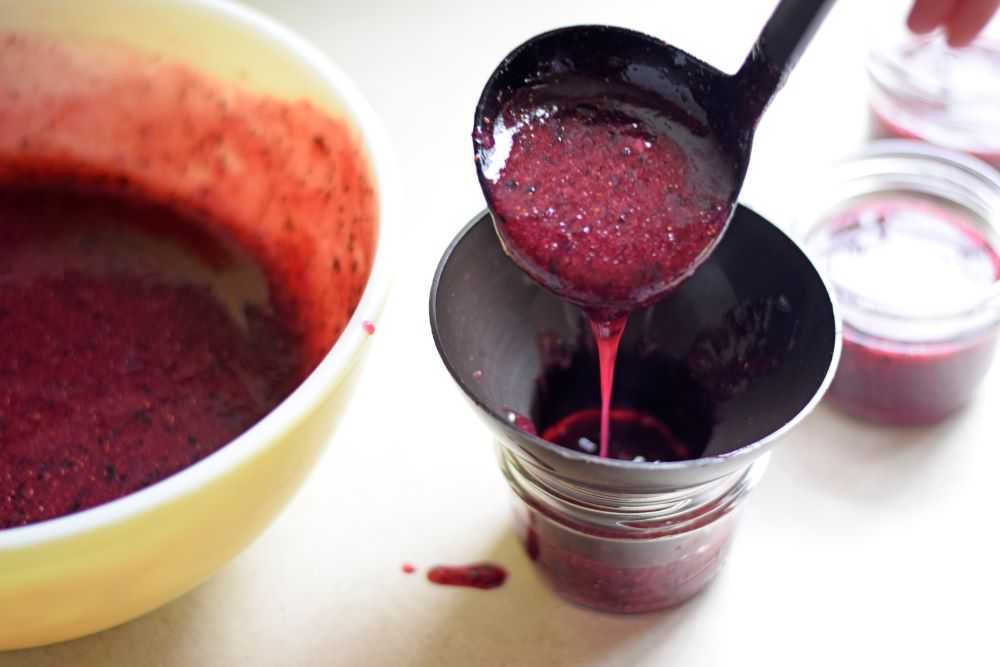
Step 6: Fill the jars
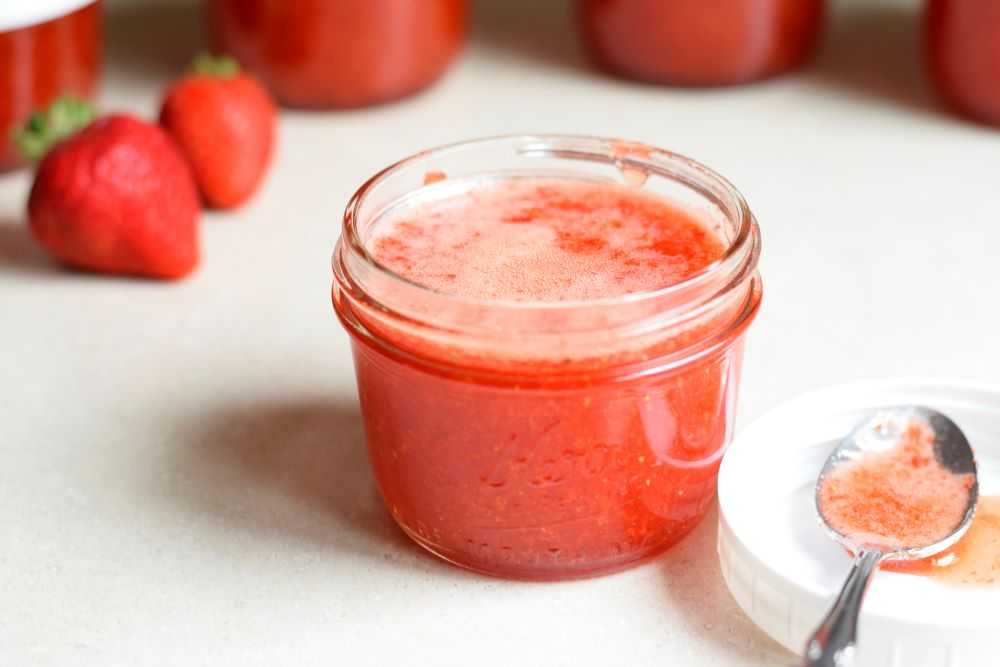
Use a ladle to fill the jars with the jam. A jar funnel is very handy for this so you do not drip sticky jam on the edges of the jars.
Fill the jars with jam. A jar funnel makes this an easier task.
Leave about half an inch of head space between the top of the jam and the top of the jar. I use these plastic jar lids so the lids are easier to open and close. Once all of the jars are filled, transfer them to the refrigerator to cool and fully set.
After the jars are filled put on the lids and transfer them to the refrigerator for one day to fully set.
Freezer Jam Storage
After 24 hours the jam can be transferred to the freezer for long term storage. Thaw it in the refrigerator for a day before use. Once opened, use within 3 weeks or so. Jam keeps for up to 1 year in the freezer.
Serve
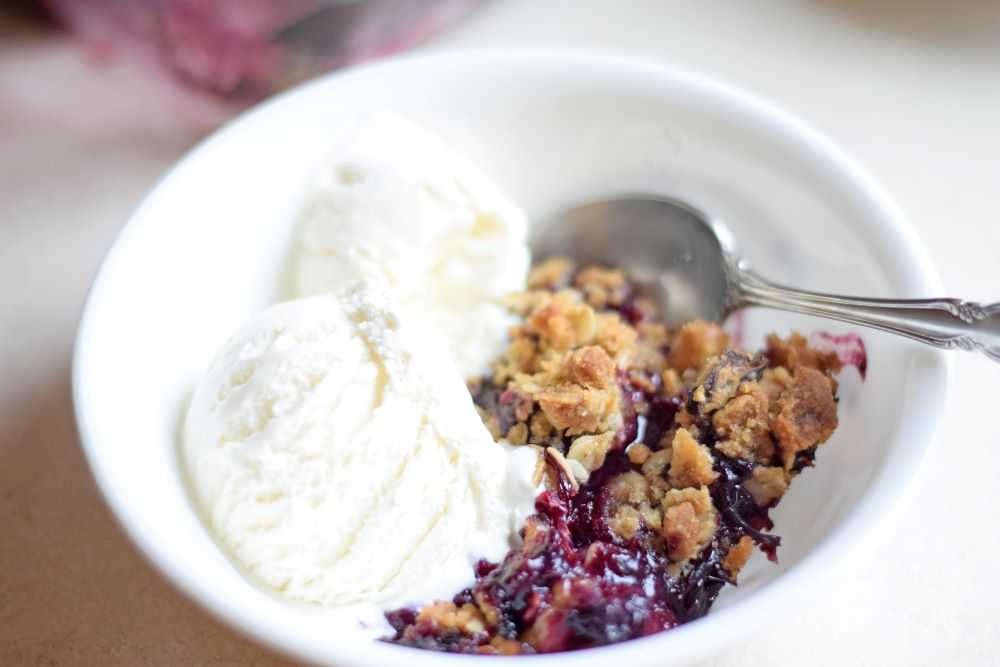
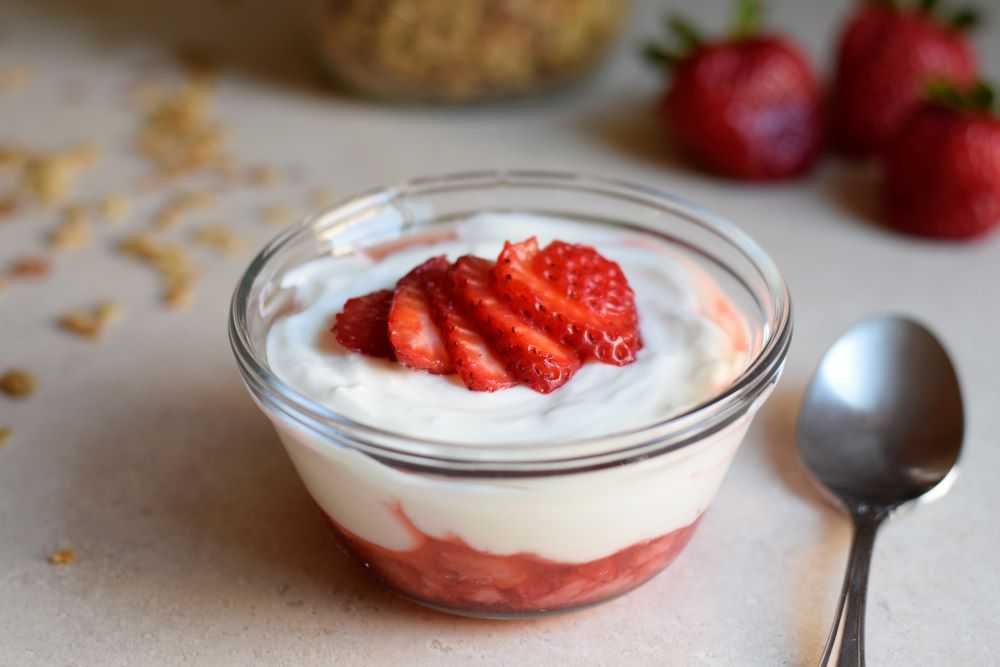
This blueberry freezer jam is good on so many different things! Try it on pancakes or waffles, toast or biscuits. It also tastes amazing on homemade yogurt!
Blueberry freezer jam–yum!!!
Hope you get to try this freezer jam soon! Let me know how it went in the comments below. Happy Cooking!
Blueberry Freezer Jam
Recipe by: Mandy
Blueberry freezer jam is easy to make at home! Frozen blueberries can be used so it can be made and enjoyed all throughout the year!
1poundfresh or frozen blueberries (You will need 2 cups pureed berries)
4 cups sugar
1boxregular fruit pectin (1.75 or 2 oz box, depending on the brand)
1cupcool water
citric acid or lemon juice, to taste (optional)
Instructions
Start by thawing the blueberries if they are frozen. Then puree or mash the fruit until the desired consistency is reached. You will need 2 cups of crushed or pureed berries.
Stir the crushed blueberries and sugar together in a large bowl. Let sit for 20 minutes for the sugar to dissolve most of the way.
Towards the end of the 20 minute resting period you can start to cook the pectin. Empty the box of pectin into a small saucepan. Add in the water and stir well with a whisk to break up any clumps. Heat over medium high heat, stirring constantly, until it comes to a full boil. Boil for one minute then remove from heat.
Stir the hot pectin mixture into the blueberries. Whisk briskly for 1-2 minutes or until thoroughly incorporated.
Add citric acid, about ¼ teaspoon at a time, until desired taste is achieved. If using lemon juice, add it about a tablespoon at a time. Adding citric acid or lemon juice is optional depending on the sweetness of the berries you are using and your preferences.
Ladle the jam into small, clean jars or containers. Leave about half an inch of headspace between the top of the jam and the top rim of the jar. Once all the jars are filled, put the lids on the jars and transfer them to the refrigerator to cool and fully set.
After 24 hours the jam can be transferred to the freezer for long term storage. Thaw in the refrigerator for a day before use. Once opened use jam within three weeks or so. Jam keeps for up to 1 year in the freezer.
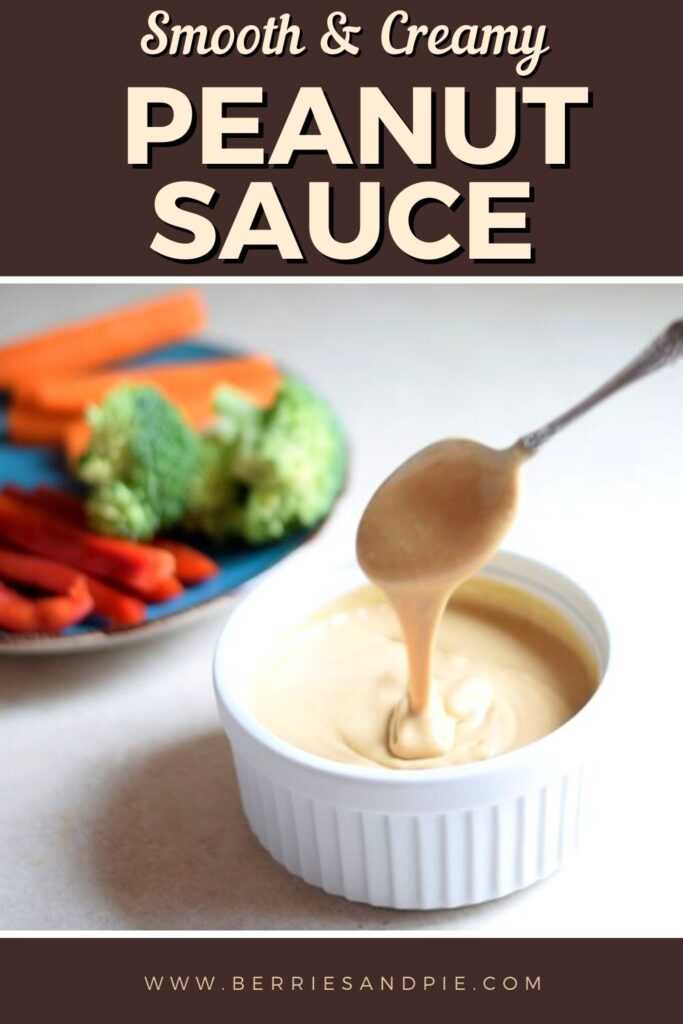
This versatile peanut sauce can be used on everything from salads to chicken to noodles. It is creamy and smooth with the perfect balance of flavors.
This peanut sauce is one of my favorites. It is so versatile and can be used as a sauce, dressing, or dip. Coconut milk acts as the base of the sauce and helps to give the peanut sauce a creamy, rich texture. Yum!
This peanut sauce uses only 6 ingredients. Many of them are pantry ingredients you probably already have on hand! It easy to make and ready in about 5 minutes. Let’s get started!
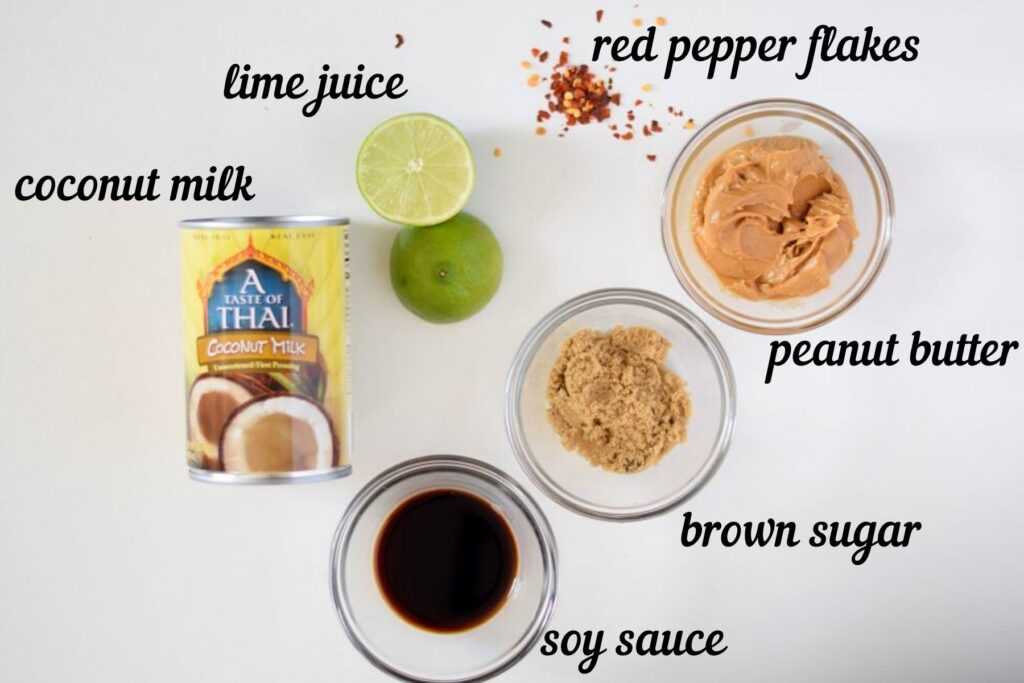
Ingredients for Peanut Sauce
Peanut butter – It wouldn’t be peanut sauce without the peanut butter! I have made this with both natural types of peanut butter and “regular” peanut butter (like Jif or Skippy). Regular peanut butter has a stronger taste and smoother texture than natural peanut butter but both are good! You may need to adjust the amount of soy sauce and sugar slightly depending on what type you use.
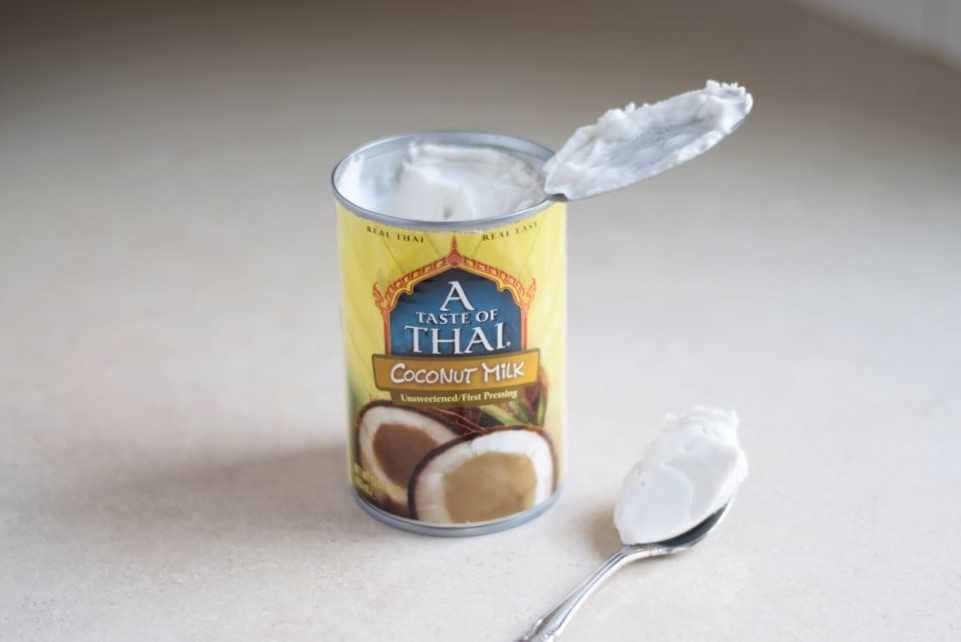
Coconut milk – Coconut milk is creamy and smooth and forms the base of the sauce. It is made from cooking water and coconut together and has a mild coconut flavor. You will find unsweetened coconut milk in the canned food section of the grocery store. Make sure you do not purchase coconut cream, cream of coconut, or coconut milk from the refrigerated section as these are different products.
I usually use regular unsweetened coconut milk. Light coconut milk can also be used but the sauce might have a thinner consistency.
Right out of the can the coconut milk can separate, with the fat rising to the surface like in the picture below. Stir it well before measuring and adding to the sauce.
Coconut milk can separate, with the fat rising to the surface. Stir it well before adding it to the sauce.
Soy sauce – I use regular soy sauce here.
Brown sugar – Sweetens the sauce.
Fresh lime juice – This brightens the flavor of the sauce. Only a tablespoon is needed, from about half of a lime.
Red pepper flakes – Adds a little heat. Adjust this to taste.
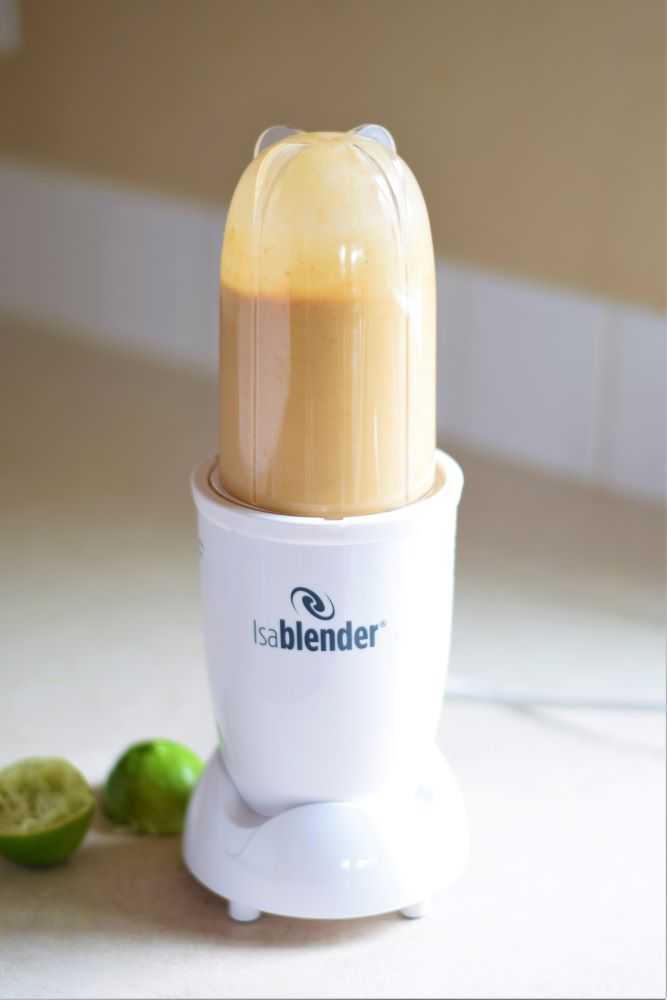
How to Make Peanut Sauce
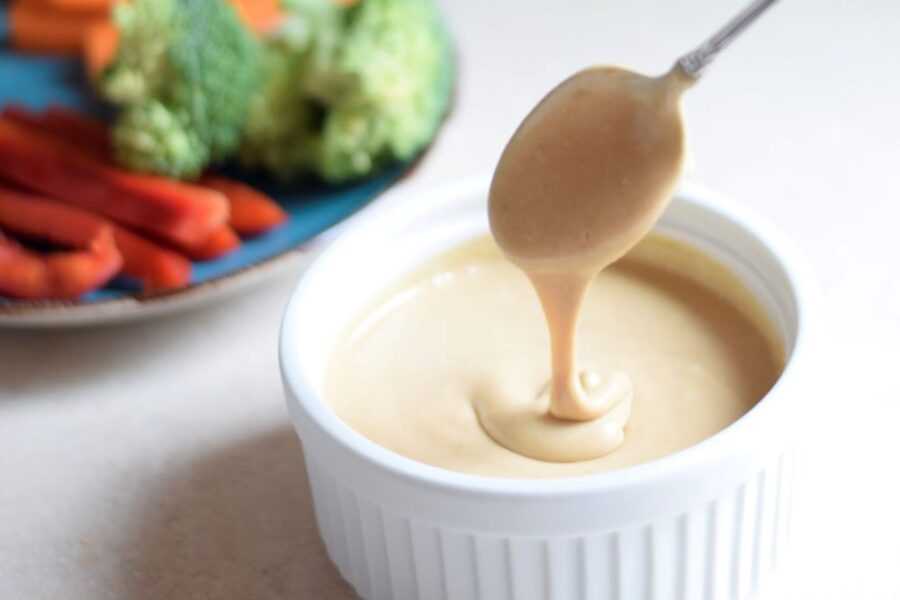
Combine all of the ingredients in a blender cup and puree until smooth. Taste the sauce and adjust the seasonings to your liking. That’s it! SO easy!
I like using some type of blender for this sauce because it helps to easily incorporate the peanut butter into the coconut milk and makes a smoother sauce. If you do not have a blender you can use a whisk to mix everything together. It might take a minute or two to get everything incorporated and smooth.
Blend all ingredients together until smooth. SO easy!
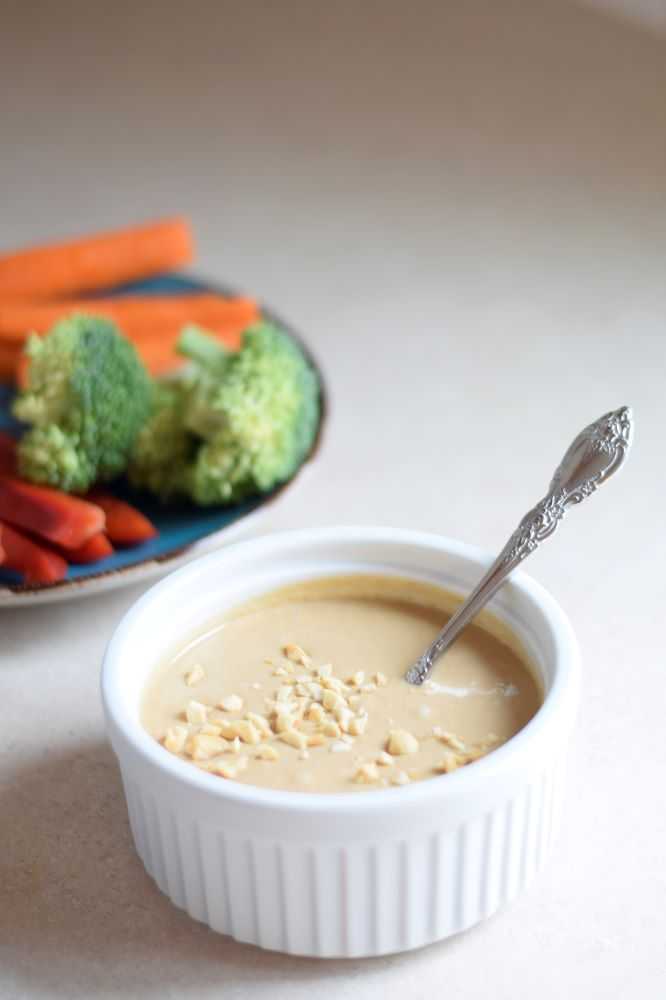
How to Use Peanut Sauce
The great thing about this sauce is that it is SO versatile! Try using it as:
a dressing with Thai Chicken Salad
a dip for fresh vegetables
a dipping sauce for chicken satay
a dressing over a warm or cold noodle salad
Whatever you do with it will be delicious!
How to Store Peanut Sauce
Store peanut sauce in the refrigerator until ready to use. It will thicken in the refrigerator so you may need to let it sit at room temperature or heat it in the microwave for a few seconds before serving. Enjoy!
Peanut Sauce and Dressing
Recipe by: Mandy
This versatile peanut sauce can be used on everything from salads to chicken to noodles. It is creamy and smooth with the perfect balance of flavors.
Place all ingredients in a blender cup and blend until smooth. Taste and adjust seasonings to taste. Store in the refrigerator. Enjoy!
Notes
Regular peanut butter has a stronger taste and smoother texture than natural peanut butter but both are good! You may need to adjust the amount of soy sauce and sugar slightly depending on what type you use.
This peanut sauce will thicken in the refrigerator so you may need to let it sit at room temperature or heat it in the microwave for a few seconds before serving.
Tender chicken, celery, and bean sprouts combine in this delicious dish. It will remind you of takeout at your favorite restaurant!
This dish goes by many names but the most common are chicken subgum chow mein or chicken chop suey. Whatever you call it a version of this is a staple at many Chinese restaurants across the country. It is loaded with crunchy vegetables and tender chicken held together in a slightly thickened sauce that is served over crunchy noodles or cooked rice. Yum!
Chicken chop suey is easy to make at home and is ready in about half an hour. Let’s get started!
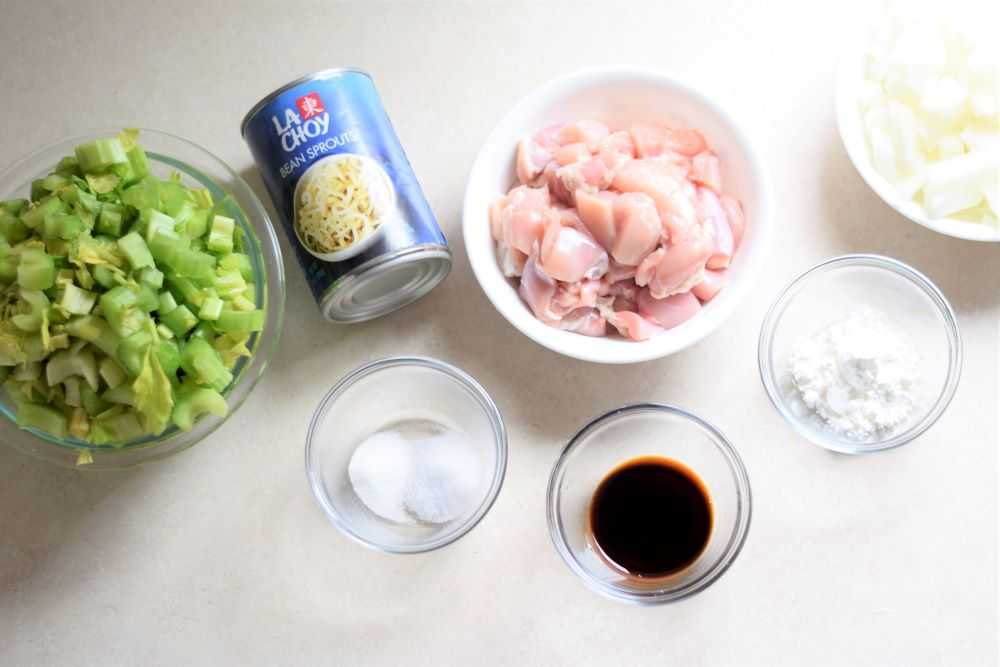
Ingredients for Chicken Chop Suey
Chicken chop suey has 10 ingredients:
Chicken – I prefer chicken thighs in this recipe because they stay tender and add a lot of flavor to the dish. Chicken breasts will also work well.
Celery – You will need a whole bunch of celery. It sounds like a lot but it is the foundation of the dish.
Onion – A white onion or yellow onion is best (not red or purple) so it does not change the color of the sauce.
Bean sprouts – Fresh or canned bean sprouts are okay to use here. Fresh bean sprouts usually stay a little crunchier so that is what I usually use. Today I am using canned because the fresh bean sprouts at the store did not look very fresh 🙂 Use whatever you prefer!
Soy sauce – This helps to flavor the sauce. I use regular soy sauce here.
Cornstarch – This is used to thicken the sauce. You can use more or less depending on how thick you want the sauce to be.
Also needed: salt, sugar, water, and cooking oil.
How to Make Chicken Chop Suey
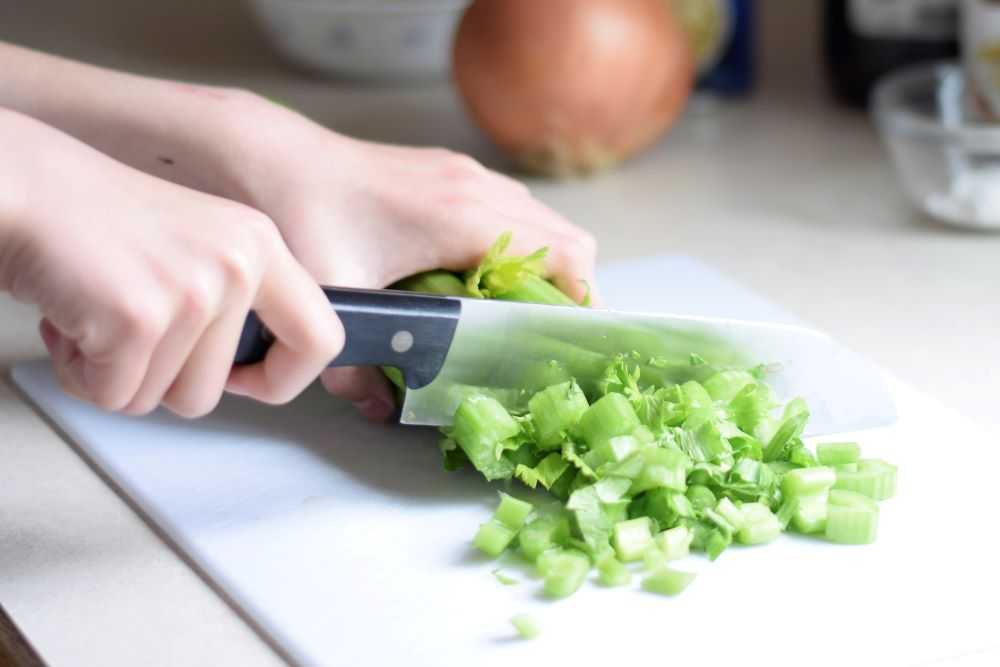
Step 1: Prepare the ingredients
Chicken chop suey cooks pretty quickly so you want to have all of your ingredients ready to go. Start by washing and chopping all of the vegetables and cutting up the chicken. Set this aside for now.
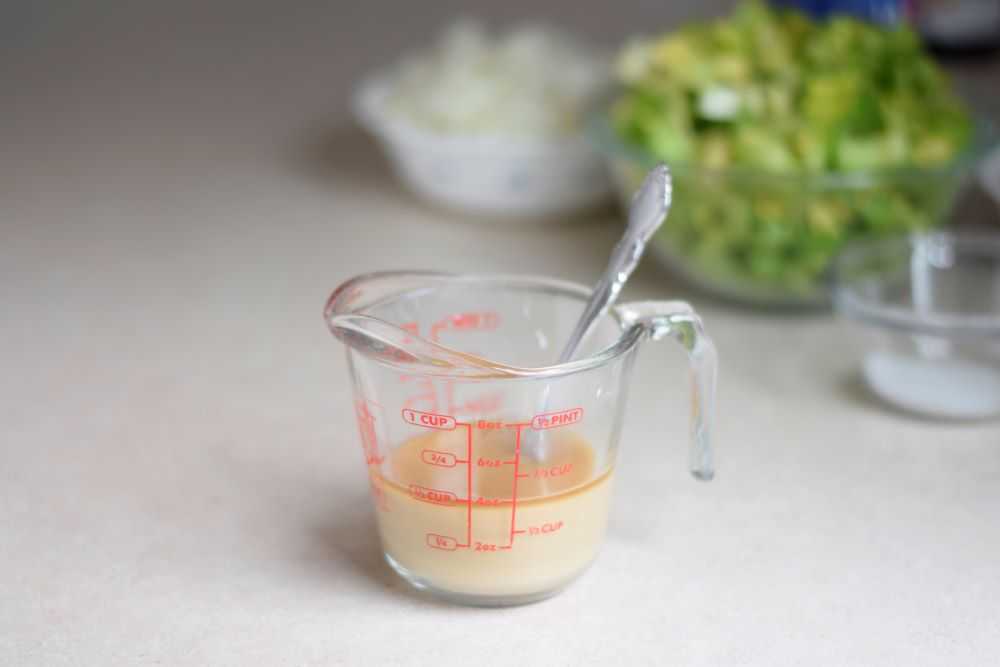
Step 2: Prepare the sauce
Stir the 1/3 cup water, cornstarch, soy sauce, and sugar together in a small bowl or liquid measuring cup. Set this aside.
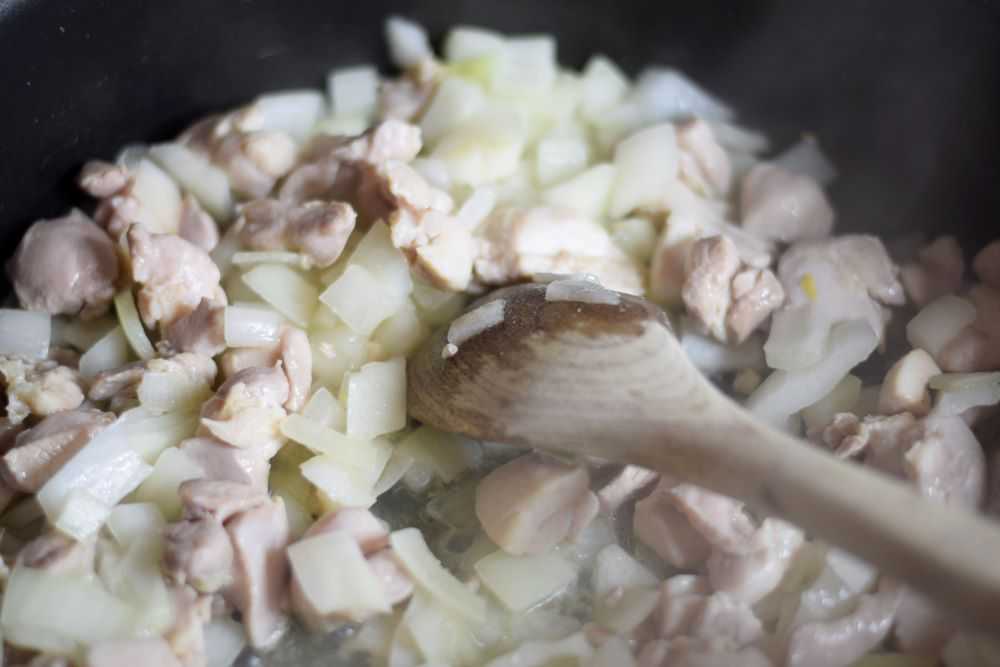
Step 3: Cook the chicken and onion
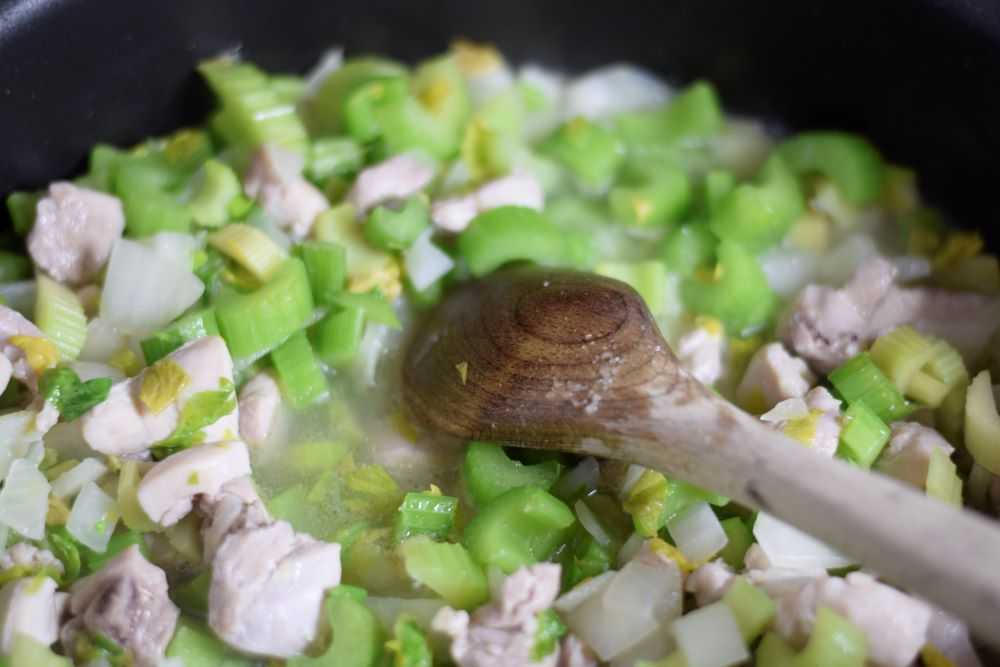
It’s time to start cooking! Add a little oil to a hot pan and add the chicken and chopped onion. Cook it until the chicken is done and the onion is tender.
Step 4: Stir in the celery, water, and salt
Stir in the celery, 1 cup water, and salt and bring to a boil. Cover, reduce heat, and simmer for a few minutes or until celery is crisp-tender. Watch the celery carefully here because it goes from perfect to overcooked rather quickly.
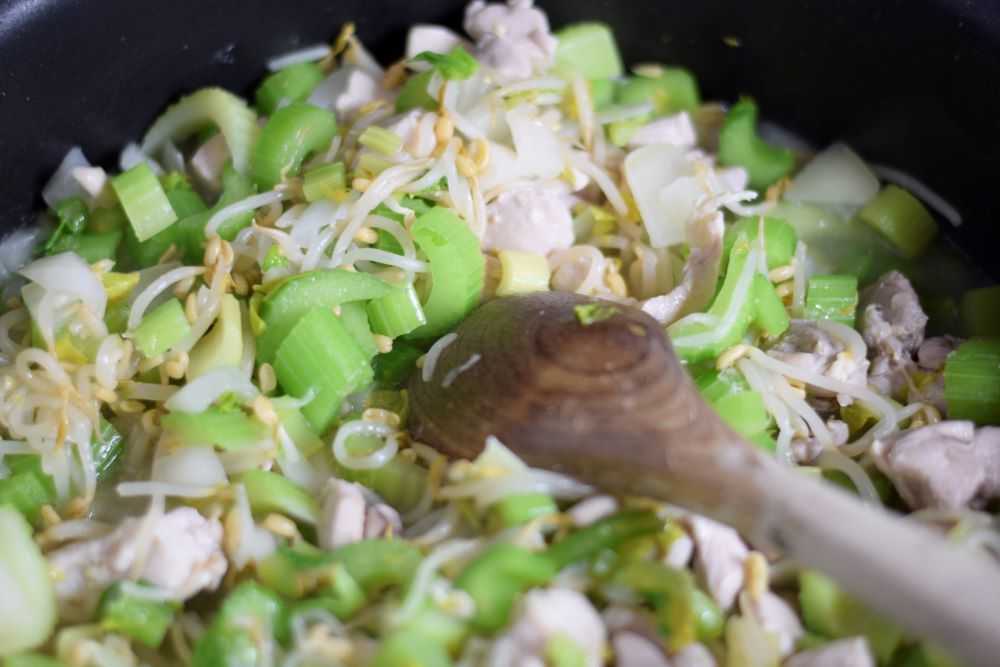
Step 5: Add in the bean sprouts
If you are using canned bean sprouts, simply stir them in and proceed directly to the next step.
If you are using fresh bean sprouts stir them in and cover then pan. Cook for 1-2 minutes or until they soften up a bit before proceeding.
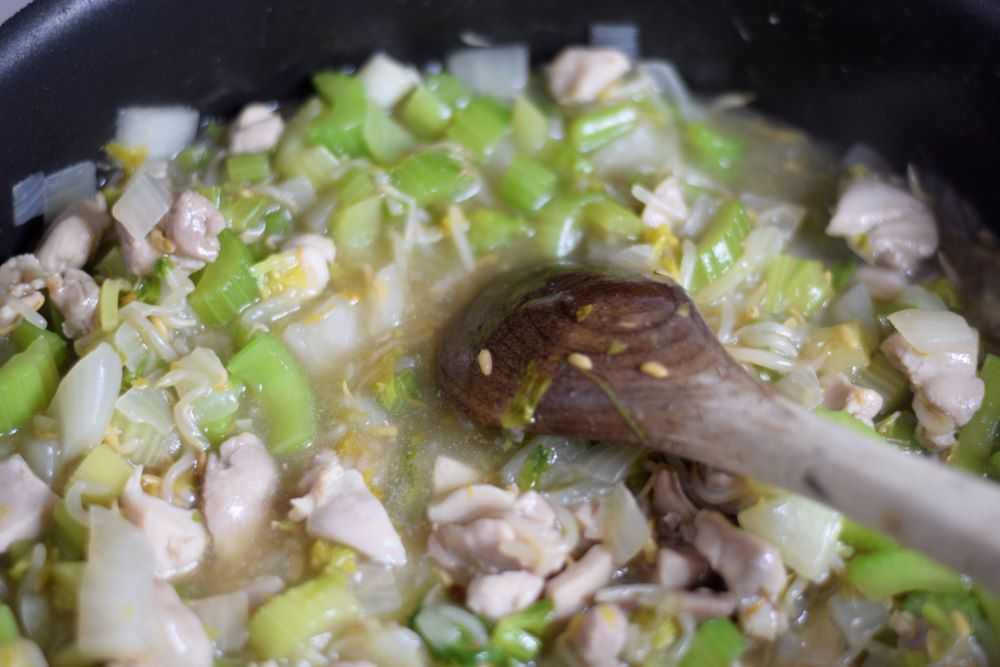
Step 6: Add in the sauce
Add in the reserved sauce mixture and cook and stir until thickened and bubbly. Taste the chop suey and add in a little additional salt or soy sauce if needed. The chop suey is now ready to serve!
Serve
Serve the chicken chop suey with crunchy noodles or fried rice. Enjoy!
Chicken Chop Suey
Recipe by: Mandy
Tender chicken, crunchy celery, and bean sprouts combine in this delicious dish. It is easy to make and ready in about 30 minutes!
Stir all sauce ingredients together in a small bowl and set aside.
Heat the oil in a large skillet and add in the chicken and onion. Cook until the chicken is done and the onion is tender.
Stir in the celery, 1 cup water, and salt. Reduce heat to low, cover, and simmer for a few minutes or until the celery is crisp-tender.
Stir in the bean sprouts and reserved sauce. Cook and stir until thickened and bubbly.
Taste the chop suey and add additional salt or soy sauce if needed. Serve hot with rice or crispy noodles. Enjoy!
Notes
Fresh bean sprouts may also be used instead of canned. Add them in after the celery and cook for a few minutes or until they start to soften. Add in the sauce and proceed as directed by the recipe.
One of the great things about this dish is that you can add in whatever vegetables you like. Water chestnuts, mushrooms, and bamboo shoots are delicious additions!
This chocolate pecan pie tastes like a cross between a pecan pie and a rich, chocolate brownie. It is sure to disappear quickly!
Up until recently I had never had a chocolate pecan pie. Unfortunately I never even knew what I was missing out on!
Chocolate pecan pie has a gooey center like traditional pecan pie but the addition of chocolate makes it taste rich and fudgy. Add in the crunch of the pecans and the flakey pie crust and you have a dessert that is sure to please!
Chocolate pecan pie is very easy to make and we will go through how to make it step-by-step. Let’s get started!
Ingredients for Chocolate Pecan Pie
Chocolate pecan pie has 10 ingredients:
Sugar and brown sugar – Sugar helps to sweeten the pie. Adding some brown sugar gives the pie a greater depth of flavor.
Corn syrup – Corn syrup sweetens the pie and helps to give pecan pie its characteristic texture. It also helps to prevent sugar crystallization. Light corn syrup is what you want here.
Eggs – Eggs help to give structure to the pie.
Vanilla – Vanilla brings out the chocolate flavor.
Salt – This helps to balance the flavor and cut down on the sweetness a bit.
Butter – I use salted butter.
Chocolate – You will need 2 ounces of semi-sweet or bittersweet chocolate. You can use squares of baking chocolate, chocolate chips, or whatever you have on hand. If you want you can double the chocolate if you want the pie to be extra fudgy!
Pecans – I coarsely chop them so the pie is easier to serve and eat. You can also substitute walnuts if you prefer.
Pie crust – You will need an unbaked, single crust pie shell. You can make your own or purchase one from the store.
How to Make Chocolate Pecan Pie
Step 1: Prepare the pie crust
Roll out the pie crust and place it in a 9-inch pie pan. Flute the edges and set aside while you prepare the filling for the pie.
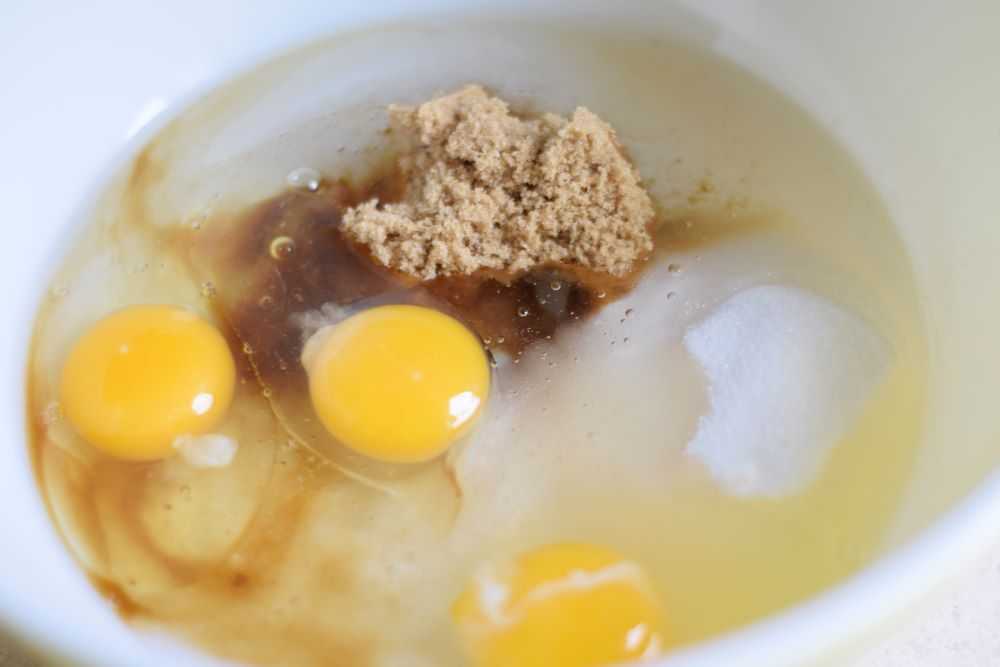
Step 2: Stir together the sugars, corn syrup, eggs, salt, and vanilla
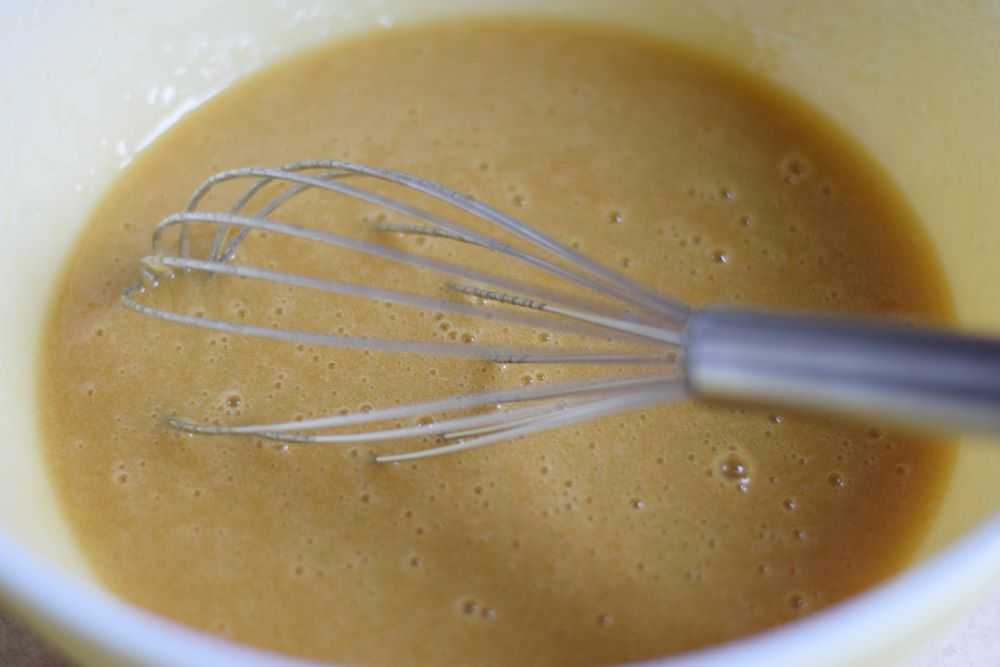
Stir the sugar, brown sugar, corn syrup, eggs, salt, and vanilla together in a large bowl. Whisk it so that everything is smooth and set aside.
Place the sugar, brown sugar, eggs, corn syrup, salt, and vanilla in a bowl.Whisk until smooth and set aside.
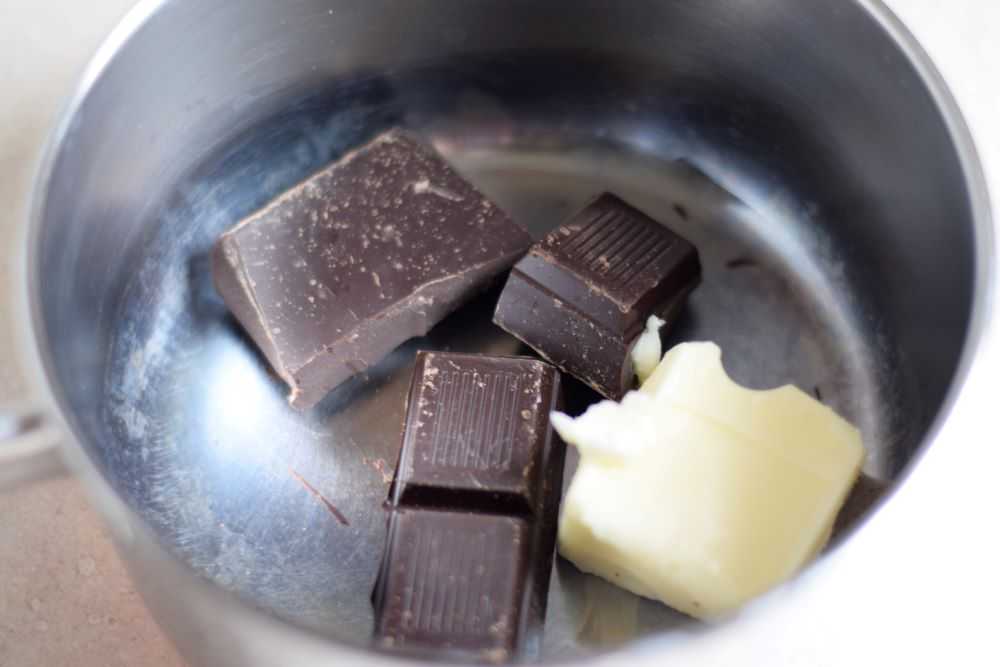
Step 3: Melt the chocolate and butter together
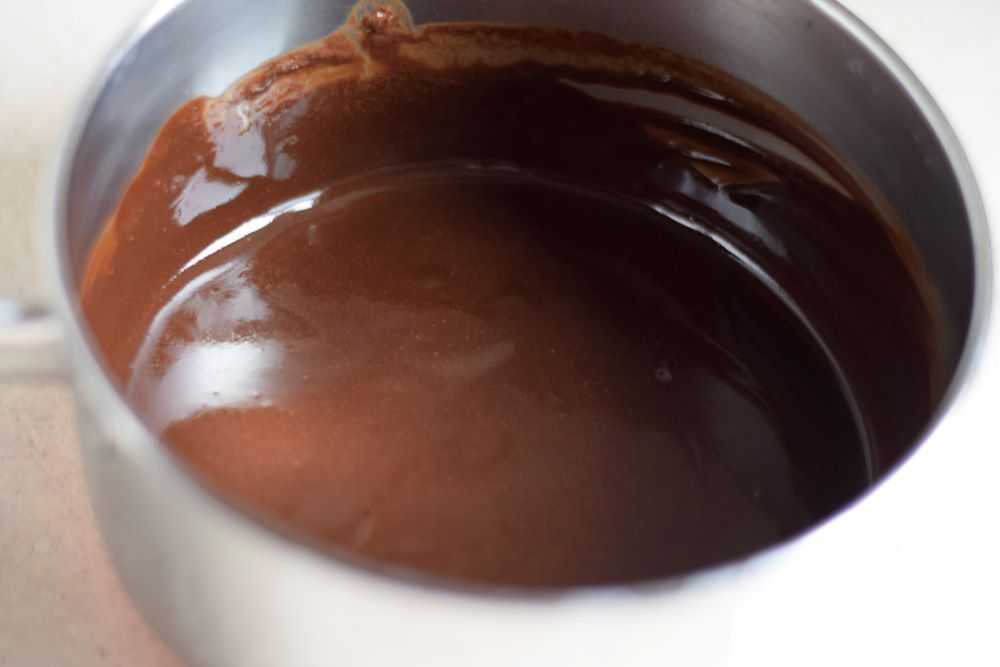
Place the chocolate and butter in a small saucepan. Heat over low heat, stirring constantly, until completely melted and smooth.
Place the chocolate and butter in a saucepan.Heat over low heat, stirring constantly, until the chocolate is melted.
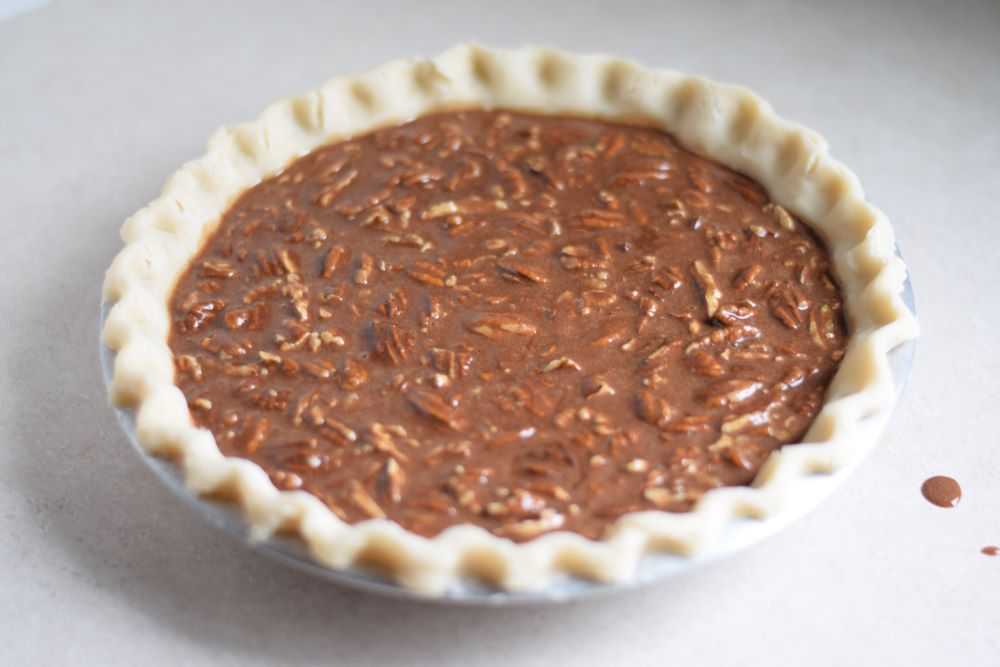
Step 4: Add the remaining ingredients
Stir the melted chocolate and pecans into the egg mixture. Whisk until smooth and pour into the unbaked pie crust. The pie is now ready for the oven!
Add the remaining ingredients and pour the filling into the unbaked pie crust.
Step 5: Bake the pie
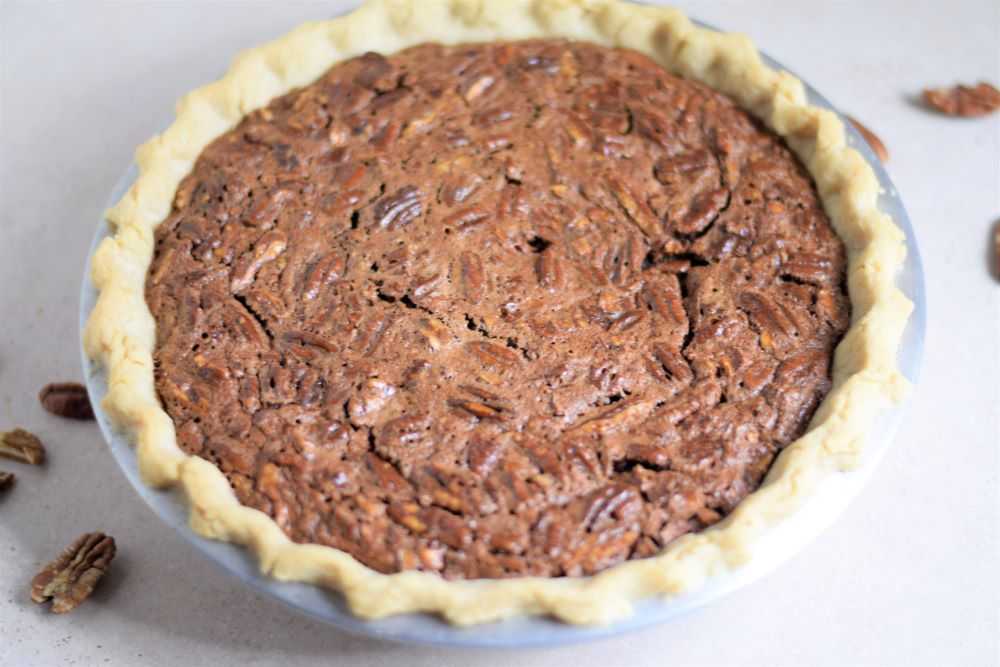
Bake the pie at 350 degrees for 55 minutes. The pie will still be very jiggly at this point but it will thicken as it cools. Place it on a wire rack to cool completely.
Look at that delicious crackly top! Let the pie cool for at least 2 hours before serving.
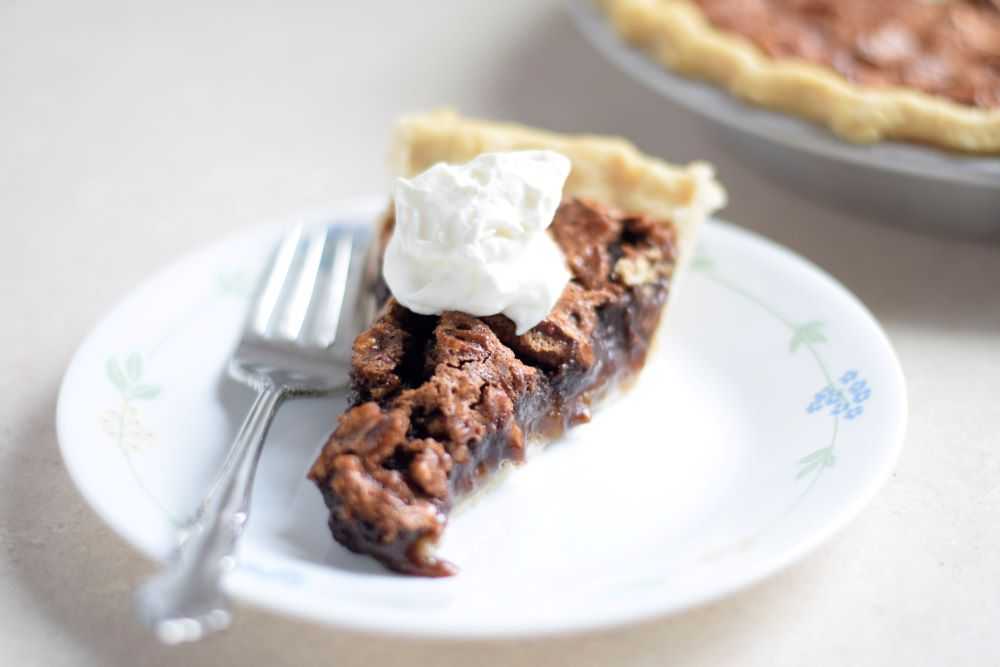
Serve
Let the pie cool for at least 2 hours before serving so it will hold its shape. It is delicious topped with whipped cream. Ice cream is surprisingly good too! Enjoy!
Chocolate Pecan Pie
Recipe by: Mandy
This chocolate pecan pie tastes like a cross between a pecan pie and a rich, chocolate brownie. It is sure to disappear quickly!
2ouncessemi-sweet or bittersweet chocolate (if you are using chocolate chips this is about ⅓ cup)
2tablespoonsbutter
1¼cuppecans, coarsely chopped if desired
Instructions
Roll out the pie crust and place it in a 9-inch pie pan. Flute the edges and set aside.
Preheat the oven to 350°.
Stir the sugar, brown sugar, corn syrup, eggs, salt, and vanilla together in a large bowl. Whisk until smooth and set aside.
Place the chocolate and butter in a small saucepan. Heat over low heat, stirring constantly, until completely melted and smooth.
Stir the melted chocolate and pecans into the egg mixture. Whisk until smooth and pour into the unbaked pie crust.
Bake the pie at 350° for 55 minutes. The pie will still be very jiggly at this point but it will thicken as it cools. Place it on a wire rack to cool completely.
Let the pie cool for at least 2 hours before serving so it will hold its shape. It is delicious topped with whipped cream or ice cream. Enjoy!
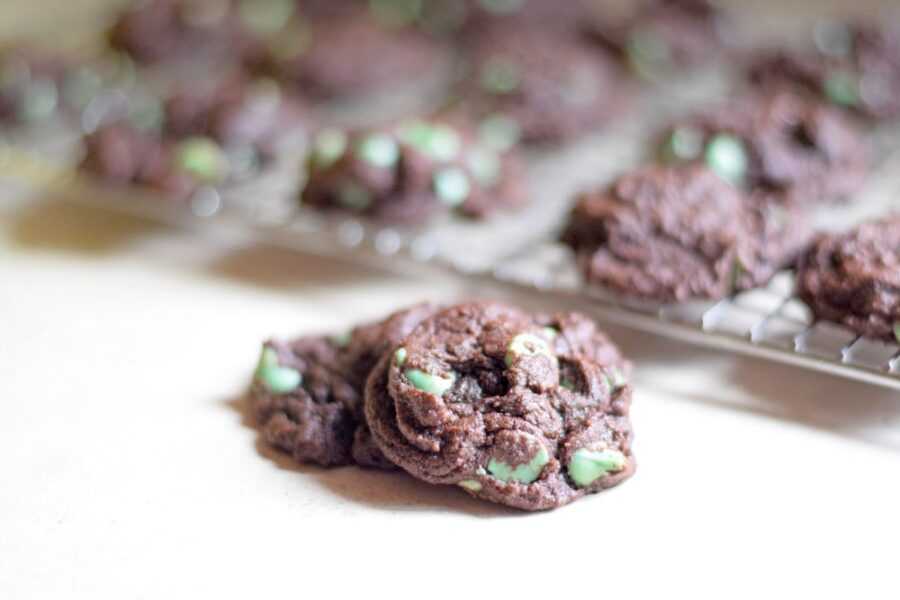
These chocolate cookies are soft and thick. If you like chocolate and mint together you will LOVE these cookies!
There are few cookies that disappear as quickly as these at our house. Everyone loves them and an entire batch is gone in just a few days!
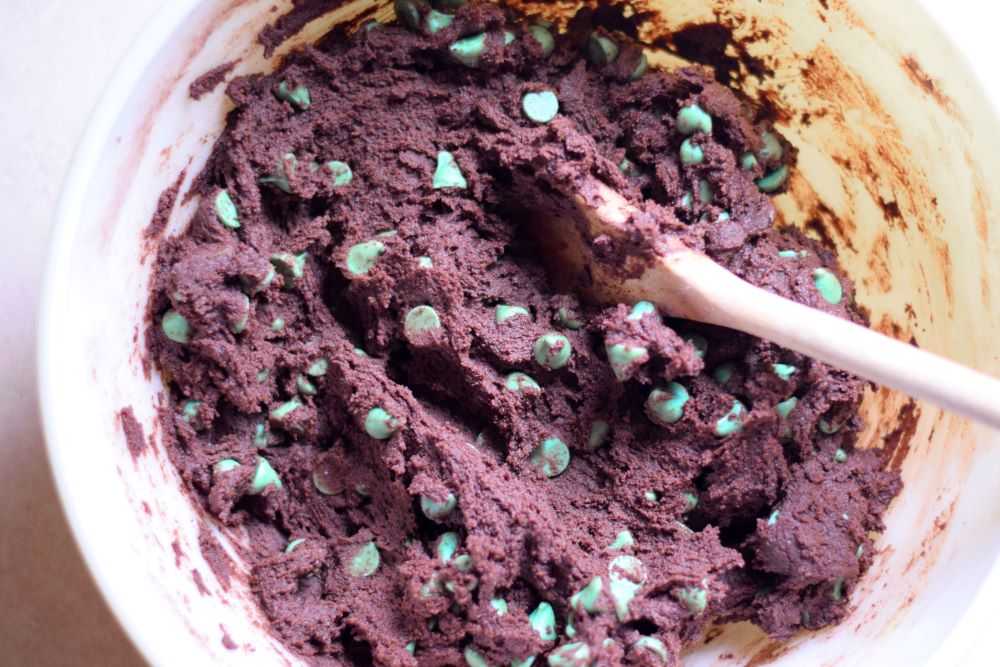
These cookies are soft and chewy. They taste a little like a brownie with their rich chocolate taste. Mint chips give them the perfect amount of cool minty flavor. Yum!
This post will take you through how to make these delicious chocolate mint cookies step-by-step. Let’s get started!
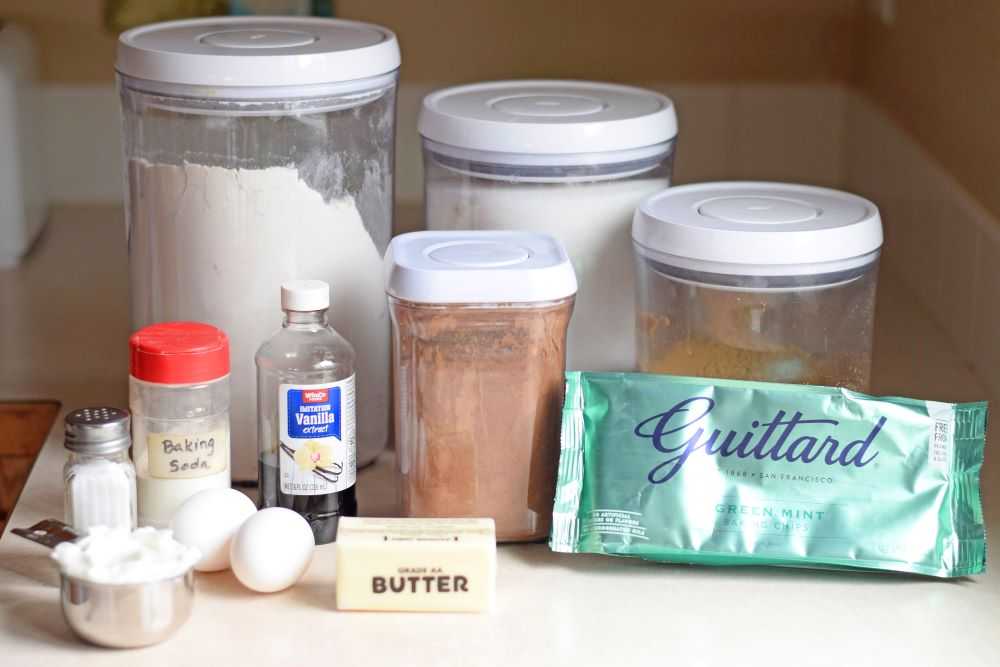
Ingredients to Make Chocolate Mint Cookies
Chocolate mint cookies contain 16 ingredients: butter, shortening, sugar, brown sugar, two eggs, vanilla, flour, cocoa, baking soda, salt, and mint chips.
Don’t let that long list scare you! It may sound like a lot but you probably have most of the ingredients already in your kitchen!
The mint chips I use are Guittard brand and they work really well in this recipe. You can also use Andes mints baking chips or purchase a package of Andes mints and coarsely chop them yourself. You will need 12 ounces or about 2 cups for the cookies.
How to Make Chocolate Mint Cookies
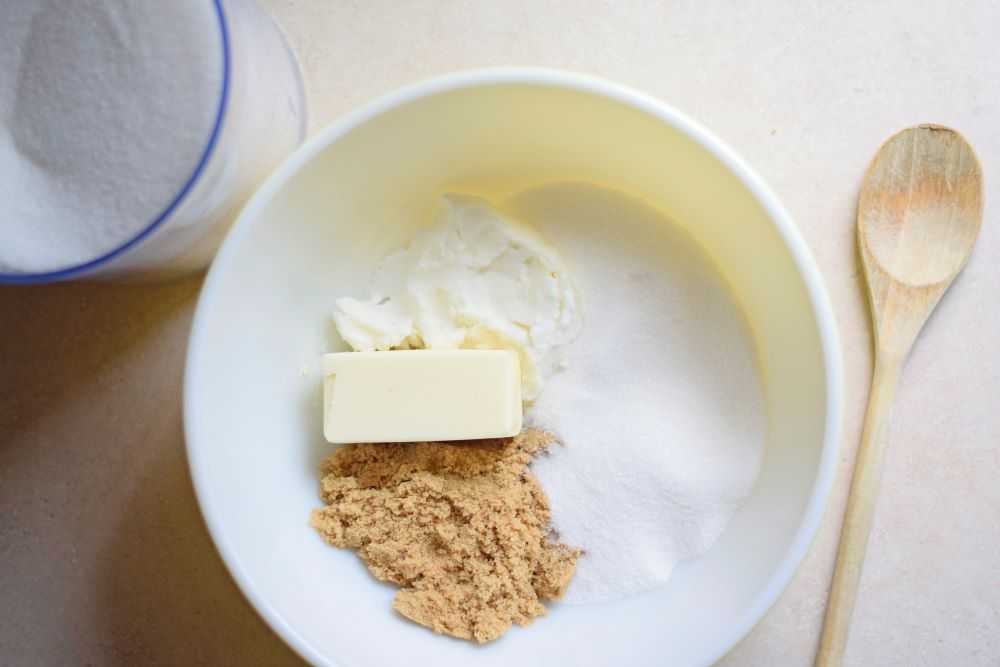
Step 1: Stir the butter, shortening, and sugars together
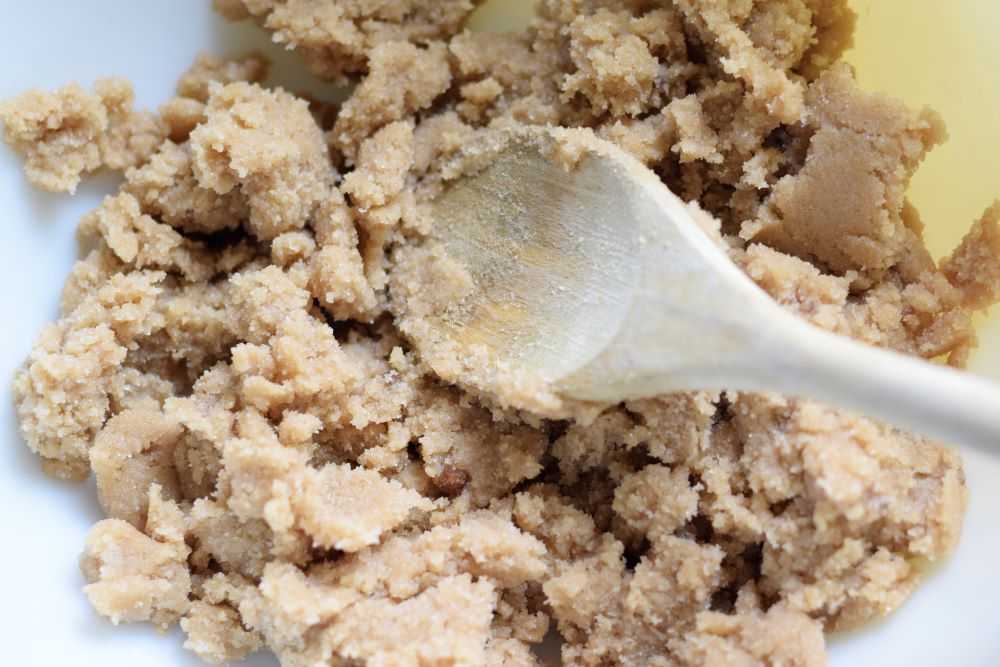
Start by stirring the shortening, white sugar, and brown sugar together in a large bowl. Make sure the butter is at room temperature so it easier to mix.
I usually use a wooden spoon for this job. As long as the butter is soft it is easy to smoosh everything together (I know, a real technical term) with the back of the spoon. You can certainly use a stand mixer for this if you prefer. When all of the sugar is incorporated you are ready to add the wet ingredients.
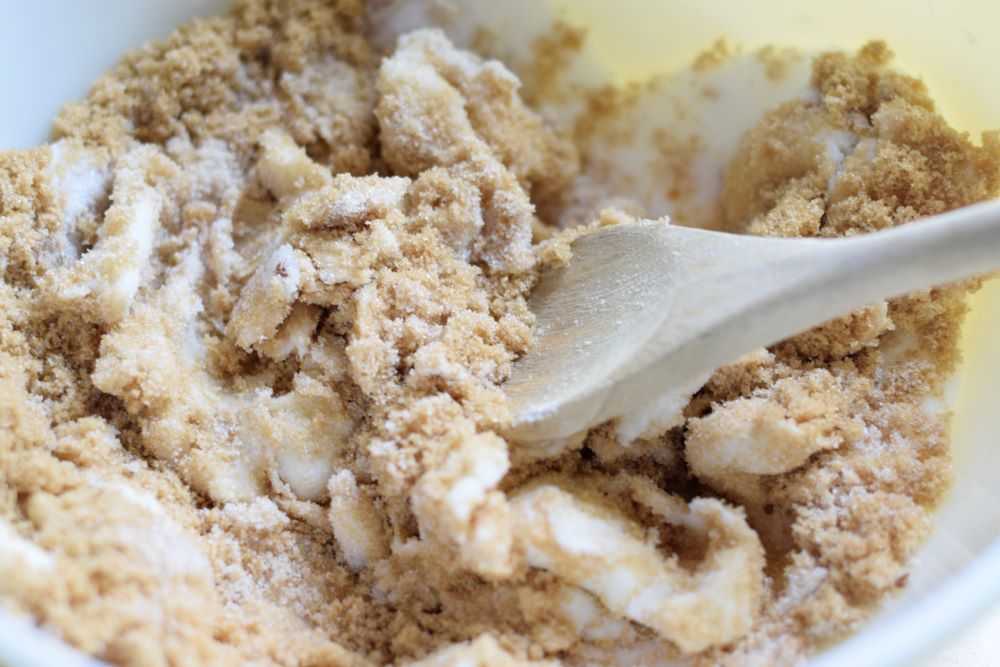
Mix the butter, shortening, and sugars together in a large bowl. “Smoosh” the butter and shortening with the back of the spoon until the sugars are fully incorporated.
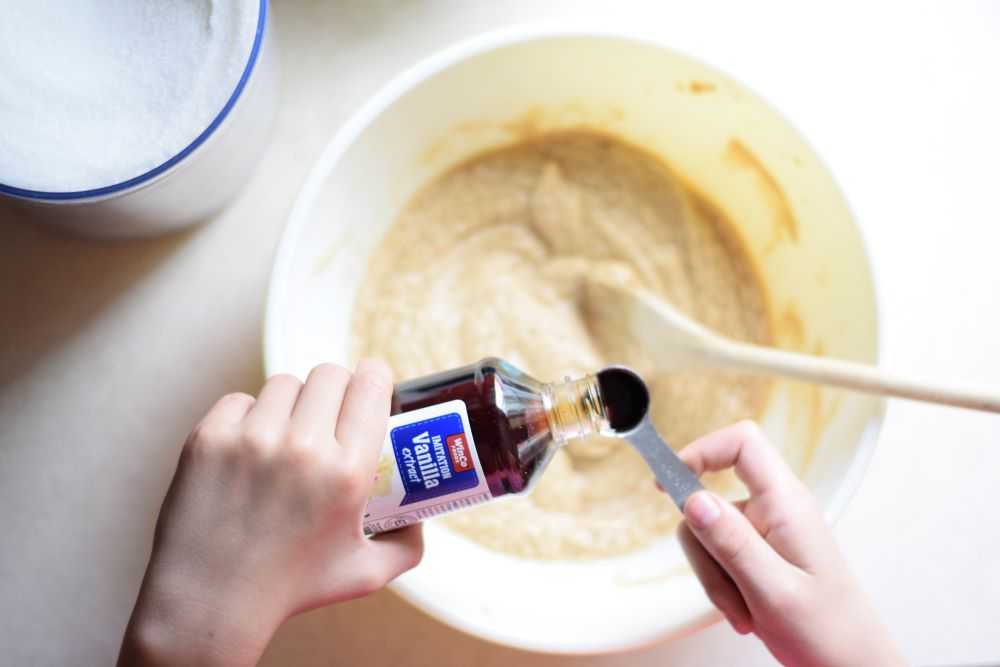
Step 2: Add the wet ingredients
When the butter, shortening, and sugars are well mixed add in the eggs and vanilla. Mix these ingredients together until they are smooth.
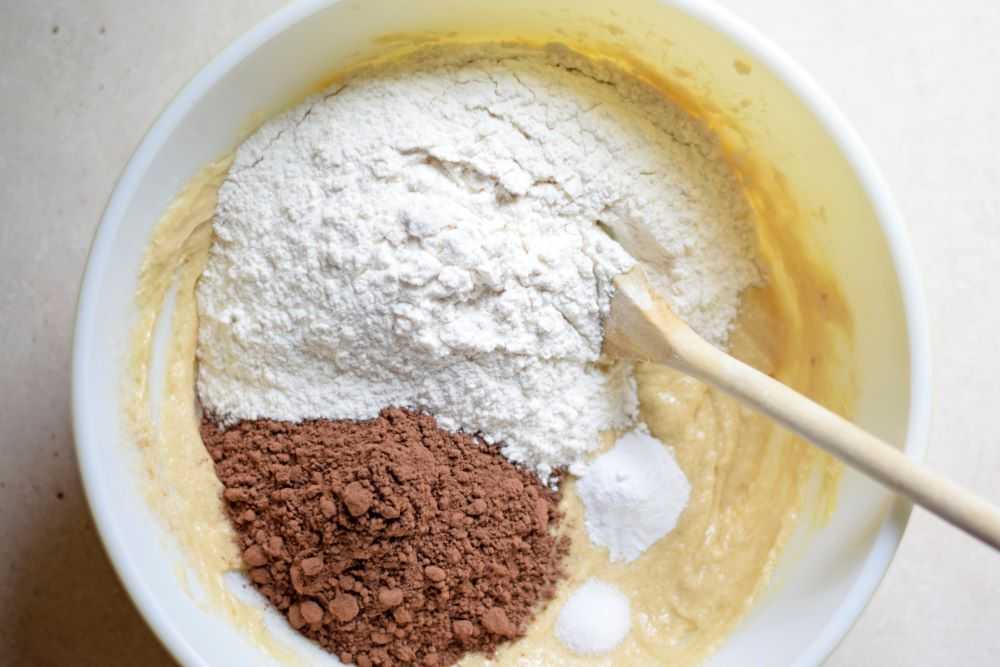
Step 3: Stir in the dry ingredients
Things are about to get chocolatey here! Next add in the flour, cocoa, baking soda, and salt and stir just until combined. The cocoa can be quite lumpy but I do not usually sift it. Most of the lumps will get worked out as you stir the thick batter.
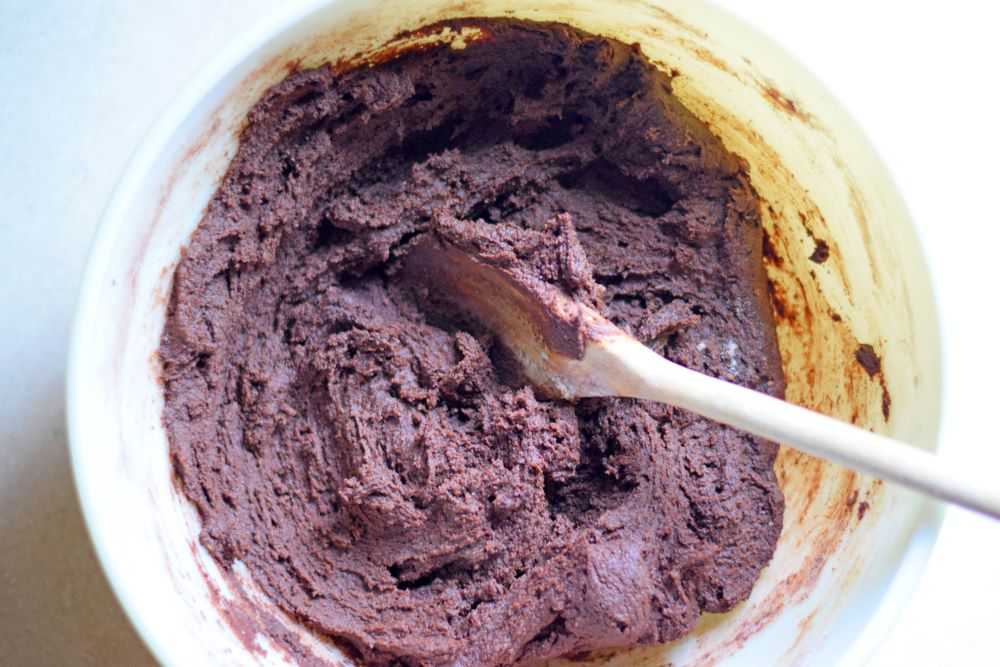
Step 4: Stir in the mint chips
Lastly add in the mint chips. If you are using a mixer put it on the lowest setting here so it does not break up the mint chips. The dough is now done and you are ready to bake your cookies!
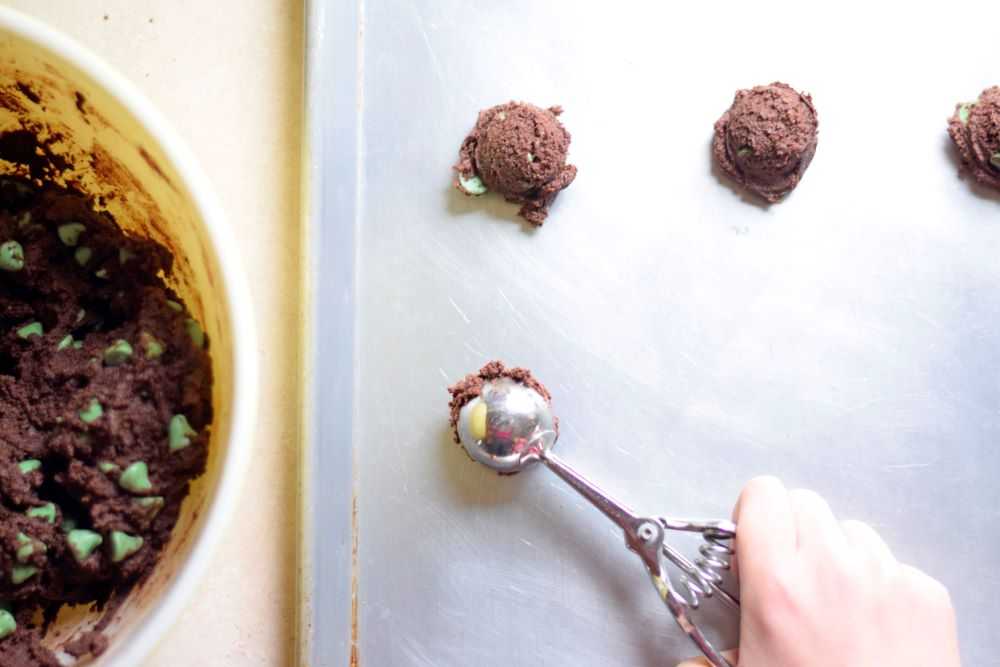
Step 5: Drop the cookies onto the baking sheet
Since the dough contains shortening which is solid at room temperature it does not need to chill before baking. Drop the dough by rounded tablespoons onto a greased baking sheet. Make sure they are about two inches apart because they will spread slightly as they bake. I like to use my handy dandy cookie scoop for this job but you can also use two spoons if that is easier. The cookies are now ready for the oven!
Step 6: Bake the cookies
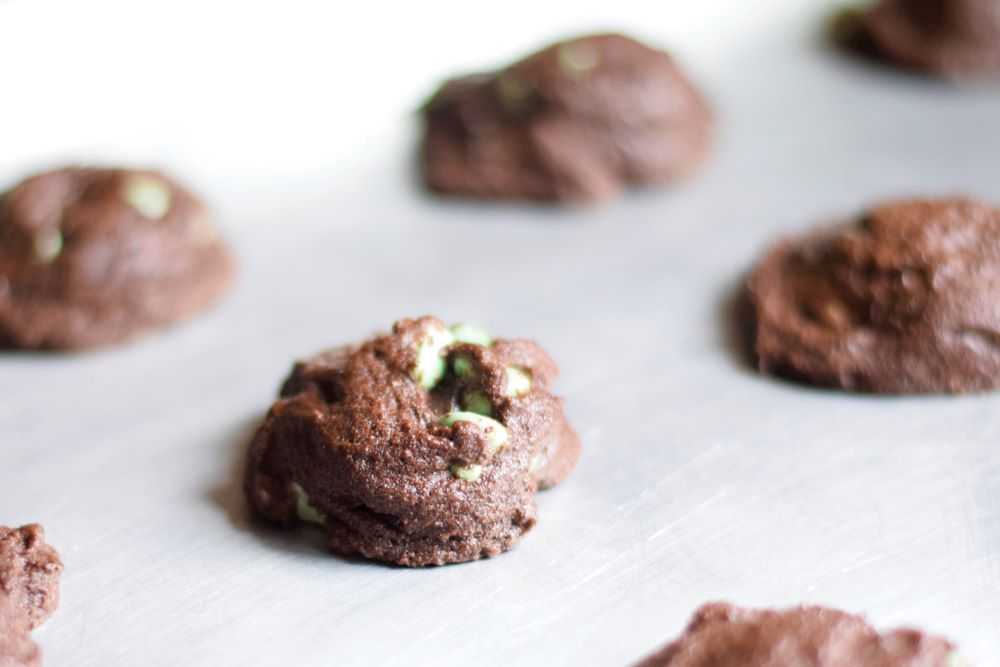
Bake the cookies at 350 degrees for 8 minutes. They are done when they are just set and the top has lost its gloss. At this point they may not look done but they will firm up as they cool. Let them sit on the baking sheet for 1-2 minutes before transferring them to a wire rack to finish cooling completely.
Serve
Enjoy these chocolate mint cookies warm out of the oven. Yum!
Store them in an airtight container to keep them soft and chewy. They also freeze well for longer term storage. Enjoy 🙂
Hope you get to try these chocolate mint cookies soon. Happy Cooking!
Chocolate Mint Cookies
Recipe by: Mandy
These chocolate cookies are soft and chewy. If you like chocolate and mint together you will LOVE these cookies!
Stir the butter, shortening, sugar, and brown sugar together in a large bowl.
Add in the eggs and vanilla and mix until smooth.
Next add in the flour, cocoa, baking soda, and salt and mix well. Add in the mint chips and stir just until combined.
Drop the cookies by rounded teaspoons onto a greased baking sheet. Make sure they are about two inches apart because they will spread slightly as they bake.
Bake at 350° for 8 minutes. They are done when they are just set and the top has lost its gloss. At this point they may not look done but they will firm up as they cool. Let them sit on the baking sheet for 1-2 minutes before transferring to a wire rack to cool completely.
Serve these cookies warm right out of the oven. Enjoy!
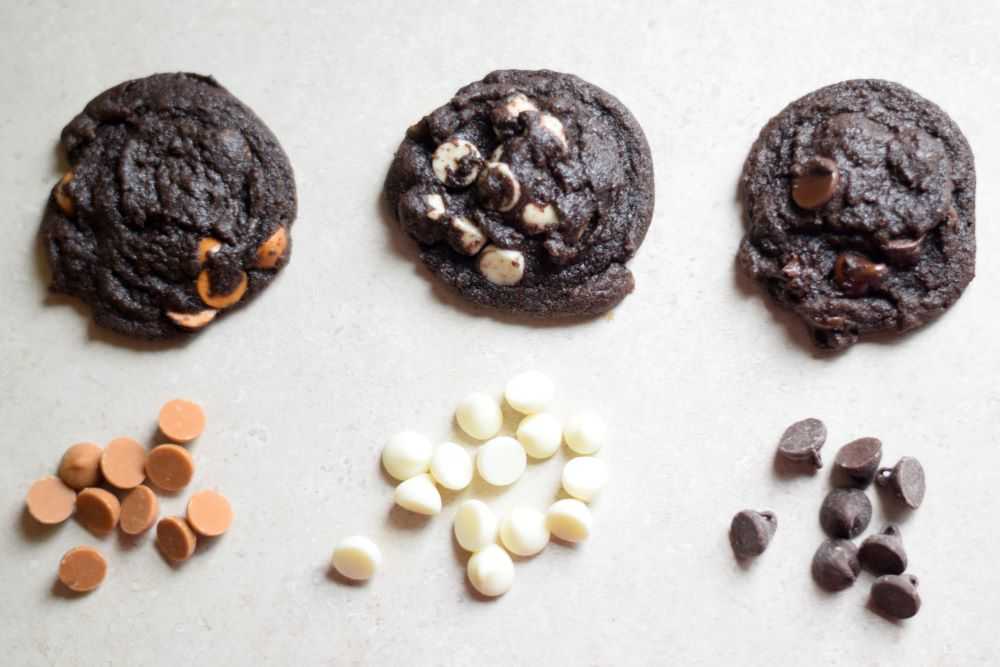
Variation:
Do you want to mix things up a bit? The great thing about this recipe is that it is SO versatile! Try using peanut butter chips or white chocolate chips. You can also use semisweet chocolate chips for the richest most chocolatey cookies you have ever had! Experiment to see which is your favorite!
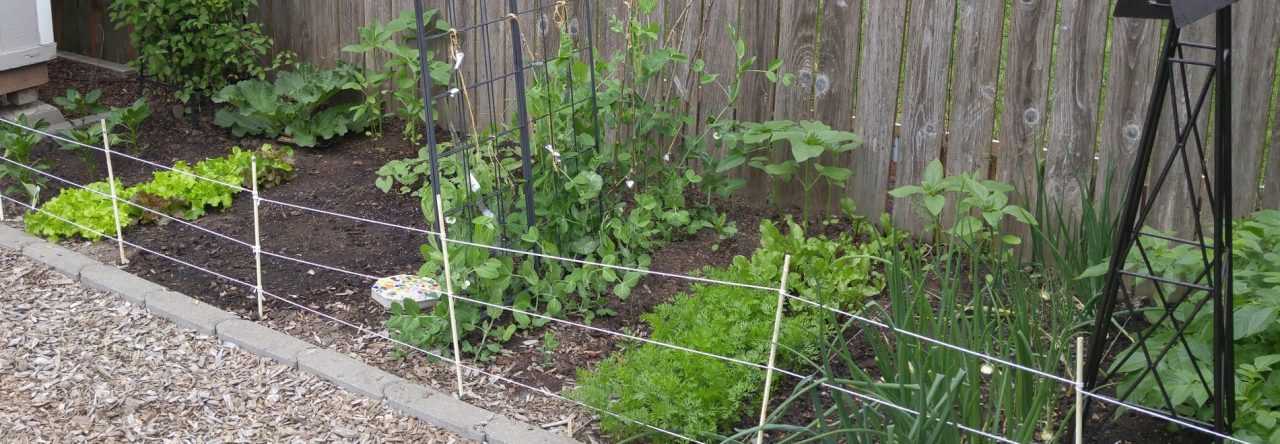
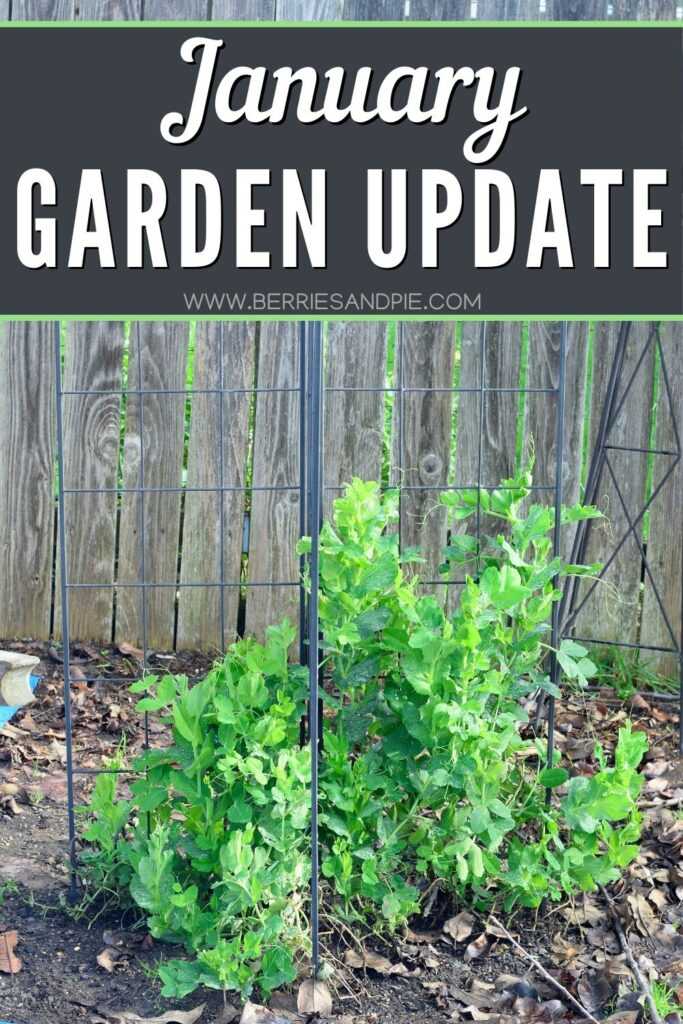
The new year is here! It has been a challenge to get outside this month in between rain storms but luckily we have had some nice days too. Most of my time has been spent on planning, pruning, and other maintenance tasks. Here is what is going on in the garden this month:
Peas
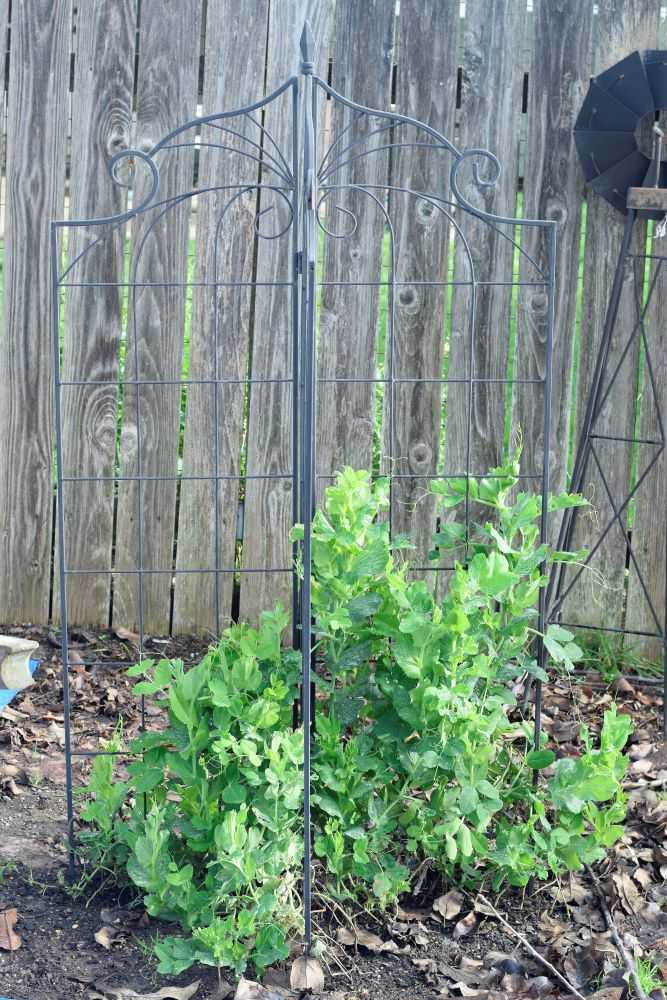
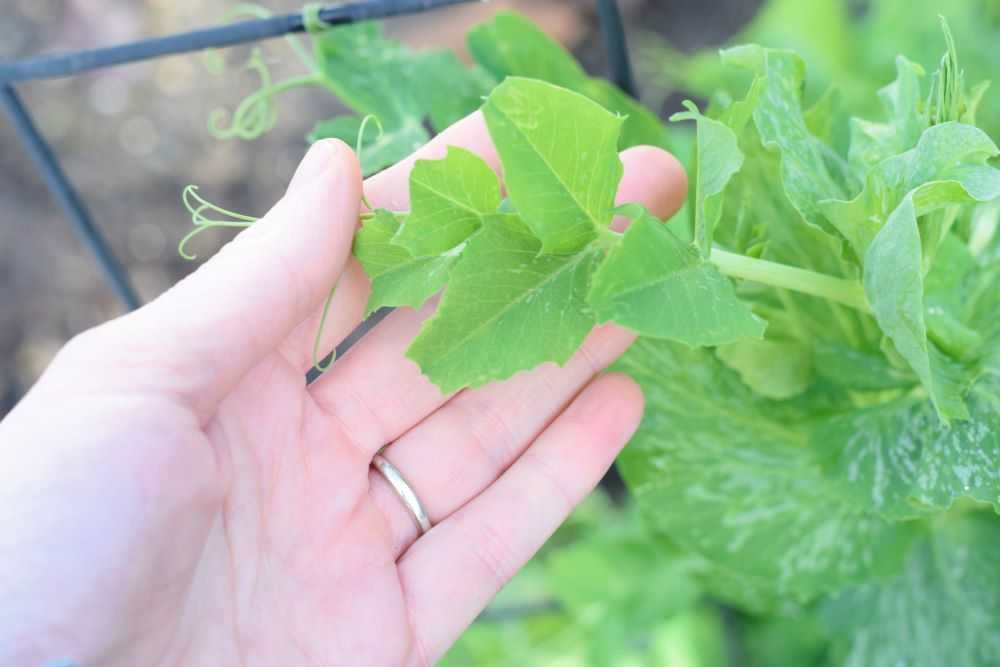
My peas are still doing well! I planted them last fall and they continue to grow and look very healthy. The birds have been pecking at them but luckily the damage is minor since the plants are well established. If the peas were still small seedlings the damage would be much more severe. I am looking forward to fresh peas in the next few months!
My peas are healthy and continue to grow!The birds have been pecking the edges of some of the leaves. Luckily the plants are large enough to withstand this damage.
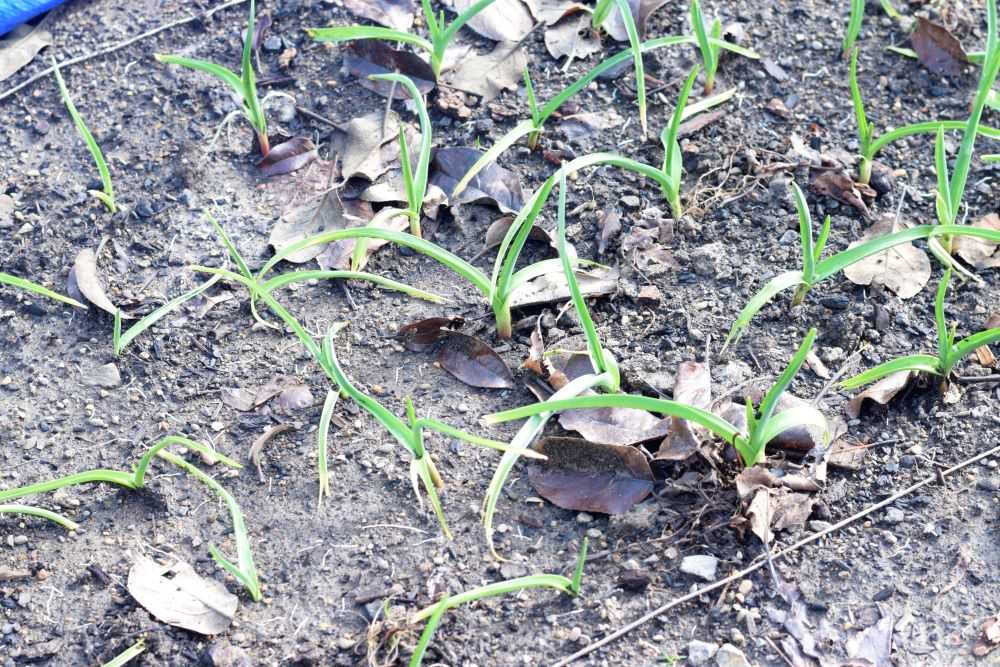
Garlic
My garlic is still doing well after planting it last fall. Since we have been having mild weather this month, I was able to remove the mulch covering the garlic. The leaves greened up nicely and they are now 5-6 inches tall.
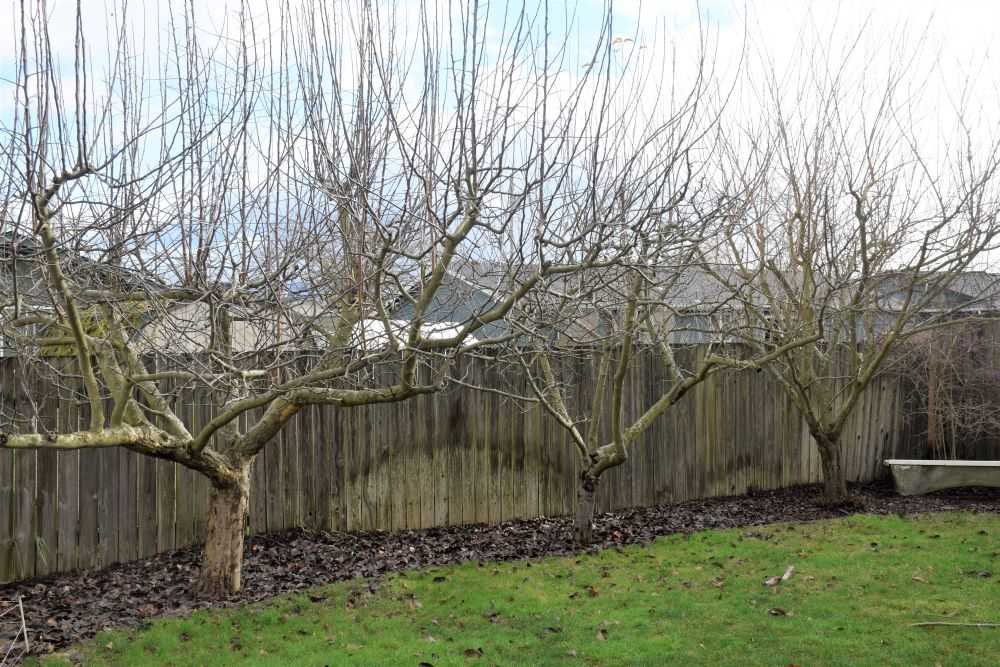
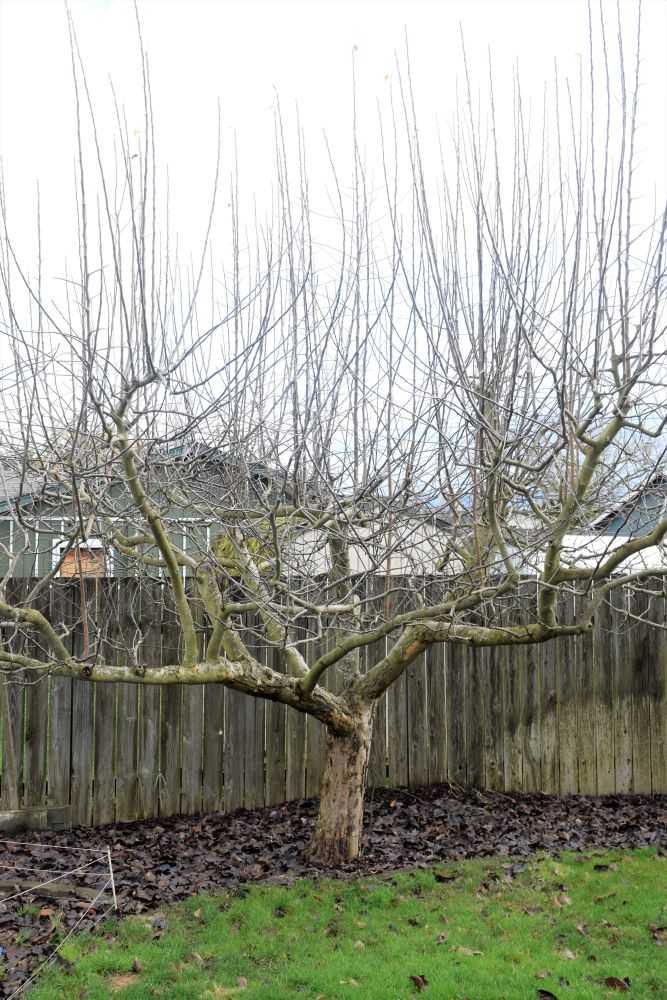
We have two apple trees, a plum tree, and two cherry trees. I have been pruning them over the last month, a little at a time between rain storms 🙂 My trees are 11 years old now and always put on a large amount of growth during the season. This makes pruning a big job. But this is what it takes to keep the trees open, healthy, and productive. I am looking forward to our fruit harvests this summer!
My fruit trees this winter before pruning. My trees usually put on a lot of growth during the season so pruning is a big job!
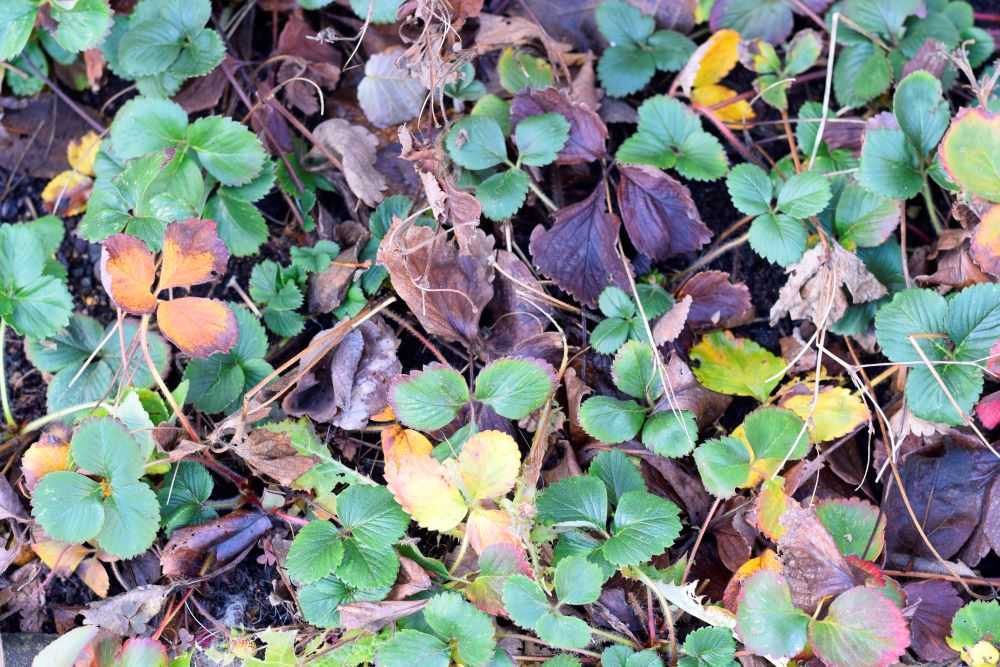
Strawberries
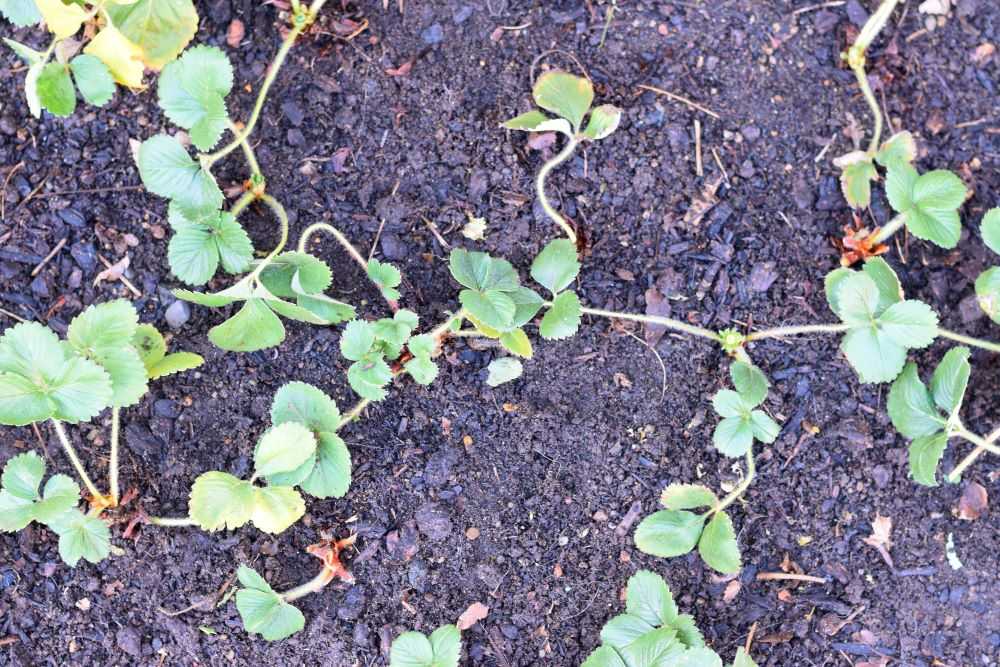
I cleaned up my strawberry patch earlier this month. It was very crowded from last year’s vigorous summer growth. I removed dead plants, dead leaves, and runners. I also adjusted the spacing on plants that were too close together. I am looking forward to a large harvest of sweet strawberries this spring!
Before pruning my strawberries were a tangled mess.Afterwards they were spaced appropriately with all dead leaves and runner removed. Now the plants will be much healthier and productive!
Flowers
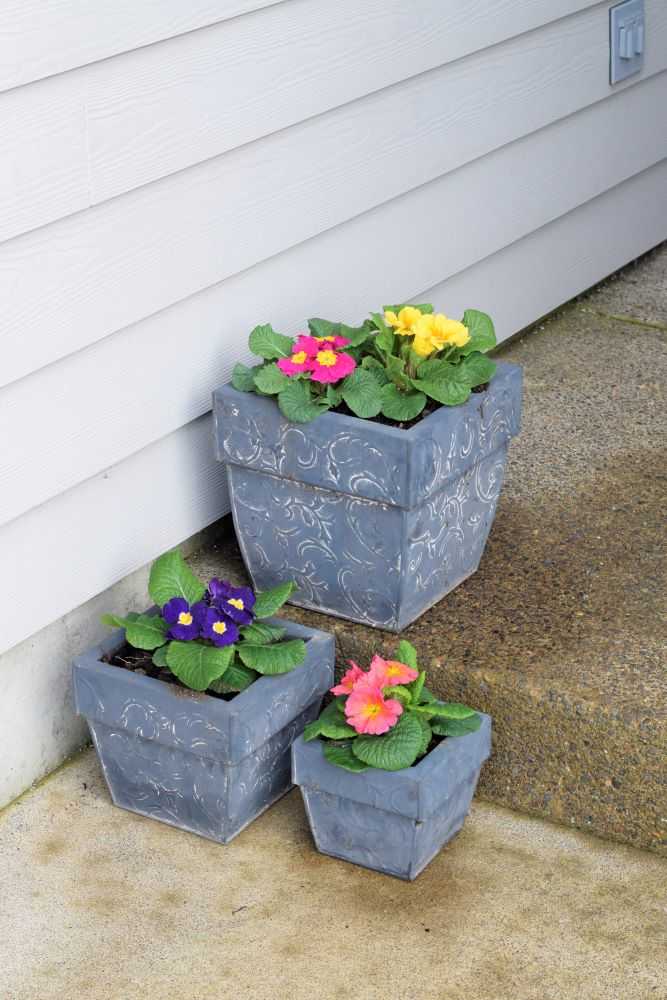
Last weekend I planted some primroses out front. Primroses are very cold hardy which makes them an excellent choice for this time of the year. I love the cheery colors!
Cheery primroses add some color to our front porch.
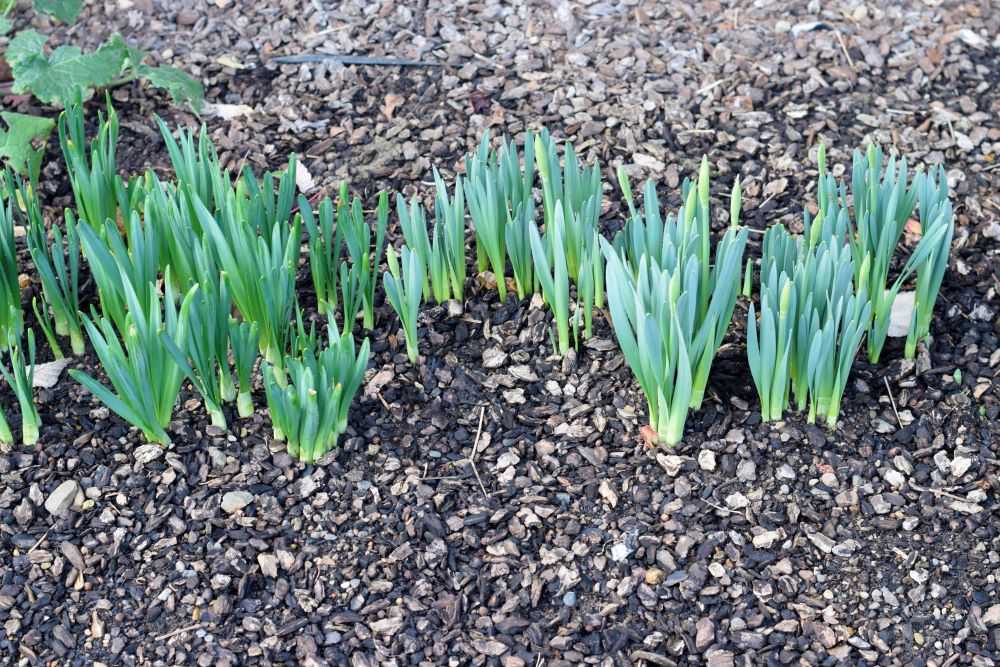
My daffodil bulbs are also starting to come up in my flower beds. This is a sign that spring is on it’s way!
Our daffodils are starting to emerge. Spring will be here soon!
Final Thoughts
Well, that’s it for January! It is hard to believe that spring will be here in only two short months 🙂 What have you been up to in your garden this month? Let me know in the comments below!
The weather is cold but there is still plenty to do in the garden!Here are some tips and ideas for your garden this month.
The new year is here! Here in Oregon the weather is often very cold and wet in January which makes it difficult to get outside. Luckily there is still plenty to do indoors on these rainy days!
January is a great time to focus on planning, indoor projects, and maintenance tasks so you will be well prepared for the season ahead. The list below is based on my garden in zone 8, and you may need to adjust timing based on your specific climate and geographic location. Here are this month’s chores:
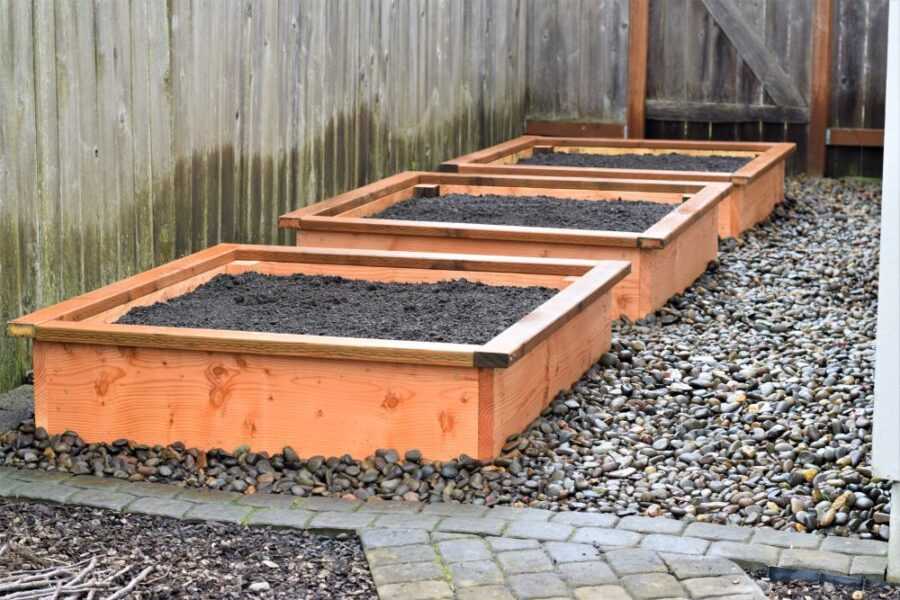
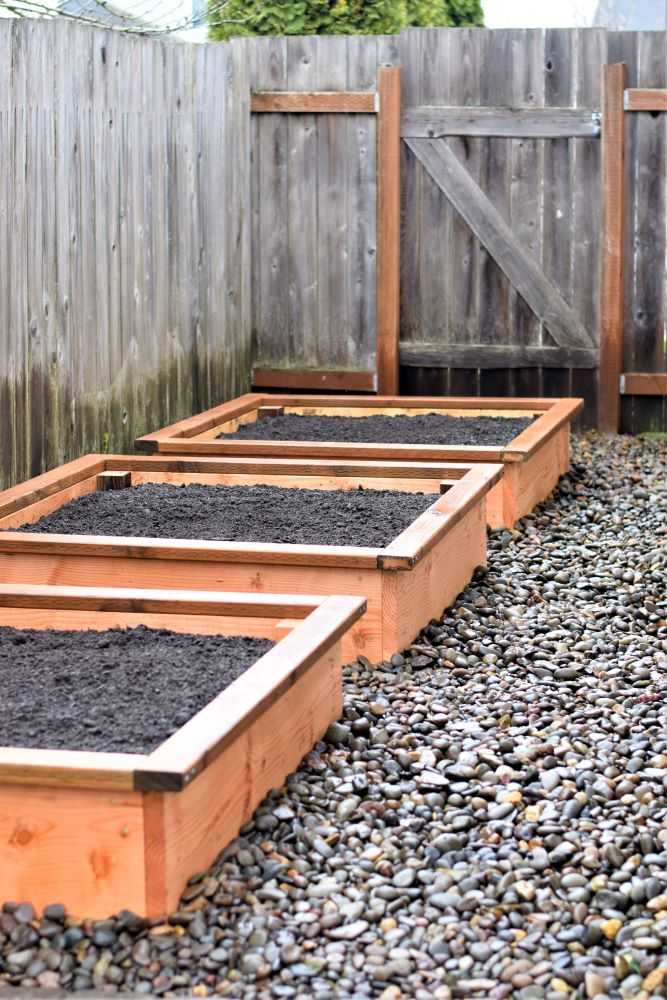
1. Build raised beds for next season
If you are wanting some new raised beds in your garden next year, now is the time to start building them! This way they will be finished and ready to plant in the spring.
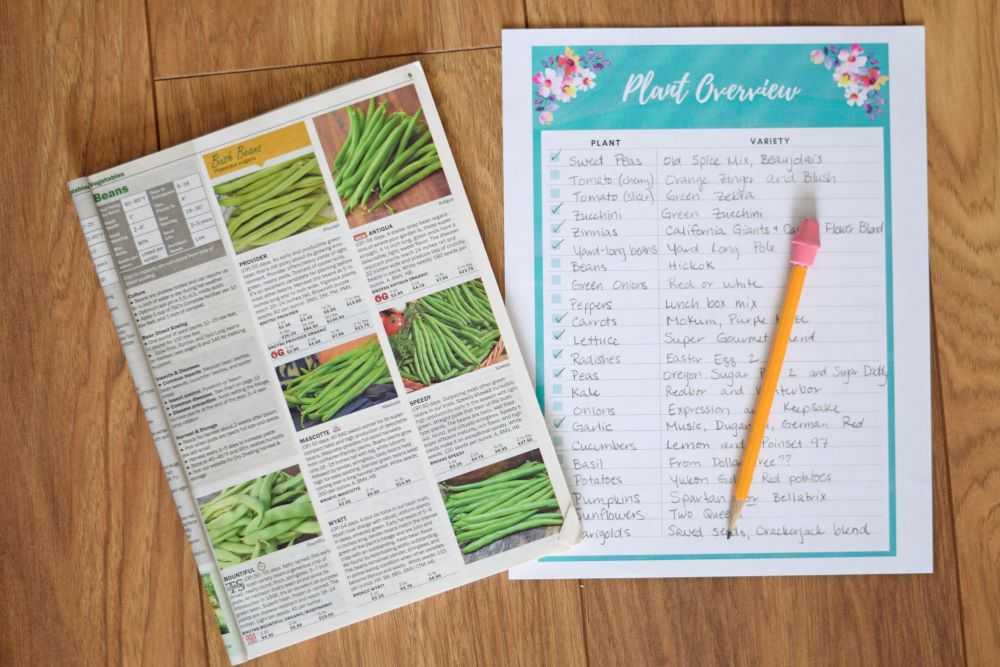
2. Plan your vegetable garden for next year
Now is the time to start planning what you want to include in your garden next year! Plan to include vegetables that have done well in the past as well as some new varieties that you will like to try. Also include flowers such as marigolds to help attract bees and other beneficial insects to improve pollination.
I usually plan my garden on a piece of graph paper. I always work in pencil because my plans are sure to change! After you are done place it in a plastic page protector. This will help to keep it clean and dry when you take it outside to plant your garden in the spring.
3. Look through seed catalogs and order seeds
Nothing beats the winter doldrums better than getting a seed catalog in your mailbox! Many seed companies will send you a free catalog if you request one on their website.
My absolute favorite seed catalog is from Territorial Seed because they are located in Oregon where I live. They carry varieties that do well in my specific climate and I have had great success with seeds I have purchased from them. Other popular seed companies are Park Seed, Burpee Seed, Botanical Interests, and Johnny’s Selected Seeds.
Enjoy going through the catalog and dreaming about what seed varieties you want to try. Be sure to order early for the best selection.
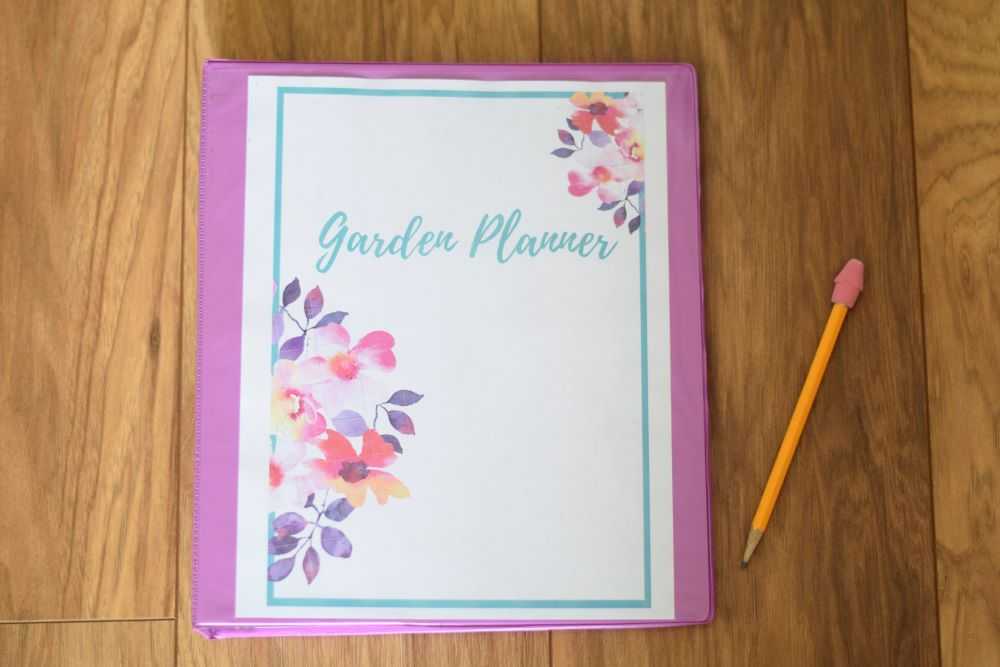
4. Start a garden journal
Having a garden journal can help you stay organized throughout the season. Keep your garden plan, plant tags, and empty seed packets so you know what you planted this year. Also keep a list of planting dates, harvest logs, and other notes that you can refer back to. Next year you can look back at what went well and what you learned.
Start a garden journal by finding a notebook that you like. I like to use a 3-ring binder so I can easily add and remove pages. Record whatever information you find the most useful. Use dividers to help keep everything organized.
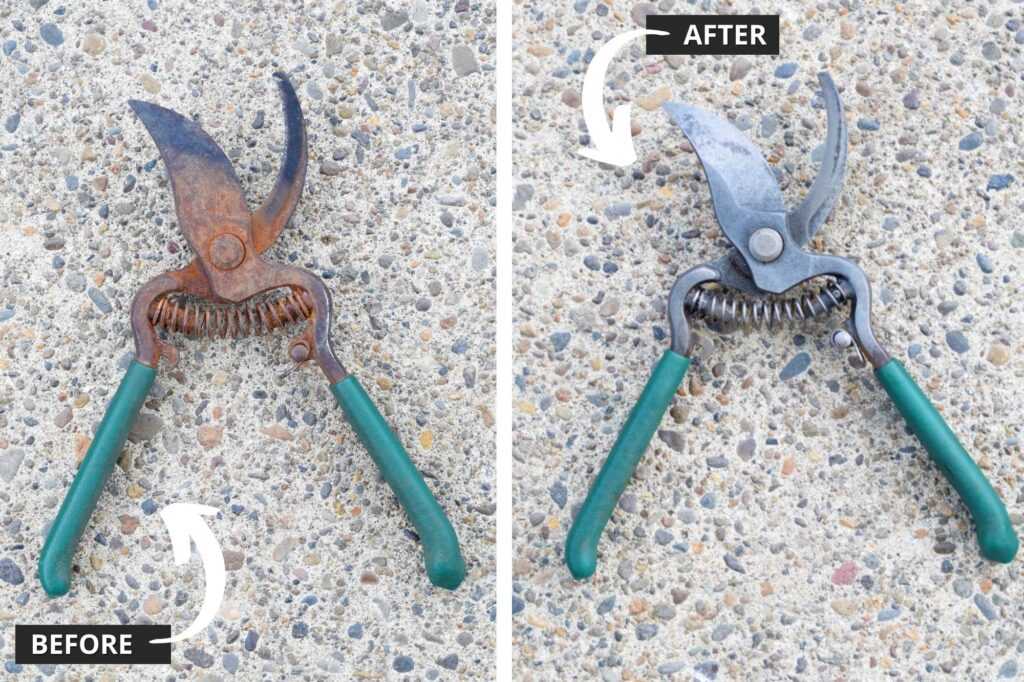
5. Clean and sharpen gardening tools
Now is a great time to clean and sharpen your garden tools so they are ready for the season ahead. Proper care and maintenance will help your tools last longer and function better.
Clean your tools in soapy water and soak in vinegar to remove rust. Also sharpen your pruners, loppers, and shears. Make sure to store your tools in a clean, dry place.
Regular yearly pruning will help develop a strong structure so your trees can handle the load of heavy fruit. It will also help to keep the trees healthy and improve fruit quality.
The best time to prune fruit trees is in the winter months when they are dormant. Winter pruning is easier on the tree and also easier for you because you can better see the framework of the tree without the all the leaves in the way. Pruning fruit trees can be a big job, depending on how many fruit trees you have. Start early and try to finish before the buds begin to break in the spring.
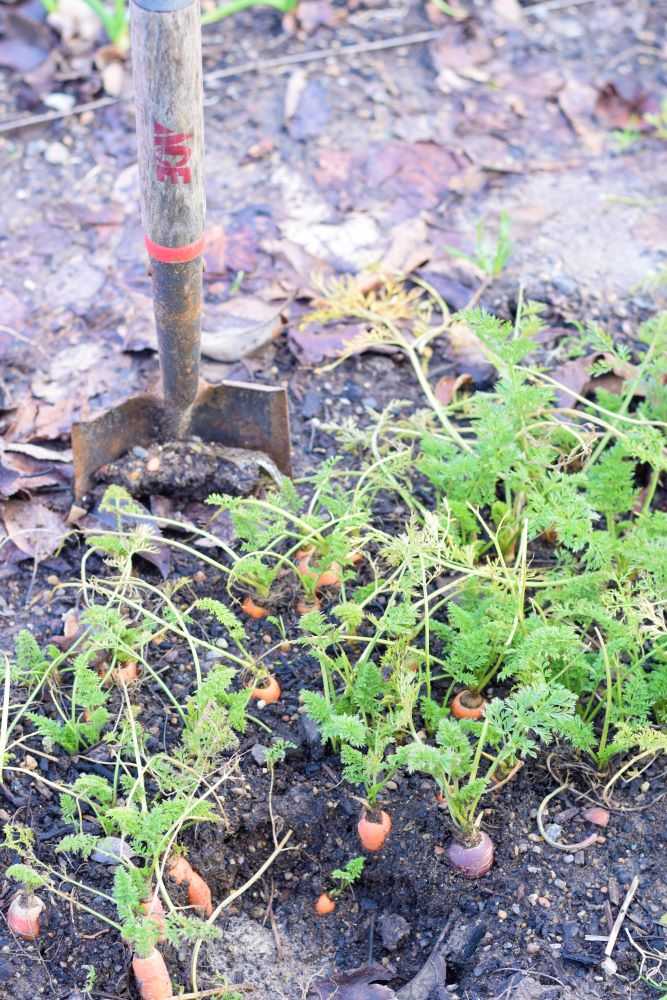
7. Harvest vegetables from your winter garden
If you have any vegetables in your winter garden continue to harvest them throughout the season as needed. Carrots, onions, beets, turnips, and other root crops can be stored in the ground and harvested throughout the winter as long as the ground temperature stays above 20-25 degrees or so. The tops will die back but the roots will be crunchy and sweet. Make sure to dig all your root crops before spring because the quality will start to decline when growth begins again.
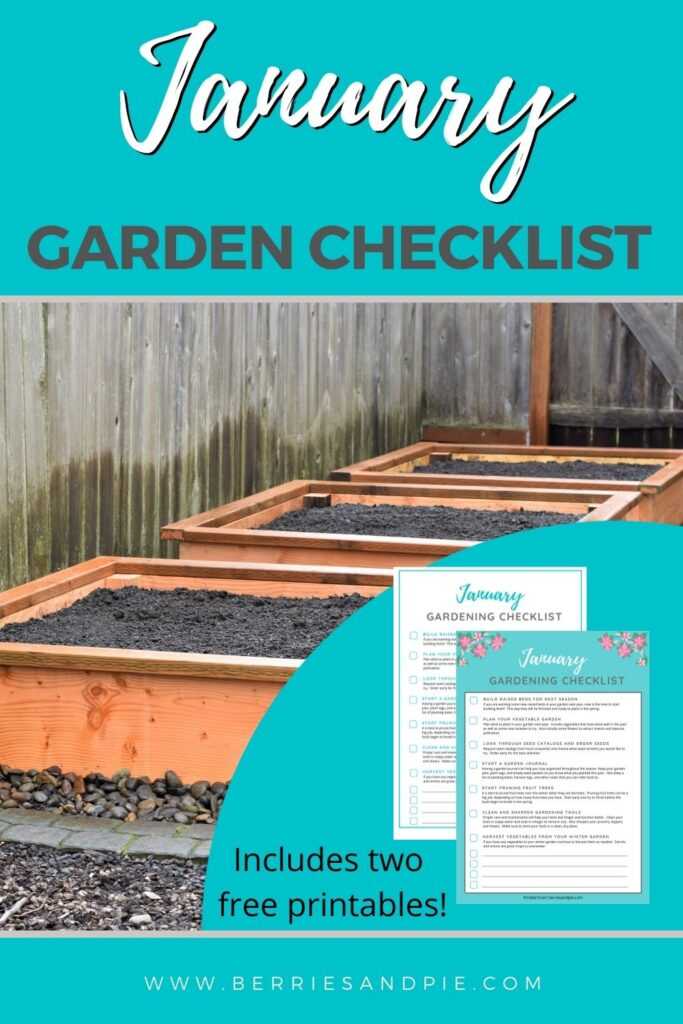
Final Thoughts
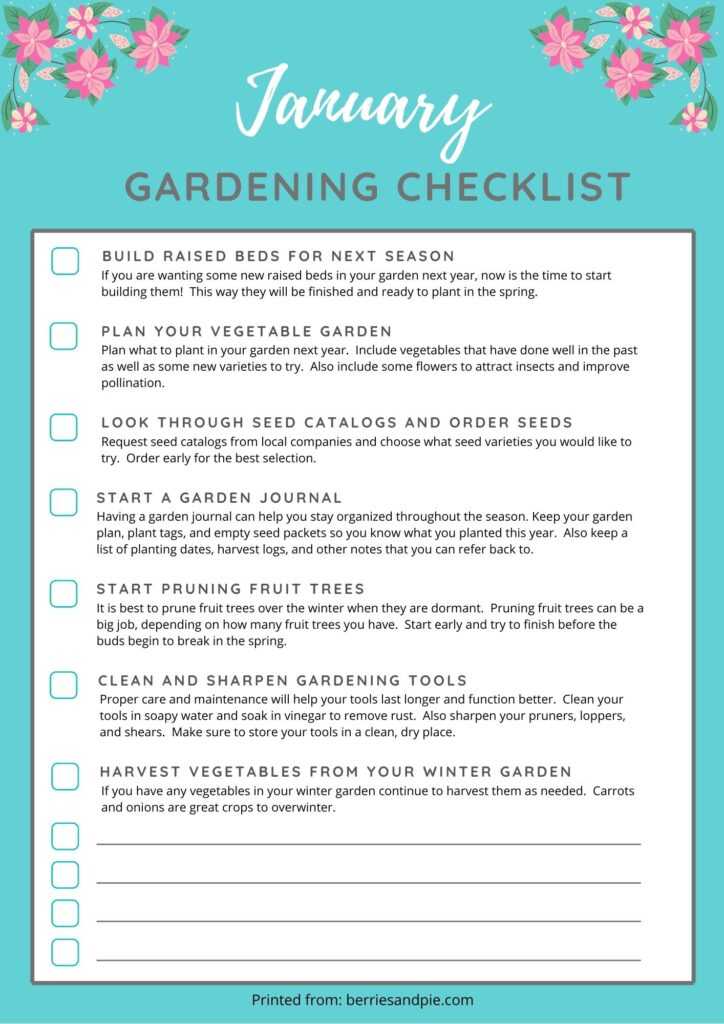
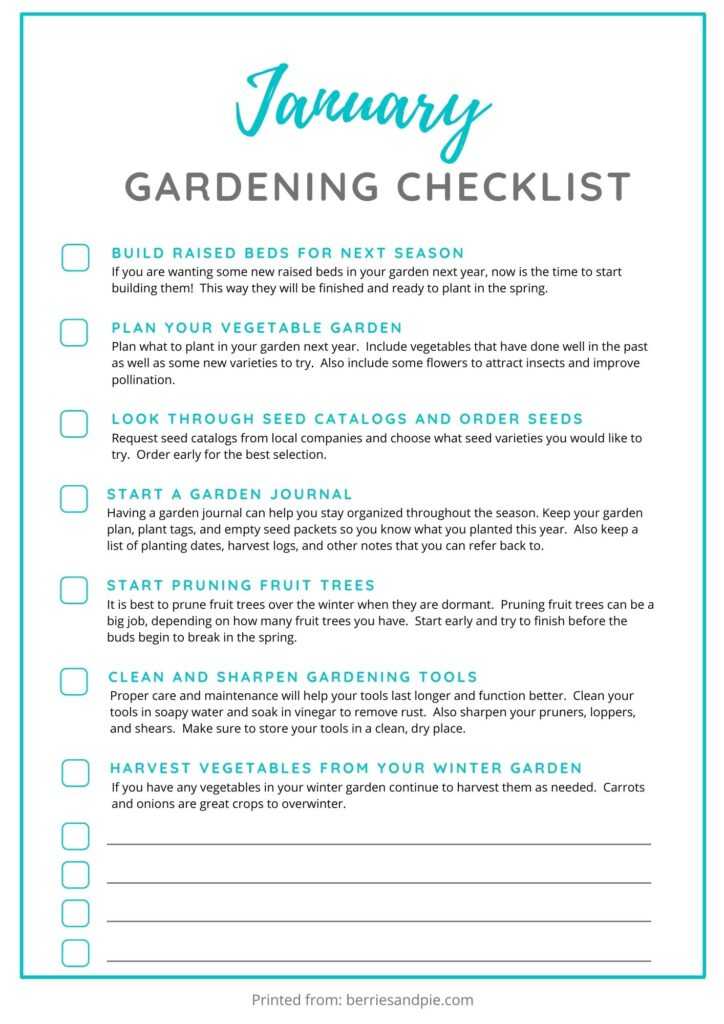
Hope you find some time to get in the garden this month! Print the checklist below to help keep you on track. There are also some blank areas so you can add your own items to the list. Happy gardening!
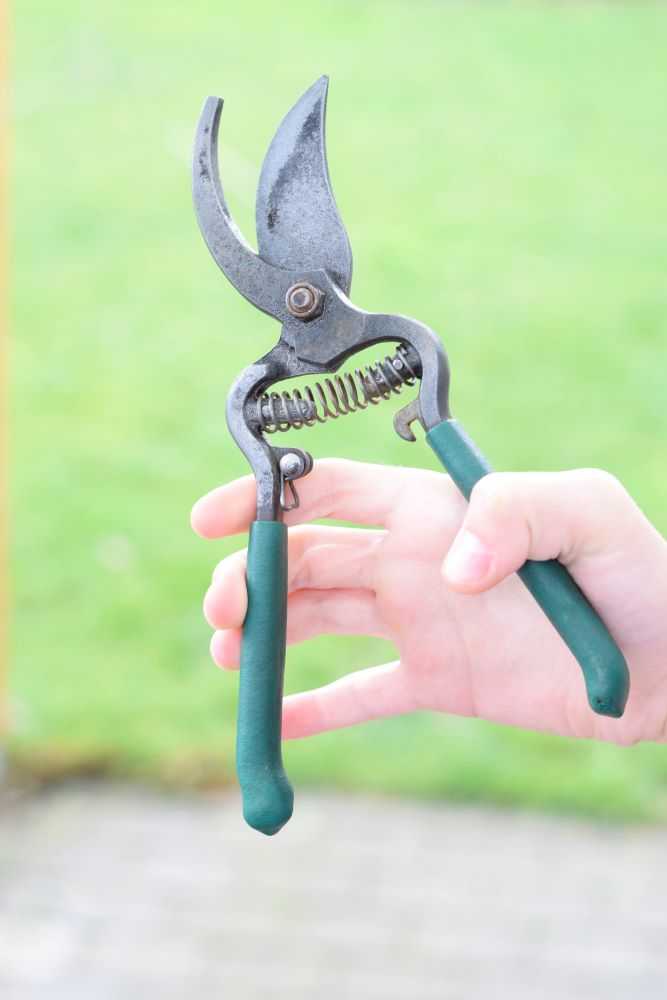
Learn how to easily clean rusty pruners to help keep them looking and working like new.
Have you ever accidently left your pruners outside? They get wet from the rain or sprinklers and then you have unsightly rust covering one of your most used garden tools.
Rusty tools not only look bad but most importantly the rust can affect their function because they become stiff and will not open and close smoothly. I have even had some pruners that were rusted completely closed! Luckily, rusty pruners are very easy to clean with just a few common household products and they will be good as new in a day or so. Read on to learn how to get your pruners back into tip-top shape!
As a side note, I recommend NOT buying pruners with a green handle. I cannot tell you how many times I have set these down and not been able to find them because they were so camouflaged among my plants. This is probably why they got left out and rusty in the first place 🙂
Materials Needed to Clean Rusty Pruners
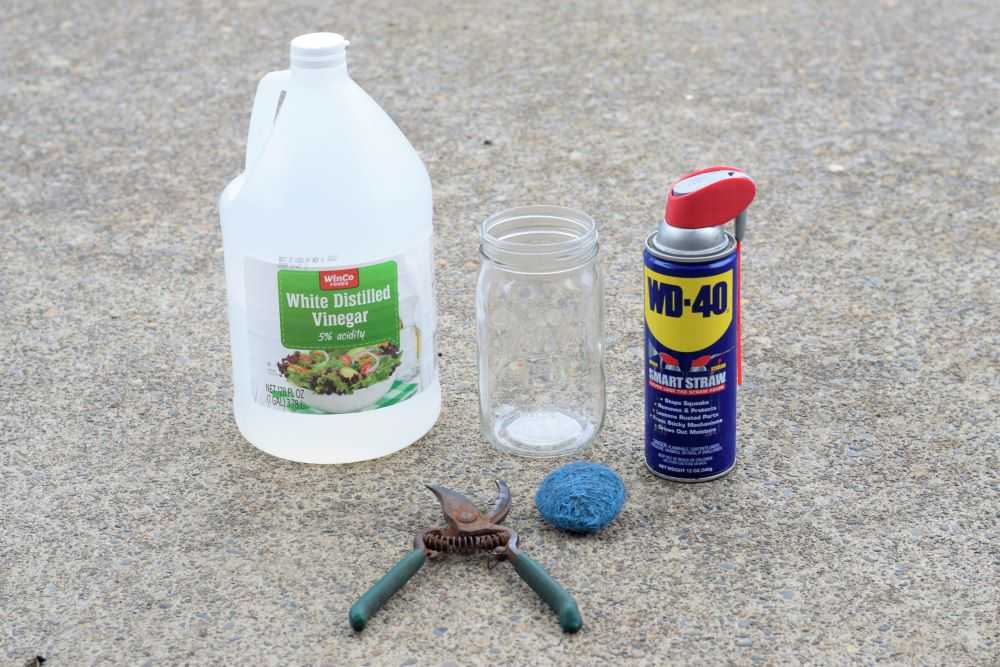
Luckily, you only need a few common household items to remove rust from your pruners. You will need:
A glass jar, tall plastic tub, or small bucket big enough for your pruners to fit inside
Vinegar, 3-4 cups or enough to cover the rusty parts of your pruners
A scouring pad, steel wool, or a wire brush
WD-40 or other lubricant
A pliers or a wrench to take your pruners apart so they are easier to clean (optional)
How to Clean Rusty Pruners
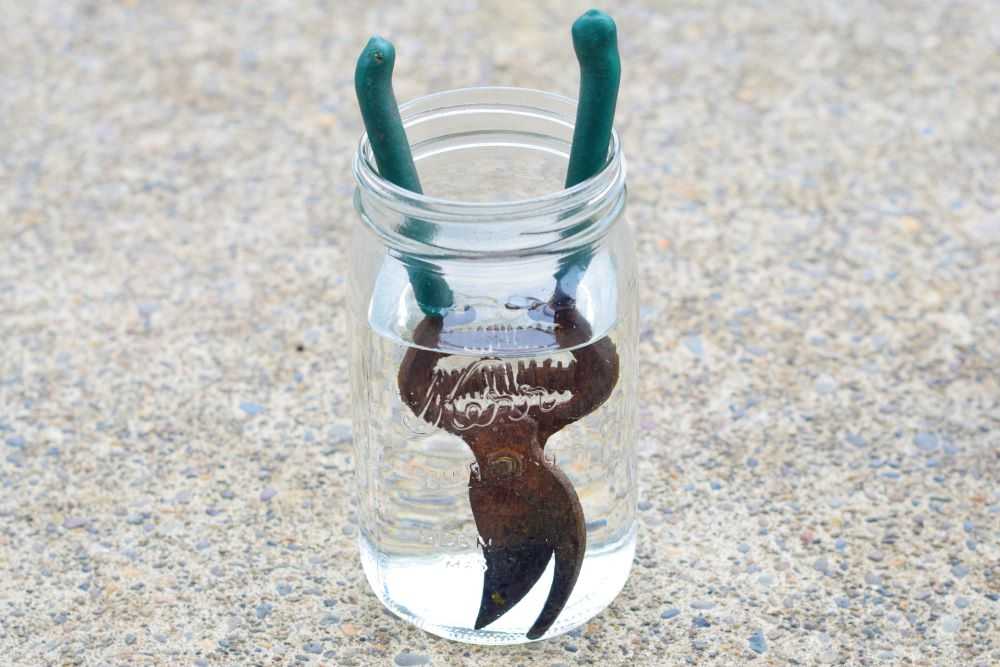
Step 1: Soak the Pruners in Vinegar Overnight
Place your rusty pruners in a glass jar or plastic tub. Any container will work as long as it is deep enough for the rusty parts to be submerged.
Pour in enough vinegar to cover the rusty parts of the pruners. This may be 3-4 cups depending on the size of your container. Let this sit overnight.
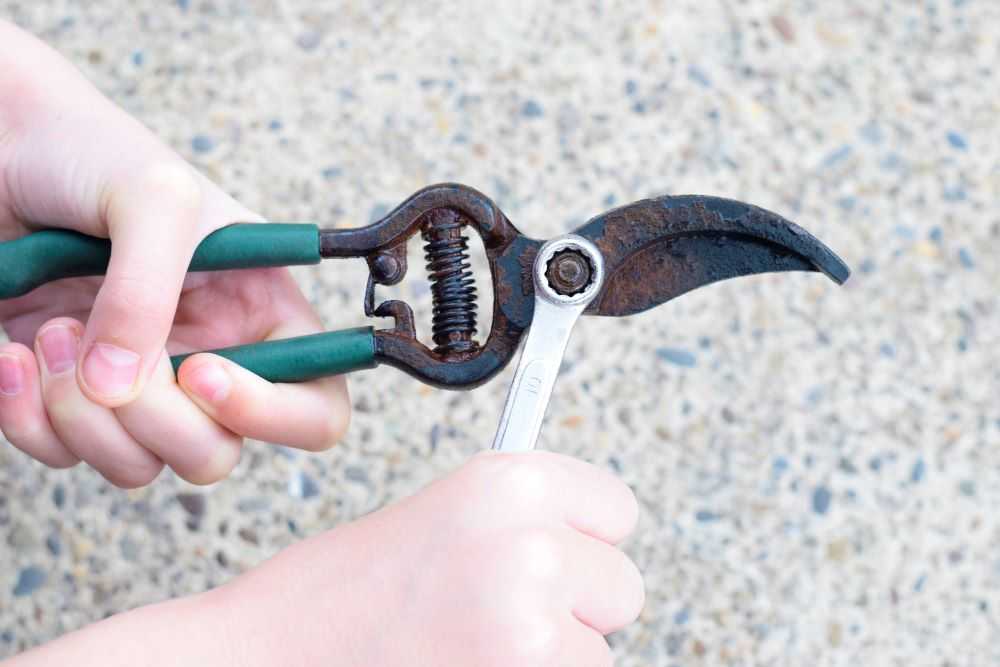
Step 2: Take the Pruners Apart (optional)
After the pruners have sat in the vinegar overnight the vinegar will become cloudy and you will see some of the rust has already started to come off.
If you have the type of pruners that can come apart, I highly recommend doing this so they are easier to clean in the next step. Take pliers or a small wrench to remove the bolt. Put it in a safe place so you do not lose it!
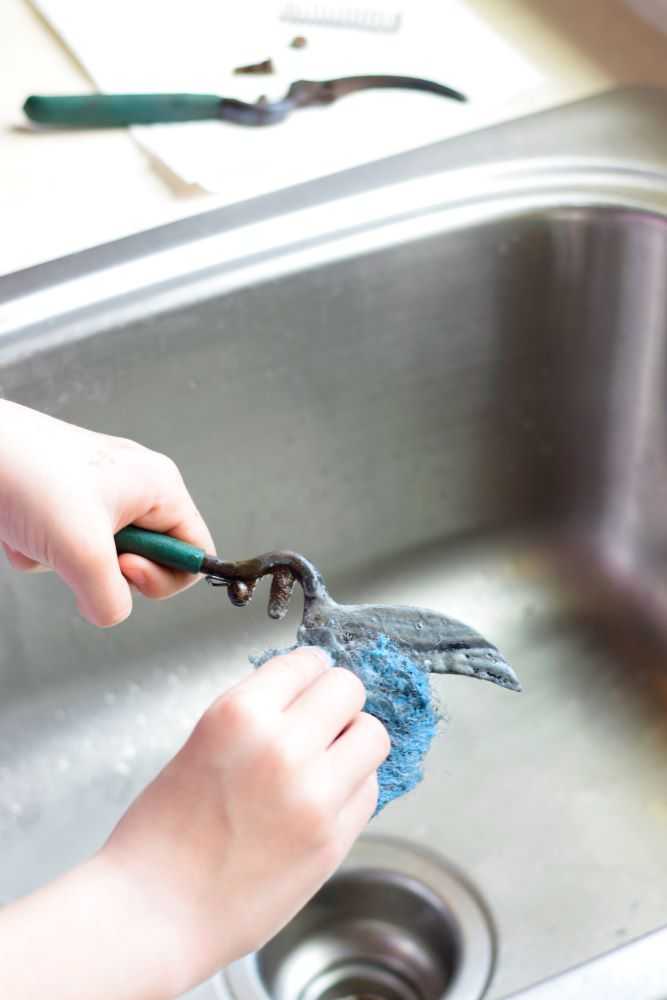
Step 3: Clean the Pruners with a Scouring Pad
Use a scouring pad to clean the remaining rust off of the pruners. The rust should have softened considerably overnight and be easy to remove. I like to use steel wool but a wire brush is also very helpful to get in the small areas. Give the pruners a final rinse and then dry thoroughly with a cloth or paper towel (you don’t want them to get rusty again!). If you took your pruners apart earlier, now is the time to reassemble them.
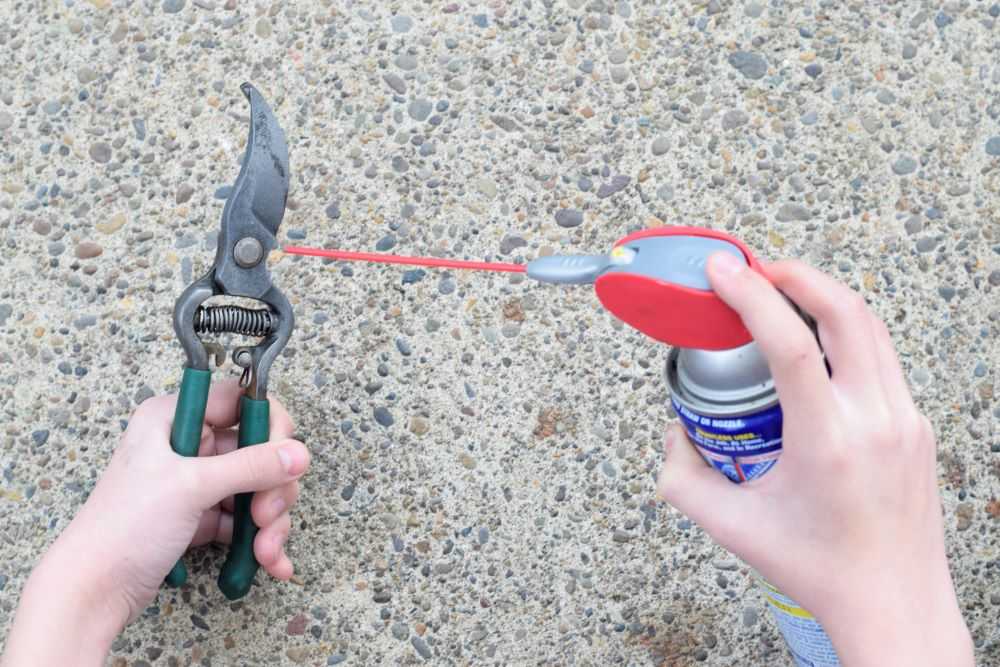
Step 4: Apply Lubricant
Apply some WD-40 or other lubricant so the pruners open and close easily. This will also help to protect them from rust in the future. When you are finished store your pruners in a dry place to help them stay in tip-top shape!
Final Thoughts
There you have it! Now you know the best way to clean your pruners so they are ready for the season. As always, happy gardening!
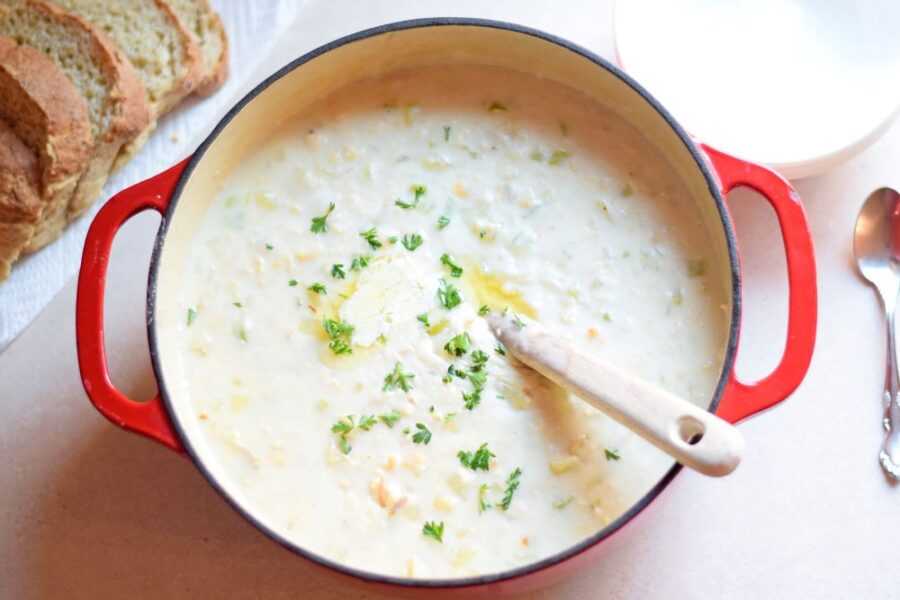
This thick & hearty New-England style clam chowder is loaded with potatoes, onions, and tender clams. It is easy to make at home and ready in less than an hour!
Note: This post may contain affiliate links, where I earn a small commission from qualifying purchases.
One thing I miss about pre-pandemic life is going to the coast to enjoy a big bowl of clam chowder at our favorite restaurant. While many restaurants are closed right now, it does not mean that you cannot enjoy a satisfying bowl of chowder at home, no trip to the beach required!
If you have never tried to make your own clam chowder before you are in for a treat! This New-England style clam chowder is absolutely loaded with potatoes and clams. This recipe is not only easy to make, but it is ready in under an hour! Serve it with oyster crackers or crispy bacon sprinkled on top for a satisfying salty crunch. Yum!
This will take you through how to make this delicious clam chowder step-by-step. Let’s get started!
Ingredients for One Hour Clam Chowder
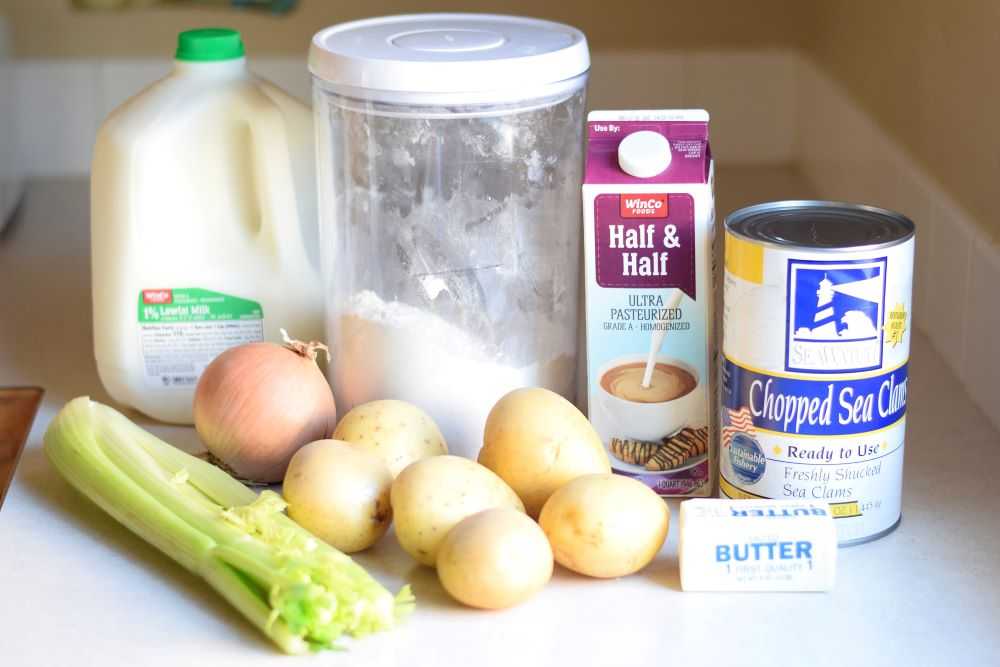
Clam chowder only requires 7 ingredients: onion, celery, potatoes, clams (with juice), milk, flour, half-and-half, and butter. We will go through the ingredients now:
Onions and Celery – These add flavor to the soup. Be sure to use a yellow or white onion (not a red onion) so it does not change the color of the broth.
Potatoes – My favorite potatoes to use in this soup are red potatoes or yukon gold potatoes. Since they have thin skin, I usually do not peel them.
If you don’t have yukon gold or red potatoes, russets work great too! They are a little more tender than the yukon golds or red potatoes and break down a little more in the soup. You may want to peel them though because they have a slightly thicker skin.
Clams – This recipe calls for one large can of chopped clams (51 oz). Grocery stores may not have this size available but you can find them at Costco, Sam’s Club, restaurant supply stores such as Smart Foodservice, or Amazon. What I like about using a large can of clams is that it is less expensive and much easier than buying the smaller cans. It also has plenty of clam juice so you do not need to buy the clam juice separately.
My absolute favorite clams are from Costco. There are about 3 cups of clam juice and 4-5 cups of loosely packed chopped clams in the can. If you cannot find a large can of clams, you may use 4-6 of the smaller 6.5-oz cans, depending on how many clams you would like in your soup.
Half-and-Half – Half-and-half makes the soup rich and satisfying. It also gives it its creamy white color. You can control the richness of the soup by substituting any combination of milk or heavy cream if you prefer 🙂
Flour – Flour helps to thicken the clam chowder. This is added at the very end.
Also needed: butter, water, salt, and pepper.
How to Make One Hour Clam Chowder
Step 1: Prepare the Ingredients
Start by chopping the vegetables for the soup. You want to chop the celery and onions into fairly small pieces. Cut the potatoes into half inch cubes so they will cook more quickly.
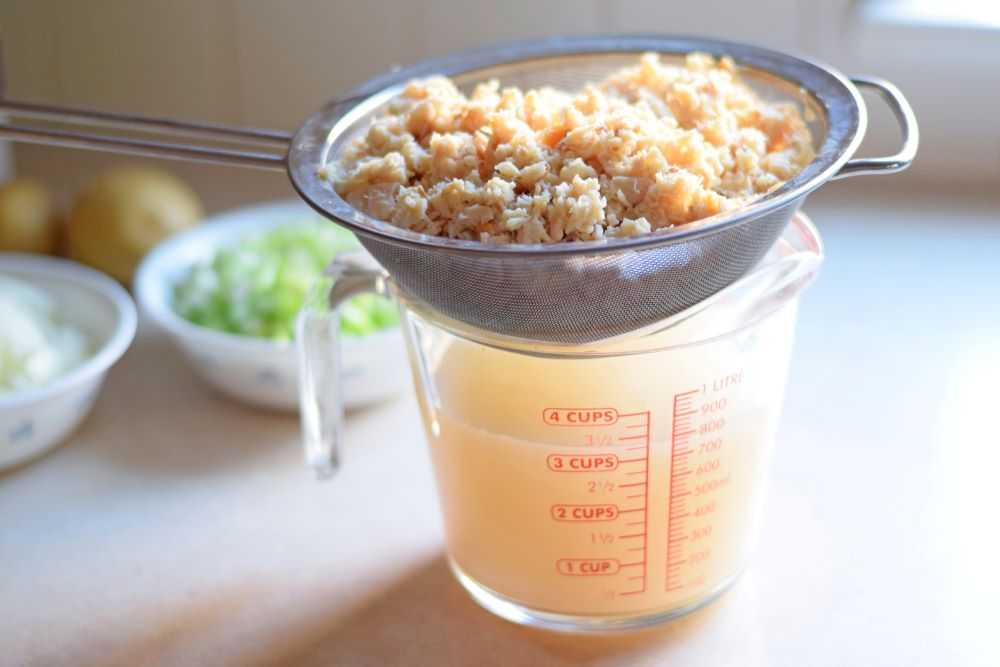
Drain the clams, reserving the juice. I like to do this by putting a strainer over a large bowl or measuring cup. I usually get about 3 cups of clam juice from my can of clams. If you have less than this, add a little water until you have about 3 cups.
Look through the clams and remove any strings or pieces that don’t look right. Set this aside as you start your soup.
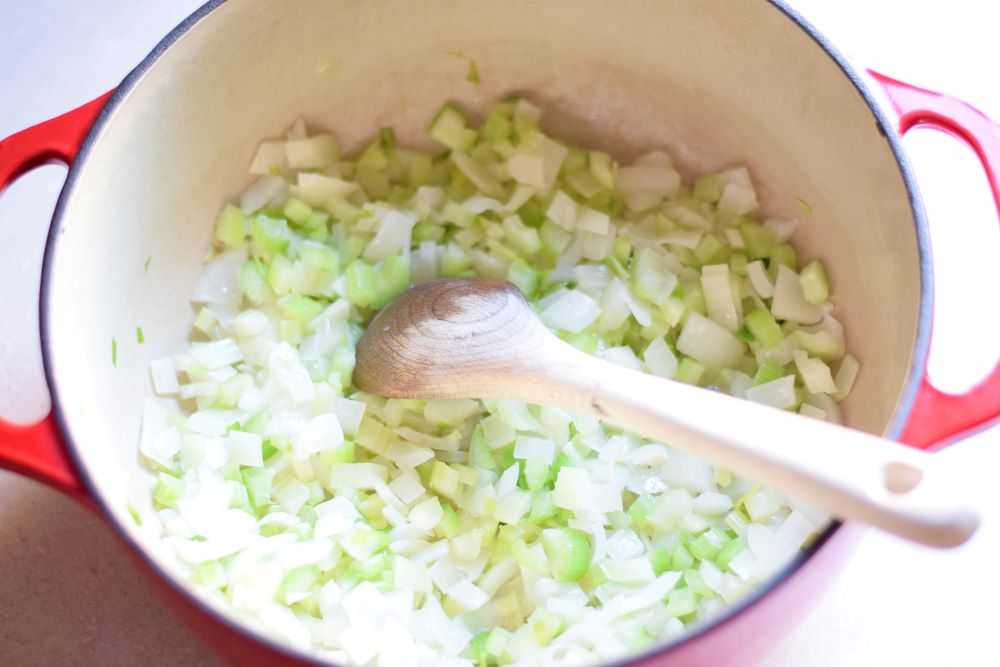
Step 2: Cook the Onion and Celery
Melt the butter in a large pot. Add in the onion and celery and cook over medium high heat for 5 minutes or until they soften up a bit, stirring occasionally.
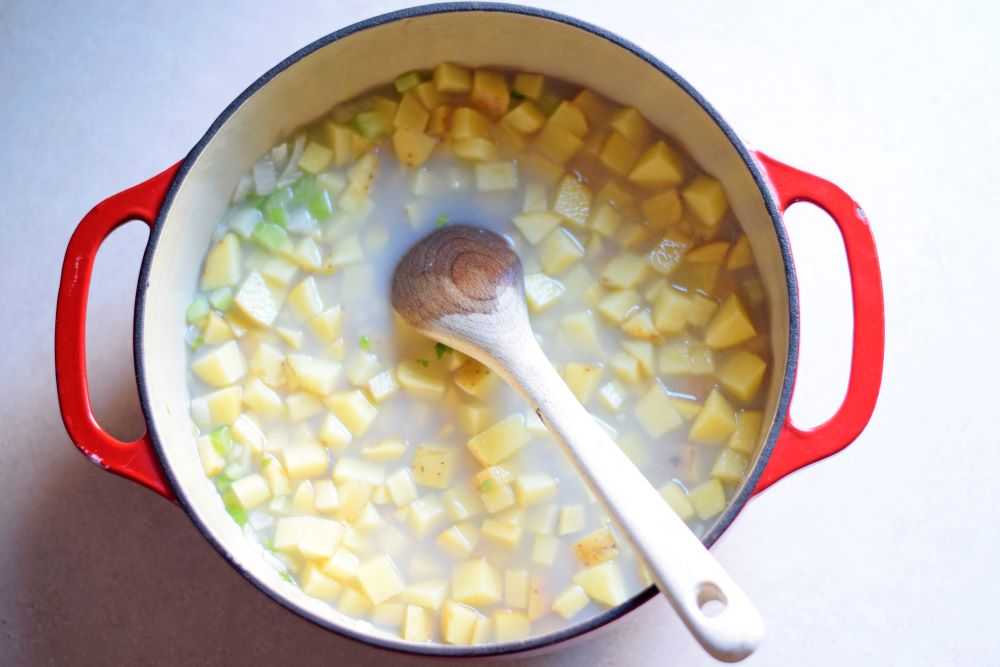
Step 3: Add in the Potatoes and Clam Juice
After the onion and celery are tender, add in the cubed potatoes and reserved clam juice. Bring to a boil then cover and reduce the heat. Simmer for 20 minutes or until the potatoes are tender.
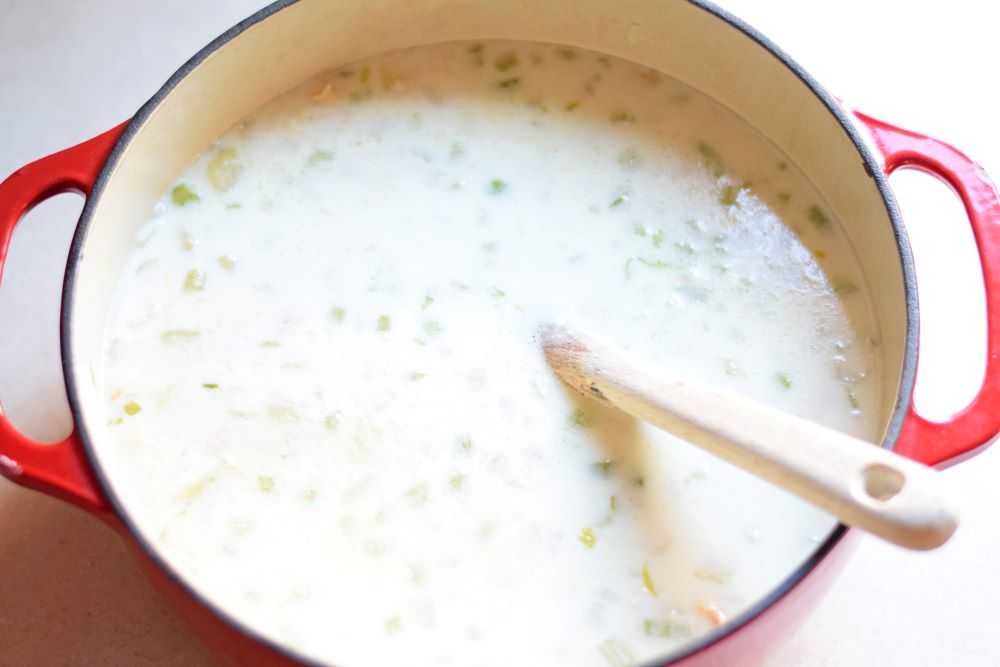
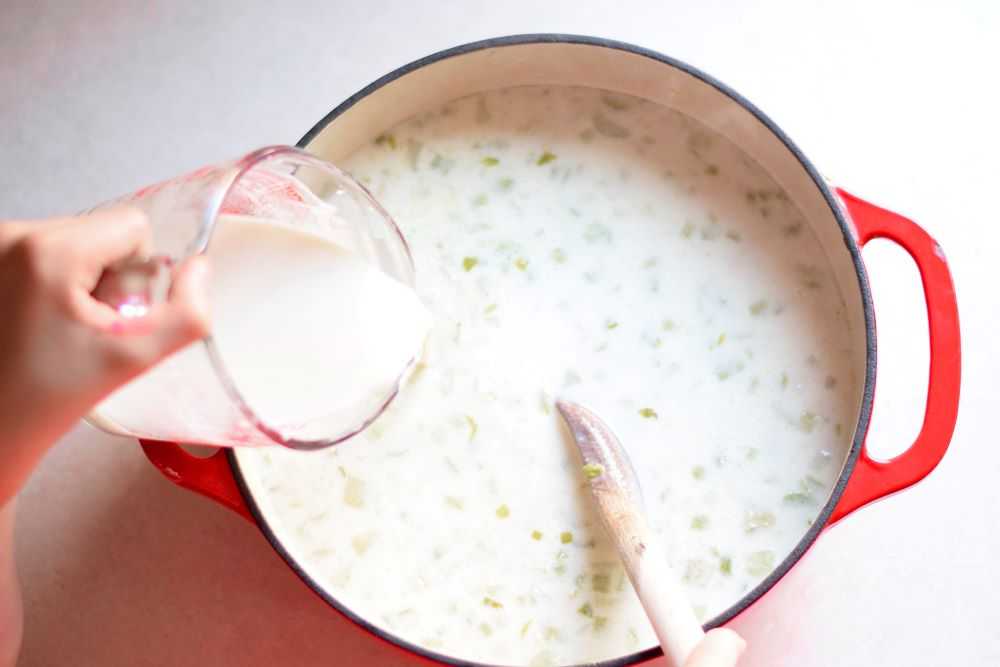
Step 4: Add in the Clams and Milk
When the potatoes are tender stir in the clams and half-and-half. The clams are added at the very end so they stay nice and tender. Heat through just until soup starts to boil.
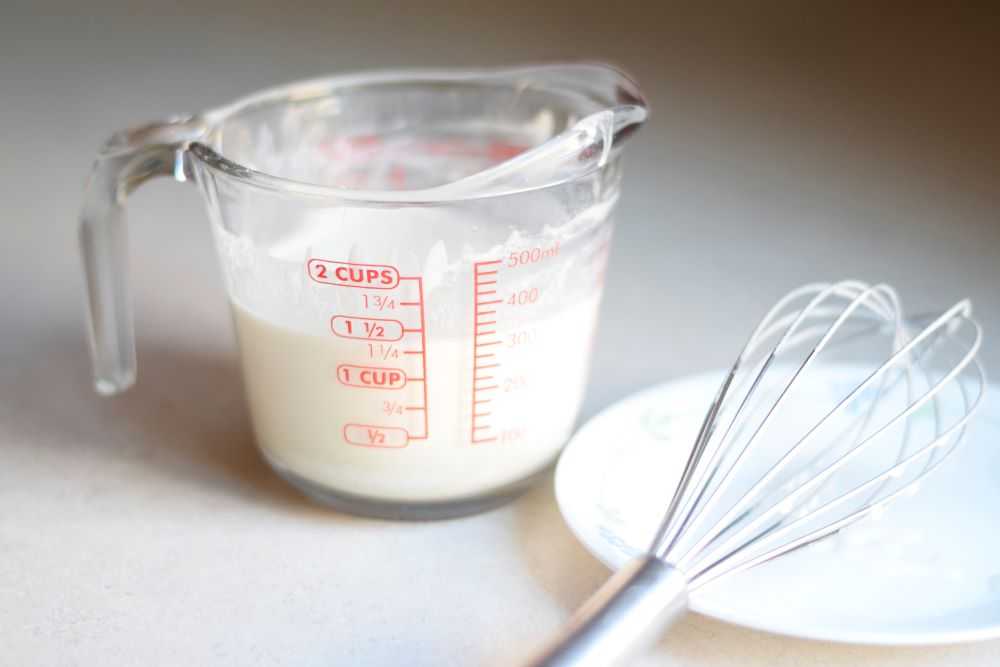
Step 5: Thicken the Soup
Stir the flour and water together in a small bowl or measuring cup to make a slurry. Whisk vigorously to get out any lumps.
Drizzle the flour mixture into the gently boiling soup, stirring constantly, until the soup has thickened. You may not need too add all of the flour if you like your chowder on the thinner side. Boil gently for one minute to fully cook the flour and then remove from heat.
Taste the soup and season with salt and pepper to taste. The clam chowder is now ready to serve!
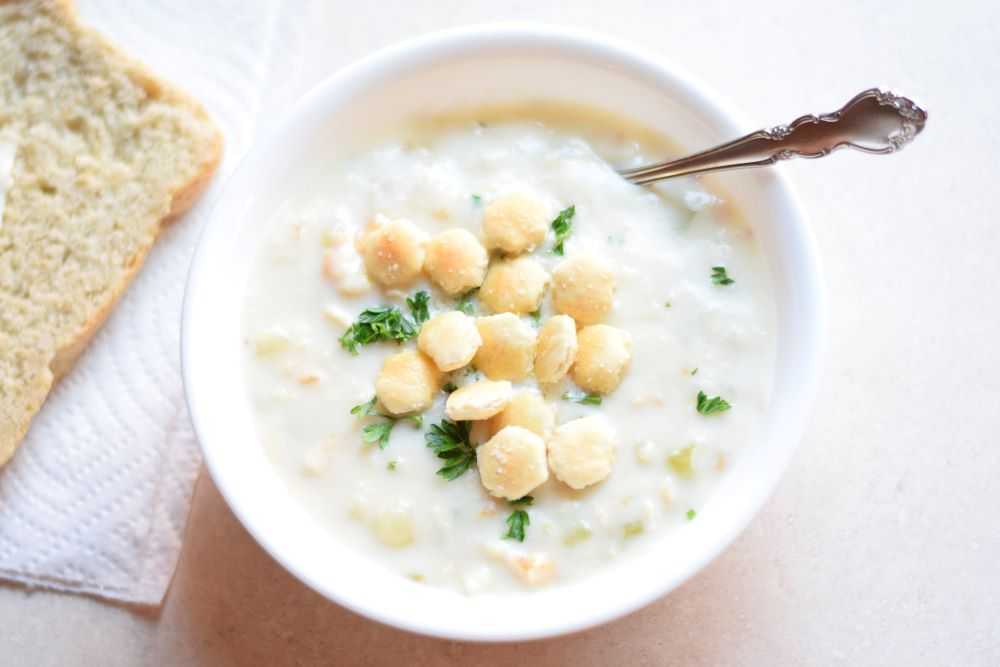
Serve
Ladle the hot soup into bowls and top with butter, oyster crackers, crispy bacon, or whatever you like. Serve with crusty bread if desired. Yum!
Hope you get to try this easy clam chowder soon. Happy Cooking!
One Hour Clam Chowder
Recipe by: Mandy
This thick & hearty New-England style clam chowder is loaded with potatoes, onions, and tender clams. It is easy to make at home and ready in less than an hour!
2poundspotatoes, cut into half inch cubes (about 3-4 medium), peeled if desired
1canchopped clams (51 oz), drained, reserving juice. You should have around 3 cups clam juice and 4-5 loosely packed cups of chopped clams. See recipe notes below.
2cupshalf-and-half
⅔cupflour, or as needed
1cupwater, or as needed
½teaspoonsalt, or to taste
Instructions
Melt the butter in a large pot. Add in the onion and celery and cook over medium high heat for 5 minutes or until they have softened up a bit, stirring occasionally.
After the onion and celery are tender, add in the cubed potatoes and reserved clam juice. Bring to a boil then cover and reduce the heat. Simmer for 20 minutes or until the potatoes are tender.
When the potatoes are tender stir in the clams and half-and-half. Heat through just until soup start to boil.
Stir the flour and a little water together in a small bowl or measuring cup to make a slurry. Whisk vigorously to get out any lumps.Slowly drizzle the flour mixture into the gently boiling soup, stirring constantly, until the soup has thickened. You may not need to add all of the flour if you like your chowder on the thinner side. Boil gently for one minute to fully cook the flour and then remove from heat.
Taste the soup and season with salt and pepper to taste. Serve the clam chowder topped with butter, oyster crackers, crispy bacon, or whatever you like. Enjoy!
Notes
51-oz cans of chopped clams can be found at Costco, Sam’s Club, restaurant supply stores such as Smart Foodservice, or online at Amazon. You may also substitute 4-6 of the smaller 6.5 oz cans if you prefer.