Tag: fruits

Strawberry plants with dead leaves over the winter

How to Clean Up Strawberry Beds

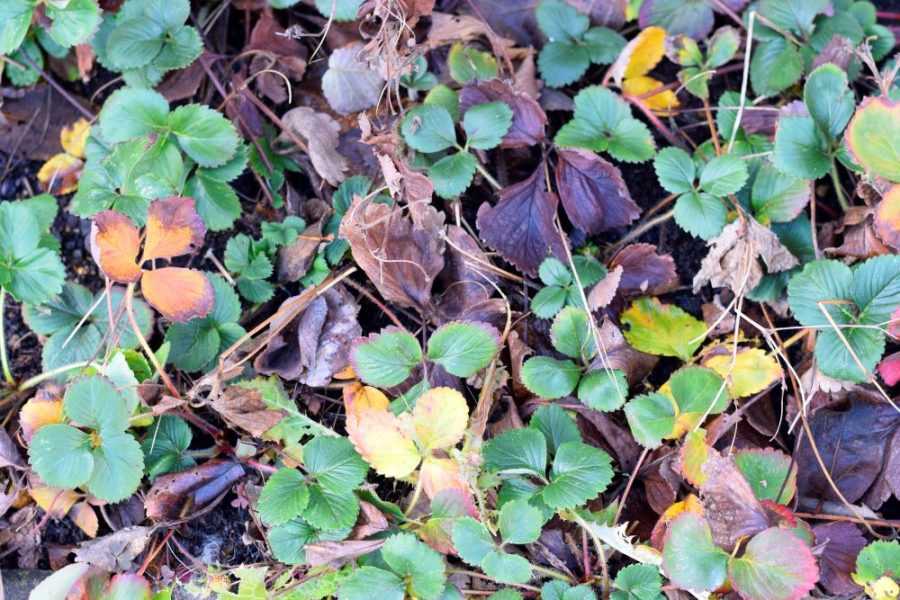
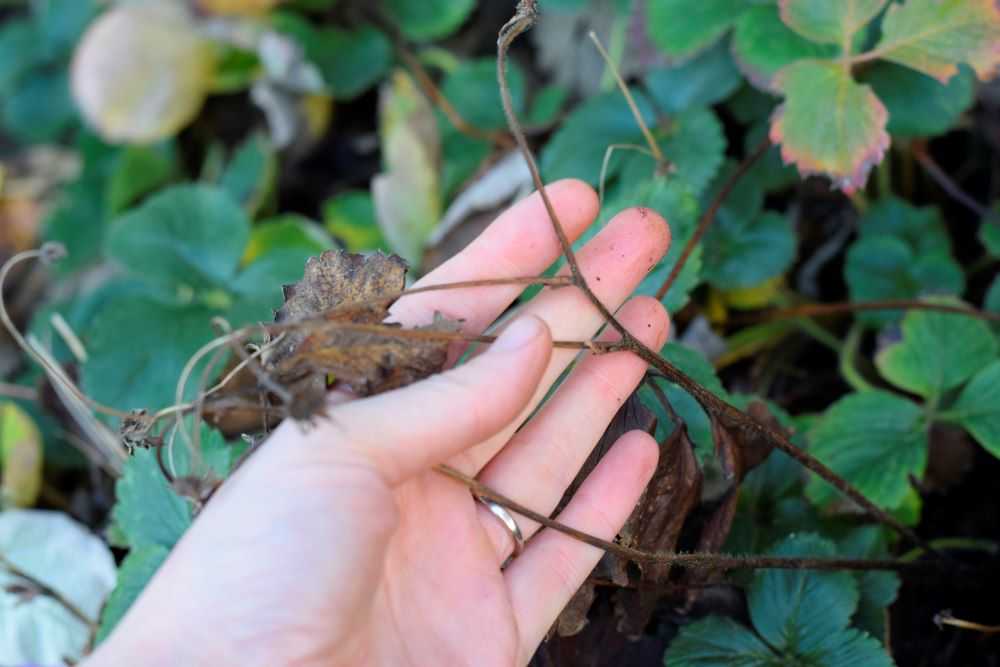
Strawberries are a wonderful plant to include in your home garden! With proper care they can produce sweet juicy strawberries for many years. However, strawberry plants can take a beating over the winter. Leaves die and if you did not prune your runners the previous summer your berry patch can easily become a tangled mess like the picture below:

Strawberry plants with dead leaves over the winter
Strawberry plants can easily become a tangled mess over the winter. Cleaning them out before growth starts will help to keep the plants healthy and maximize yields the following spring.

Today I will show you how to clean up your strawberry beds so they are ready for growth in the spring. Let’s get started!

Why to Clean Up Your Strawberry Beds

There are several reasons to clean up your strawberry beds before growth starts in the spring:

  • Old leaves and plant materials left behind can propagate diseases.
  • Snails and slugs can become a problem when there are a lot of dead leaves and places for them to hide.
  • Dense plantings compete for light and nutrients, which will decrease productivity and lead to smaller berries.
  • Pruning increases air circulation which will reduce the chance of diseases to spread.

When to Clean Up Strawberry Beds

One of the best times to prune strawberries is in the summer, right after the final harvest of the year. However, since leaves may die over the winter months, strawberries should be cleaned up and pruned a second time in late winter. This is past when any damage will occur due to cold weather but before they put on lush spring growth. Late January through early March is generally a good time.

How to Clean Up Strawberry Beds

Step 1: Pull up old plants

Strawberry plants die for a number of reasons and they need to be removed from your strawberry bed. You can recognize these plants because the leaves are dead and there is no green growth at the crown. Since strawberry plants naturally decline in productivity after about three years, also pull up any plants that are hard and woody and show little new growth.

a dead strawberry plant
This plant has brown, dead leaves and no green growth at the crown. Pull it up and remove it from your strawberry bed.

Step 2: Prune away dead leaves, runners, and flower stalks

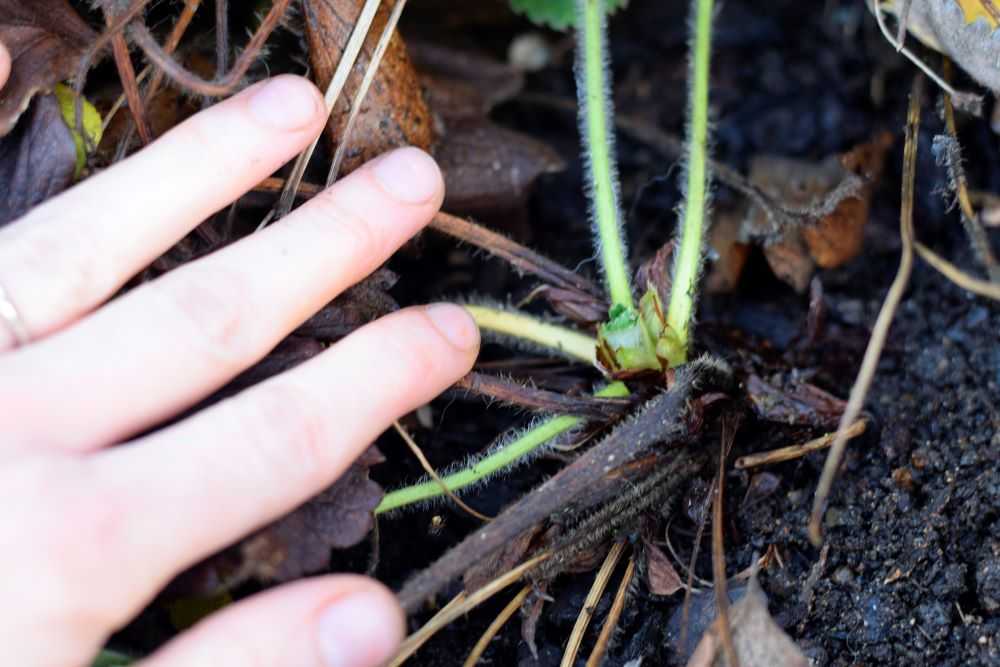
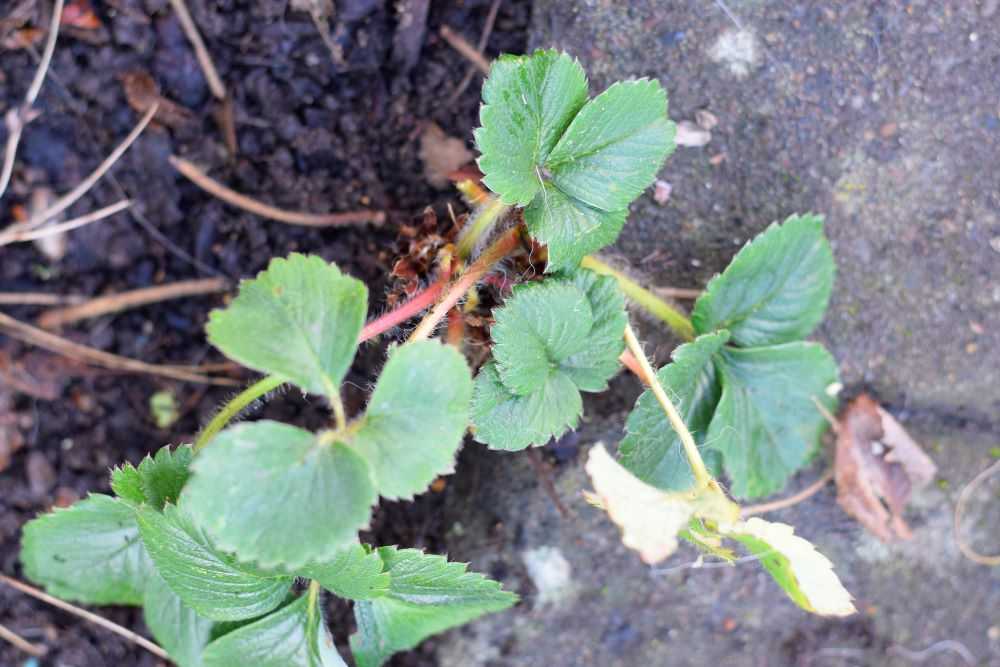
Dead leaves are of no benefit to the plant and can spread diseases. They also give a place for snails, slugs, and other pests to hide. Prune these off at their base, being careful not to damage the crown of the plant. Also remove older leaves that are very long and dull, or leaves that are red or yellowed. Leave the healthy green leaves growing close to the crown of the plant.

Cut away dead leaves at the base of the strawberry plant.
Prune away dead leaves at their base. Leave healthy green leaves and be careful not to damage the crown of the plant.

Sometimes old flower stalks are still attached to the plant. They serve no purpose at this point so make sure to remove them as well.

Also remove runners, or the stems that go between plants, as these can become rather tangled. If the daughter plants are rooted and healthy, I usually leave these in the ground but take them out if they look unhealthy or if they have not rooted properly.

a dead flower stalk on a strawberry plant
Remove old flower stalks as well as the runners that go between plants.

Step 3: Pull up plants that are overcrowded or not where you want them

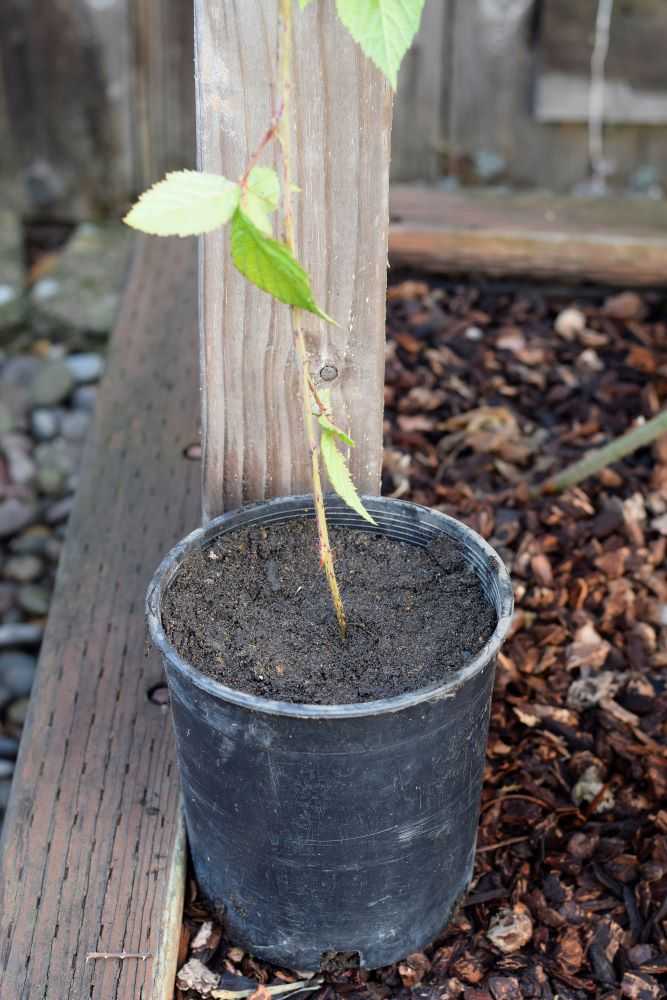
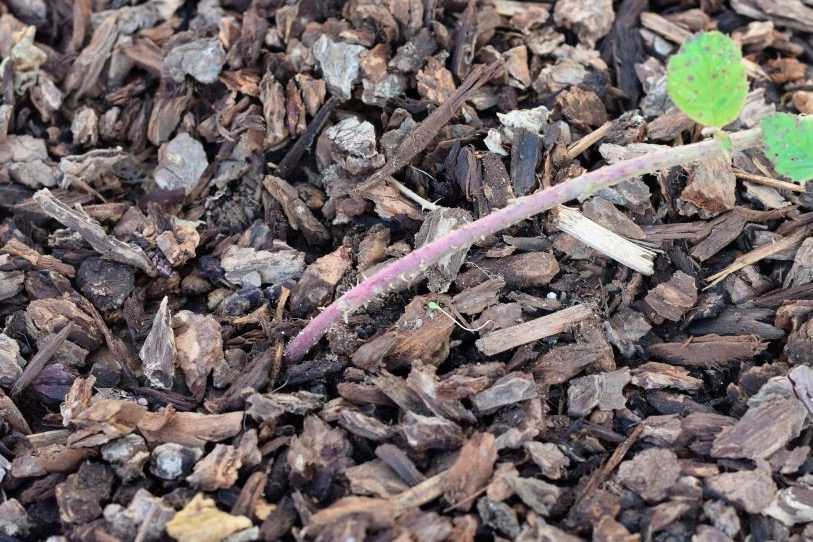
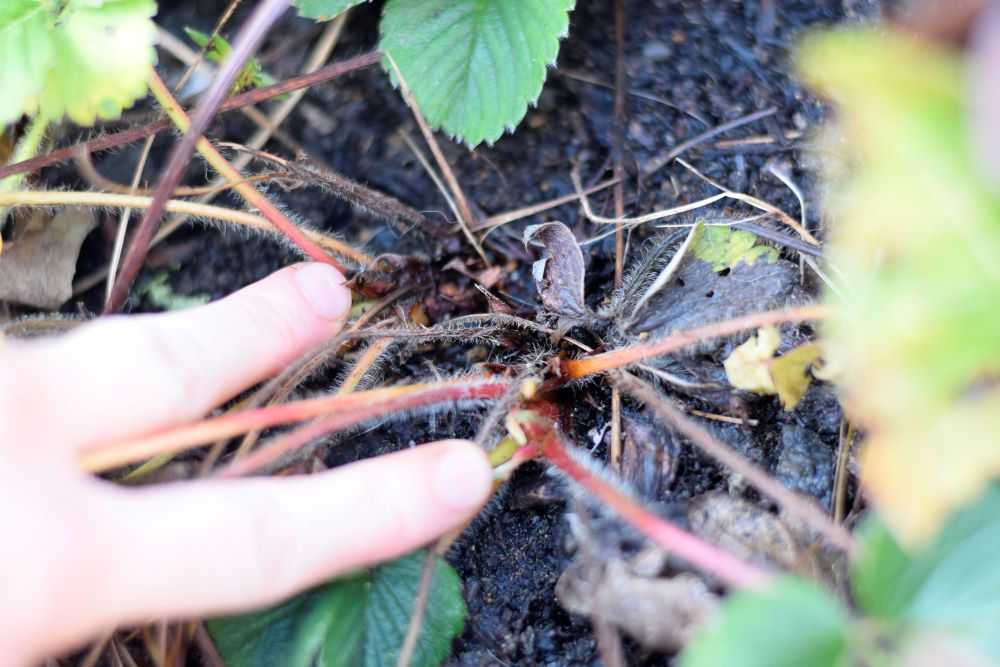
In the summer months strawberries send out a multitude of runners in every direction. If not pruned off these take root and form a new plant. Sometimes these runners end up in a good location, and sometimes they are not where you want them. Do not be afraid to dig these up and transplant them elsewhere in your planting bed. For example, the strawberry plant below ended up too close to my walkway so I carefully dug it up and moved it to a different location.

a strawberry plant
Although this strawberry looks very healthy, it is too close to my walkway. In this location, it will not be able to develop a full root system. I carefully dug it up and replanted it elsewhere in my bed.

Also remove strawberry plants that are too close to each other. Strawberries that are too close together they will compete for light and nutrients which will decrease productivity and lead to smaller berries. Dense plantings also reduce air circulation, trap moisture, and spread diseases.

How should your strawberry plants be? Plants should be spaced at least 6 inches apart so they have plenty of room to grow.

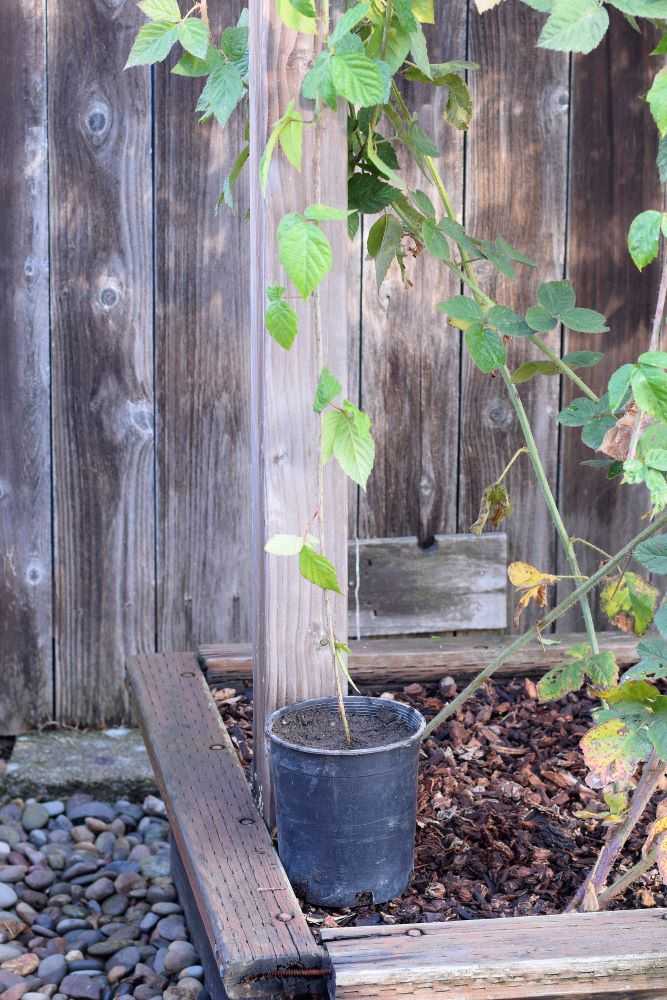
If you find plants too close together carefully remove one of them. If the plant looks healthy you can move it to another location in your strawberry bed. Or, you can plant it in a pot or share it with a friend.

two strawberry plants growing close together
These two plants are too close together. I kept one and moved the second plant to a new location.

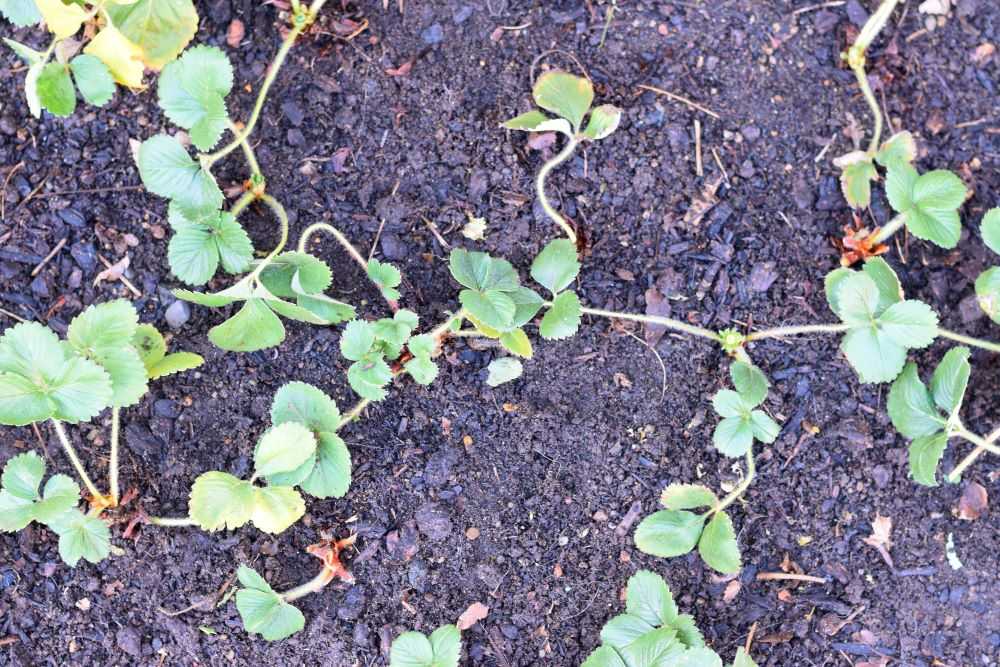
Eventually this is what we want to end up with: healthy strawberry plants, spaced at least 6 inches apart, with dead leaves and runners removed. This is such a big difference from where we started out!

strawberry bed after pruning
After pruning strawberries are spaced appropriately with unhealthy plants, dead leaves, and runners removed.

Growing Tips

Now that your strawberry beds are cleaned up, here are a few more growing tips:

Add Mulch

When you are finished cleaning up your strawberry bed you can add some mulch around the base of your strawberry plants. This will help to keep the soil moist, prevent disease from spreading as easily, regulate the soil temperature, and keep the berries off of the dirt. Clean straw works well for this.

Water Regularly

Spring rains usually provide enough water for your strawberries but make sure to water them if you have a dry spell. The soil should be kept moist but not overly soggy. Strawberries need about an inch of water per week.

Wait to Fertilize Until After Harvest

As tempting as it is, now is not the best time to give strawberry plants a big dose of fertilizer. This can lead to too much leafy growth and poor berry production in the spring. The best time to fertilize your berry patch is after they are done producing berries for the year in June or July.

Final Thoughts

There you have it! Now that you know how to clean up your strawberry beds you will be rewarded with beautiful sweet strawberries in the spring. They are perfect for eating fresh, strawberry shortcake, or homemade strawberry jam! As always, Happy Gardening!

a healthy strawberry patch
Strawberry plants put on lush new growth in the spring.
fresh strawberries
Enjoy your sweet strawberries!

Be sure to pin for later!

Blackberry vines

The Easiest Way to Propagate Blackberries

Blackberries are a wonderful plant to include in your garden! They produce large harvests of delicious berries and are very easy to care for. But after many years, productivity can start to decline and you may want to start over with a new plant. Luckily it is very easy to propagate blackberries and you will soon have plenty of healthy starts to plant in your garden or to give away to friends!

Blackberry vines
Blackberries are easy to grow and produce large harvests year after year!

When to Propagate Blackberries

Late summer to early fall is generally the best time to propagate blackberries. By this time your plants are done producing berries for the year and new stems (primocanes) are actively growing. Also, your new plants will be able to become established before cold winter weather arrives.

How to Propagate Blackberries

While there are a few different ways to propagate blackberries, I think the absolute easiest way to start new blackberry plants is through a process called tip layering. Tip layering is where the end of a healthy vine is covered with soil so it forms roots. We will now go through this process step-by-step:

Step 1: Select a Healthy Primocane

A primocane is a blackberry stem that is in its first year of growth. Choose a healthy primocane that is at about the diameter of a pencil to ensure vigorous, healthy plants. If you have your vines on wires or a trellis, make sure the primocane is long enough to reach the ground.

Blackberry primocane for propagation
Choose primocanes that are about the same diameter as a pencil.

Step 2: Plant the Tip of the Primocane

Next choose where you want to plant your blackberry start. If you want to plant it in a new location (or start one for a friend) the easiest way is to start the blackberry in a large pot filled with planting soil or potting mix. I usually use a 1-gallon pot so the roots have plenty of room to get established.

Dig a small hole in the soil and plant the tip of the primocane about 2-3 inches deep. Carefully remove any large leaves on the side of the stem that would be under the soil line but make sure to leave the tip of the stem intact. Gently firm the soil around the stem.

If the blackberry vines are long enough to reach, you can also start them directly in the soil where you want your new plants to grow. That is what I did in the picture below:

A new blackberry plant

Step 3: Water Lightly and Keep the Soil Moist

Water the pot lightly and keep the soil from drying out. Set the pot where it will not be disturbed.

A new blackberry start in a pot

Step 4: Cut the Stem from the Parent Plant

After about a month you can test to see if your blackberry plant has grown roots. You can do this by very gently tugging at the stem. If it feels firm and stays in place, the blackberry has started to grow roots and is ready to separate from the parent plant.

Cut the stem about 1-2 feet above the soil with using sharp pruners. Your new blackberry start is now ready to plant!

When to Plant Your Blackberry Starts

You can choose to plant your blackberry start immediately or wait until the spring. One advantage of fall plantings is that the blackberries can get a good root system established over the winter. Blackberries may also be more susceptible to cold weather if they are in a pot rather than in the ground.

The first year after planting your new blackberry plant will not produce any berries. But new primocanes will start growing and it will come into full production in the following year or two. You will soon be enjoying large harvests of sweet juicy blackberries!

Marionberries

Hope you get to enjoy blackberries in your garden year after year. Happy Gardening!


Be sure to pin for later!

How to Propagate blackberries in 4 easy steps

Powered by WordPress & Theme by Anders Norén