Tag: How-to

How to easily clean rusty pruners

How to Easily Clean Rusty Pruners

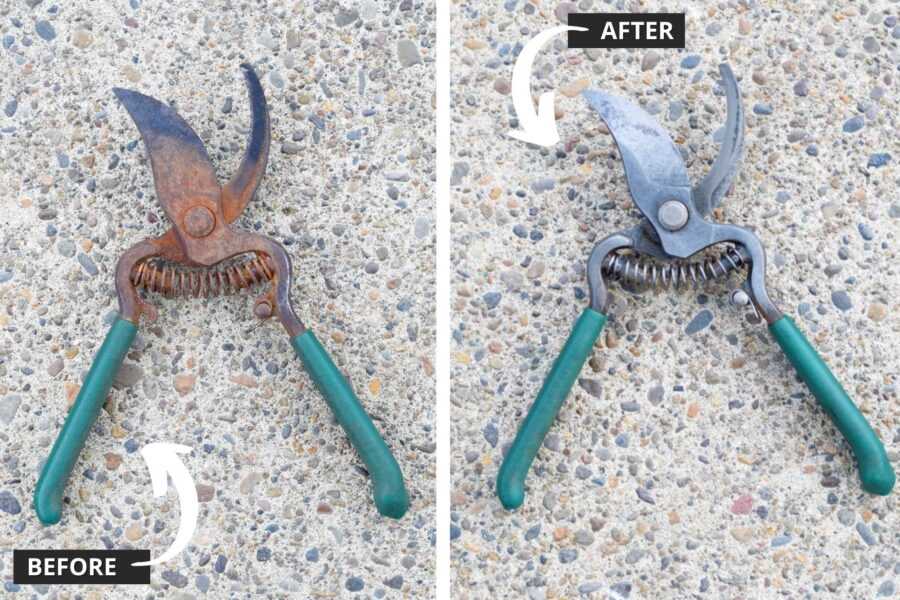
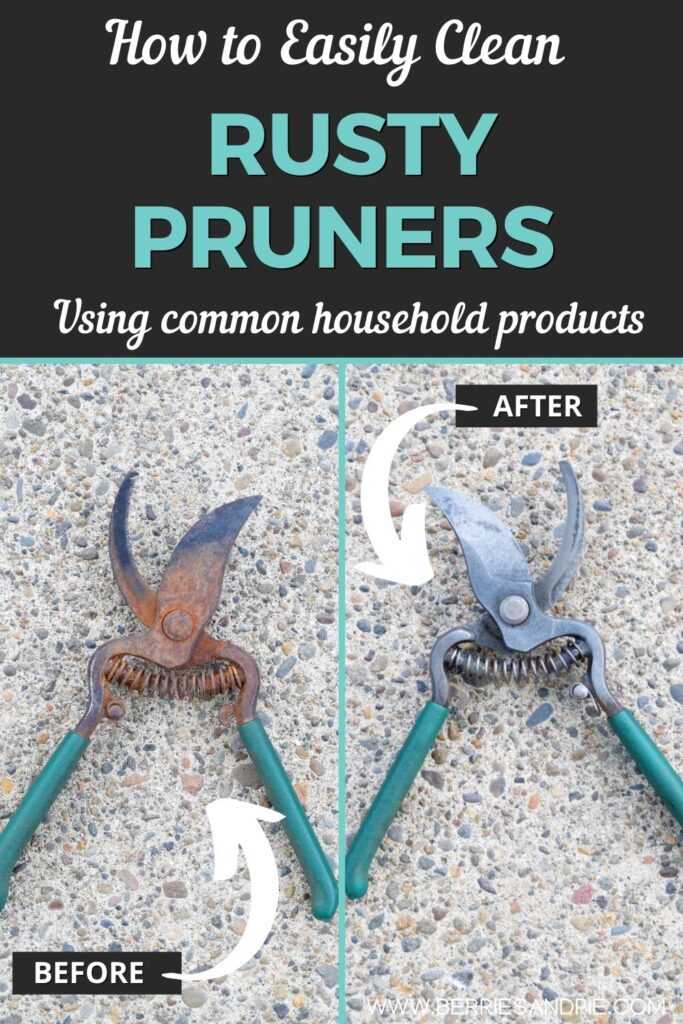
Learn how to easily clean rusty pruners to help keep them looking and working like new.

How to easily clean rusty pruners using common household products

Have you ever accidently left your pruners outside? They get wet from the rain or sprinklers and then you have unsightly rust covering one of your most used garden tools.

Rusty tools not only look bad but most importantly the rust can affect their function because they become stiff and will not open and close smoothly. I have even had some pruners that were rusted completely closed! Luckily, rusty pruners are very easy to clean with just a few common household products and they will be good as new in a day or so. Read on to learn how to get your pruners back into tip-top shape!

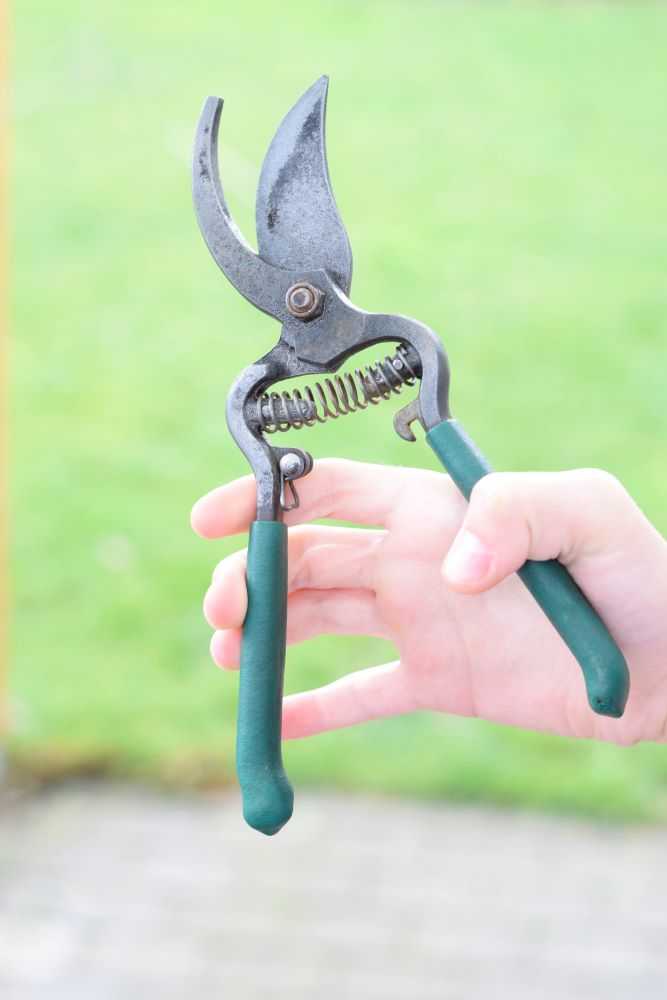
As a side note, I recommend NOT buying pruners with a green handle. I cannot tell you how many times I have set these down and not been able to find them because they were so camouflaged among my plants. This is probably why they got left out and rusty in the first place 🙂

Materials Needed to Clean Rusty Pruners

Materials to clean rusty pruners

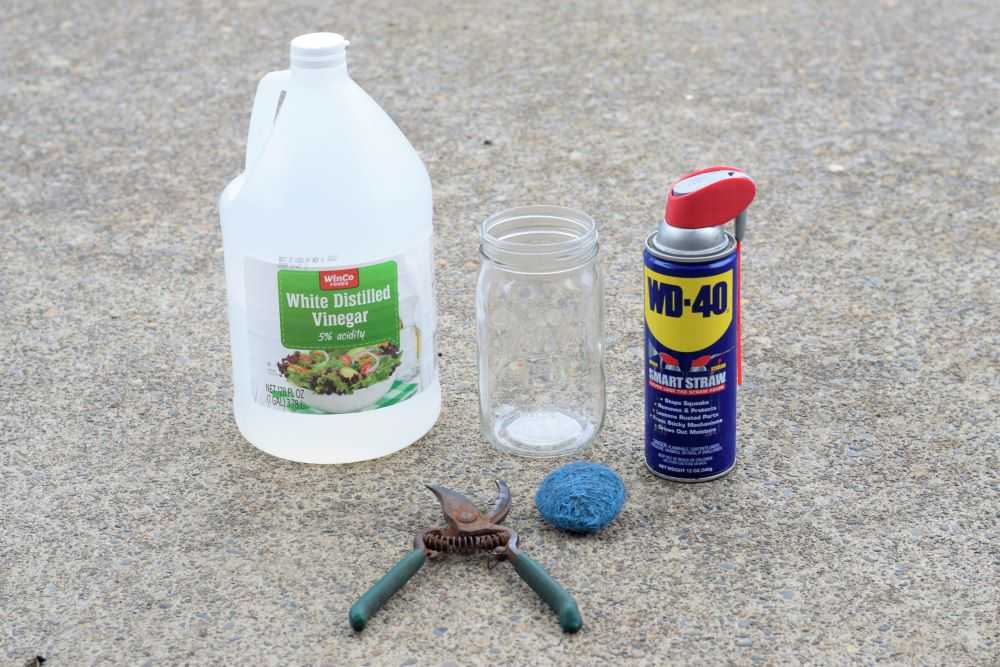
Luckily, you only need a few common household items to remove rust from your pruners. You will need:

  • A glass jar, tall plastic tub, or small bucket big enough for your pruners to fit inside
  • Vinegar, 3-4 cups or enough to cover the rusty parts of your pruners
  • A scouring pad, steel wool, or a wire brush
  • WD-40 or other lubricant
  • A pliers or a wrench to take your pruners apart so they are easier to clean (optional)

How to Clean Rusty Pruners

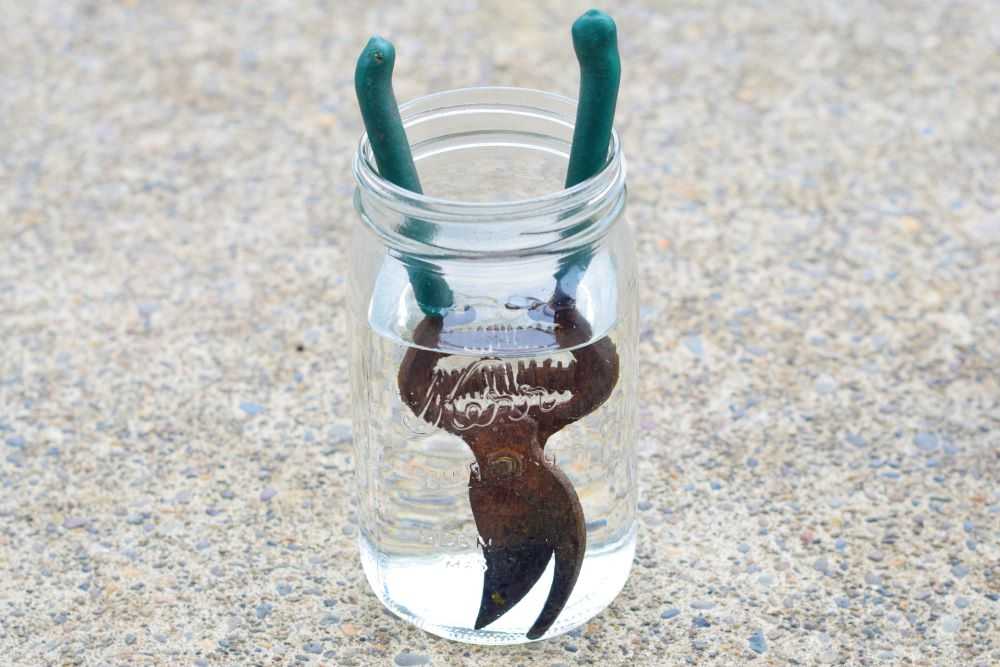
Step 1: Soak the Pruners in Vinegar Overnight

Place your rusty pruners in a glass jar or plastic tub. Any container will work as long as it is deep enough for the rusty parts to be submerged.

Pour in enough vinegar to cover the rusty parts of the pruners. This may be 3-4 cups depending on the size of your container. Let this sit overnight.

Soak the rusty pruners in vinegar

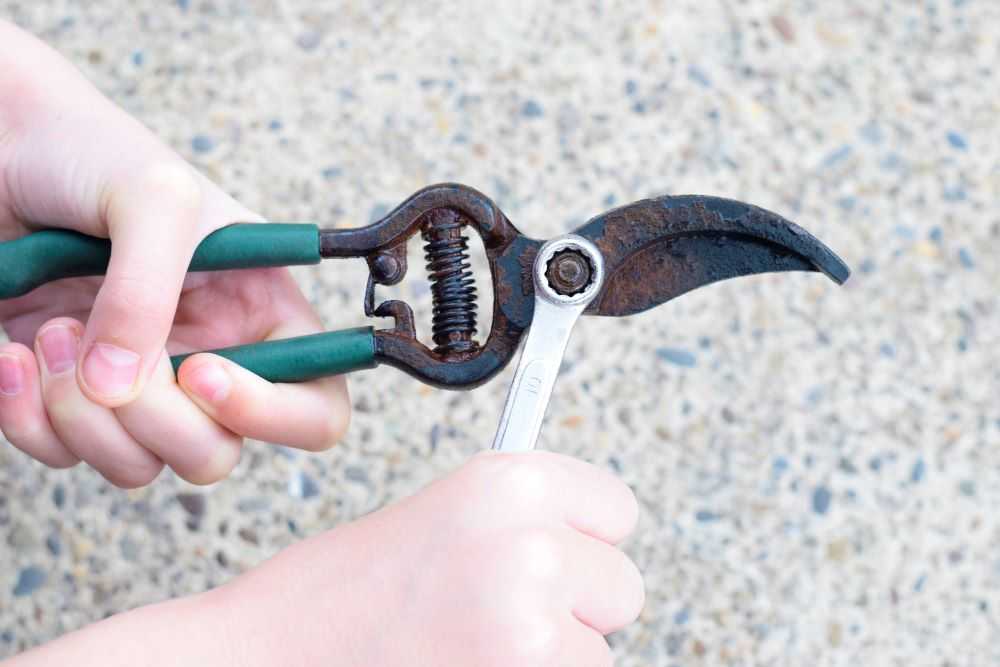
Step 2: Take the Pruners Apart (optional)

After the pruners have sat in the vinegar overnight the vinegar will become cloudy and you will see some of the rust has already started to come off.

Rust comes off after soaking in vinegar

If you have the type of pruners that can come apart, I highly recommend doing this so they are easier to clean in the next step. Take pliers or a small wrench to remove the bolt. Put it in a safe place so you do not lose it!

Take the pruners apart

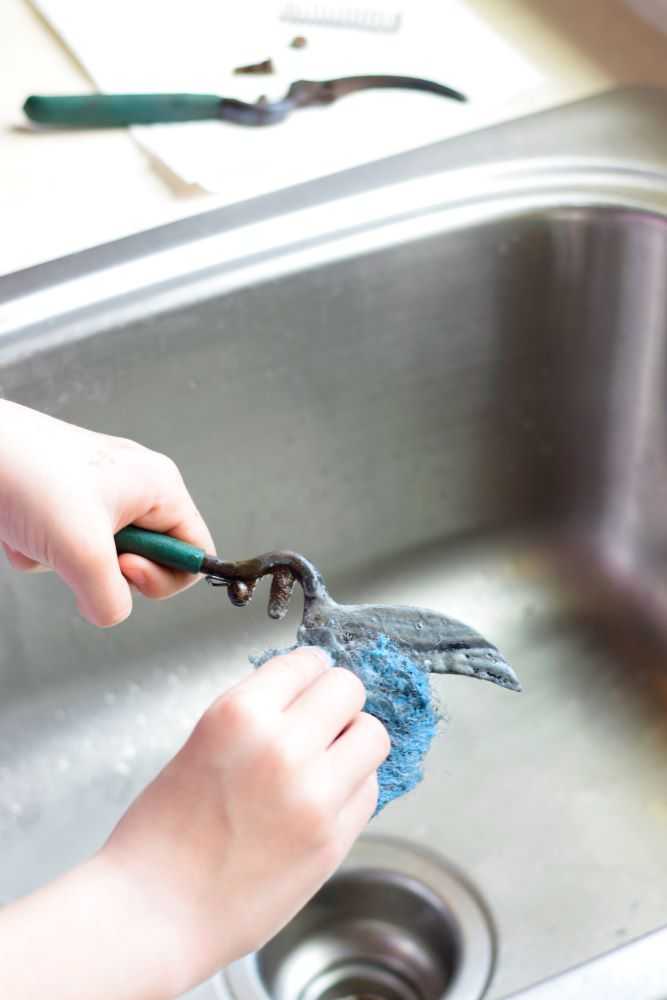
Step 3: Clean the Pruners with a Scouring Pad

Use a scouring pad to clean the remaining rust off of the pruners. The rust should have softened considerably overnight and be easy to remove. I like to use steel wool but a wire brush is also very helpful to get in the small areas. Give the pruners a final rinse and then dry thoroughly with a cloth or paper towel (you don’t want them to get rusty again!). If you took your pruners apart earlier, now is the time to reassemble them.

Clean the pruners with steel wool

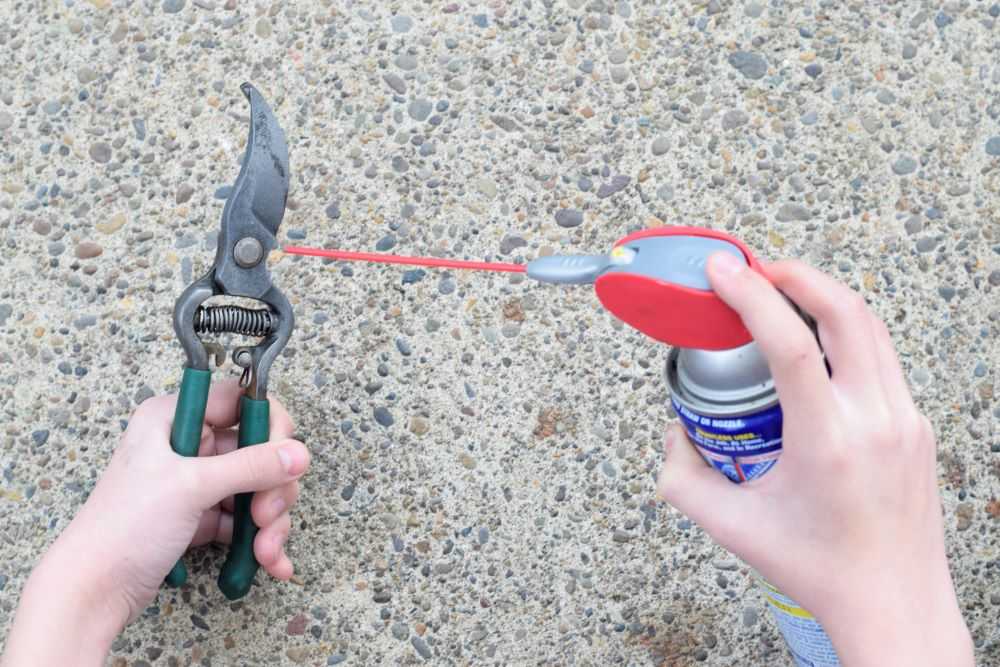
Step 4: Apply Lubricant

Apply some WD-40 or other lubricant so the pruners open and close easily. This will also help to protect them from rust in the future. When you are finished store your pruners in a dry place to help them stay in tip-top shape!

Add some WD-40 to protect the pruners

Final Thoughts

There you have it! Now you know the best way to clean your pruners so they are ready for the season. As always, happy gardening!

Rust free pruners

You may also like:

Strawberry plants with dead leaves over the winter

How to Clean Up Strawberry Beds

The BEST Way to Shell Hazelnuts

Oregon Hazelnuts (filberts)

It is October now and a fresh crop of hazelnuts are popping up at farm stands and farmer’s markets. These versatile little nuts (also called filberts) are absolutely delicious roasted and can also be used in baked goods as well as savory dishes. Today I will show you the easiest way to shell hazelnuts so they are ready for roasting and using in your favorite recipes!

The BEST Way Shell Hazelnuts

While there are a few ways to crack hazelnuts, my preferred method is to use a hammer, with a few tips and tricks to make the process easier. I have been shelling and eating hazelnuts since I was a kid, and literally grew up right next to a hazelnut orchard. From my experience, using a hammer instead of a nutcracker is the absolute easiest and fastest way to shell hazelnuts.

Advantages to this method:

  • No special tools required
  • Fast
  • The hazelnuts won’t roll around
  • Easy cleanup
  • Fun 🙂

Now we will go through the process step-by-step. Let’s get started!

Step 1: Gather Your Materials

You only need a few materials to shell hazelnuts. Grab an old sheet or a clean rag, a hammer, and a bowl to collect the shelled nuts. You may also want to grab a pair of safety glasses in case the shells go flying!

Materials to shell hazelnuts: a hammer, a sheet, and a bowl

Step 2: Find a Place to Crack the Hazelnuts

Hazelnuts crack best on a firm surface, such as concrete. Go outside and find a groove in your patio or driveway. When you crack the hazelnuts you will line them up in this groove to keep them from rolling around as you crack them.

Find a groove in your patio

Step 3: Place the Sheet Down and Line up the Hazelnuts

Place the old sheet down over the groove in your patio. This will make it easy to collect the shells when you are finished.

After your sheet is in place put a line of hazelnuts in the groove to get them ready to crack. You can do 10-20 at a time, which is why this method is so fast. Have them a little apart so they don’t bump each other when you go to crack them.

Place the hazelnuts in a line.

Step 4: Crack the Hazelnuts

It’s time to shell the hazelnuts! Put on your safety glasses if you are using them and then go down the line with the hammer and crack, crack, crack! One good whack is usually all it takes to break the shell enough to remove the nut inside. It takes a little practice to do this well without crushing the nut inside.

Crack the hazelnut shell using a hammer

Step 5: Sort Through the Hazelnuts

After the shells are mostly cracked go down the line, pick out the nuts, and place them in your bowl. If you did not get a hazelnut cracked all the way gently tap it with your hammer so you can break the shell enough to get the nut out.

Remove the hazelnuts from their shells

Step 6: Repeat the Process with the Remaining Hazelnuts

After your first row of hazelnuts is cracked, lift up one side of the sheet so the shells fall to the side. Then put out a new row of hazelnuts and repeat the process.

When you are finished with all of your hazelnuts, lift up the corners of the sheet and take it to the garbage to dispose of the shells. Your patio should be mostly clean and you have a bowl full of hazelnuts!

Oregon hazelnuts

Final Thoughts

There you have it…the easiest way to a bowl full of beautiful cracked hazelnuts! You can enjoy them right now or roast them for absolutely superior flavor and crunch. Enjoy!


Don’t forget to pin for later!

Powered by WordPress & Theme by Anders Norén