
I was a little late to jump on the homemade yogurt bandwagon. It looked amazing but sounded too hard, or like too much work. Then I made my first batch and realized two things: homemade yogurt is really easy to make and it tastes SO much better than store bought yogurt! I was hooked and have been making homemade yogurt ever since.
Our family goes through a one gallon batch of yogurt each week and we always have yogurt in the fridge now. We eat it with fruit for breakfast, or use it as a substitute for sour cream or buttermilk. The more yogurt we have, the more we use it. Funny how that works?
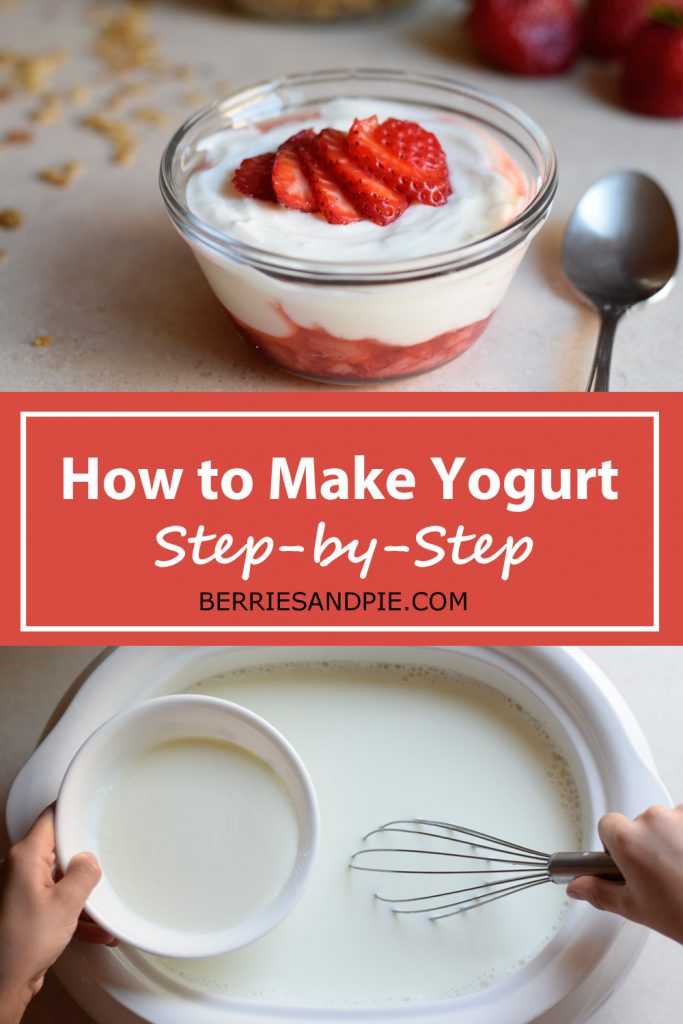
This article will walk you through the yogurt making process step by step. It is not hard but does take some time. Let’s get started!
Note: This article may contain affiliate links, where I earn a small commission from qualifying purchases with no additional cost to you. I only provide links to products similar to what I use personally and highly recommend.
Advantages to Homemade Yogurt
There are many advantages to making your own yogurt. Here are some of them:
- It saves you money. Homemade yogurt is about half the cost of store bought yogurt. The savings can really add up!
- You can make it exactly how you like it. Do you prefer thick or thin yogurt? Do you prefer a tangy flavor or a more mild one? Making your own yogurt puts you in control!
- There are no additives or extra ingredients. Many commercial yogurts contain added sugars, preservatives, or other additives to thicken the yogurt. Not this one!
- It’s fun! I get so excited every time I make yogurt because I can transform a simple gallon of milk into something amazing! How cool is that?
Yogurt Making Overview
Before we get into the specifics, let’s look at the yogurt making process in a little more detail so you can understand what is going on and why we do the things we do.
The first step in making yogurt is to heat the milk to around 180 degrees. While this does kill any harmful bacteria that are present in the milk (pasturized milk should already be free of harmful bacteria), the main reason for doing this is to denature or change the milk proteins so they will be able to form a gel and thicken into yogurt.
After the milk is heated it needs to cool to around 110-115 degrees. This is the optimal temperature for the good bacteria that we are going to introduce to the milk. Then yogurt starter cultures are added and those little bacteria go to work! They digest the lactose in the milk and produce lactic acid. This is why yogurt tastes tangy (and why people with lactose intolerance can sometimes eat yogurt). In response to the acid the milk proteins rearrange and over the course of several hours, milk is completely transformed into yogurt. Neat!
Now that we know a little about what we’re doing, let’s get started!
Equipment
There are a few pieces of equipment needed to make homemade yogurt. We will go through them now:
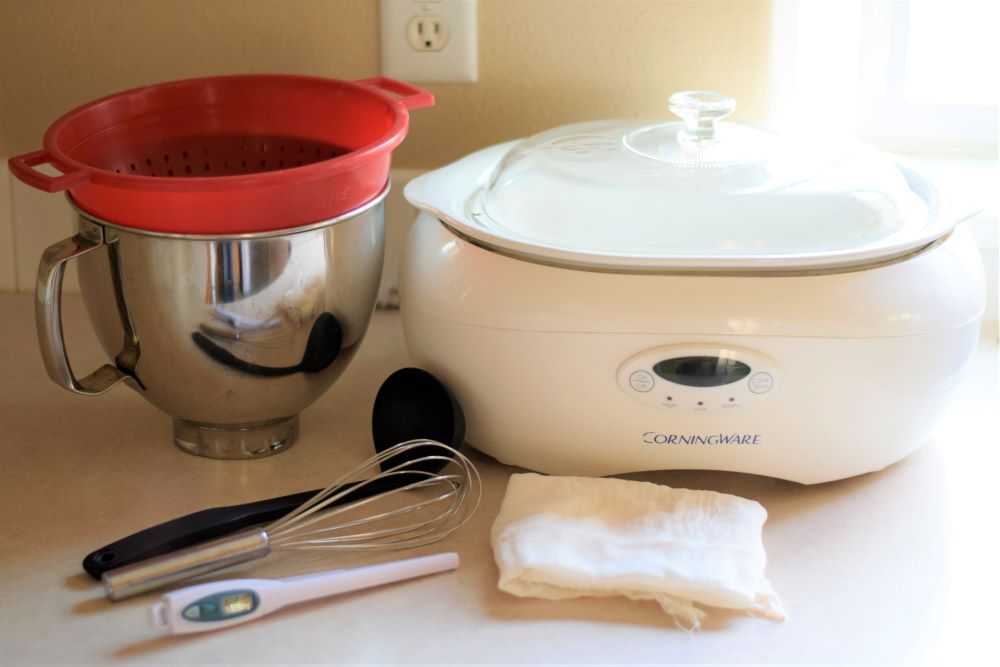
Slow Cooker – This is used to heat the milk up to the correct temperature. Also, the heavy crock will help keep the milk warm as the yogurt incubates.
If you do not have a slow cooker you may also heat the milk using a heavy pot on the stove. However, this method is much more labor intensive because you have to watch the milk more carefully and stir it often so it will not burn. The slow cooker is the way to go here!
Whisk – This is used to mix the starter cultures into the warm milk.
Quick-Read Thermometer – This is helpful for checking the temperature of the milk at different stages in the yogurt making process. The yogurt needs to be at the correct temperature for the cultures to grow.
Colander – Your colander should have a one gallon capacity.
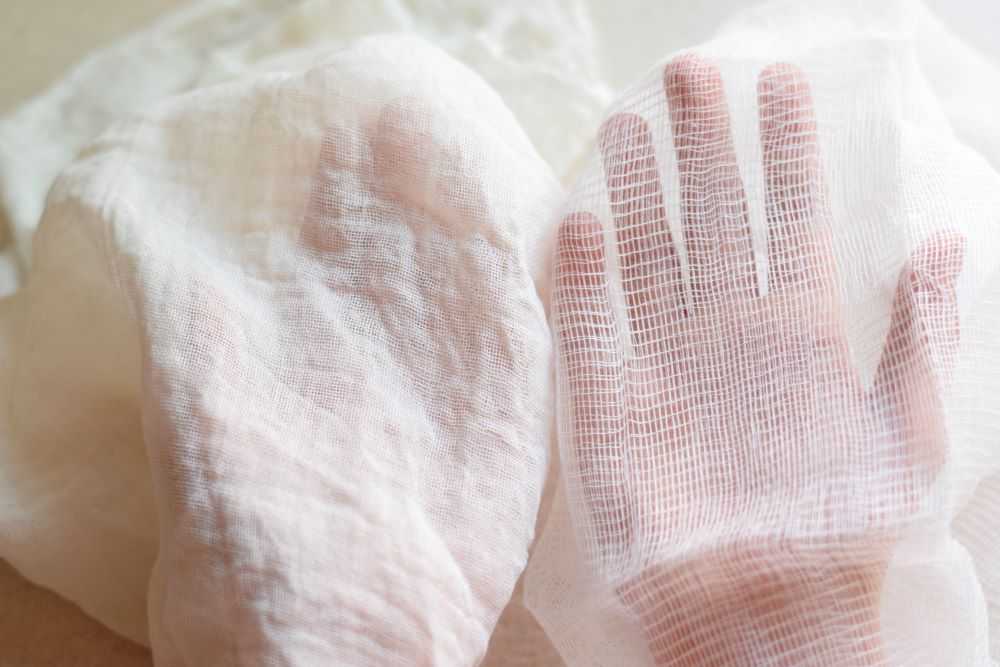
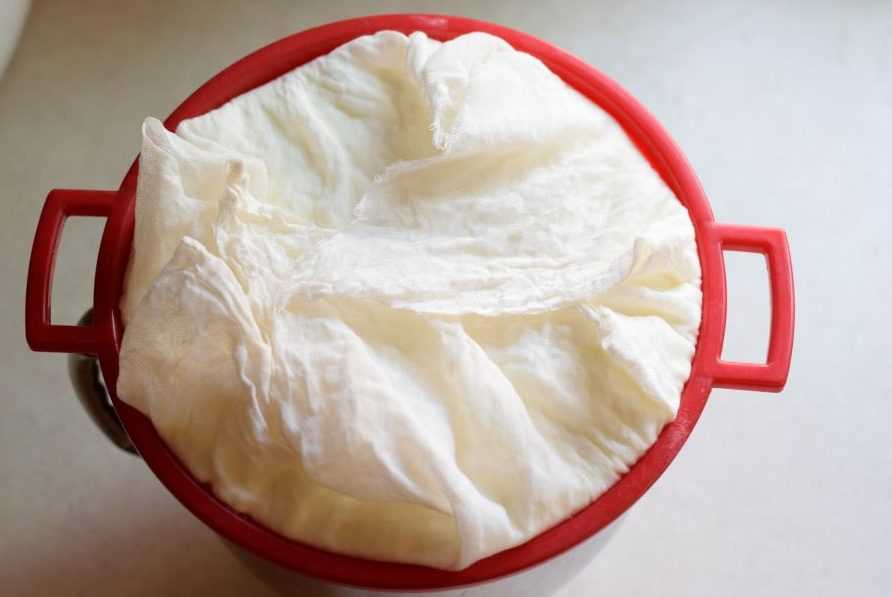
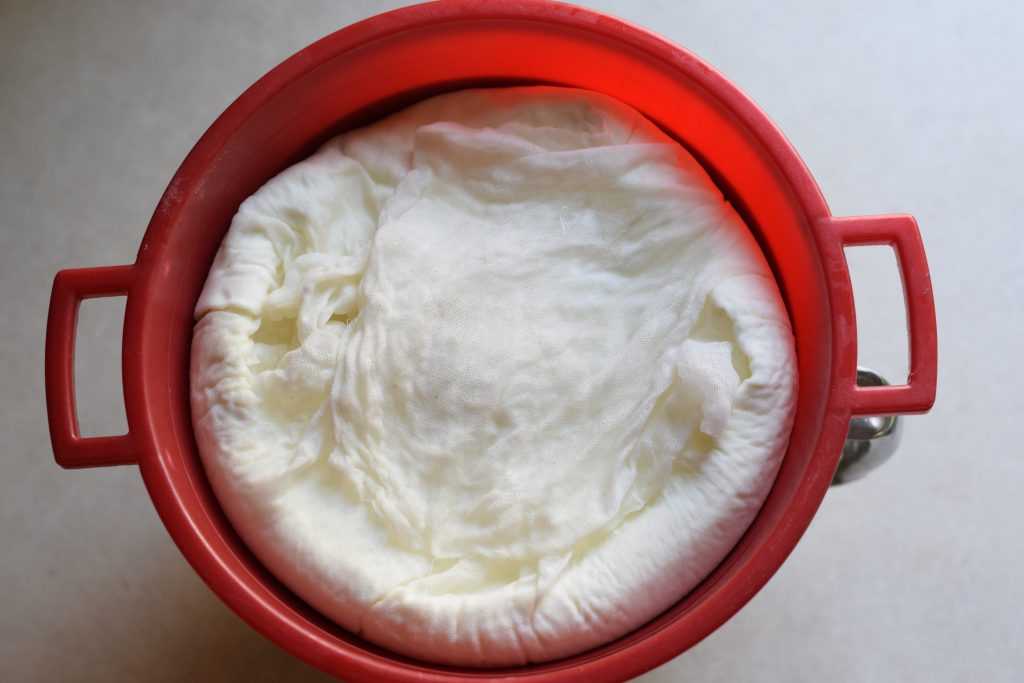
Cheesecloth – Cheesecloth helps to strain the whey from the yogurt to make it thicker. In the past year I have used many different types of cheesecloth and learned that not all cheesecloth is created equal!
Standard cheesecloth that you buy at the grocery store is quite thin with big holes. It takes several layers to drain your yogurt and is more difficult to work with. The cheesecloth I use is no longer available but a very similar one can be purchased on Amazon here (affiliate link). It is more tightly woven and holds up well to repeated use. You can wash it out when you are finished and use it again and again. Can you see the difference between the pictures below? I highly recommend investing in some good cheesecloth!
A Large Bowl – This is used while draining your yogurt. It should be narrower than your colander so the whey will drip and collect in the bottom. Ideally the bowl will be able to hold 6-8 cups of whey without touching the bottom of the colander.
Ingredients
Only two ingredients are needed to make homemade yogurt:
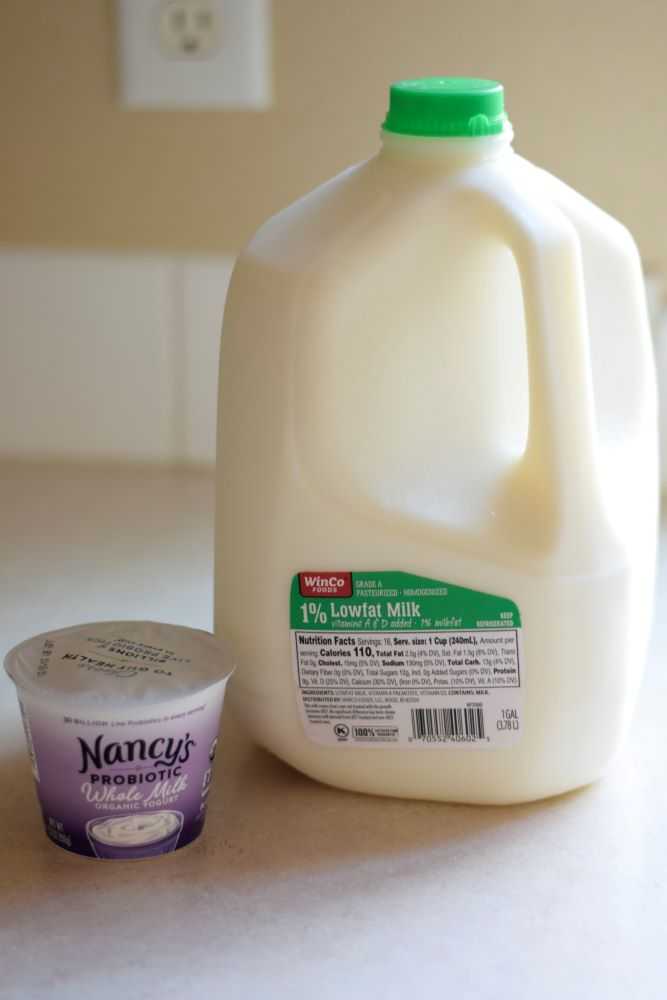
Milk – This will be transformed into yogurt. I usually use 1% milk but you can choose any fat content you want.
Yogurt Starter Cultures – This contains helpful bacteria that will grow in your warm milk and transform it into yogurt. You only need to buy this the first time you make yogurt. After that you can save some of your own yogurt to seed subsequent batches.
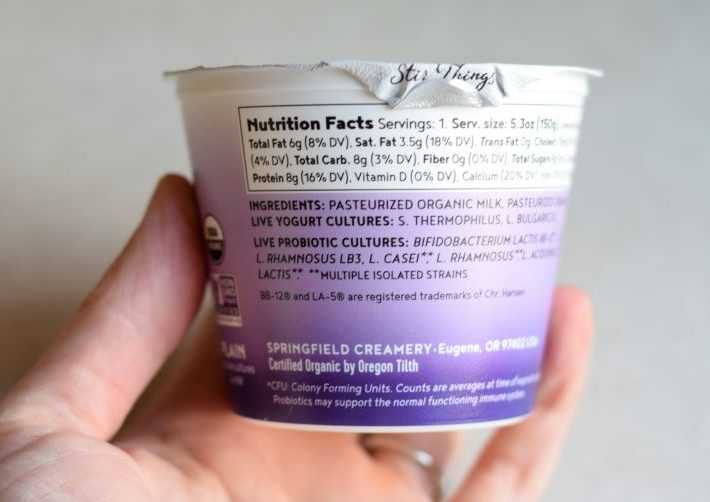
When you are looking for the perfect yogurt starter culture find a small container of plain commercial yogurt. Do not choose fruit yogurt or yogurt flavored in any way. It pays to be a little picky here because the success of your homemade yogurt depends on the quality of your starter culture.
The yogurt I use is Nancy’s brand plain yogurt. I like this because it has two ingredients: milk and live cultures. It also contains more types of active cultures than other brands. All yogurt usually contains S. Thermophilus and L. Bulgaricus because they are needed in the yogurt making process. Some commercial yogurt such as Nancy’s yogurt has other probiotic cultures added after processing which are beneficial for our digestive tracts. Make sure that your yogurt starter is fresh because culture activity decreases with age.
Now that you have everything you need, let’s make some yogurt!
Process
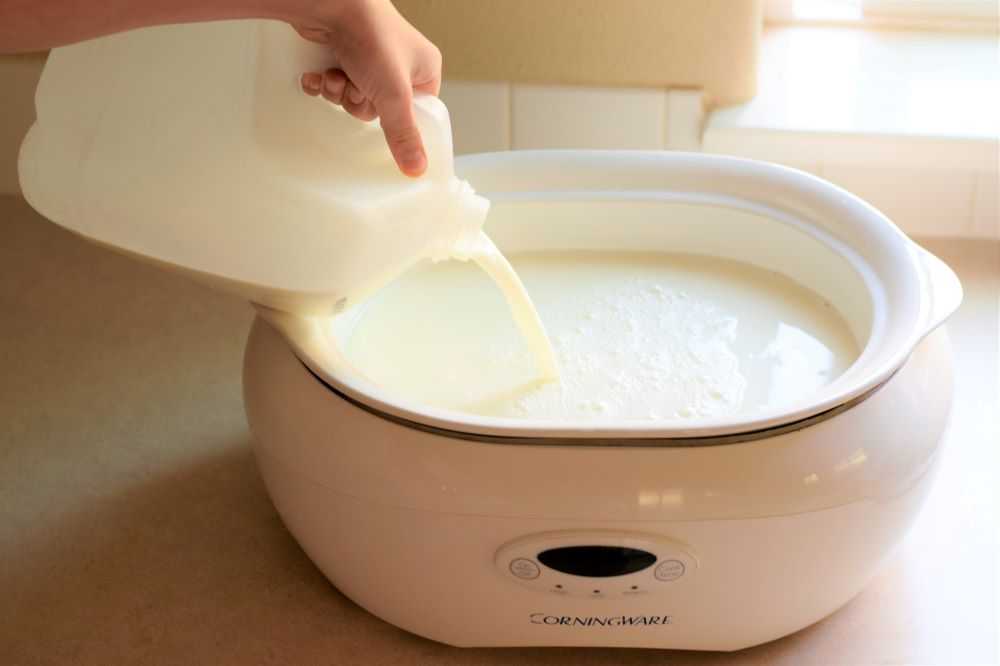
Step 1: Heat the Milk
Pour your milk of choice into the slow cooker. Cover it with the lid and cook on high until the milk registers 180 degrees with your thermometer. The first time you do this it can be a rather tedious process so make sure you time how long it takes to get up to temperature. Next time you make a batch of yogurt, you can just set a timer for however long and double check the final temperature with your thermometer. For my slow cooker this takes 2 hours and 45 minutes.
Step 2: Let the Milk Cool
After your milk reaches 180 degrees, turn off the slow cooker and remove the lid. Let the milk cool until it reaches 110-115 degrees. Again, time how long this takes so you can just set a timer next time and double check the final temperature with your thermometer. For me this step takes about one hour.
If a skin forms on top of the milk, just peel it off with your fingers or a clean spoon before proceeding to the next step.

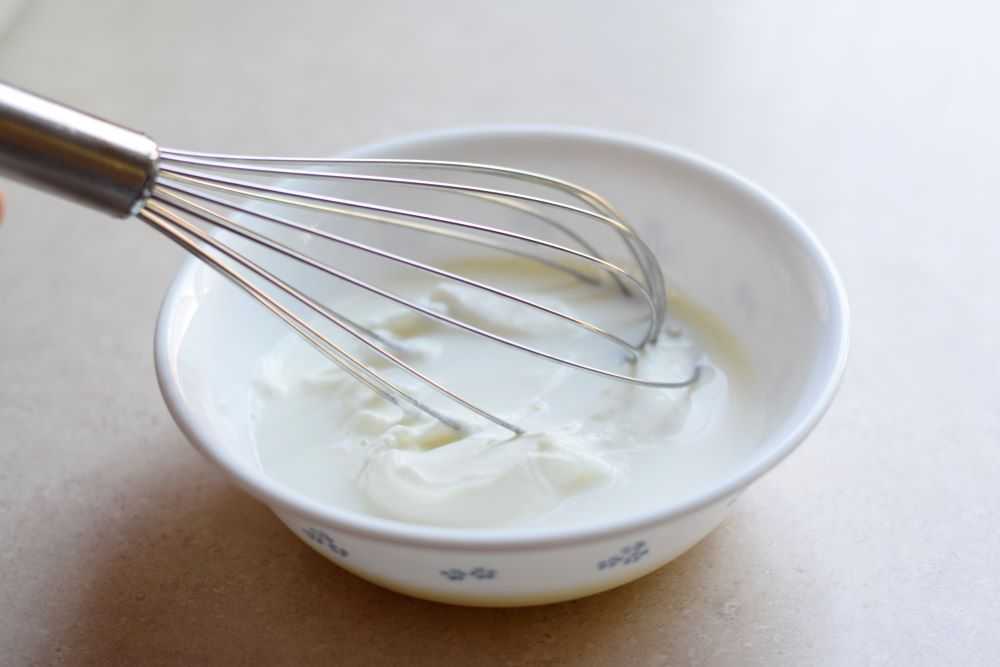
Step 3: Add in the Yogurt Starter Cultures
After your milk is around 110-115 degrees it is time to add in the yogurt starter cultures. In a small bowl place about half a cup of the plain yogurt with active cultures you purchased from the store. You do not need to be really exact with the measurements here–just eyeball it. Then use a ladle to take about half a cup of your warm milk and add it to the yogurt in the bowl. Using your whisk stir these together until they are smooth.
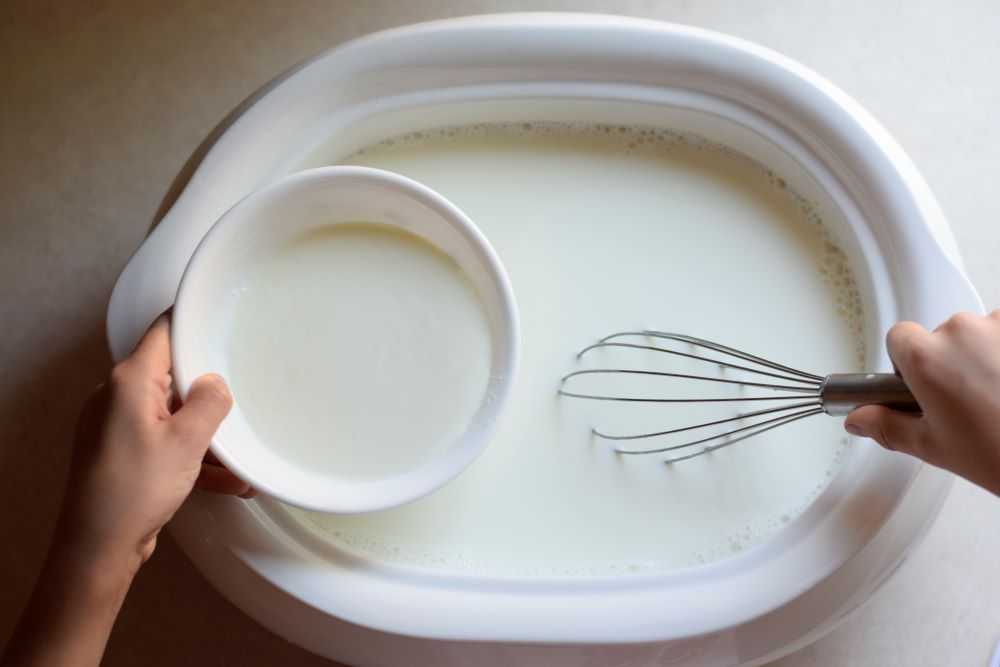
This step is important because it thins out the yogurt a bit so it will be easier to mix into the milk. Once I tried mixing the yogurt in without thinning it first, and the yogurt stayed in large clumps, sank to the bottom, and my yogurt did not thicken. So, after your yogurt is thinned out a bit whisk it back into the milk in the slow cooker. Take a few minutes and mix everything together thoroughly.
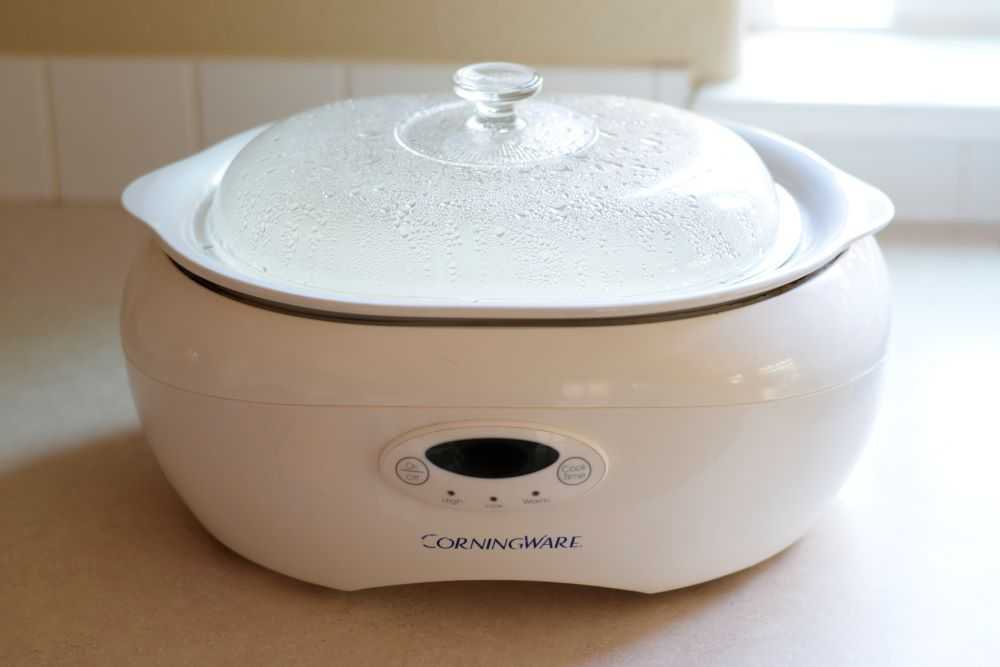
Step 4: Let the Yogurt Incubate
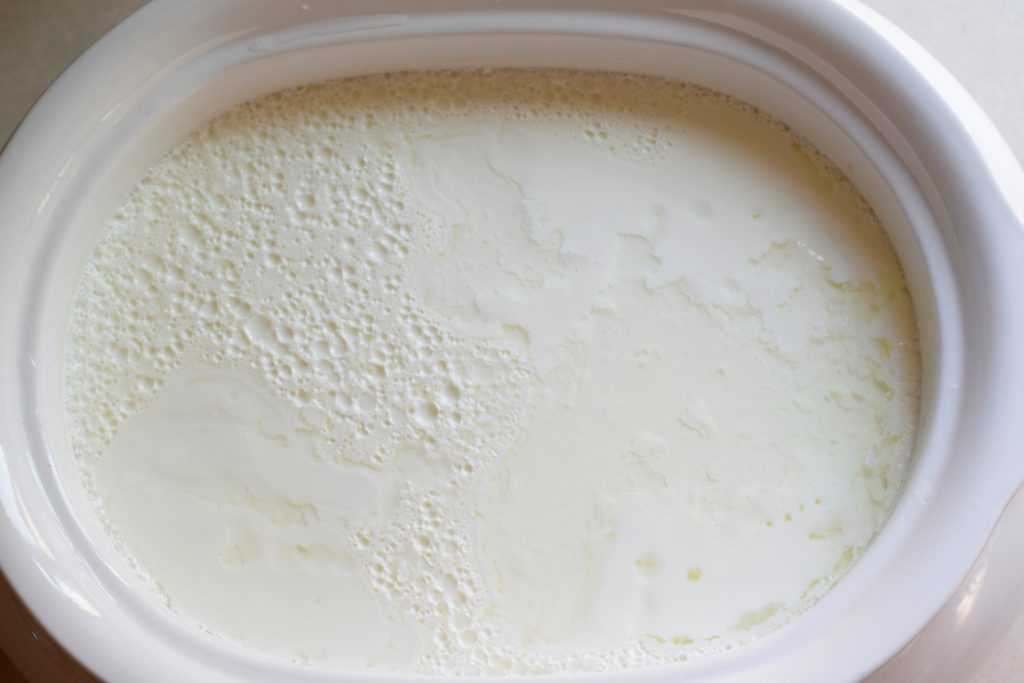
After the yogurt cultures are mixed in, put the lid on the slow cooker. Let it sit undisturbed for at least 6 hours, and overnight is fine. The slow cooker retains heat well, so I do not use any additional heat while my yogurt is incubating.
You can let your yogurt sit for up to 12 hours or so if you like. The longer it sits it will become slightly thicker but also more sour. You know the yogurt is ready when it has thickened considerably and you can see some clear whey starting to form around the edges.
Step 5: Strain the Yogurt
If you enjoy yogurt on the thinner side you can skip this step and enjoy your yogurt now. But if you prefer a thicker, creamier Greek-style yogurt, you need to strain it. There are several ways to do this but I prefer using a colander lined with cheesecloth (affiliate link). It is simple and inexpensive with easy clean up.
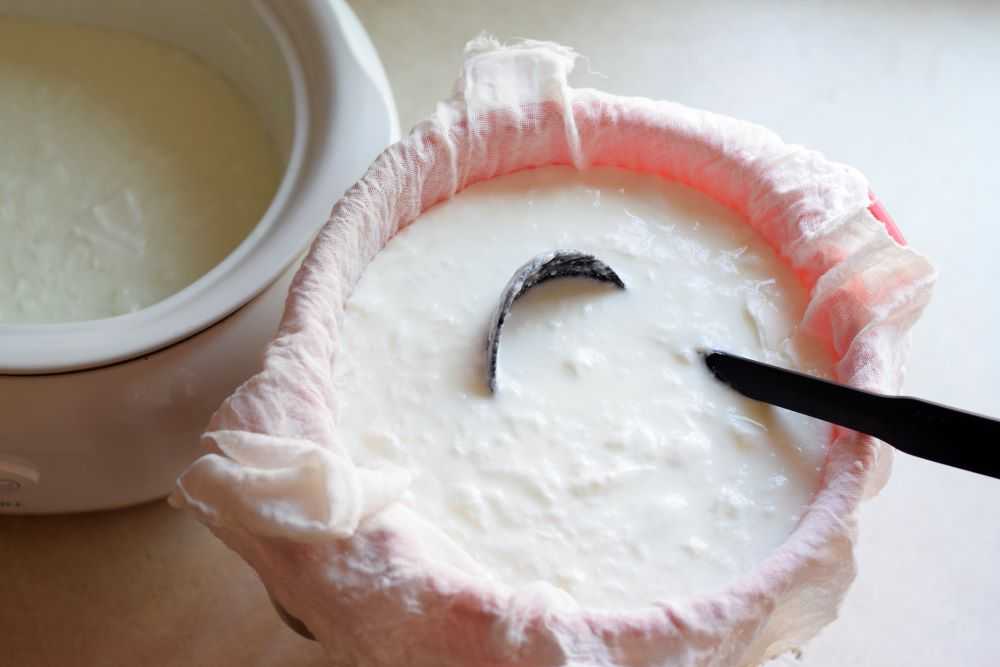
Take your colander and place it over a large bowl to collect the whey as it drains. Line the colander with two layers of cheesecloth and then pour or scoop the yogurt into the colander. Fold any extra cheesecloth over the top of the yogurt so the whey does not start dripping on your counter. Place the bowl-colander-yogurt stack into the refrigerator to drain for 6-24 hours, or until the yogurt is as thick as you would like. If the bowl gets full of whey, just dump it out.
Step 6: Transfer the Finished Yogurt to a Clean Bowl
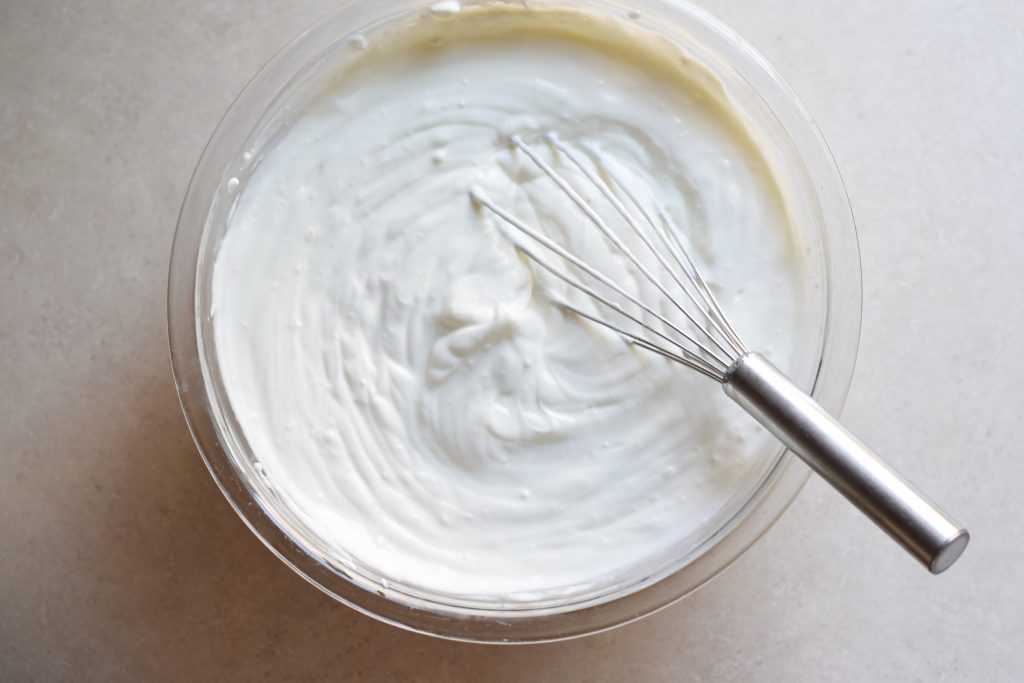
After the yogurt is as thick as you would like, invert the colander over a clean bowl and peel off the cheesecloth. Whisk it vigorously to get out any lumps and make the yogurt creamy and smooth. If your yogurt is too thick, just stir some of the extra whey back in.
Transfer about half a cup of yogurt to a small clean bowl to start your next batch. I like to take it out now so it won’t get contaminated later on. Store it in the refrigerator until needed.
Rinse out your cheesecloth in the sink and let it dry completely. You can use this same cheesecloth next time. I store my dried cheesecloth in a zip-top bag to keep it clean.
Serve
You did it! You made your own yogurt! Enjoy this creamy deliciousness with homemade granola or homemade strawberry freezer jam and fruit for breakfast. Or add it into a smoothie or protein shake. You can also use it as a substitute for sour cream or buttermilk. The possibilities are endless!
Hope you enter into the exciting world of yogurt making soon. Happy Cooking!

Homemade Yogurt
Ingredients
- 1 gallon milk
- ½ cup plain yogurt with live and active cultures
Instructions
- Pour the milk into a slow cooker. Heat on high for 2-3 hours or until the milk reaches 180°.
- Turn off the slow cooker and remove the lid. Let the milk cool for one hour or until it reaches 110-115°. If a skin forms on top of the milk, peel it off before proceeding to the next step.
- Place the plain yogurt in a small bowl. Add about half a cup of the warm milk and whisk until smooth. Add the thinned yogurt back into the slow cooker and whisk it thoroughly until it is evenly distributed.
- Place the lid back on the slow cooker. Let it sit undisturbed at room temperature for at least 6 hours, and overnight is fine. You know the yogurt is ready when it has thickened considerably and clear whey starts to form around the edges.
- Line a large colander with two layers of cheesecloth. Place the colander over a large bowl to catch the whey as it drains. Pour or scoop the yogurt into the colander and fold any extra cheesecloth over the top.
- Place the yogurt, colander, and bowl in the refrigerator for 6-24 hours or until the yogurt is as thick as you would like. If the bowl gets full of whey, just dump it out.
- After the yogurt is as thick as you would like, invert the colander over a clean bowl and peel off the cheesecloth. Whisk the yogurt vigorously until smooth. If your yogurt is too thick, stir some of the extra whey back in.
- Your yogurt is now ready to eat! Store it covered in the refrigerator for up to two weeks.
Notes
Common Questions
Is it okay for milk to sit at room temperature for long periods of time?
Usually we think that milk at room temperature will go bad. This can be true. But when we are making yogurt, we are introducing good bacteria that quickly overwhelm any harmful bacteria that may be present in the milk. Lactic acid produced in the yogurt making process lowers the pH and also helps to prevent the growth of harmful bacteria.
Why is my yogurt not getting thick?
There are a few reasons why your yogurt may not thicken properly:
- Your yogurt starter was too old. Make sure your yogurt cultures are fresh.
- The milk was too warm when the yogurt starter was added. Make sure your milk is 110-115 degrees for optimal growth.
- Your yogurt has not had enough time to thicken. Yogurt takes at least 6 hours to thicken properly. It may take slightly longer in cooler temperatures.
Can I heat the milk on the stove instead of in a slow cooker?
Yes, you can! This speeds the process up considerably because it takes a shorter amount of time to get the milk up to temperature. However, you need to watch the milk carefully so it does not burn and stick to the bottom of your pot.
If you heat the milk on the stove I recommend using a heavy pot or dutch oven because this will help retain the heat better as yogurt is incubating.
How much yogurt will I get from a gallon of milk?
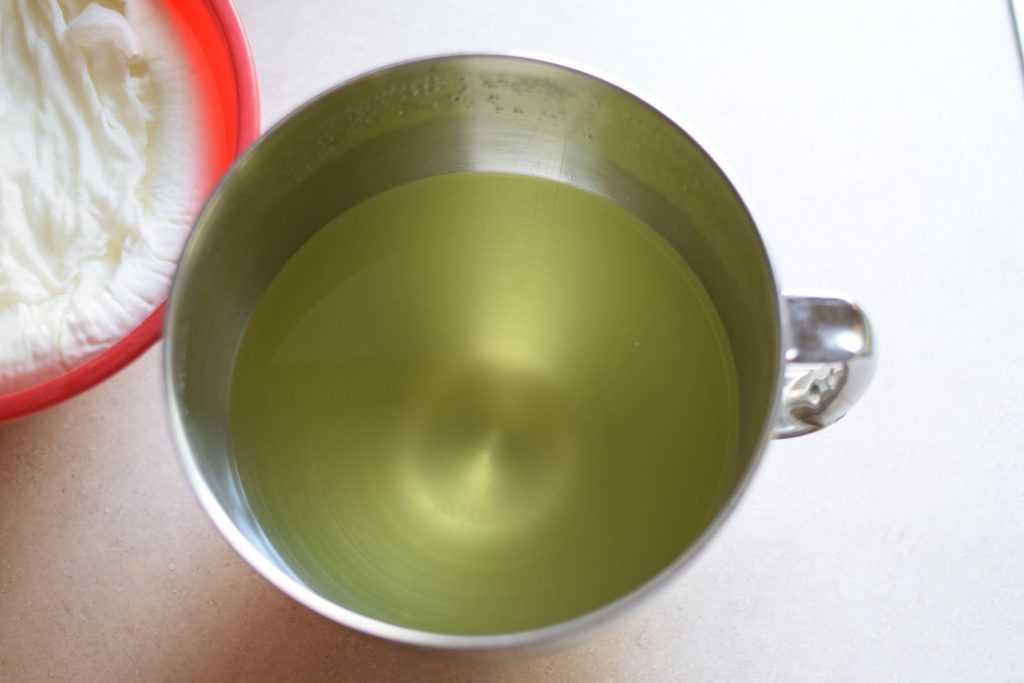
This depends on the thickness. If you like thin yogurt, you get around a whole gallon. If you choose to thicken your yogurt, you will get around half a gallon of finished yogurt (8 cups) and half a gallon of clear whey.
What can I use the whey for?
The type of whey left over from making yogurt is called acidic whey. It tastes more sour than the whey left over from making cheese, which is called sweet whey. Although it is full of nutrients and probiotics, acidic whey has limited uses at home.
You can try using leftover acidic whey in baked goods instead of milk or water. You can also try thinning it with water and using it as a fertilizer in your garden.
How long will my yogurt cultures last before I need to make yogurt again?
Fresh yogurt cultures are important for making yogurt. I recommend making a new batch within 7-10 days.
How long will my finished yogurt last in the refrigerator?
Homemade yogurt typically lasts up to two weeks when stored properly.
Be sure to pin for later!
Patti
Great job on your “how to make yogurt”. You make it sound so easy and your links are sure a big help. The pictures always help. Very nice photos.
Keep it up. I’ll keep watching for what new each month.
Mandy
Thanks Patti! Glad this is helpful for you 🙂
Patti
Yum!