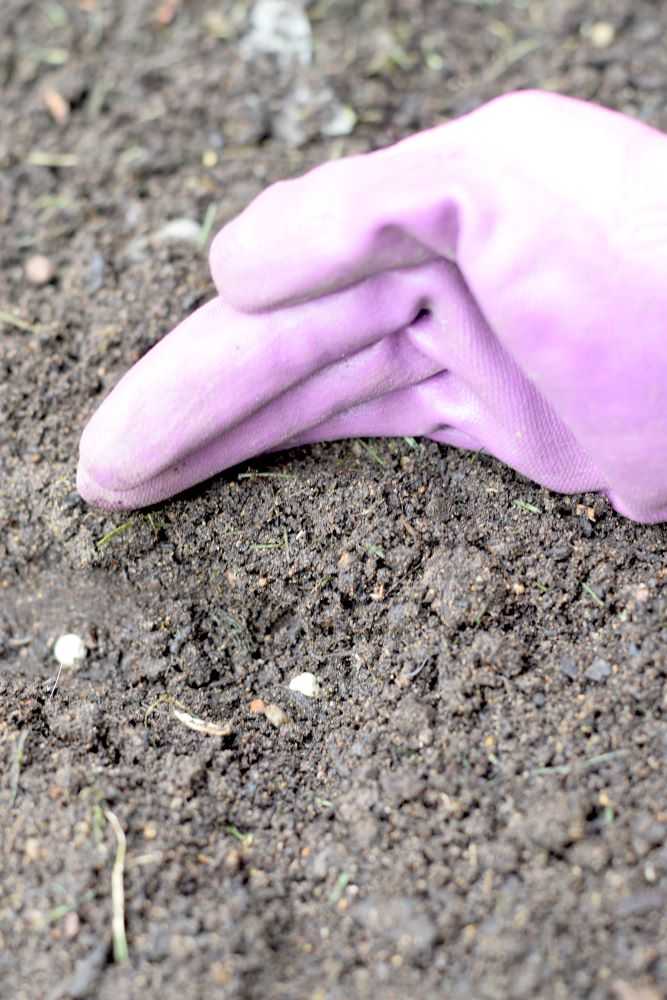
I always struggle to get peas started in the spring. The weather is warm enough to plant pea seeds in March or so but the soil is so wet the seeds often rot. Then I have to replant the peas and the snails eat them. Or the birds. Yes, birds. They pick at the tendrils and chop the leaves to pieces. It’s annoying. And it often kills the whole plant and I need to start over completely.
Now I have a new method for getting my peas started. I plant them in the fall and overwinter them. This solves many of my problems. Since the soil is not so wet the seeds get off to a good strong start. And by spring the plants are big enough to withstand a bird or snail here and there. Read on to learn how easy it is to overwinter peas for an earlier spring harvest.
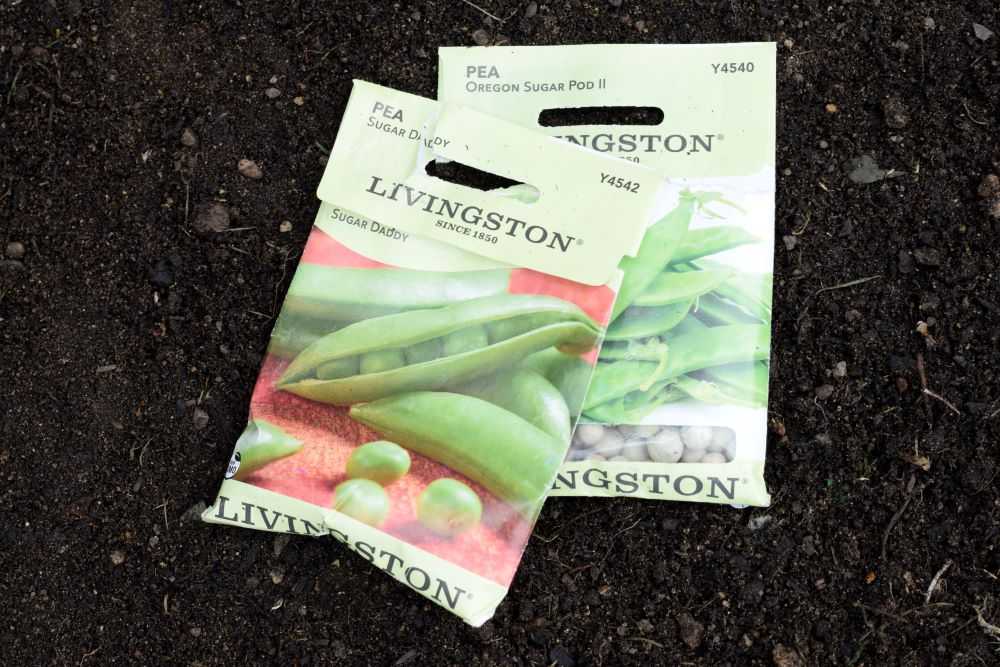
Pea Plant Hardiness
Peas are hardy down to about 20 degrees, and colder if covered with an insulating layer of snow. Overwintering peas will not work in all areas without additional protection but here in Oregon we rarely have temperatures cooler than this so this method works well.
Keep in mind though that once in awhile the weather will get cold enough to damage your pea plants. But the worst case scenario is that all of your plants die and you need to replant in the spring. While this is unfortunate, you are no further behind than you would have been otherwise.
When to Plant Peas for Overwintering
Peas should be planted in late September or October. The timing can be a little tricky because you want them to get established and grow to about a foot high before going dormant for the winter. They may look a little scraggly over the winter months but when the temperatures warm in the spring they will put on lush green growth!
Related: Why Garden Planning Starts in September
How to Plant Peas for Overwintering
Step 1: Select a Site
Peas grow best in the cool temperatures of early spring. Choose a site that will be in full sun with good drainage.
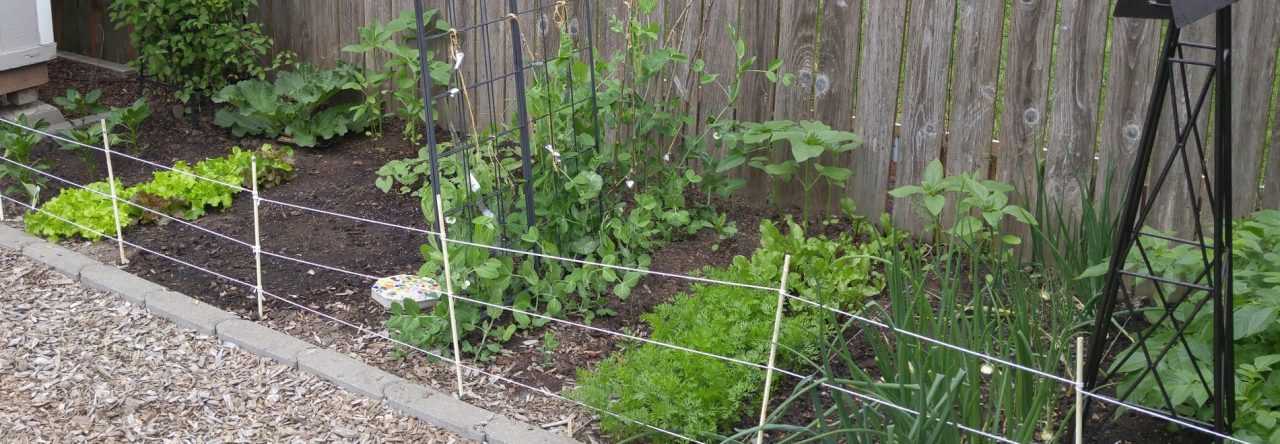
Although peas do not grow very tall, they seem to do better with some type of support so the plants are not flopping on the ground. There are many types of trellises to choose from. I have a folding metal trellis that works great! Get this in place so you know where to plant your seeds.
Step 2: Prepare the Soil
Peas are light feeders. Since they are able to make their own nitrogen their need for extra fertilizer is low. You can add a small amount of compost or balanced fertilizer at planting time but this is not required. Fertilizing peas with too much nitrogen will cause big healthy plants but not many pea pods.
Step 3: Dig a Trench
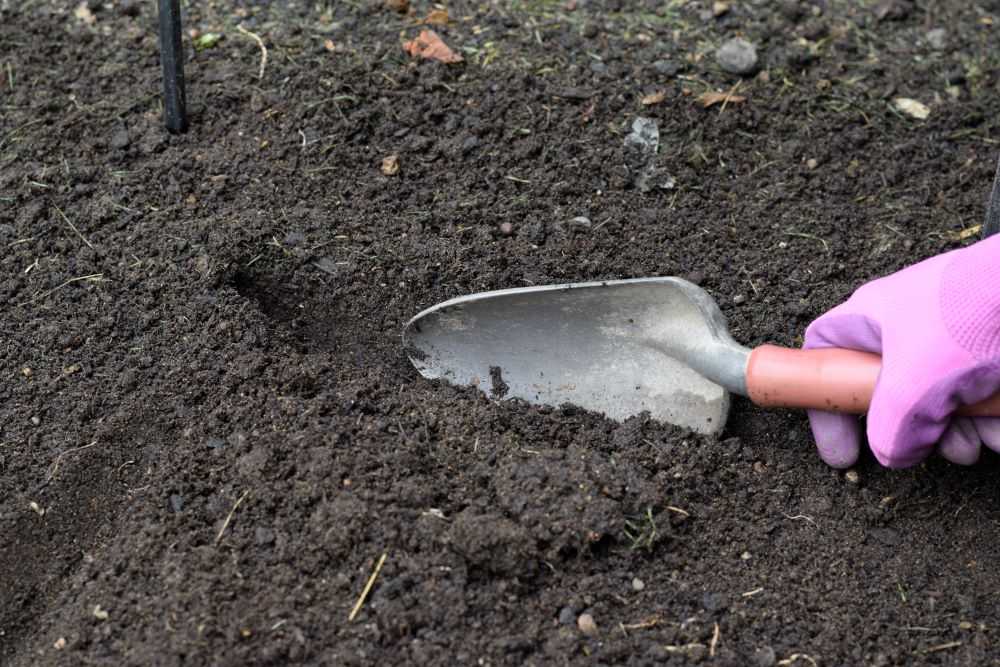
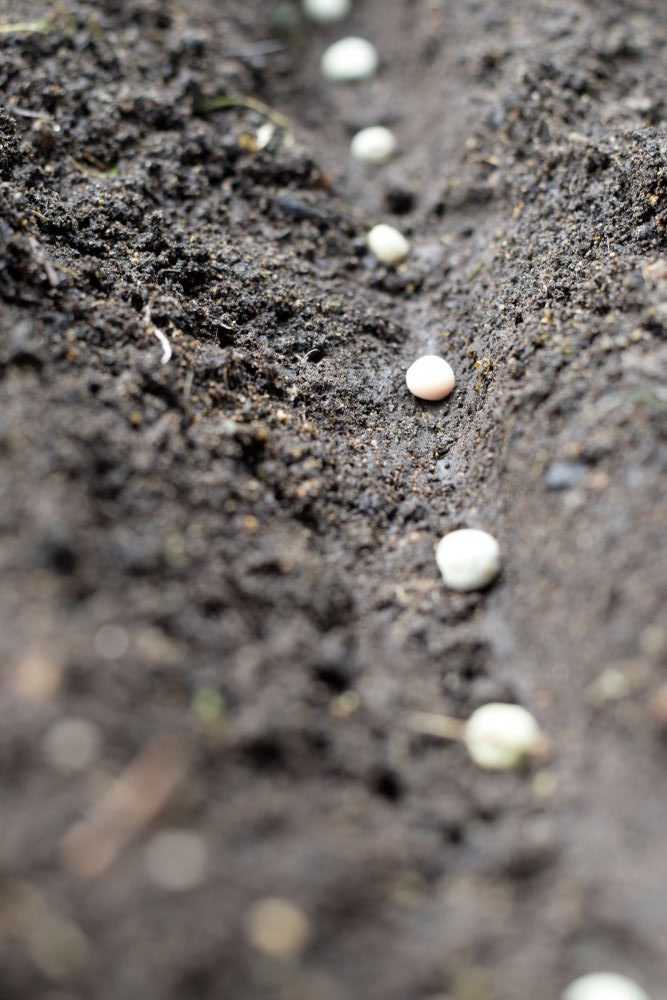
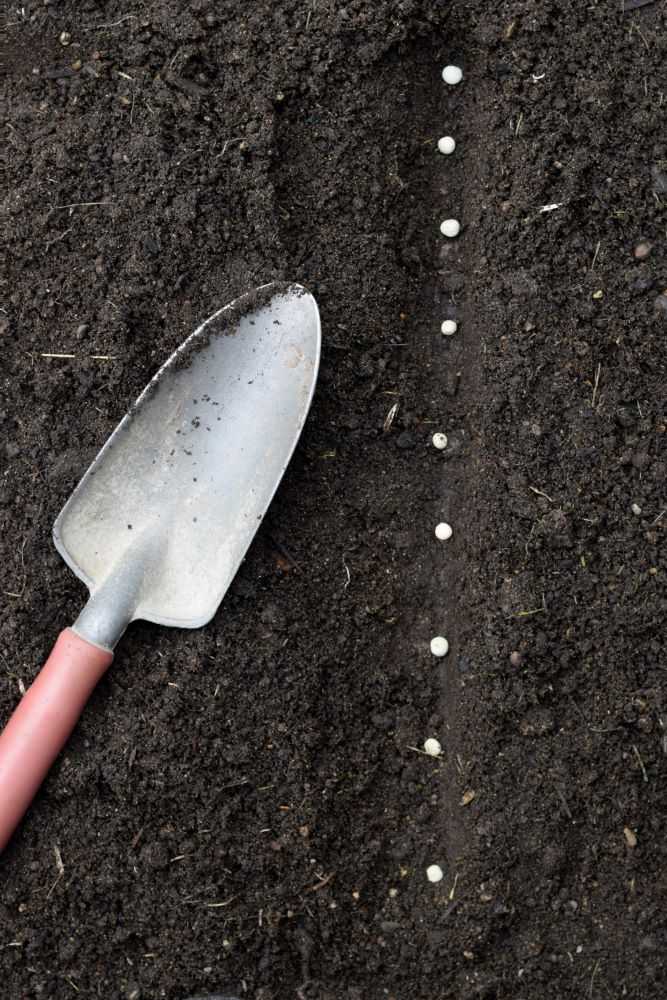
Start by digging a trench about 3-4 inches from the base of your trellis. The trench should be about 1 to 1 1/2 inches deep. Use the side of your hand to gently smooth the bottom of the trench so it is even.
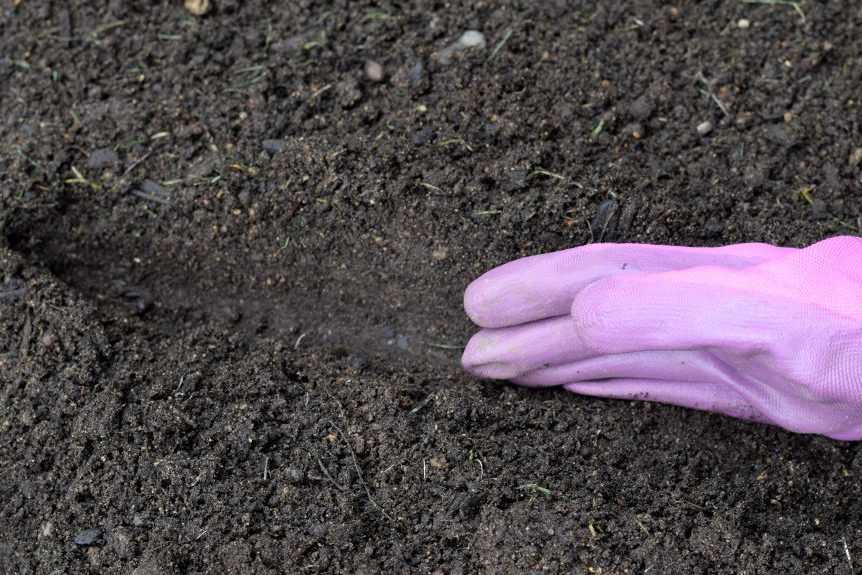
Step 4: Plant the Seeds
Plant your seeds about 2 inches apart and cover them with soil. Gently pat the soil down with your hand and water the seeds lightly. Now wait for them to start growing!
Early Care
Peas seedlings should emerge in about 1-2 weeks, depending on the temperature. Help them find the trellis when they get tall enough. Peas like to be a little crowded so there is no reason to thin the seedlings.
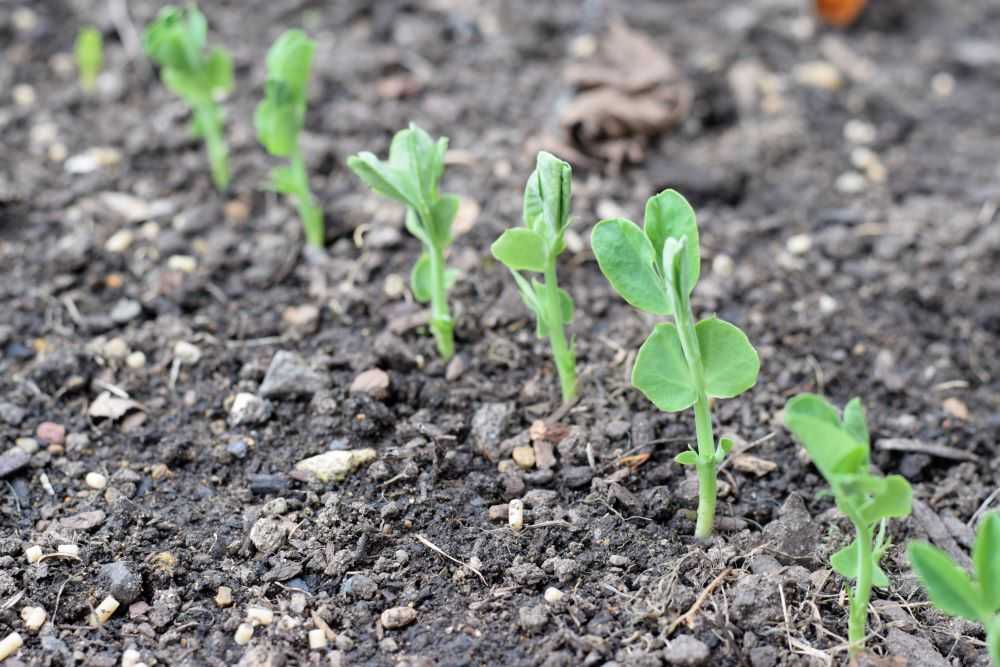
Water the seedlings lightly because peas do not like heavy wet soils. The fall rains will likely keep them plenty wet. Protect them from slugs and snails, especially when they are small so the snails do not kill the whole plant. If you do lose some plants you can poke a hole with your finger and add in a few more seeds.
When winter comes consider protecting and covering the seedlings if the weather gets below 25 degrees or so. If you have snow it will insulate the peas plants and protect them down to even lower temperatures. Make sure you uncover them as the weather warms because they will soon put on rapid growth!
Final Thoughts
There you have it! Now that you know how to overwinter peas you will be rewarded with strong and healthy plants and have peas well before your neighbors in the spring. Happy Gardening!
Be sure to pin for later!
