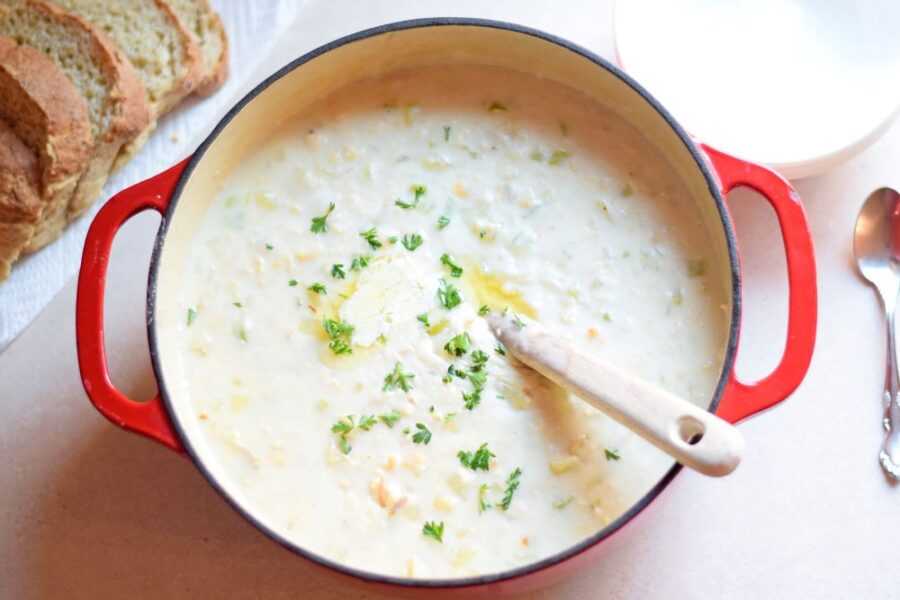
This thick & hearty New-England style clam chowder is loaded with potatoes, onions, and tender clams. It is easy to make at home and ready in less than an hour!

Note: This post may contain affiliate links, where I earn a small commission from qualifying purchases.
One thing I miss about pre-pandemic life is going to the coast to enjoy a big bowl of clam chowder at our favorite restaurant. While many restaurants are closed right now, it does not mean that you cannot enjoy a satisfying bowl of chowder at home, no trip to the beach required!
If you have never tried to make your own clam chowder before you are in for a treat! This New-England style clam chowder is absolutely loaded with potatoes and clams. This recipe is not only easy to make, but it is ready in under an hour! Serve it with oyster crackers or crispy bacon sprinkled on top for a satisfying salty crunch. Yum!
This will take you through how to make this delicious clam chowder step-by-step. Let’s get started!
Ingredients for One Hour Clam Chowder
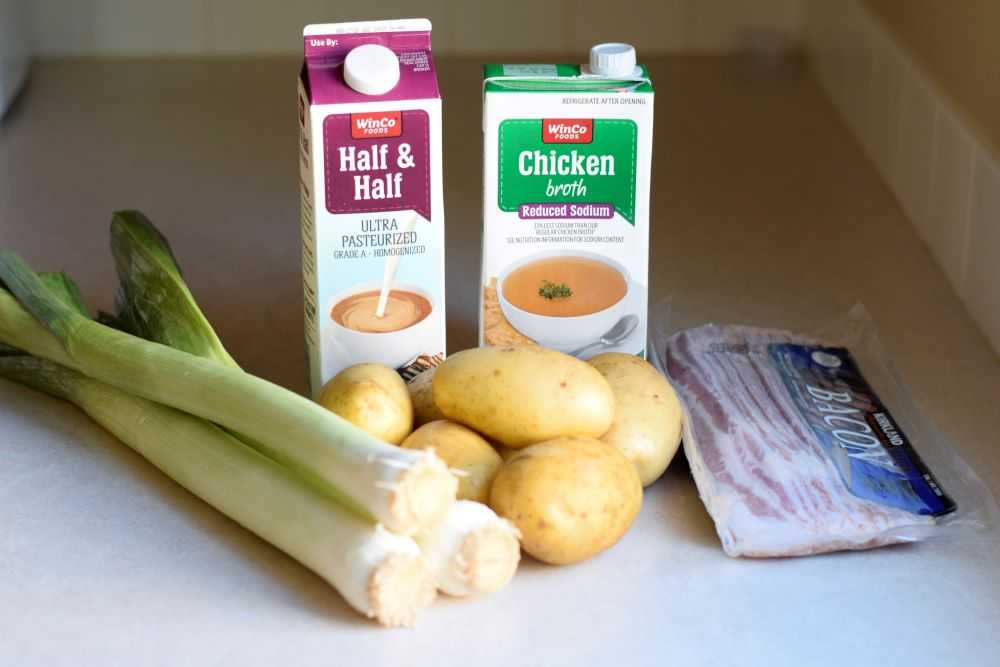
Clam chowder only requires 7 ingredients: onion, celery, potatoes, clams (with juice), milk, flour, half-and-half, and butter. We will go through the ingredients now:
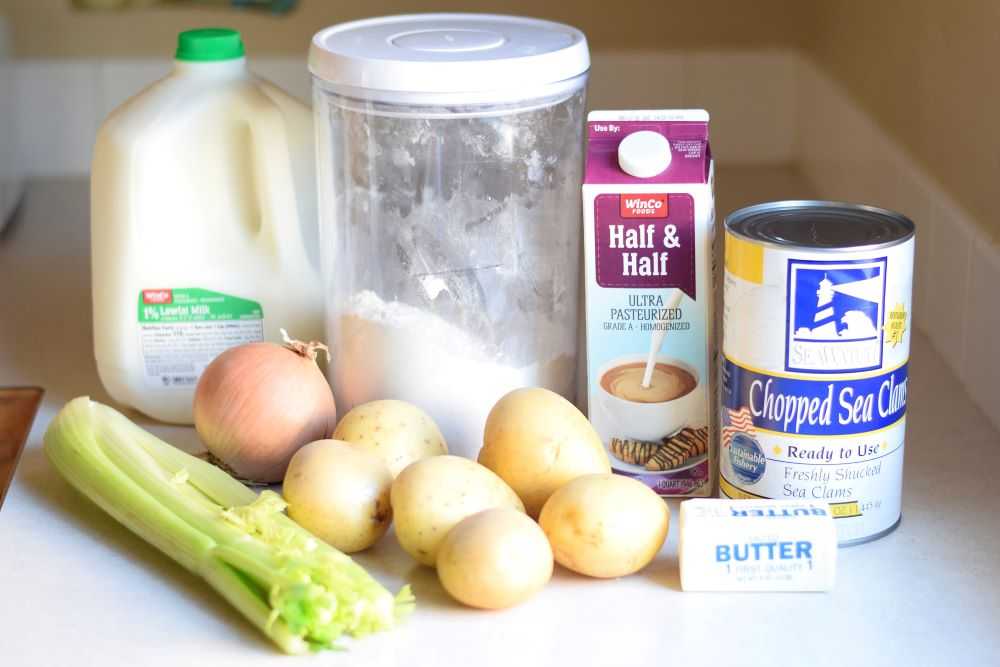
Onions and Celery – These add flavor to the soup. Be sure to use a yellow or white onion (not a red onion) so it does not change the color of the broth.
Potatoes – My favorite potatoes to use in this soup are red potatoes or yukon gold potatoes. Since they have thin skin, I usually do not peel them.
If you don’t have yukon gold or red potatoes, russets work great too! They are a little more tender than the yukon golds or red potatoes and break down a little more in the soup. You may want to peel them though because they have a slightly thicker skin.
Clams – This recipe calls for one large can of chopped clams (51 oz). Grocery stores may not have this size available but you can find them at Costco, Sam’s Club, restaurant supply stores such as Smart Foodservice, or Amazon. What I like about using a large can of clams is that it is less expensive and much easier than buying the smaller cans. It also has plenty of clam juice so you do not need to buy the clam juice separately.
My absolute favorite clams are from Costco. There are about 3 cups of clam juice and 4-5 cups of loosely packed chopped clams in the can. If you cannot find a large can of clams, you may use 4-6 of the smaller 6.5-oz cans, depending on how many clams you would like in your soup.
Half-and-Half – Half-and-half makes the soup rich and satisfying. It also gives it its creamy white color. You can control the richness of the soup by substituting any combination of milk or heavy cream if you prefer 🙂
Flour – Flour helps to thicken the clam chowder. This is added at the very end.
Also needed: butter, water, salt, and pepper.
How to Make One Hour Clam Chowder
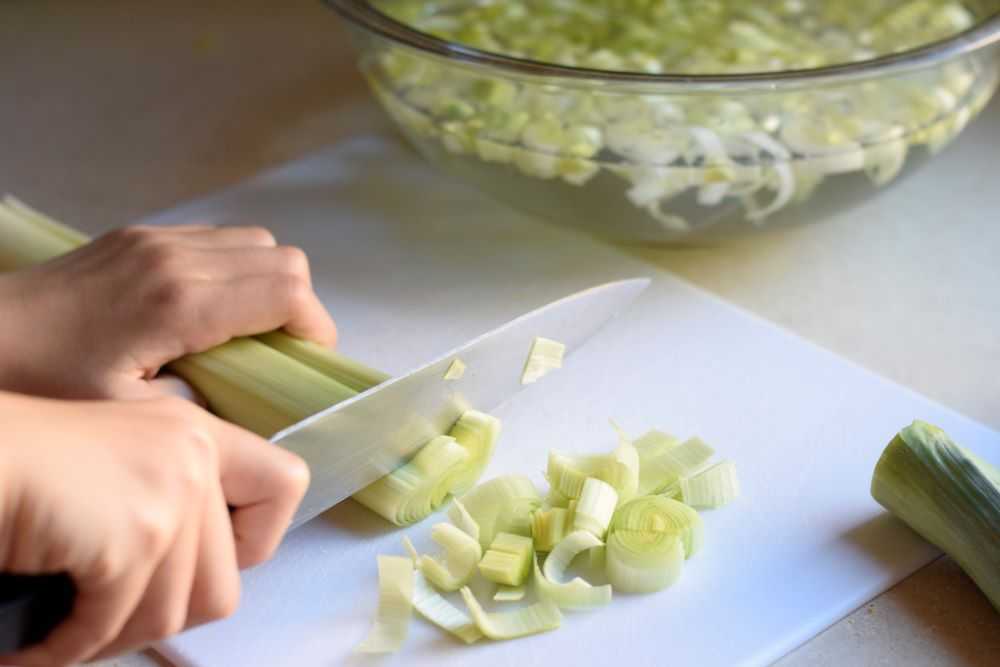
Step 1: Prepare the Ingredients

Start by chopping the vegetables for the soup. You want to chop the celery and onions into fairly small pieces. Cut the potatoes into half inch cubes so they will cook more quickly.
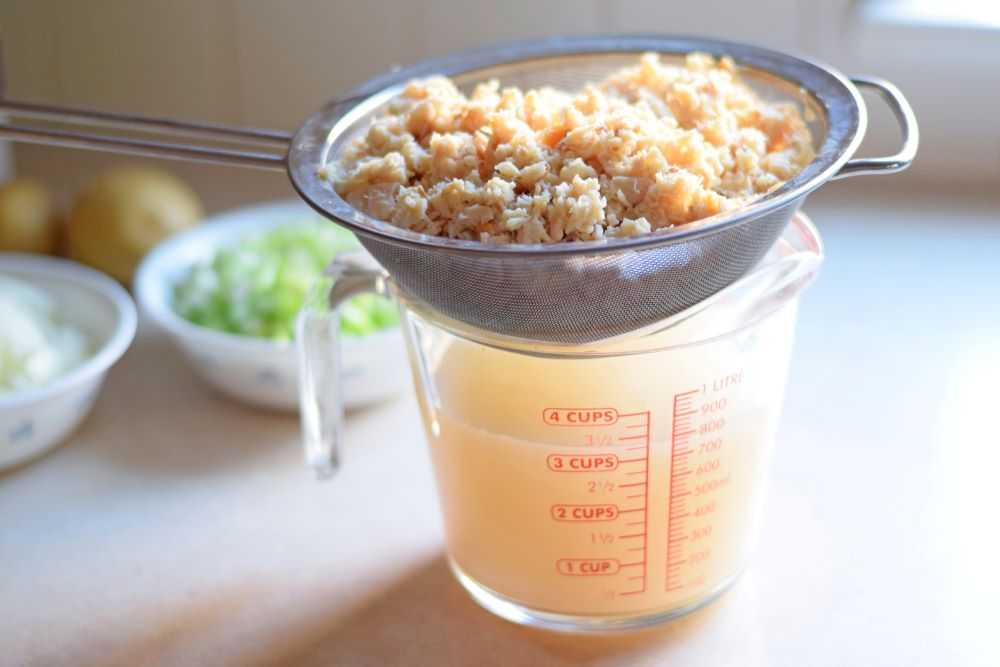
Drain the clams, reserving the juice. I like to do this by putting a strainer over a large bowl or measuring cup. I usually get about 3 cups of clam juice from my can of clams. If you have less than this, add a little water until you have about 3 cups.
Look through the clams and remove any strings or pieces that don’t look right. Set this aside as you start your soup.
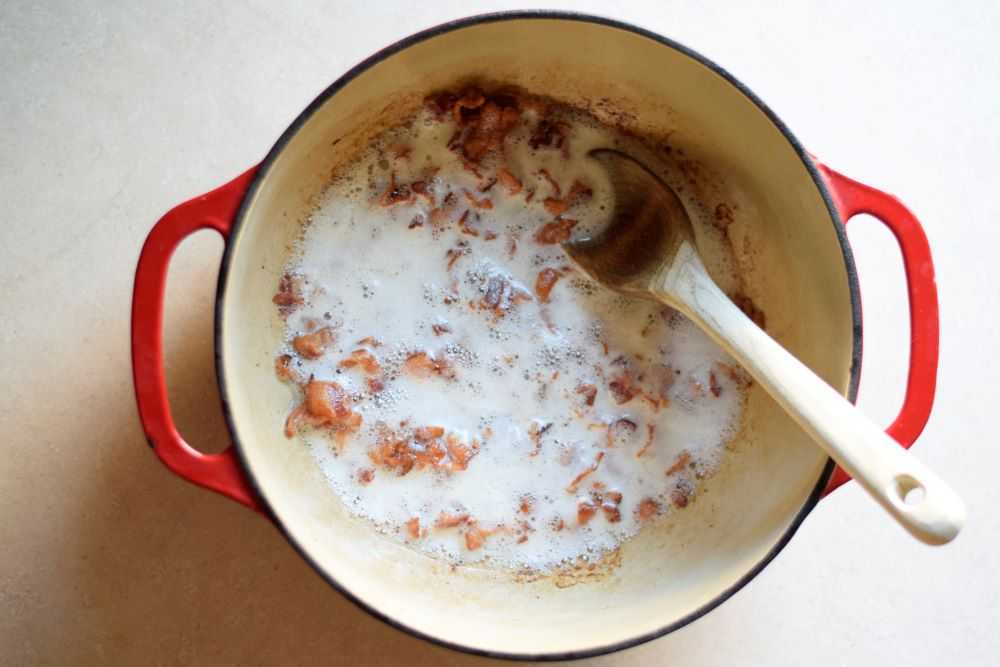
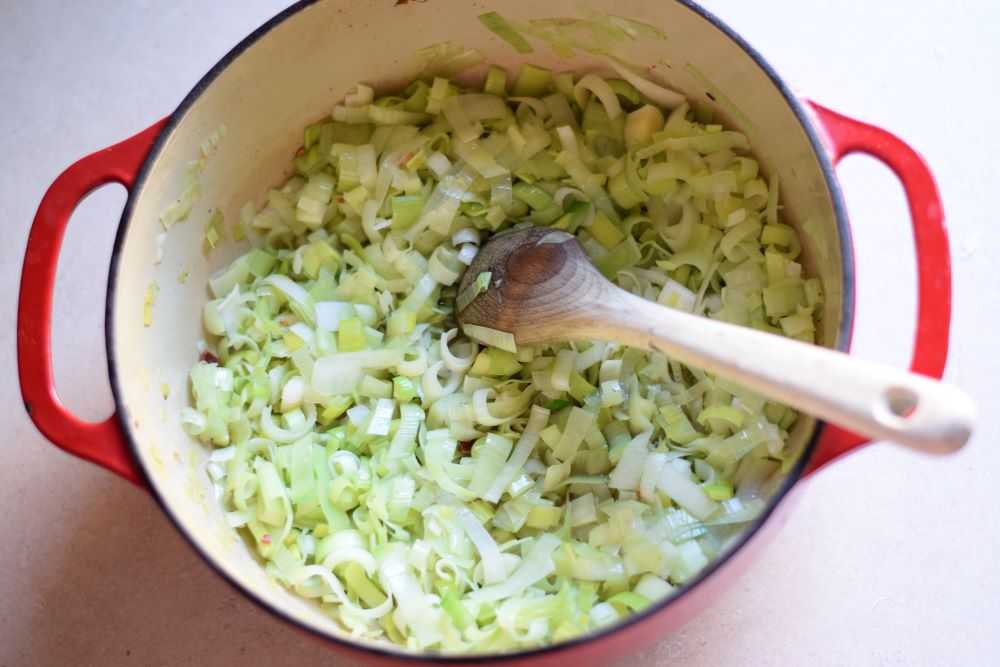
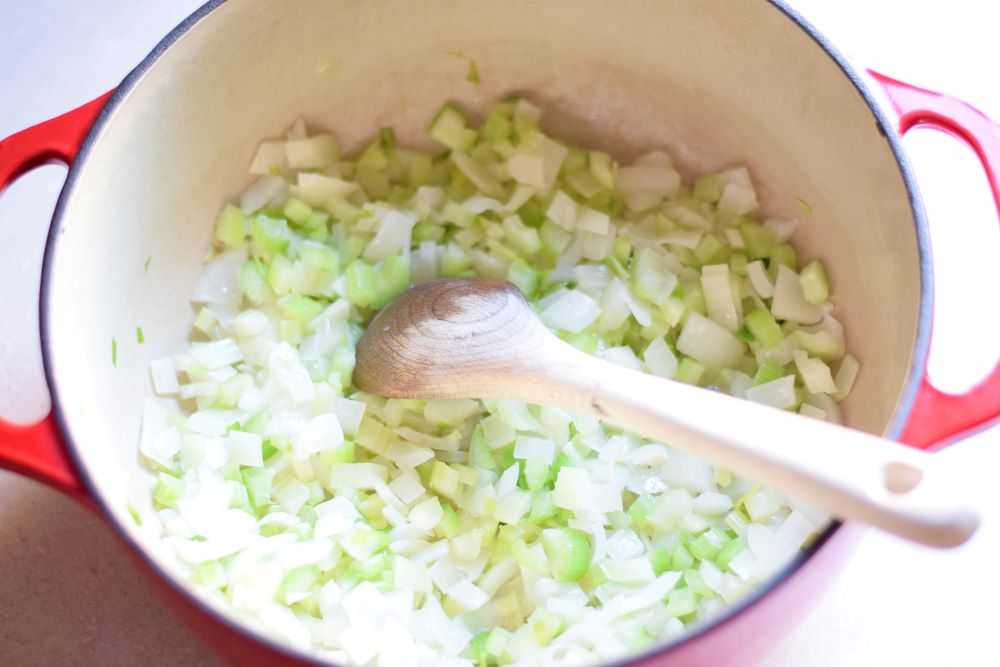
Step 2: Cook the Onion and Celery
Melt the butter in a large pot. Add in the onion and celery and cook over medium high heat for 5 minutes or until they soften up a bit, stirring occasionally.
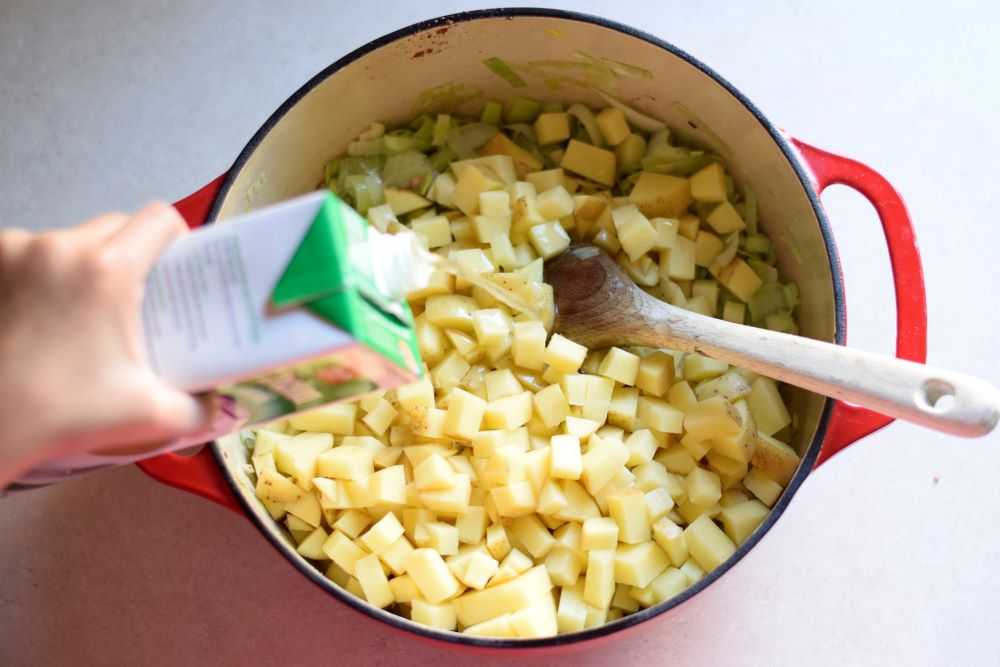
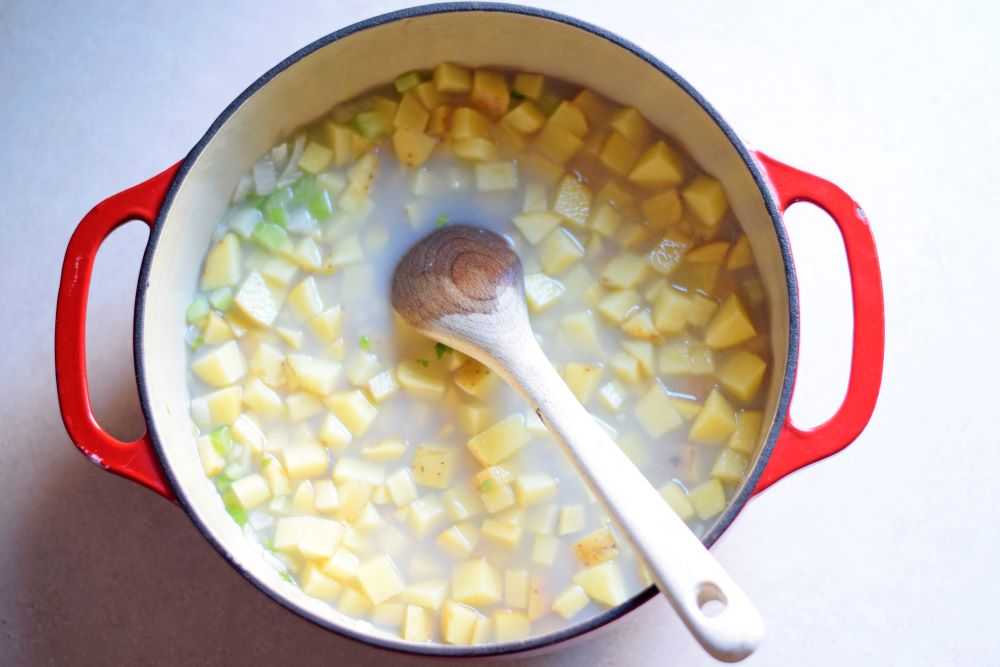
Step 3: Add in the Potatoes and Clam Juice
After the onion and celery are tender, add in the cubed potatoes and reserved clam juice. Bring to a boil then cover and reduce the heat. Simmer for 20 minutes or until the potatoes are tender.
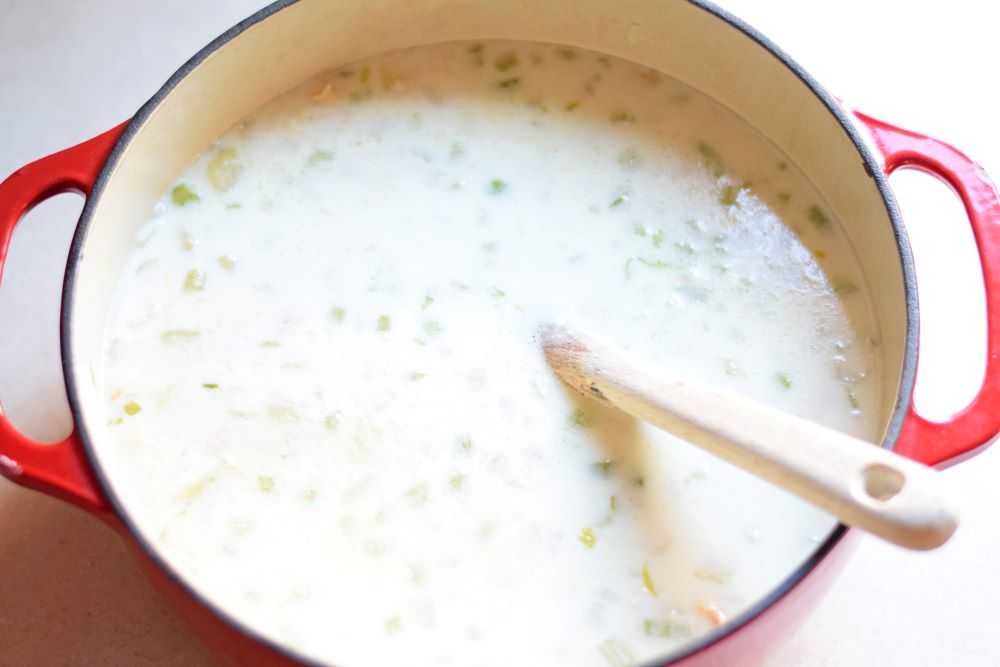
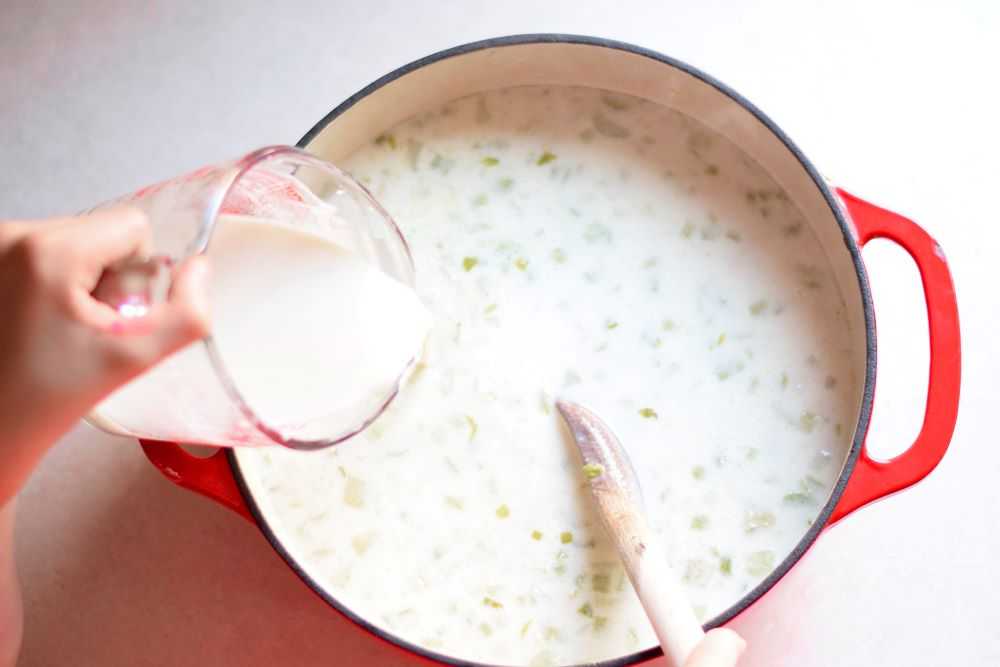
Step 4: Add in the Clams and Milk
When the potatoes are tender stir in the clams and half-and-half. The clams are added at the very end so they stay nice and tender. Heat through just until soup starts to boil.
Step 5: Thicken the Soup
Stir the flour and water together in a small bowl or measuring cup to make a slurry. Whisk vigorously to get out any lumps.
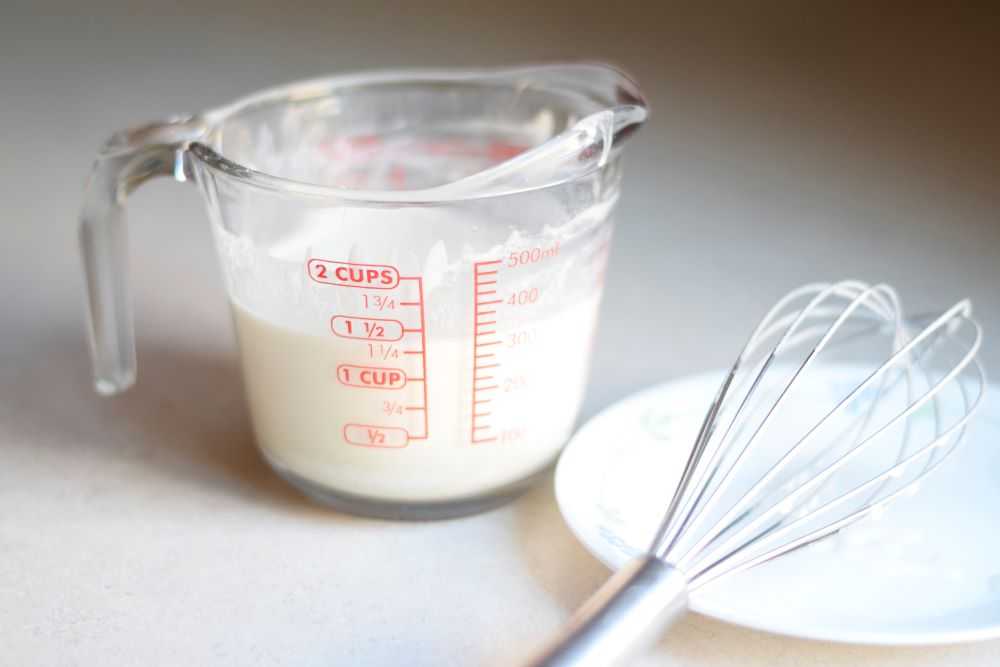
Drizzle the flour mixture into the gently boiling soup, stirring constantly, until the soup has thickened. You may not need too add all of the flour if you like your chowder on the thinner side. Boil gently for one minute to fully cook the flour and then remove from heat.
Taste the soup and season with salt and pepper to taste. The clam chowder is now ready to serve!

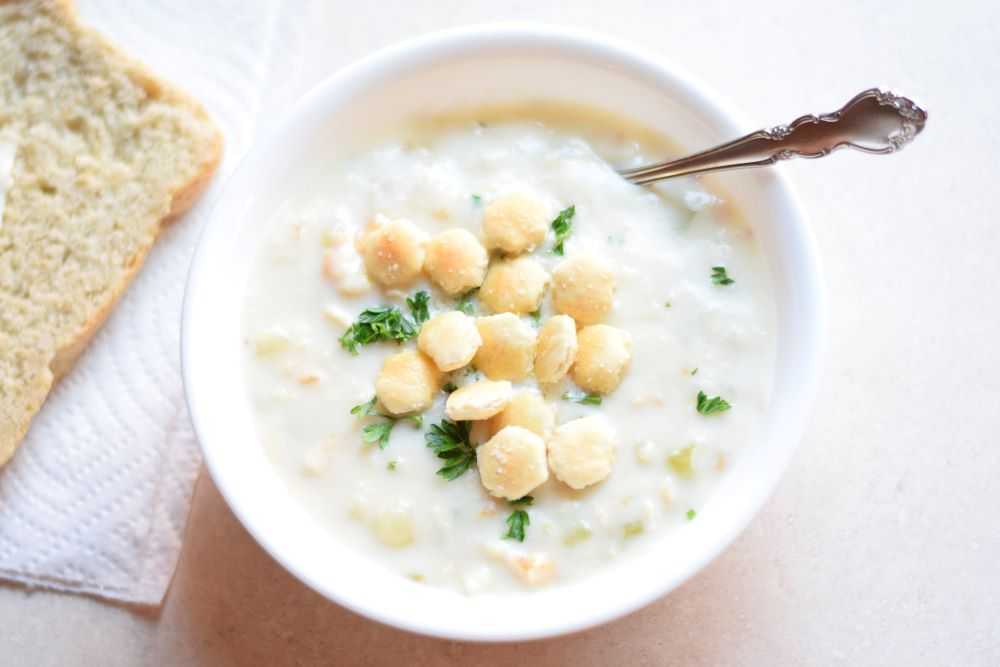
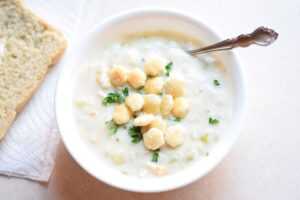
Serve
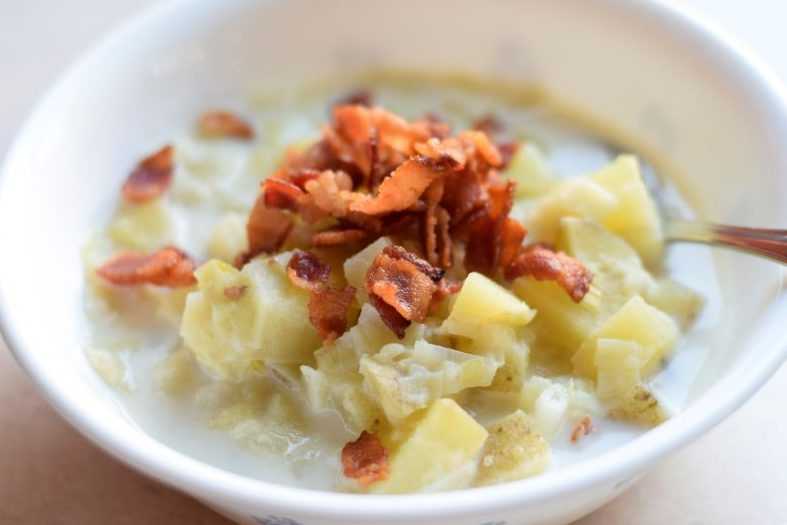
Ladle the hot soup into bowls and top with butter, oyster crackers, crispy bacon, or whatever you like. Serve with crusty bread if desired. Yum!
Hope you get to try this easy clam chowder soon. Happy Cooking!
One Hour Clam Chowder
Ingredients
- 2 tablespoons butter
- 1 large onion, chopped
- 3 stalks celery, finely chopped
- 2 pounds potatoes, cut into half inch cubes (about 3-4 medium), peeled if desired
- 1 can chopped clams (51 oz), drained, reserving juice. You should have around 3 cups clam juice and 4-5 loosely packed cups of chopped clams. See recipe notes below.
- 2 cups half-and-half
- ⅔ cup flour, or as needed
- 1 cup water, or as needed
- ½ teaspoon salt, or to taste
Instructions
- Melt the butter in a large pot. Add in the onion and celery and cook over medium high heat for 5 minutes or until they have softened up a bit, stirring occasionally.
- After the onion and celery are tender, add in the cubed potatoes and reserved clam juice. Bring to a boil then cover and reduce the heat. Simmer for 20 minutes or until the potatoes are tender.
- When the potatoes are tender stir in the clams and half-and-half. Heat through just until soup start to boil.
- Stir the flour and a little water together in a small bowl or measuring cup to make a slurry. Whisk vigorously to get out any lumps.Slowly drizzle the flour mixture into the gently boiling soup, stirring constantly, until the soup has thickened. You may not need to add all of the flour if you like your chowder on the thinner side. Boil gently for one minute to fully cook the flour and then remove from heat.
- Taste the soup and season with salt and pepper to taste. Serve the clam chowder topped with butter, oyster crackers, crispy bacon, or whatever you like. Enjoy!
Notes
Other recipes you may like:
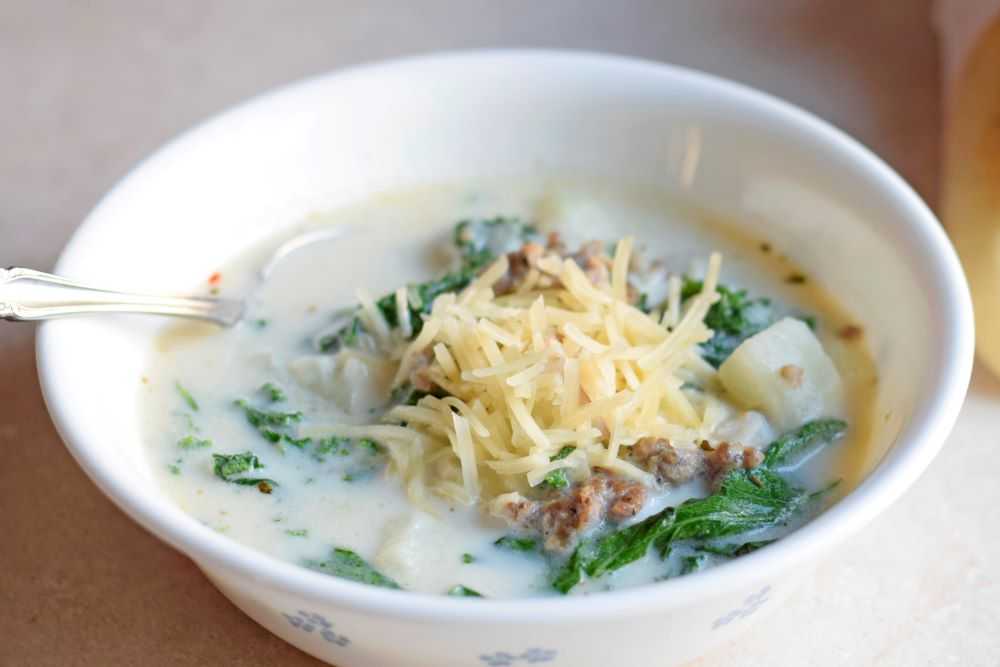
Sausage, Potato, and Kale Soup