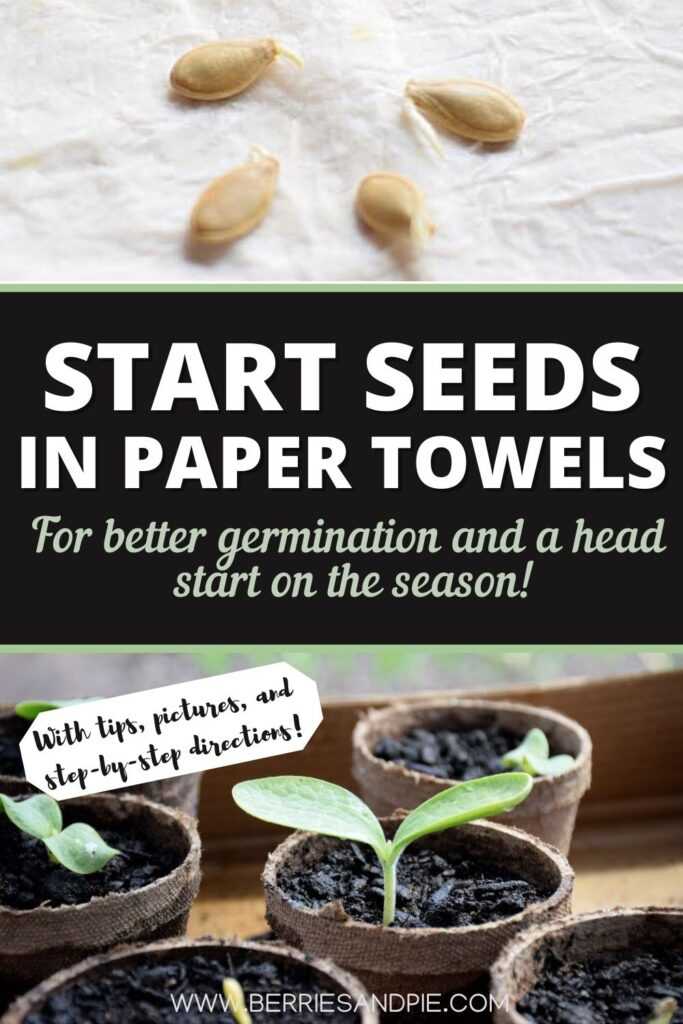
Germinating seeds in paper towels adds an extra step before planting but often leads to better outcomes. It is easy to do and takes just a few minutes!
Have you ever planted seeds just to wonder why they aren’t germinating? Maybe the seeds are old? Maybe the growing conditions aren’t right? Did I plant them too deep? If you have ever tried to start seeds indoors you know it can sometimes be a frustrating process.
Germinating seeds in paper towels before you plant them in containers adds an extra step but often leads to better outcomes. Seeds germinate more quickly and you can easily check on your seeds as they start to grow. Best of all, it is easy to do and just takes a few minutes.
Now we will go through this process step-by-step. Let’s get started!
Advantages to Germinating Seeds in Paper Towels Before Planting
You may be wondering, why germinate seeds in paper towels at all? Why not plant them directly in the soil and skip this step all together?
Excellent questions! Here are some reasons why I germinate many of my seeds in paper towels before planting:
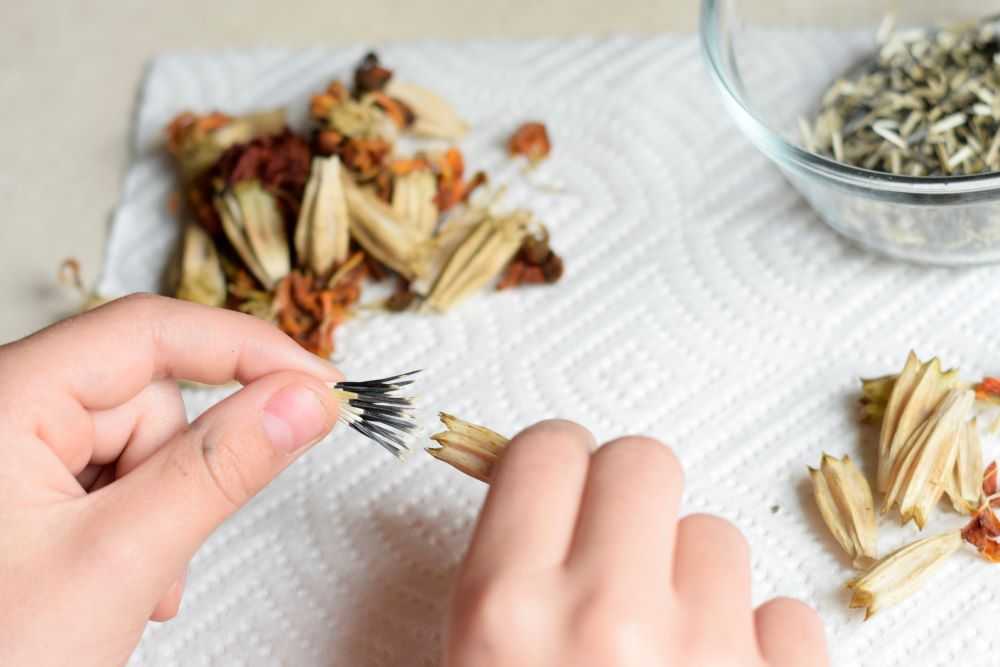
- I use a lot of seeds that I have saved from previous years. It is impossible to know if seeds are still good just by looking at them. Within a couple of days I will know if the seeds are still viable or if I need to purchase new ones.
- Putting the seeds in a damp paper towel in a plastic bag makes greenhouse-like conditions which often leads to faster germination.
- You can see exactly which seeds have germinated so you only plant seeds that are sure to develop.
- It is fun to check you seeds each day and watch them grow!
What types of seeds to germinate in paper towels?
If you have seeds saved from previous years, this method can be used to test germination of pretty much any type of seed. Place a few seeds in the paper towel and see if they start to grow. If all are duds, it is time to purchase some new seed!
Most of the time though, I just start seeds that I am going to start as transplants rather than seeds I would sow directly in the garden. Good choices for transplants are vegetables with a longer growing season than would be damaged from cold and frosty conditions. This way you can start them earlier and get a head start on the season.
Here are some of the seeds I regularly start inside:
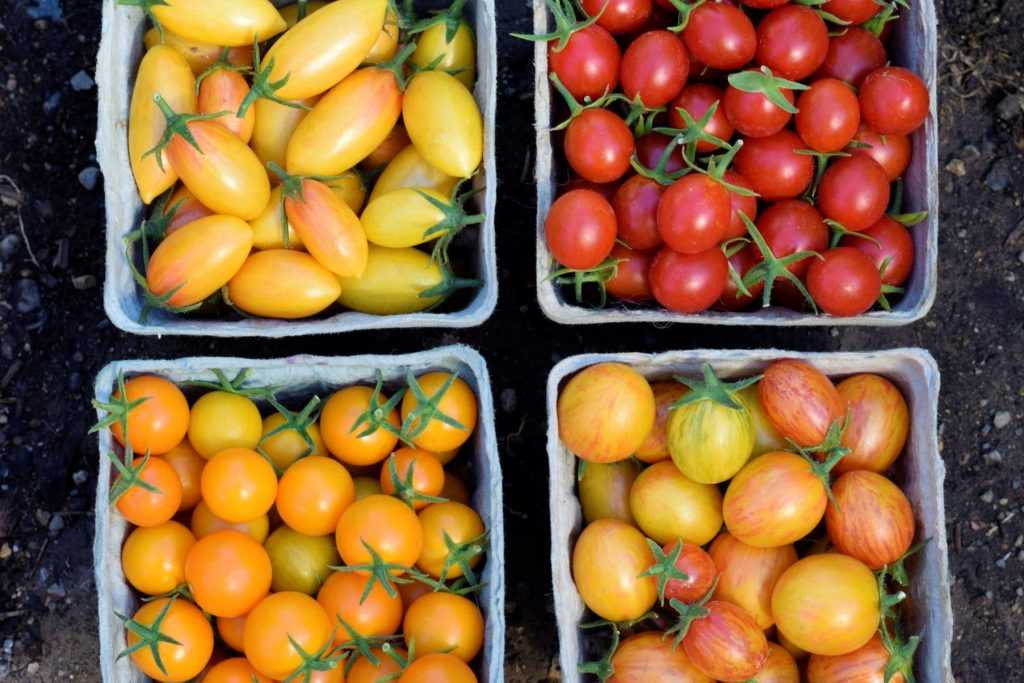
- Tomatoes
- Peppers
- Pumpkins
- Zucchini
- Squash
- Cucumbers
- Melons
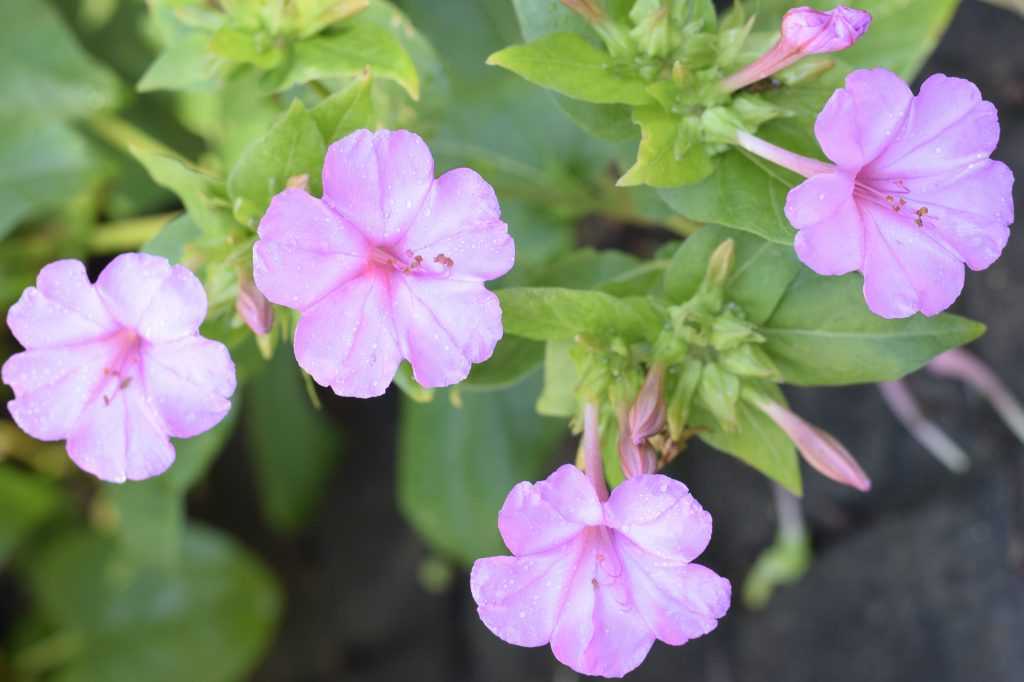
- Some flowers
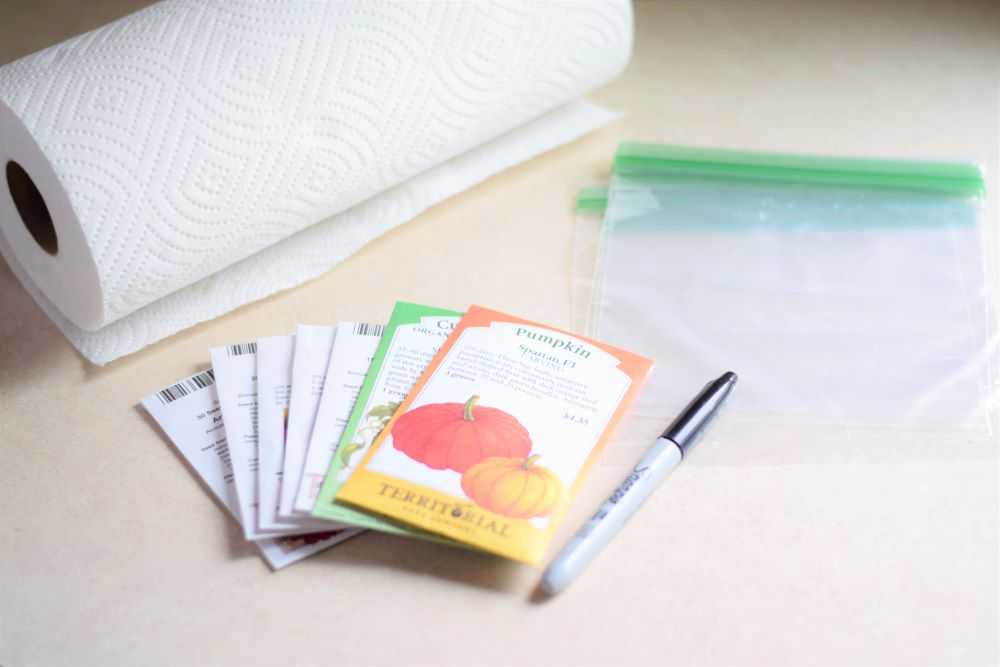
Materials
To germinate seeds in paper towels you will need:
- Paper towels
- Sandwich sized zip-top bags
- A permanent marker
- Seeds
How to Germinate Seeds in Paper Towels
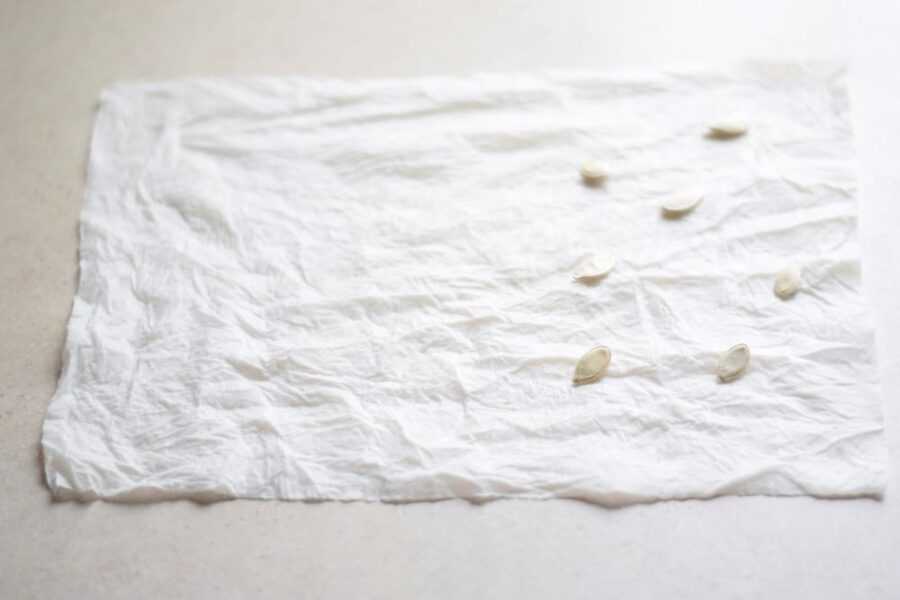
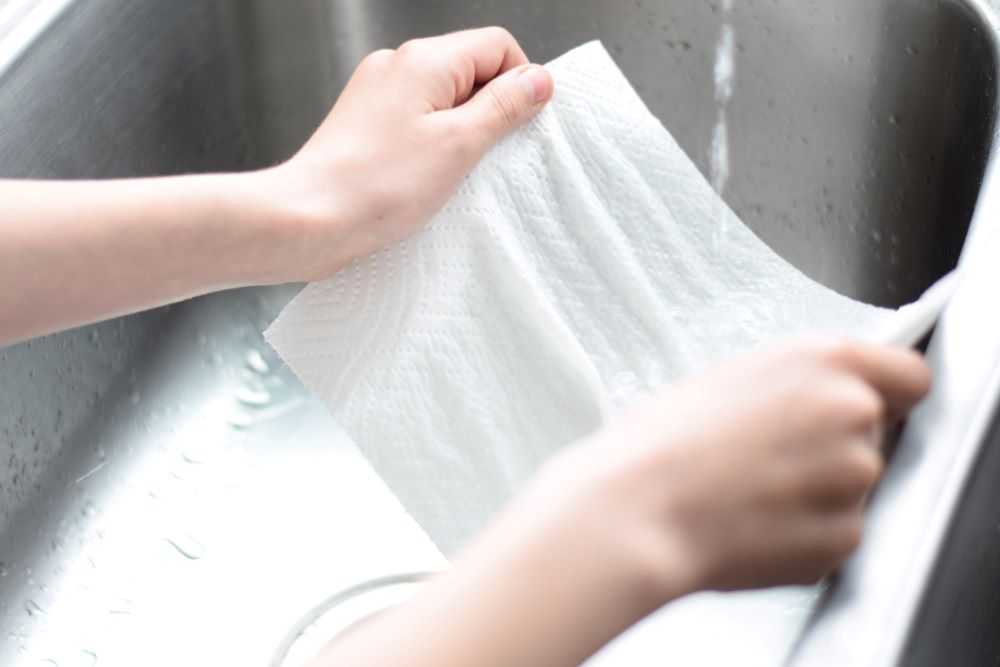
Start by wetting a paper towel. I usually use about 2 paper towels per type of seed. You want the paper towel to be fully moist but not dripping wet.
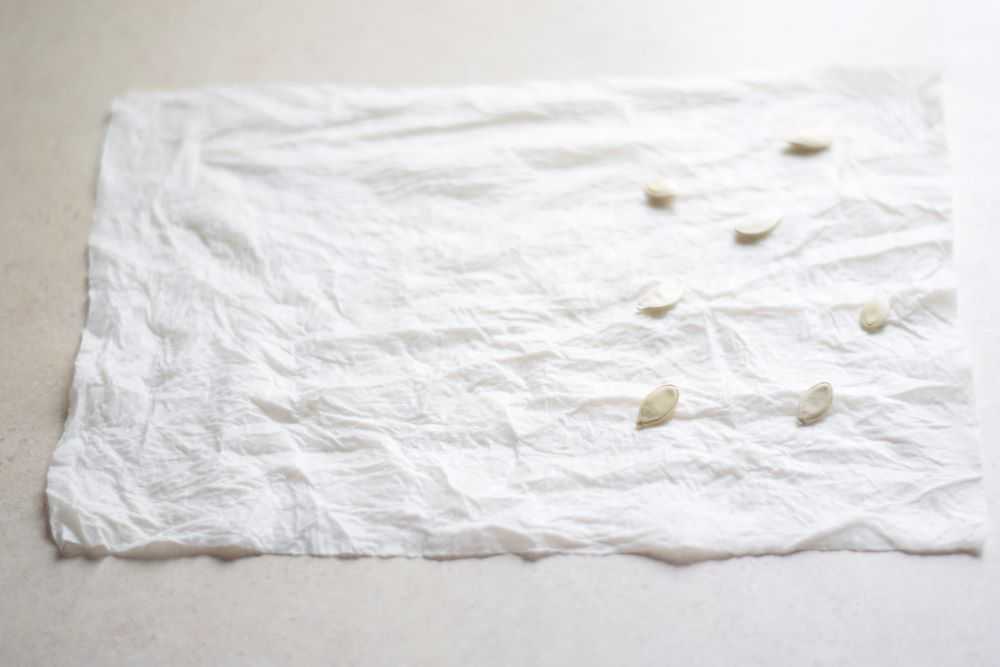
Lay the paper towels flat and place the seeds on one side. You can put however many seeds you want as long as you leave some space between them. This way they will not crowd each other as they start to grow. It is a good idea to start a few more seeds than you think you need because you will rarely get a 100% germination rate.
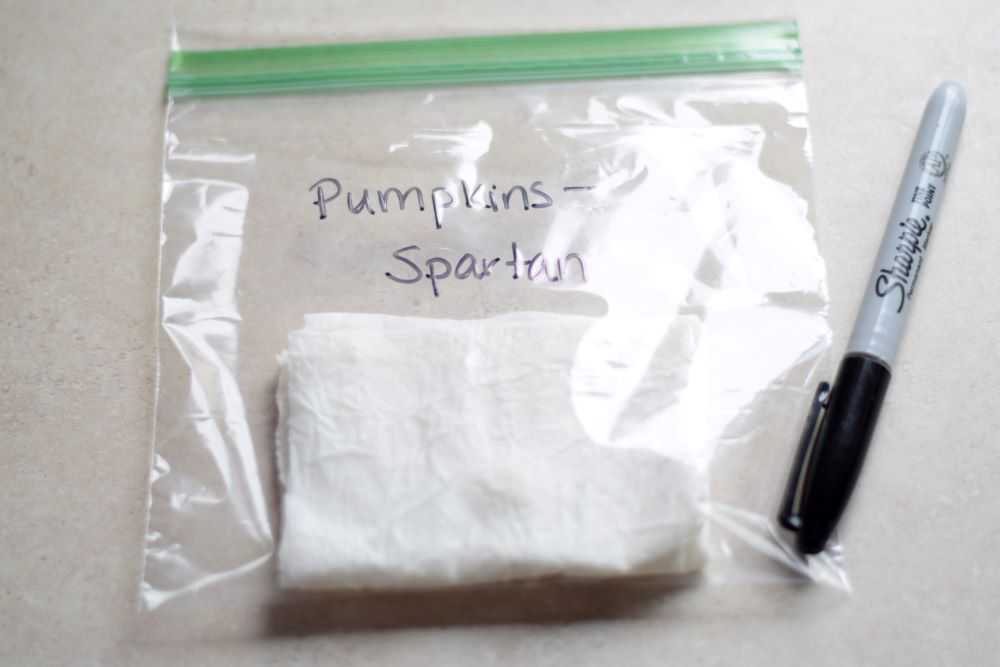
After you have placed your seeds fold the paper towel one or two more times so it will fit in your zip top bag. Place it inside the bag and seal it closed. Label the bag with the permanent marker.
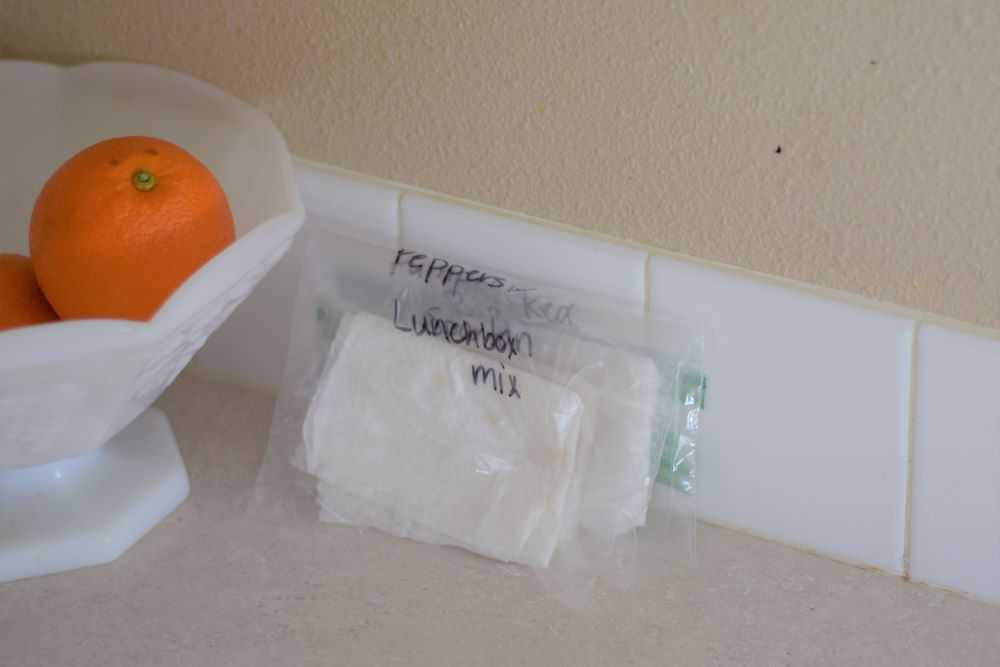
Place the plastic bags where they will not be disturbed. Since many seeds germinate well at room temperature, I usually just leave mine on the kitchen counter. This way I will not forget to check them often. Make sure you keep the seeds out of direct sunlight because they will easily become too hot.
Make sure you check your seeds every day for progress and signs of growth. If the paper towels seem like they have dried out, add a little more water to keep them moist.
When to Plant Your Seeds
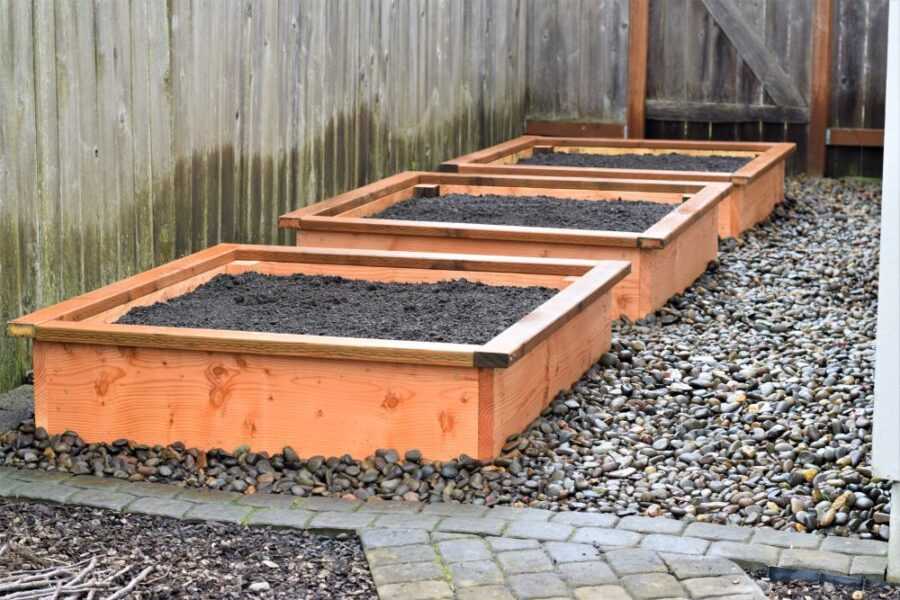
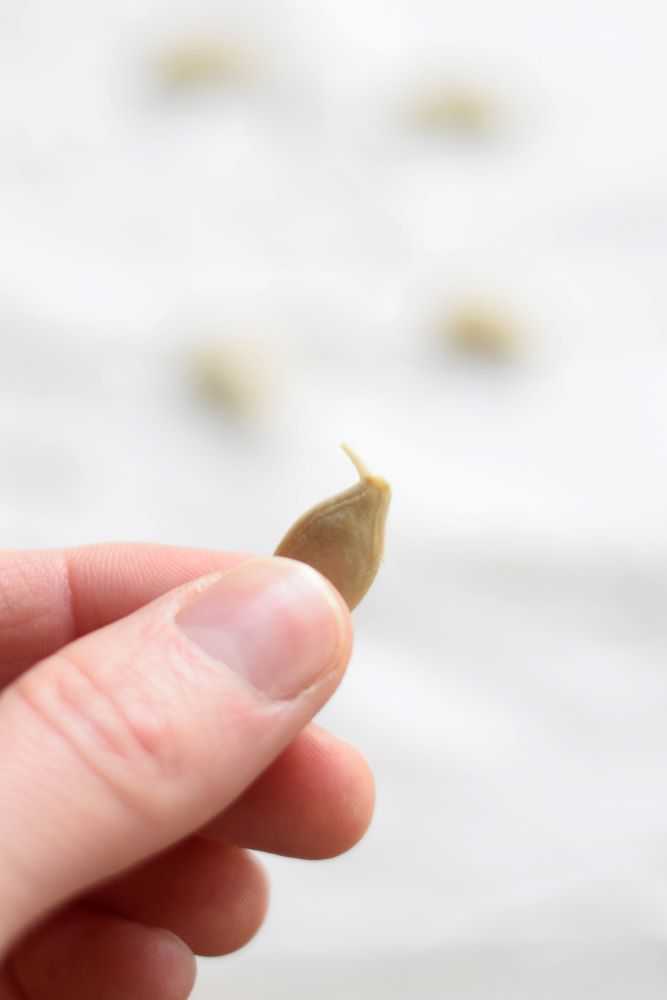
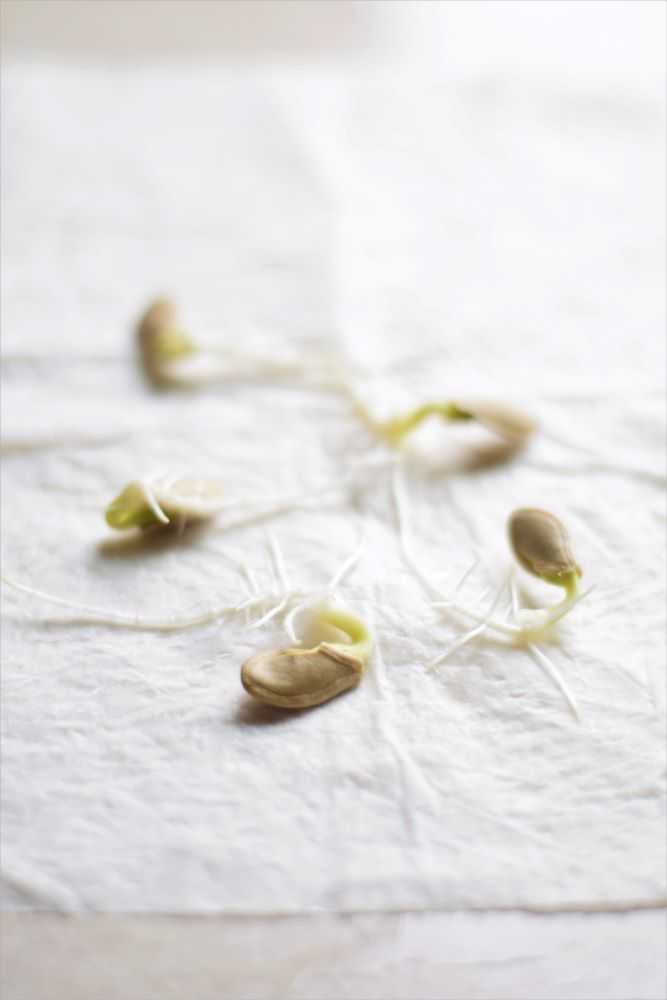
Most seeds take 3-5 days to germinate. I have had some that have taken up to a week. As soon as you see some root growth you can plant them in peat pots, egg cartons, or plastic containers.
Transplanting the seeds as soon as possible makes is less likely that the roots will become damaged, which may impede growth and proper development. If you wait too long, the roots will become long and tangled in the paper towel and root damage is more likely to occur. After you plant your seeds, it generally takes 2-5 more days for the seedlings to emerge.
Hope you get better and faster germination this year by starting your seeds in paper towels before transplanting. Happy Gardening!
Not ready to plant right now? Be sure to pin for later!

You may also like: