Author: Mandy

Freezing Cherry Tomatoes: An Easy Way to Preserve the Harvest

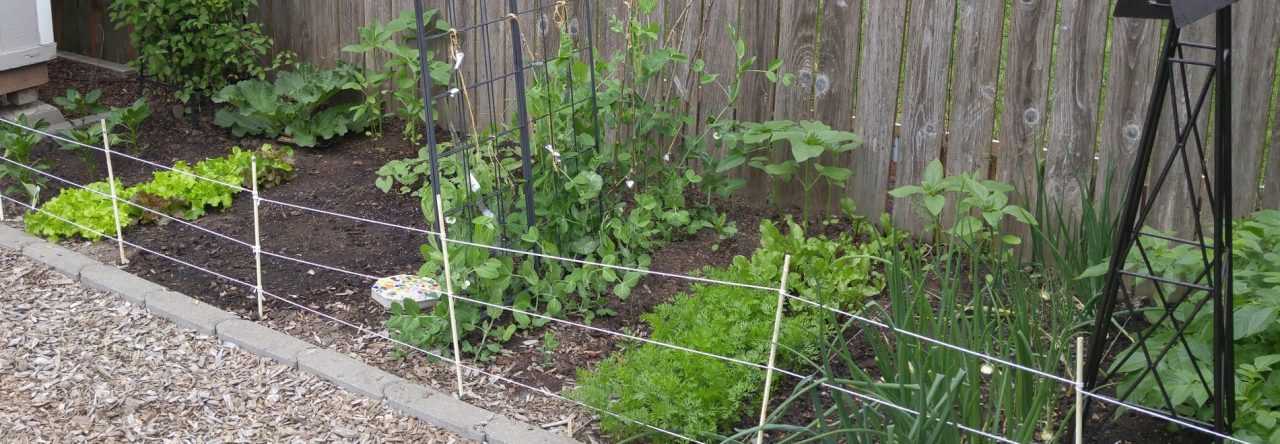
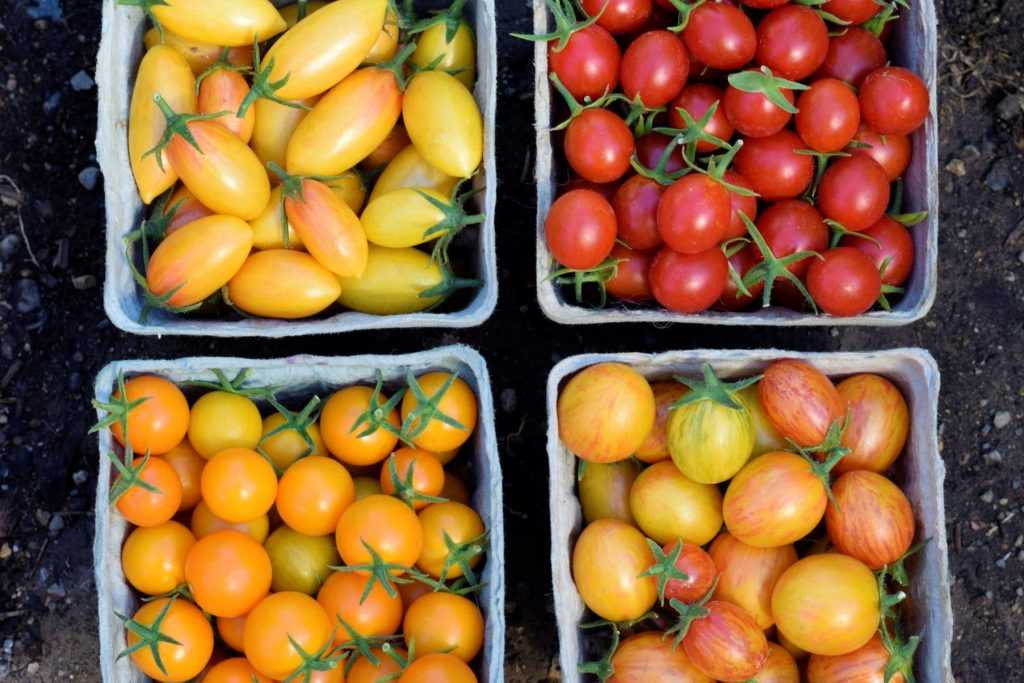
Do you have more cherry tomatoes than you can eat? Are you wondering what you can do with them? Try freezing them to use later in the season! It is a real treat to make homemade soup in the wintertime with tomatoes from your summer garden!

I prefer freezing my cherry tomatoes over other preservation methods because it is so incredibly easy. There is no chopping, peeling, or canning involved! Now we will go through how simple this process is.
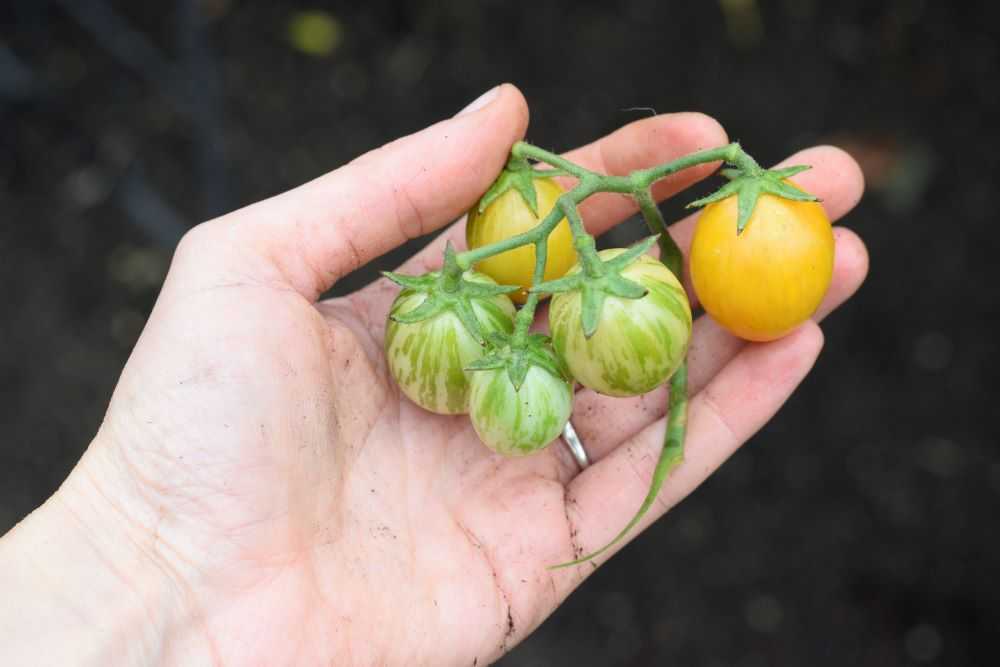
Too many cherry tomatoes? Try freezing them!

Prep the Tomatoes

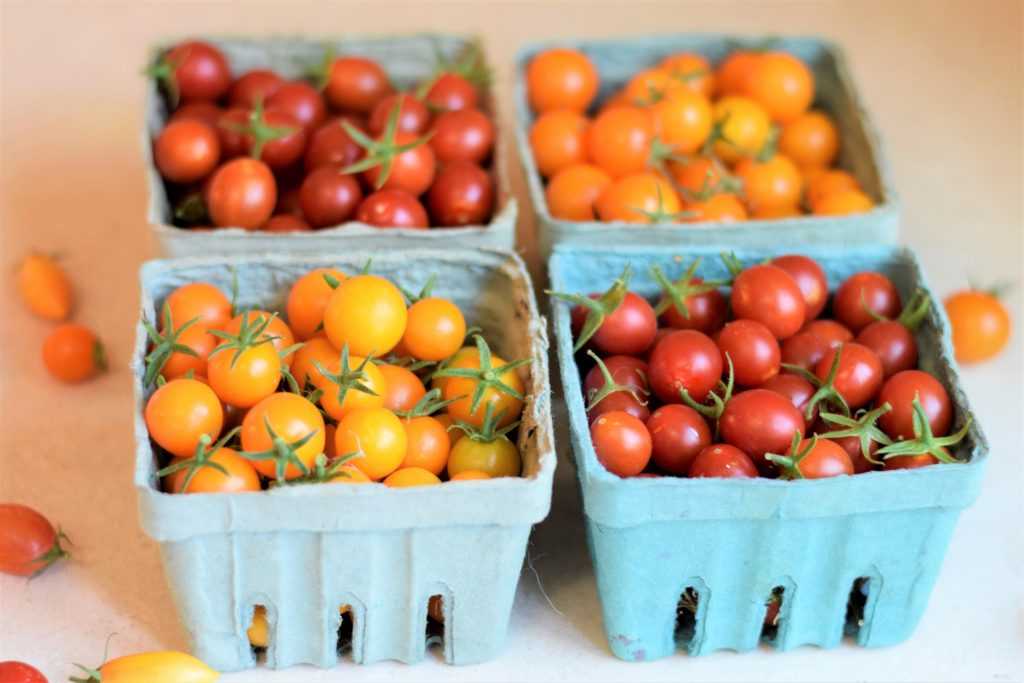
First off, you need to sort through your tomatoes and discard any that are cracked or blemished because they will not keep as well. Prep the tomatoes by taking off the stems and washing them thoroughly.

Taking the stems off cherry tomatoes and placing them in a colander.
Take the stems off of the tomatoes and wash them thoroughly.

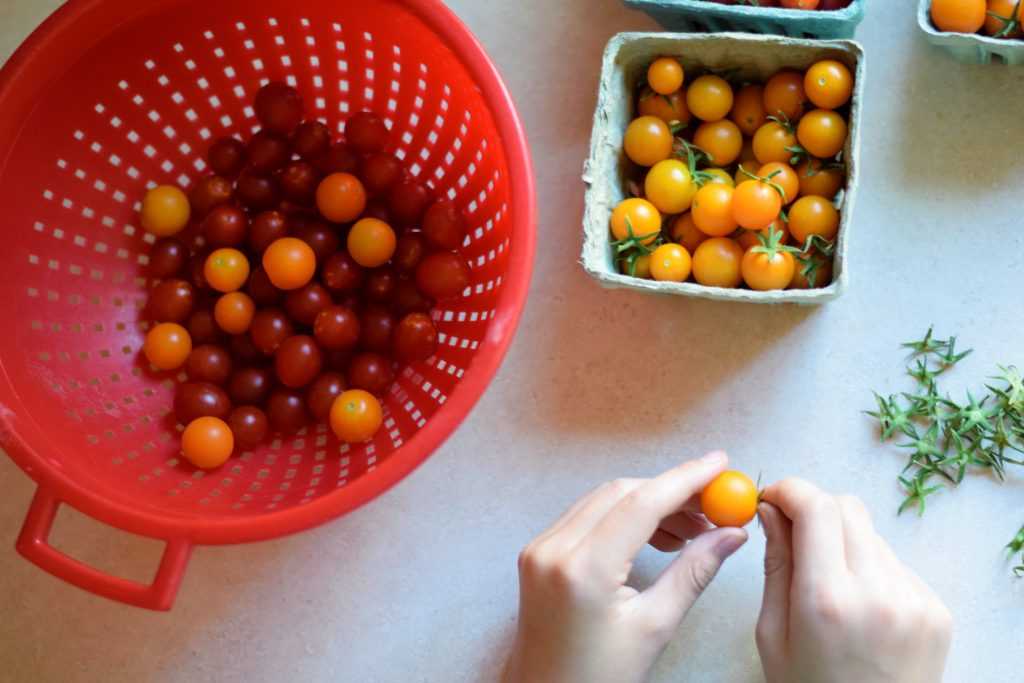
After they are washed get as much water off as you can. You can drain them well in a colander or spread them out on a clean kitchen towel. This is important because they may stick to your pan or stick together if too much water is present.

Orange and red cherry tomatoes on a sheet pan.
Spread the dry tomatoes out on a large sheet pan. Try to leave some space between them if possible.

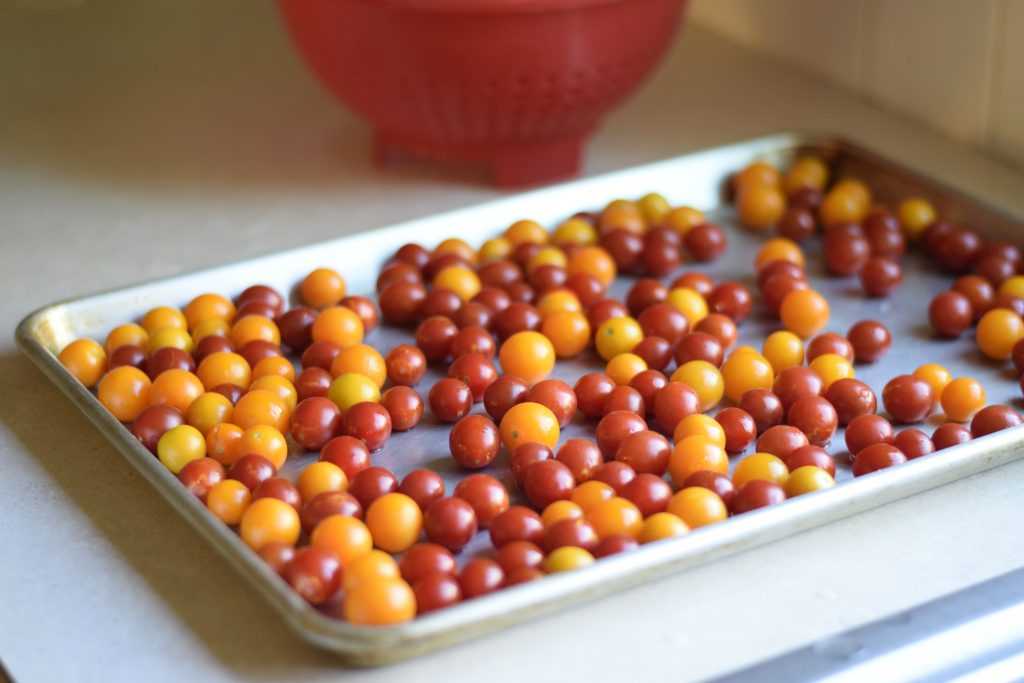
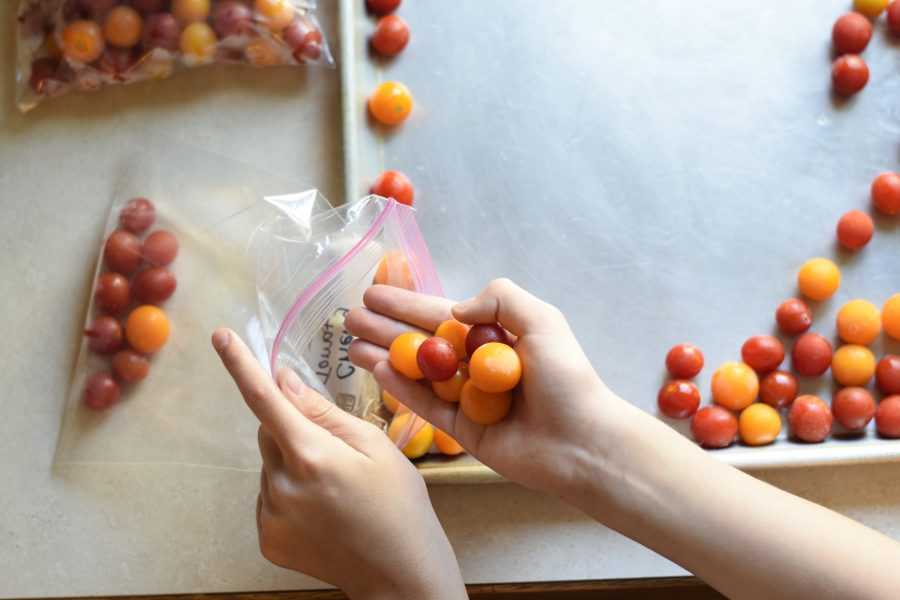
When they are dry spread the tomatoes out onto a large sheet pan. We want to freeze them before putting them into bags for long term storage. The advantage of this method is that the tomatoes are less likely to get squished or stick together in a giant tomato ice block. Try to leave some space between them on the pan and do not crowd them if possible. This way they will freeze faster and are less likely to get stuck together.

Freeze the Tomatoes

Place the sheet pan in the freezer for at least 1-2 hours, or until the tomatoes have firmed up.

Once frozen, the tomatoes are ready to be placed into freezer bags. Be sure to label the bags with the date.

After the tomatoes are frozen, you should be able to easily gather them up and place them in freezer bags. Freezer bags are preferable to regular zip top bags because they are thicker and will help protect the food better. Labeling the bags before you fill them will make it easier to write on them. Make sure that you also write the date on the bag.

Two bags of orange and red cherry tomatoes.
Cherry tomatoes will last for up to a year in the freezer.

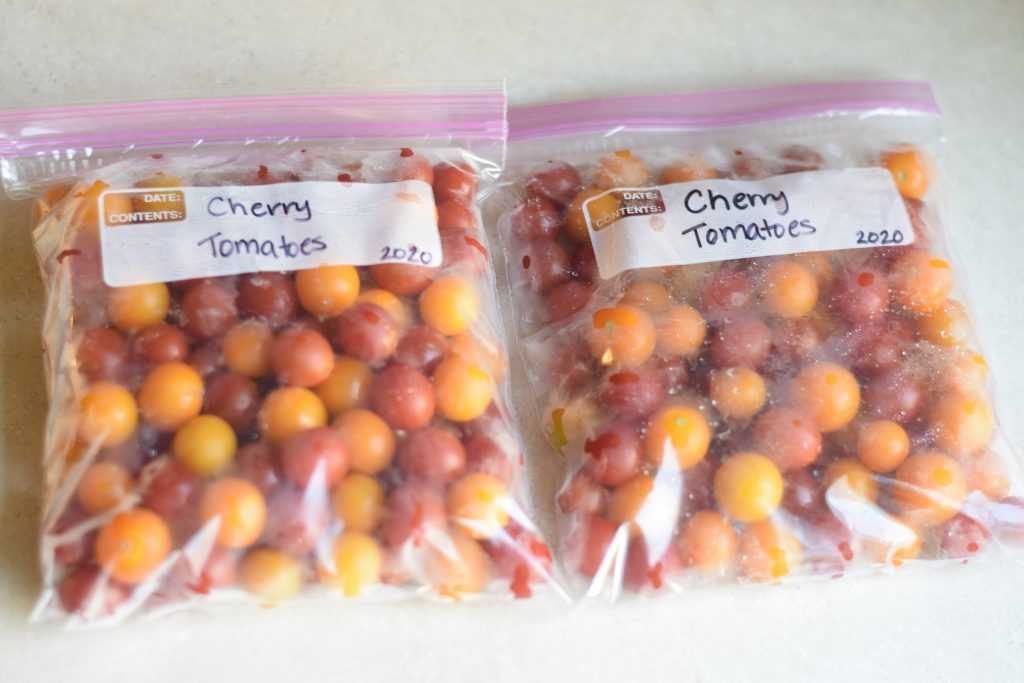
Store the tomatoes in the freezer for 6 months or up to a year or so. After that time they will still be safe to eat but the quality may begin to decline.

How to Use Frozen Cherry Tomatoes

Realize that frozen cherry tomatoes will have a different texture than fresh tomatoes. They will be softer and are best used in cooked dishes such as soups, sauces, or casseroles. These tomatoes will also have their skins on which may affect the texture of some dishes. For most recipes however this is not an issue.

My favorite way to use these frozen cherry tomatoes is in homemade vegetable soup. I use them straight out of the bag and pour however many I need into the boiling soup as it cooks. Yum!

Hope you are able to freeze some of your tomatoes to enjoy in the winter months. Happy Gardening!


Be sure to pin for later!


You may also like:

Orange yellow red cherry tomatoes

Cherry Tomato Taste Test


How to Ripen Green Tomatoes Indoors


Taking marigold seeds out of seed heads

How to Save Marigold Seeds

pink four o'clock flowers

How to Grow Four o’Clock Flowers

Pink four o'clock flowers
Four o’clock flowers are an easy-to-grow garden favorite.

Many people have never heard of four o’clock flowers. Until about four years ago, I had never heard of them either. Then my mom gave a packet of seeds to my son, and we have been growing them ever since.

Why are they named four o’clock flowers you may ask? Four o’clocks have a very unique blooming habit. While most flowers are open during the day and close up at night, four o’clock flowers are the opposite. They are closed during the heat of the day and open in the late afternoons. The flowers remain open all night long and close in the early morning.

Four o’clock flowers come in a variety of colors such as magenta, light pink, purple, yellow, and white. The bushy plants grow 2-3 feet tall and are covered with hundreds of small flowers that are a favorite of hummingbirds and butterflies. Four o’clock flowers are easy to grow from seed and are a fun plant for kids to grow.

Planting Four o’clock flowers

Four o’clock flowers are easy to start from seed. Plant the large black seeds about 1/4 to 1/2 inch deep in full sun to partial shade in the spring. Space the seeds about 6 inches apart and thin to 1-2 feet between plants.

Saving seeds

Four o’clock flowers produce large black seeds that are easy to collect. Save them and plant them next year or give them to a friend. Four o’clocks readily reseed themselves. In some areas they are a perennial plant and will make a carrot-like taproot which will grow and bloom again the following year.

Hopefully you will try four o’clocks in your garden next year. Happy Gardening!

Yellow swallowtail butterfly on pink four o'clock flowers

Be sure to pin for later!

Roasted green beans with garlic on sheet pan

Garlic Roasted Green Beans

The first time I tried garlic roasted green beans was when we went to a friend’s house for dinner.  The beans were the star of the meal for me. Prior to this I had had canned green beans, or maybe steamed green beans, and I never knew green beans could taste this good!  These beans totally rocked my world and now my kids even like them too! Read on to learn how to make them yourself at home.

Garlic roasted green beans on a pan
Garlic roasted green beans–yum!

Assemble the Ingredients

These green beans are super simple to make.  All you need four ingredients and you are in business:

Green beans, garlic, salt, and oil on the counter.
Fresh green beans, garlic, olive oil, and salt are the only ingredients you need for these delicious beans.

Green beans – You need green beans, obviously.  Fresh is the only way to go here because frozen beans will have too much moisture in them.  This is a great way to use up extra green beans from your garden!

Garlic – Garlic gives the beans so much flavor!  I use fresh garlic from our garden when I can.  We always fight over who gets the caramelized pieces of garlic that are stuck to the bottom of the pan.  If you don’t have fresh garlic then garlic powder may also be used.

Oil – I use olive oil, but any cooking oil will do.

Salt – I use plain old table salt, but use whatever you like.

Prep the Beans

First thing’s first, you need to wash the beans and snap them.  I spread the beans out on a clean kitchen towel to help them dry. “Snapping beans” simply  means that you break the ends off.  You can leave the tail end on if you wish, but I usually break them off because they can get a little crispy and maybe burn in the oven.  If you don’t want to break the ends off you may also cut them off using a knife.  Snapping beans is a perfect job for kids by the way!

Snapping green beans onto a sheet pan.
Snap the ends off the beans and place them on your baking sheet.

While the kids are busy snapping the beans you can chop the garlic.  To chop the garlic take a big flat knife, put it sideways on the garlic and smash it down with the heel of your hand.  The garlic will be crushed and it will be easier to pick off the skins.  Use as much or as little garlic as you like.  Sometimes we use a whole head we like garlic so much.  You may leave the garlic in larger pieces or cut it small.  It is all up to you.

After the beans are ready to go, make sure they are mostly dry and spread them out on a large baking sheet.  Sprinkle the garlic over the top and drizzle with the olive oil.  Sprinkle with salt to taste.  Toss everything together with your hands and then shake the pan to even the beans out into a single layer. You want the beans to touch each other as little as possible or they will steam rather than roast.  They are now ready to go in the oven!

Green beans on a sheet pan.
Add the garlic, oil, and salt to the beans. Use your hands to mix everything together and spread it into an even layer.

Cook the Beans

Cook the beans at 425 degrees for about 20-25 minutes.  I usually put them on the bottom rack to help them brown.  Stir them about halfway through the cooking time and watch them carefully so they do not burn.  You want the beans to be tender, slightly shriveled, and lightly browned.

Garlic roasted green beans on a pan

Serve

Serve these beans hot out of the oven.  They go well with just about anything.  Be prepared to fight over the yummy crunchy garlic stuck to the bottom of the pan.  You may never go back to canned green beans ever again 🙂

I hope you get to try these green beans soon!  Let me know how it went in the comments below. Happy Cooking!

Garlic roasted green beans on a pan

Garlic Roasted Green Beans

Recipe by: Mandy
This is the perfect way to enjoy green beans fresh from the garden. They are simple to prepare and taste delicious!
Prep Time 10 minutes
Cook Time 25 minutes
Total Time 35 minutes
Servings 4

Ingredients
  

  • 1 lb fresh green beans
  • 4-5 cloves garlic, finely chopped
  • 1 tbsp olive oil
  • salt, to taste

Instructions

  • Preheat the oven to 425°.
  • Wash the green beans and snap off the ends. Pat them dry and place the beans on a large baking sheet.
  • Drizzle with olive oil and sprinkle with garlic. Season with salt to taste. Use your hands to thoroughly mix all ingredients.
  • Even the beans out into a single layer. Bake at 425° for 10 minutes.
  • Stir the beans and return them to the oven. Bake for 10-15 minutes longer, or until the beans are tender, slightly shriveled, and lightly browned. Watch them carefully so they do not burn.
  • Serve warm as desired.

Notes

If you do not have fresh garlic you may substitute garlic powder.  Use 1/4 teaspoon or to taste.

Be sure to pin for later!

Garlic Roasted Green beans

Page 5 of 5

Powered by WordPress & Theme by Anders Norén