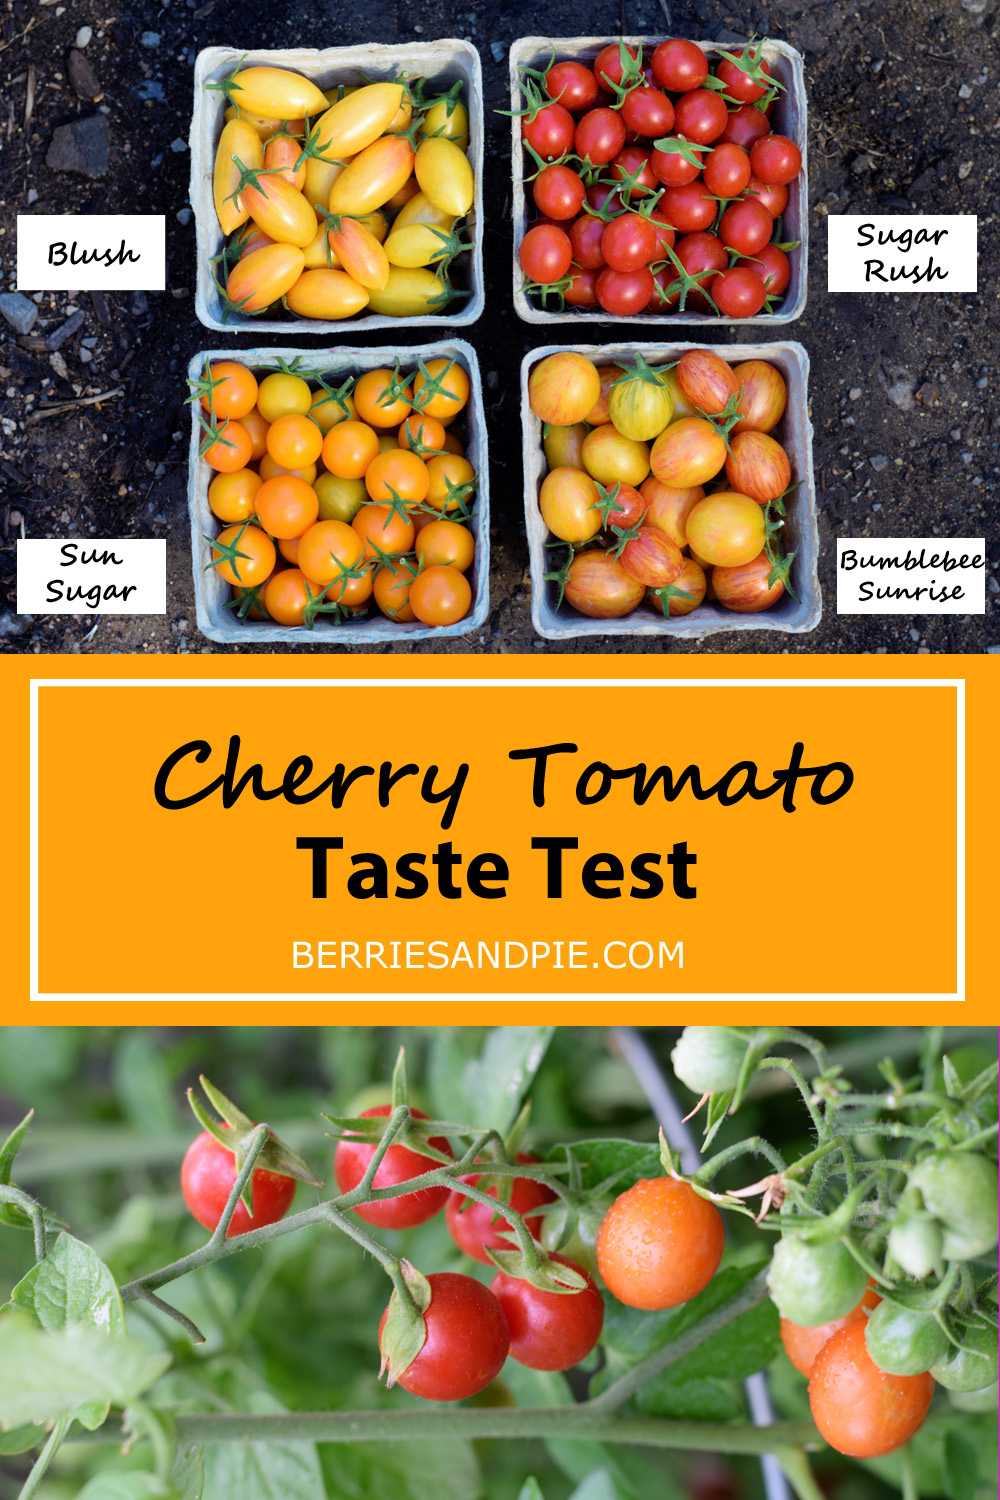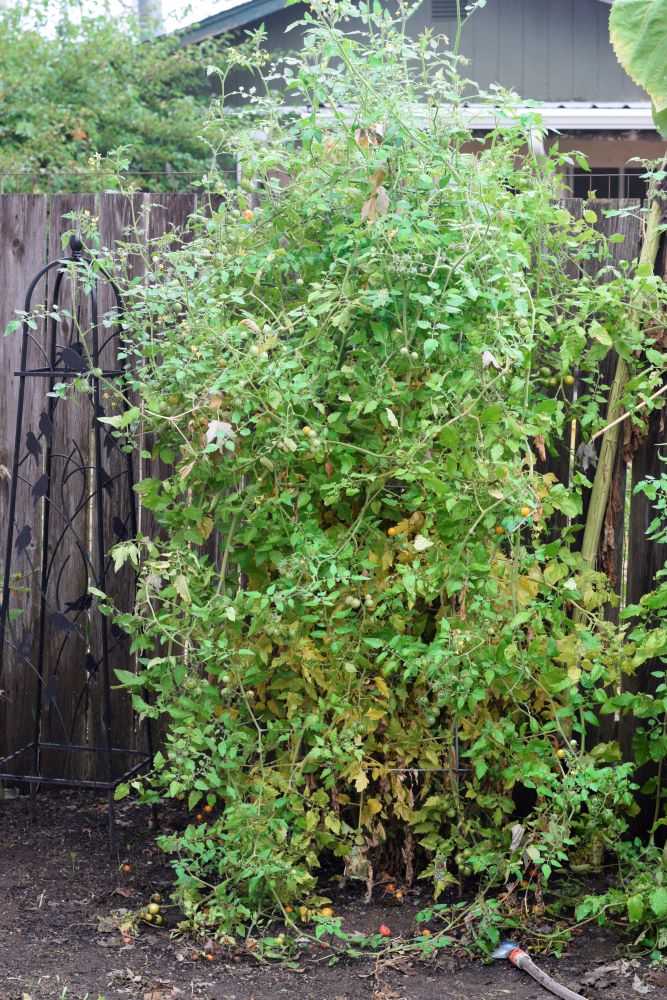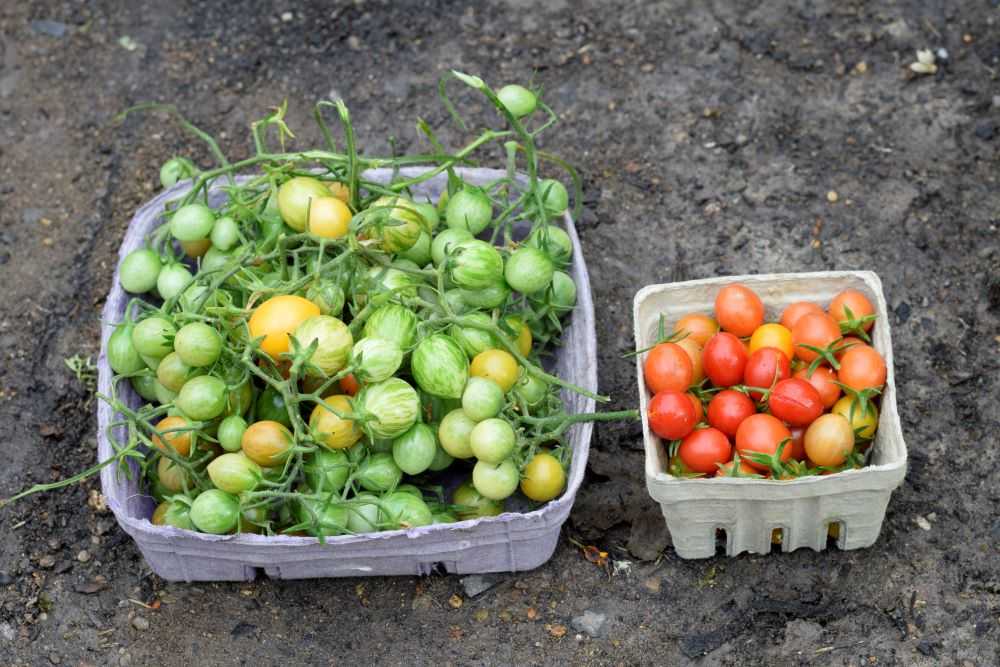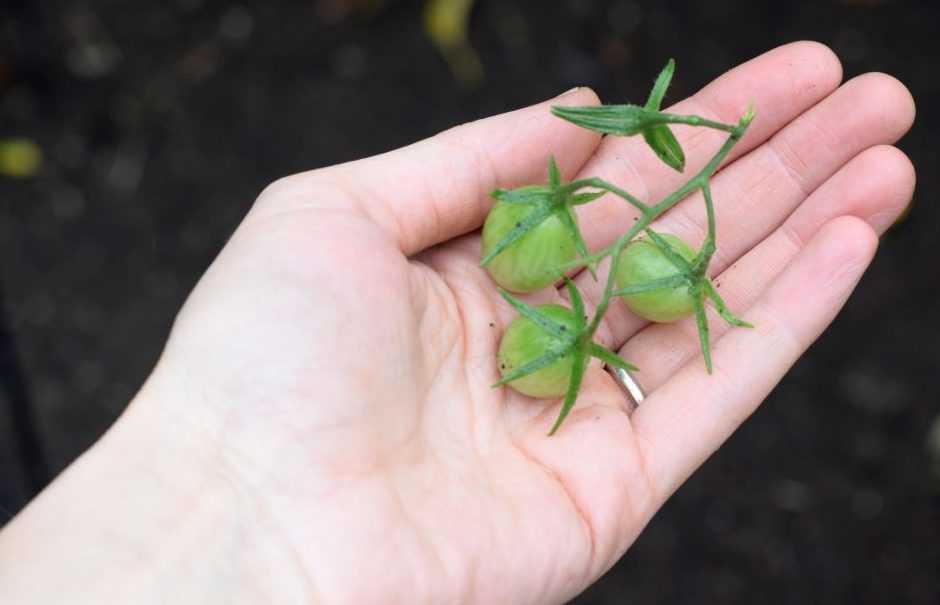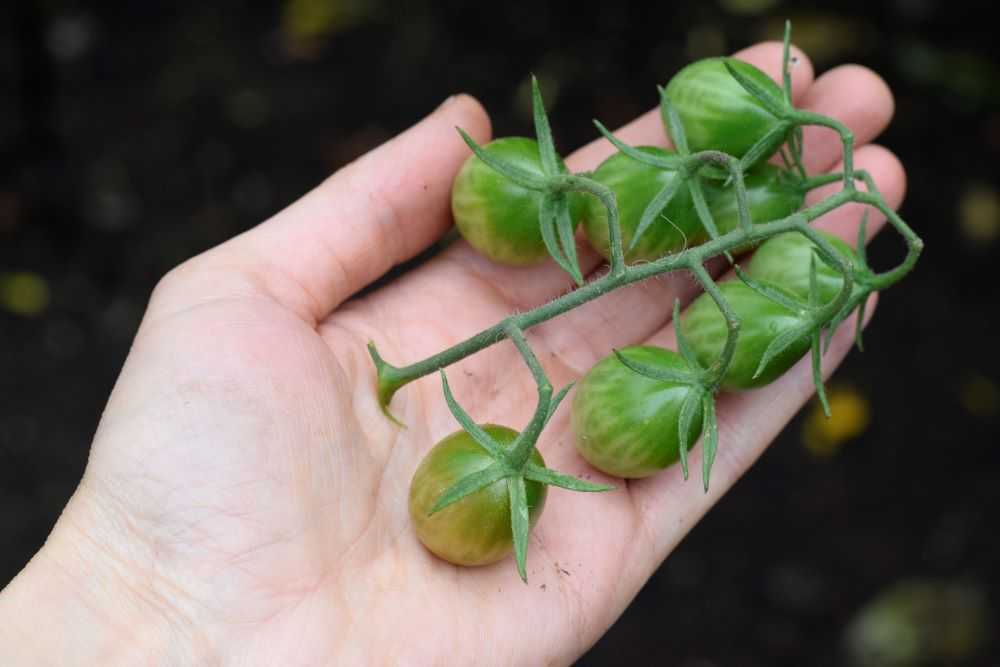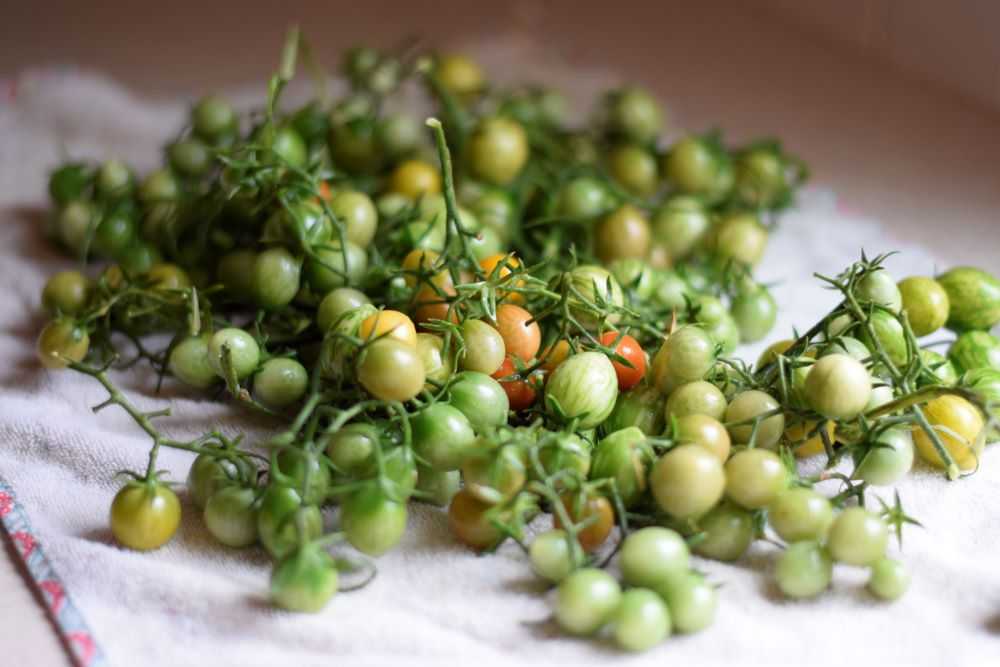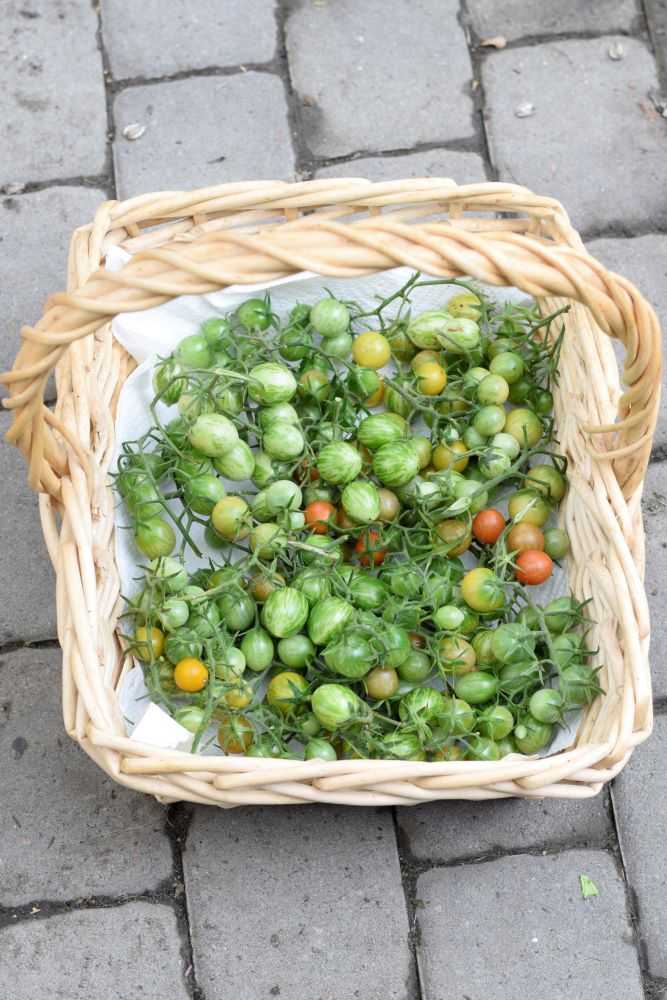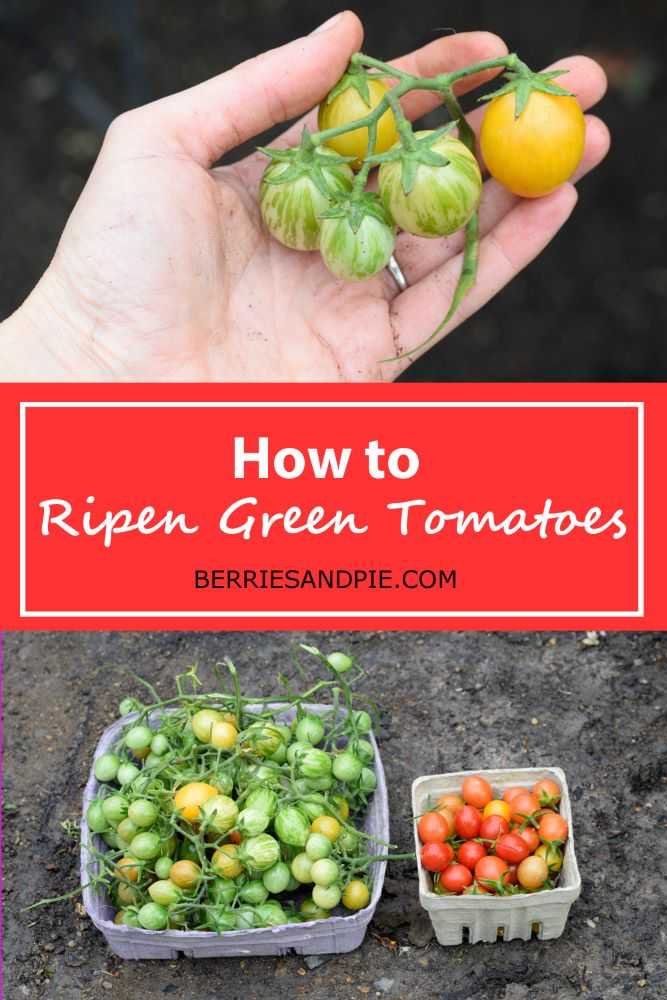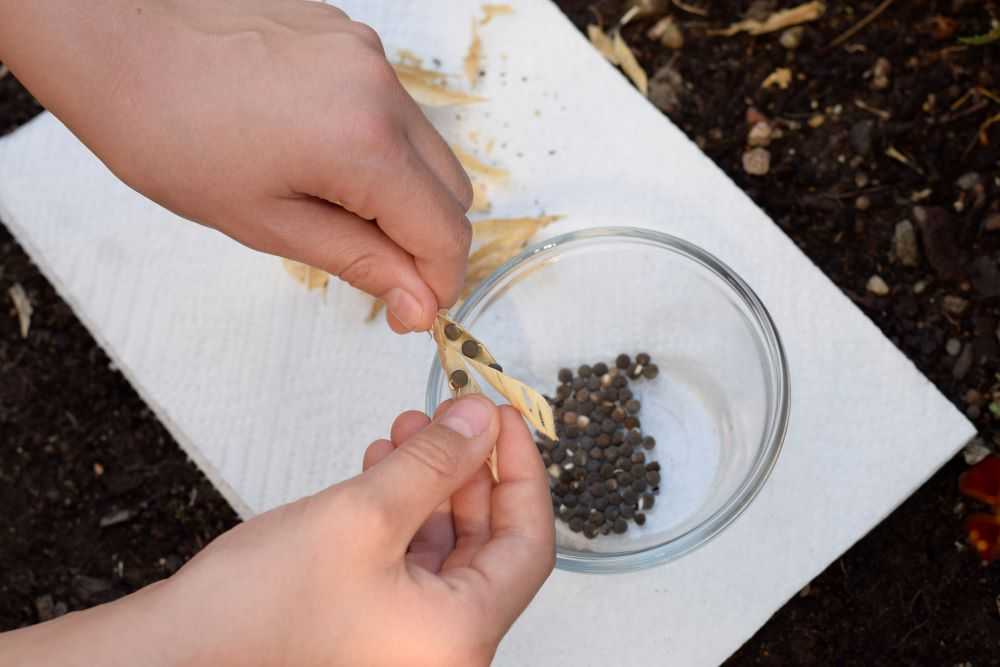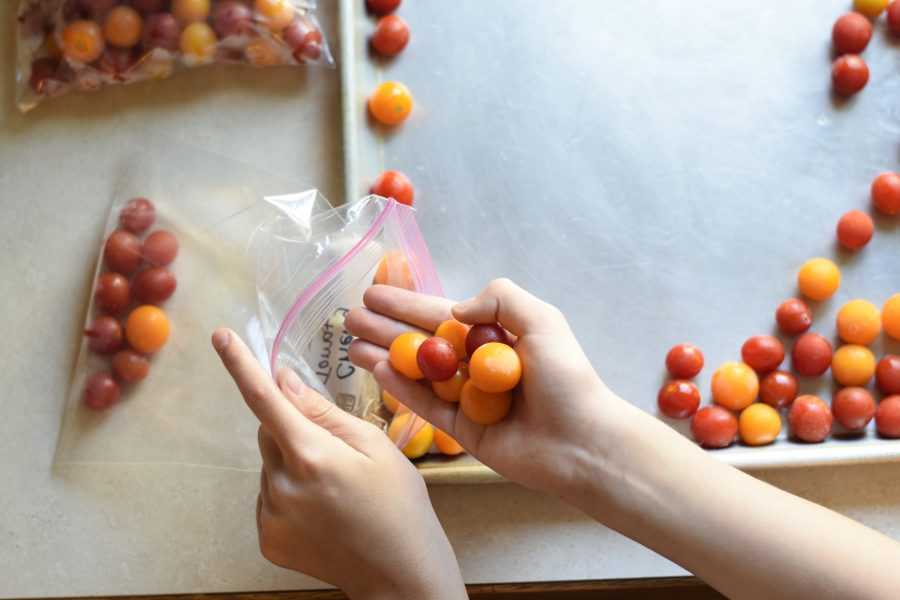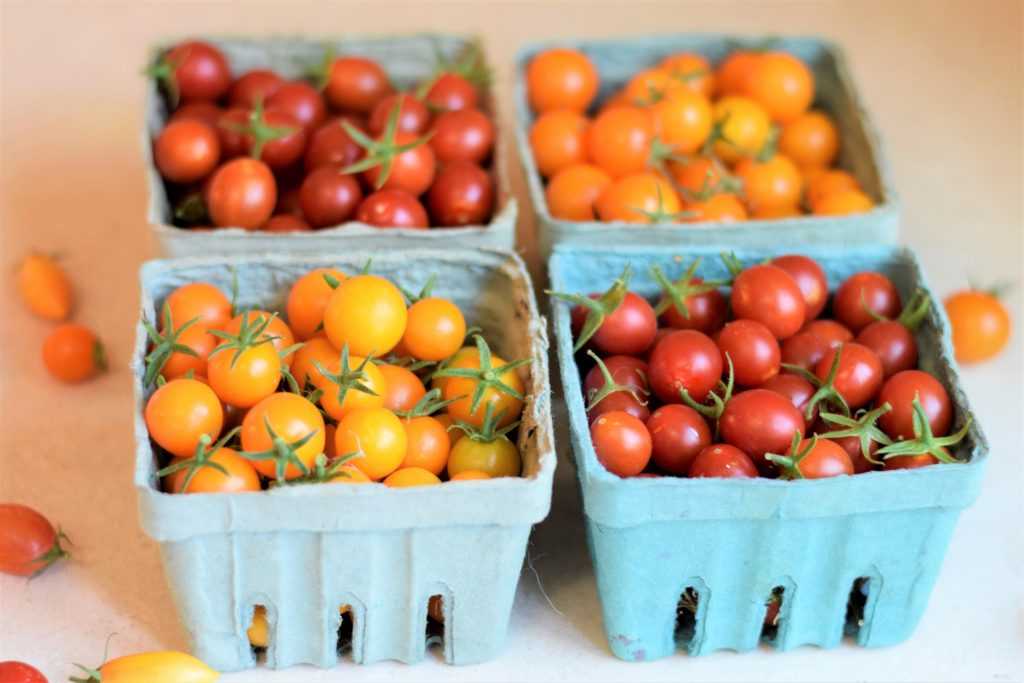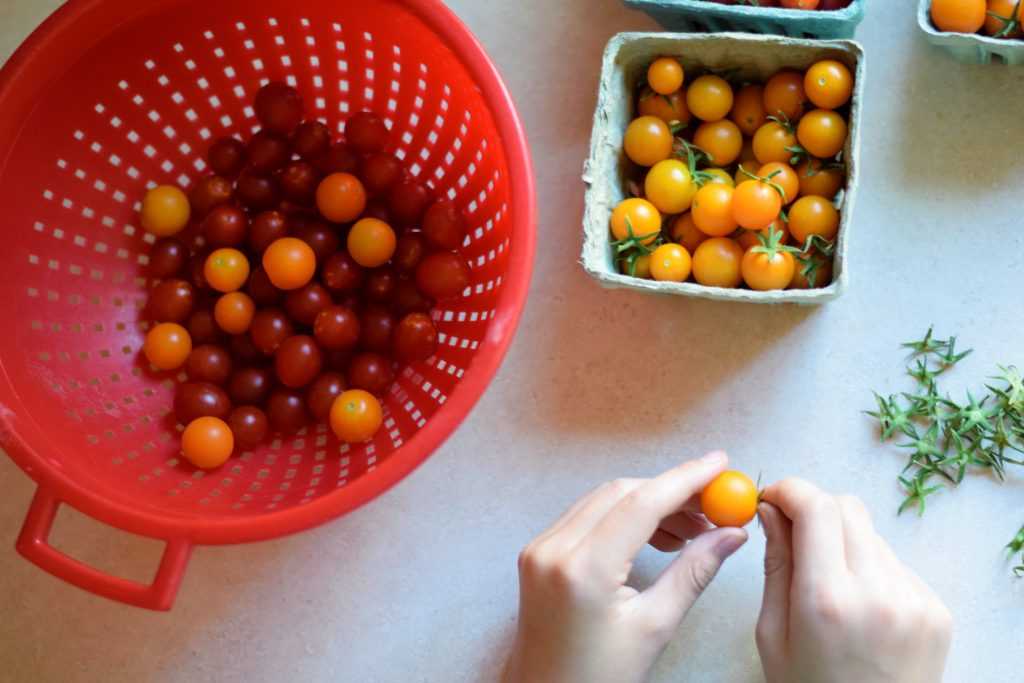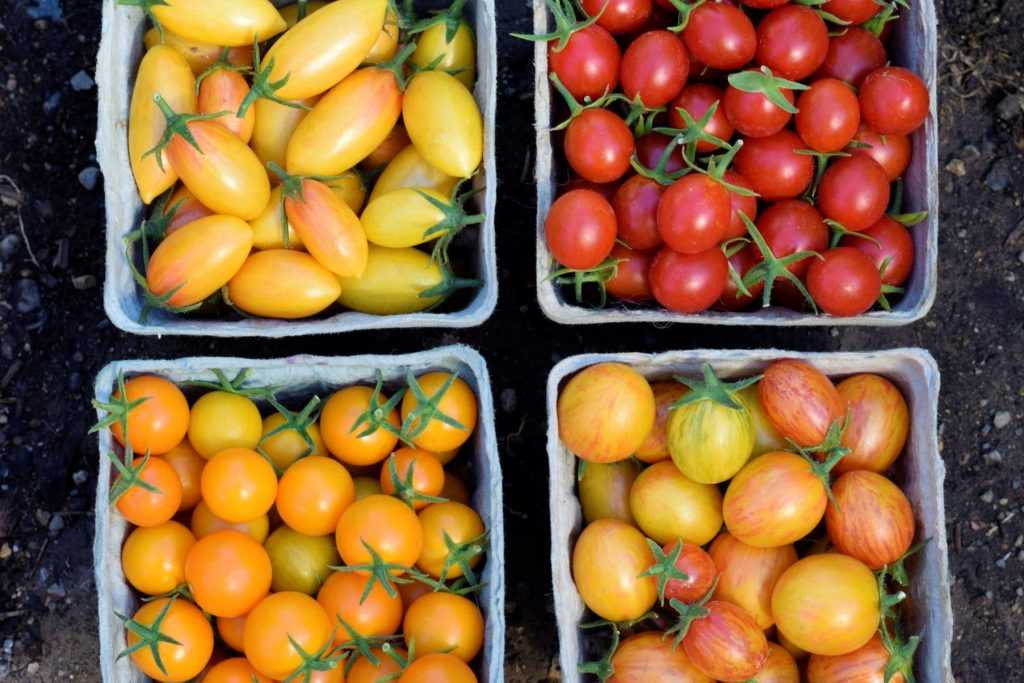
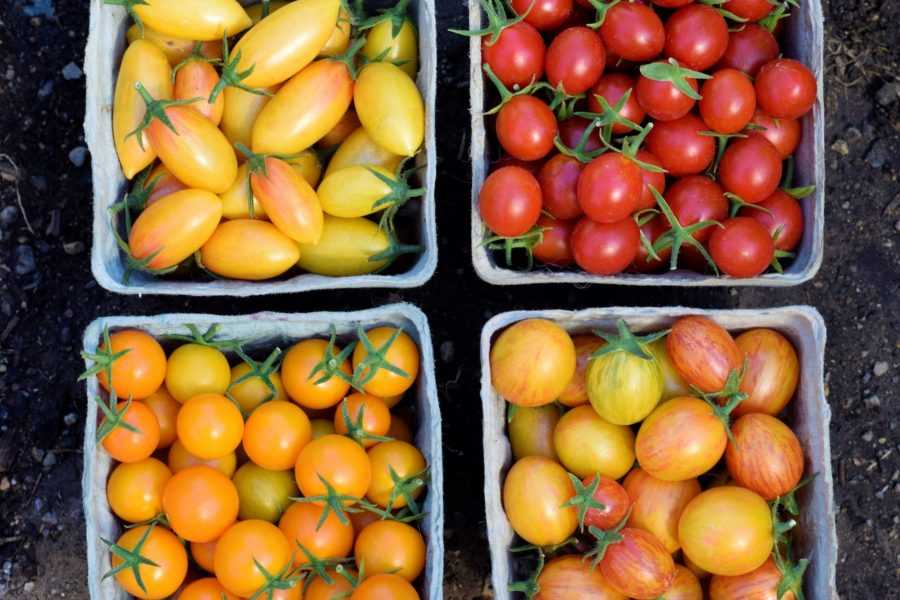
Do you enjoy trying new tomato varieties? I know I do! Each year I plant some new varieties as well as some old favorites. I only have room comfortably in my garden for two cherry tomato plants, but I bought some extra tomato plants this year and squeezed them in 🙂 Now they are producing more tomatoes than we can eat! Read on to learn my thoughts on this year’s crop.
Sugar Rush
| My Rating | 5/5 stars |
| Type | Indeterminate |
| Color | Red |
| Shape | Grape |
| Days to Maturity | 50-55 days |
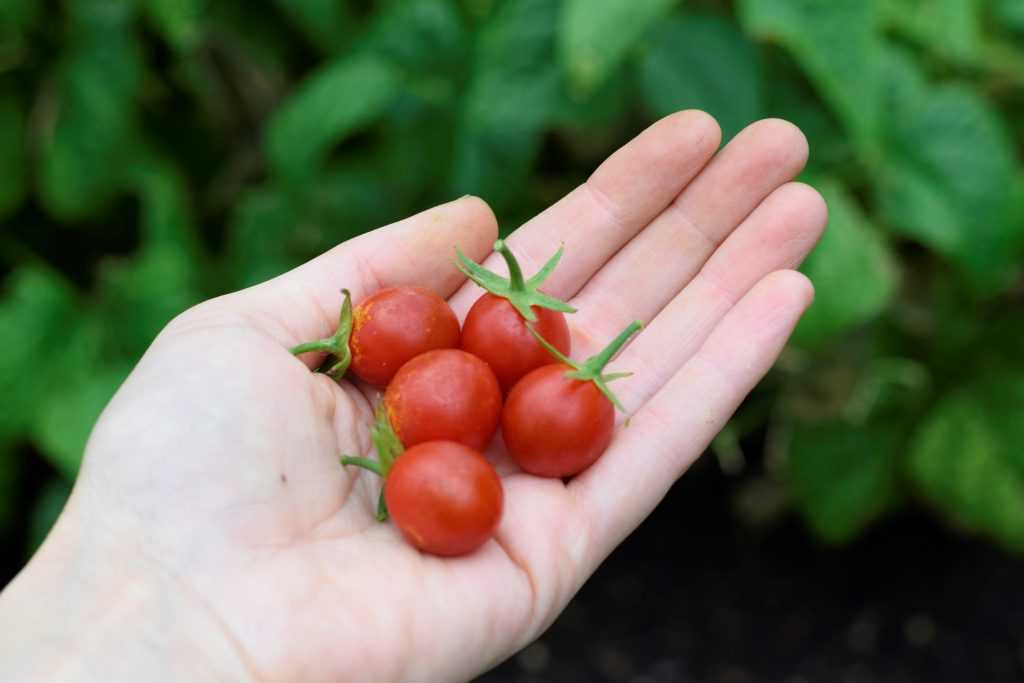
Sugar Rush is a red grape tomato. I planted it last year and had to plant it again this year because I liked it so much! At only 50-55 days until maturity, Sugar Rush produces continually over a long season. The flavor is bright and sweet and the tomatoes have a firm texture that “pops” in your mouth.
My thoughts – Sugar Rush is a winner! I love how early these plants mature and the high yields they produce. I also appreciate the firmness of the tomatoes and how they pop in your mouth. This has been a dependable variety and I will probably plant it again next year!
Sun Sugar
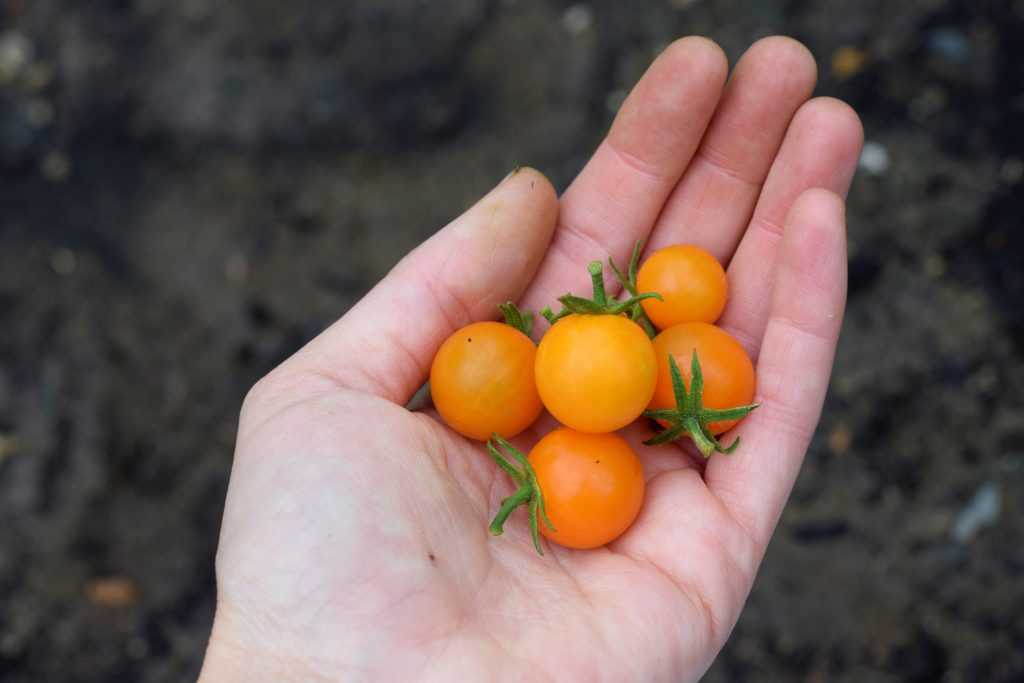
| My Rating | 4/5 stars |
| Type | Indeterminate |
| Color | Orange |
| Shape | Cherry |
| Days to Maturity | 62 days |
Sunsugar is a pretty delicious tomato! The tomatoes have a good tartness that becomes super sweet as the fruit matures. The tomatoes are slightly softer than Sugar Rush and seem to have better crack resistance that Sungold, which is another popular orange cherry tomato. Like Sugar Rush, Sunsugar is ready early and produces high yields over a long season.
My thoughts – I love planting both orange and red tomatoes because they look so beautiful together. I really liked the bright flavor of Sunsugar but prefer slightly firmer tomatoes. I will probably try something else next year.
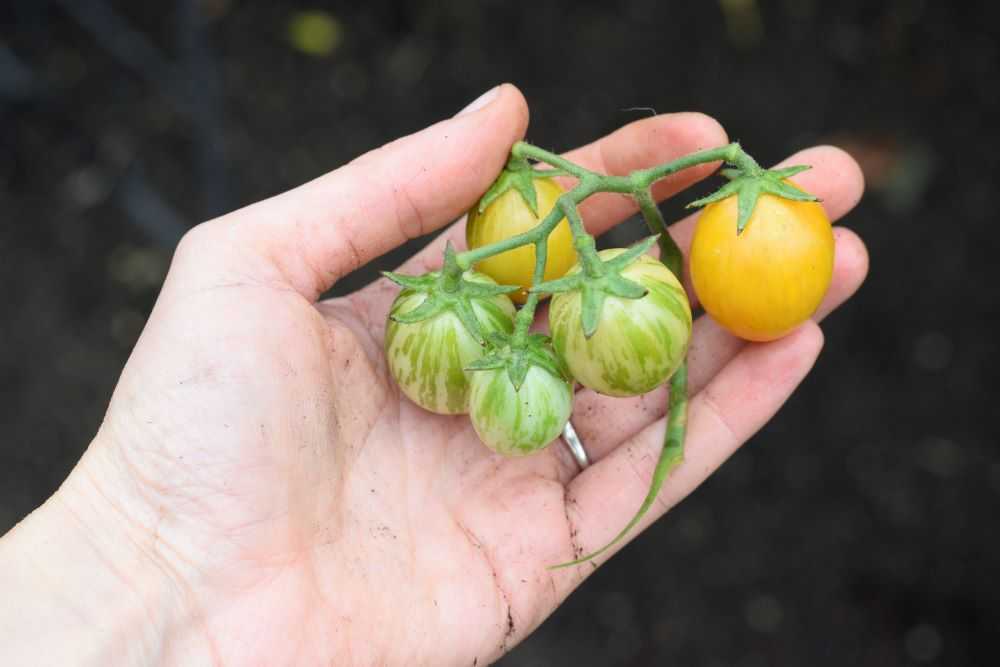
Bumblebee Sunrise
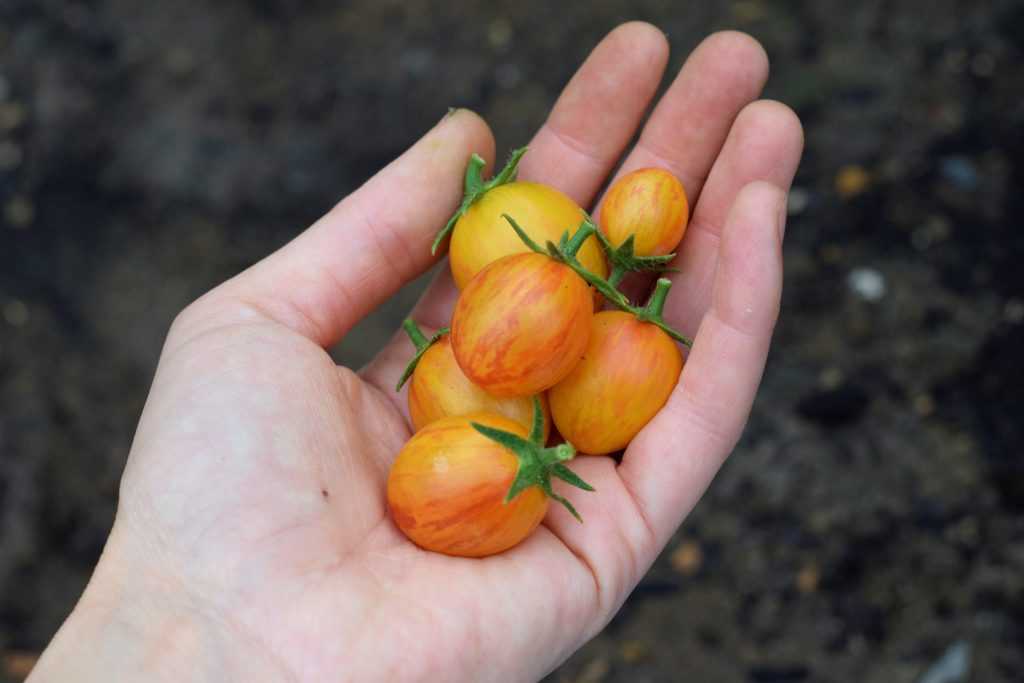
| My Rating | 4/5 stars |
| Type | Indeterminate |
| Color | Yellow with red stripes |
| Shape | Large cherry |
| Days to Maturity | 68-70 days |
Bumblebee Sunrise may be the most beautiful cherry tomato I’ve ever grown! The tomatoes are a deep golden color with striking red stripes. Bumblebee is slightly larger than the other cherry tomatoes and has an excellent tangy and sweet flavor. However, Bumblebee takes around 70 days to mature and the plant does not seem quite as productive as other varieties I planted this year.
My thoughts – I appreciate Bumblebee’s excellent flavor but productivity is important to me since I have limited space in my garden. It was good to try but I will probably plant a different variety next year. If you have plenty of space though this is definitely one to add to your list!
Blush
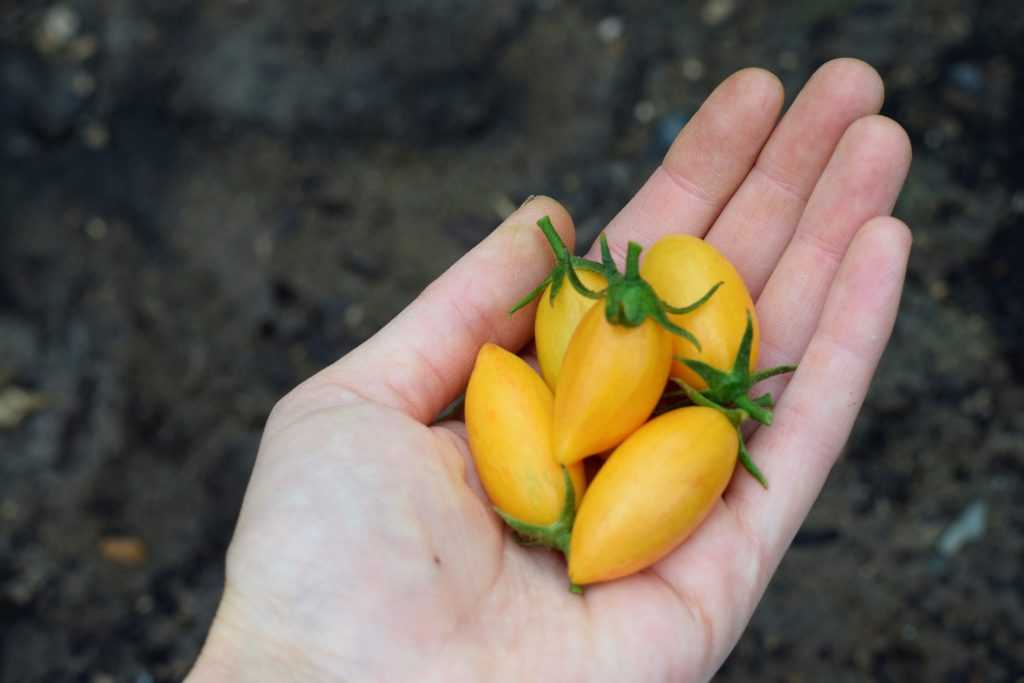
| My Rating | 5/5 stars |
| Type | Indeterminate |
| Color | Yellow with red stripes |
| Shape | Elongated cherry |
| Days to Maturity | 75 days |
Blush is one beautiful tomato! It features a pink blush over a golden yellow skin. The long oval shape of these tomatoes is rather unique and they are slightly larger than your typical cherry tomato. Blush tomatoes have a rather thick skin, and they remain firm and do not crack. Their flavor is sweet with a good tang. Blush is productive but took the longest to mature of the varieties I planted this year.
My thoughts – Despite the long maturity, Blush is the one that I would find myself snacking on more than any other tomato we planted this year. The flavor is outstanding and I appreciate their “two bite” size. I will definitely try to plant this one again next year!
Final Thoughts
All of these tomato varieties are delicious and would be an excellent addition to your garden. That being said, the best tomato variety for you depends what you are looking for. For me I prioritize yields as well as taste. Next year I will probably try the Blush tomato again because it surprised me how much I enjoyed it. However, since Blush takes some time to mature, I will probably plant Sugar Rush as well because it is early and dependable with great flavor.
Hope you get to try some of these varieties in your garden next year. Happy Gardening!
Be sure to pin for later!