The mornings are cool and the leaves are turning colors. Fall is here! And that means that it is the perfect time to plant garlic in your garden!
While garlic can be planted in the fall or the spring, I usually prefer to plant my garlic in the fall. This way it can develop a good strong root system over the winter. The garlic has a longer time to grow during cool weather which may lead to larger heads. Some people think that fall planted garlic also tastes better and has a more complex flavor.
A second reason why I usually plant my garlic in the fall is because I am usually planting garlic that I grew the previous season. By planting it in the fall so I will not have to store it as long, so the garlic is less likely to sprout early or have other issues during storage.
This post will explain the different types of garlic and how to plant it step-by-step. Let’s get started!
Related Post: Why Garden Planning Starts in September
This post may contain affiliate links, where I earn a small commission from qualifying purchases. I only provide links to products that I use personally and recommend highly.
When to Plant Garlic
Garlic should be planted in the late fall before the ground freezes for the winter. October through early November is the ideal time. It is best to err on the side of starting it too late rather than too early because too much top growth could make it more susceptible to winter injury.
What Type of Garlic to Plant
Make sure that you purchase garlic from a seed company rather than the grocery store. Grocery store garlic may be sprayed with chemicals to prevent sprouting, and it is not guaranteed to be free of disease.
There are two main types of garlic to choose from: hardnecks and softnecks. We will go through the differences below.
Hardneck Garlic
Hardneck garlic has one row of cloves around a stiff woody stem. The cloves are generally larger and there are generally 6-8 cloves per head. Some people think the flavor of hardneck garlic is superior to other types. However, hardneck garlic may not keep as well as softneck types and it is generally less hardy in warmer climates.
Popular hardneck varieties include: Music, German Extra Hardy, Purple Italian, German Red, Purple Glazer, and Chesnok Red.
Softneck Garlic
This type of garlic has a few rows of cloves and does not have a central stem like the hardneck garlic. The cloves are generally smaller and there are around 10-20 cloves per head. Softneck garlic can be better in warmer climates and the heads keep for 9-12 months if stored properly.
Popular softneck varieties include: Inchelium Red, Italian Late, Silver White, and Blanco Piacenza.
What Type to Choose
What variety to plant is up to you! Personally I usually plant the hardneck types because the cloves are larger and easier to peel. But depending on where you live the softenecks or hardnecks may grow better. Try a few different varieties and see what you like!
Related Post: Garlic Review: Comparing Music, Duganski, and German Red
How to Plant Garlic
Step 1: Select a Site
Garlic grows best in full sun. Choose a site that has loose, well drained soil and few weeds.
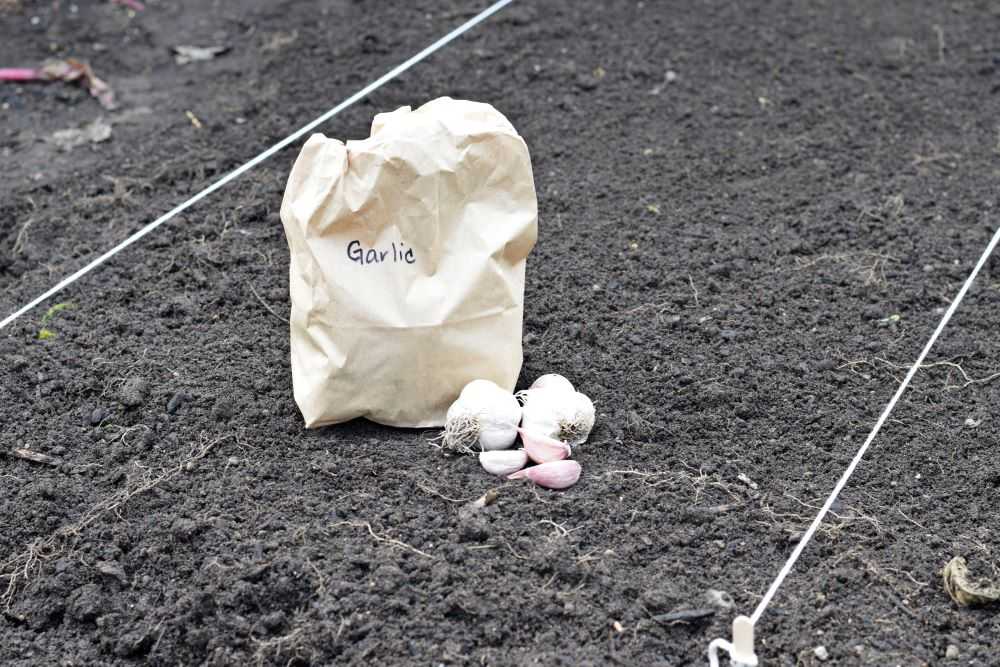
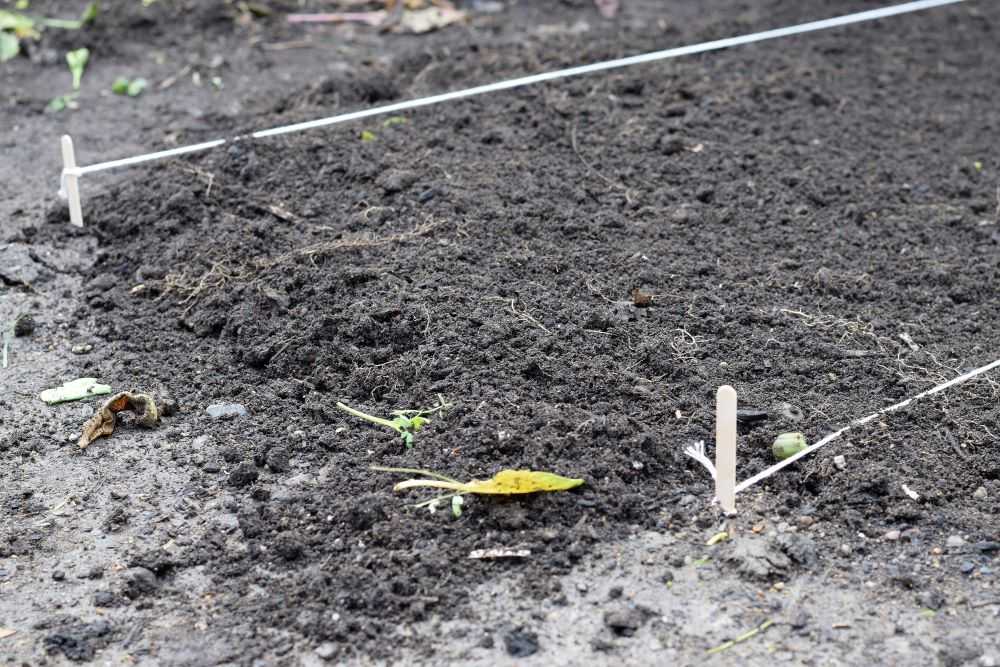
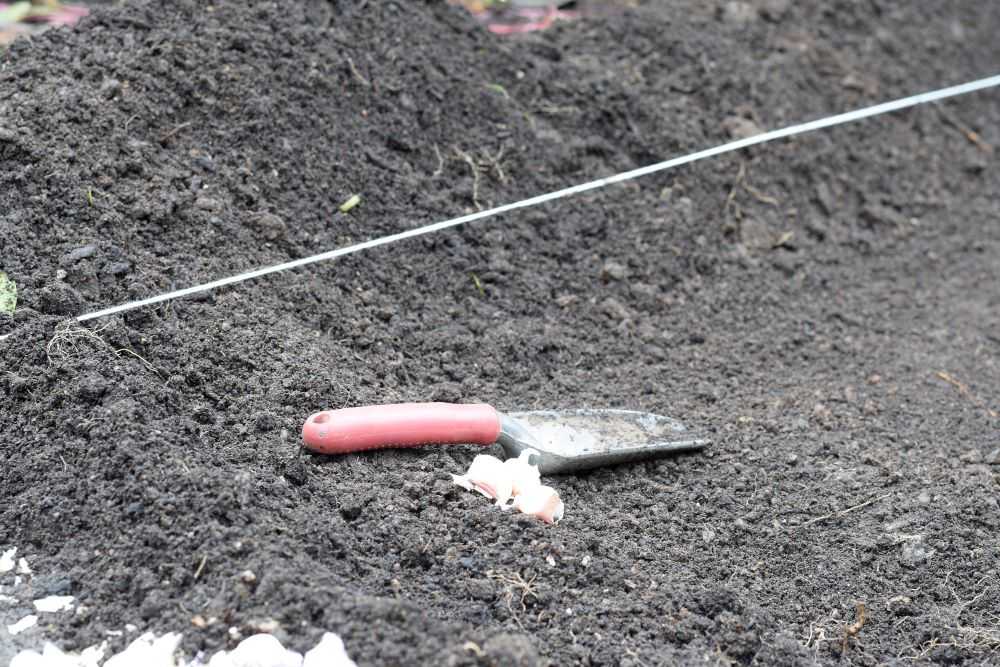
After I choose where I’m going to plant my garlic, I like to mark my rows with heavy cotton string (affiliate link) tied to popsicle sticks. This helps me to see the edges of the row so I plant my garlic in the correct place.
Step 2: Prepare the Soil
Garlic are heavy feeders but too much fertilizer at this point can make the plants more susceptible to winter damage. You can add a small amount of compost or fertilizer at planting time but this is not required.
If you do add fertilizer, choose one that is higher in phosphorus such as bone meal so it will help the garlic to get a good root system established. It is best to wait to add too much nitrogen until after growth starts in the spring.
Step 3: Dig a Hole
Garlic needs to be planted 3-4 inches deep. How you dig a hole for your garlic depends on how much you have to plant. If you don’t have many cloves to plant you can just dig a small individual hole for each clove and drop it in. If you are planting your garlic in rows, you can dig a long narrow trench.
I am planting a lot of garlic this year (about 80 cloves!) so I like to plant it in a wide row about 18-24 inches wide. Instead of digging individual holes, I use a rake to move all the soil off to the sides of the row. This way I can plant the garlic all at once.
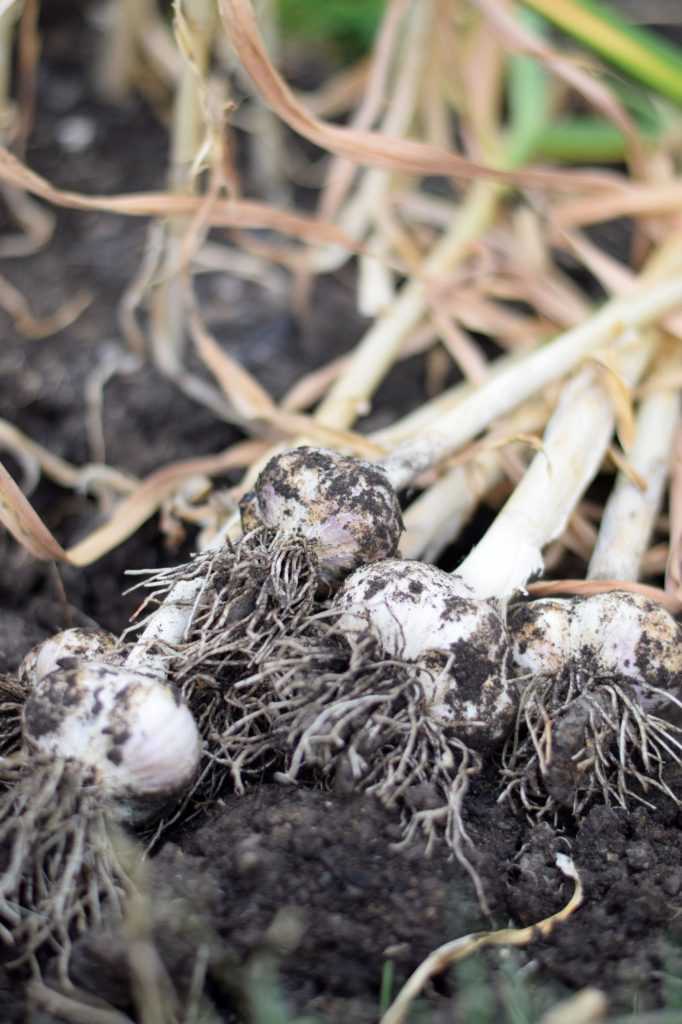
Step 4: Separate the Garlic into Cloves
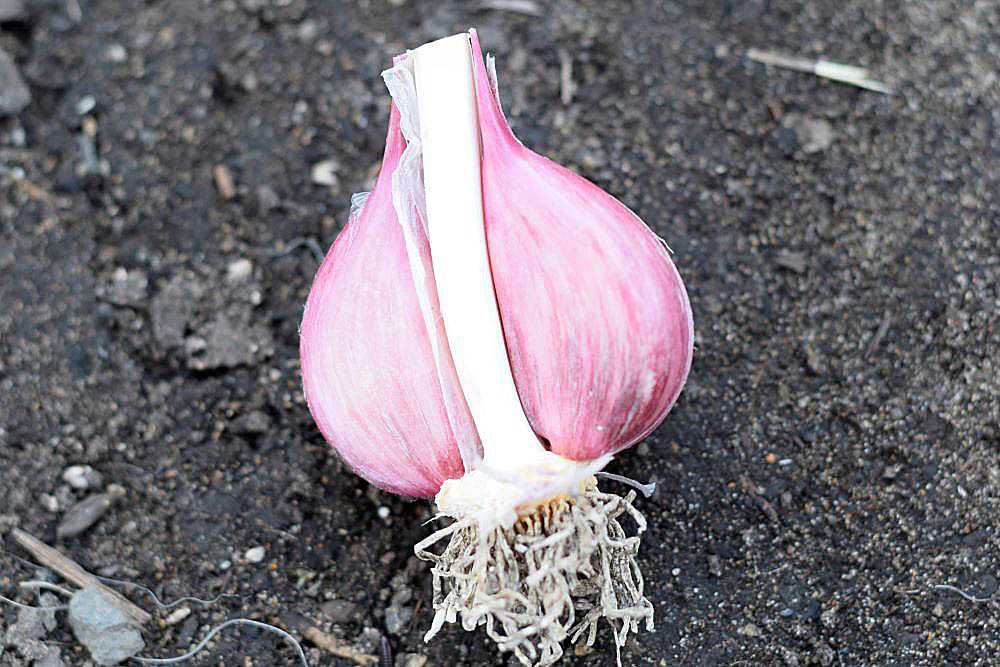
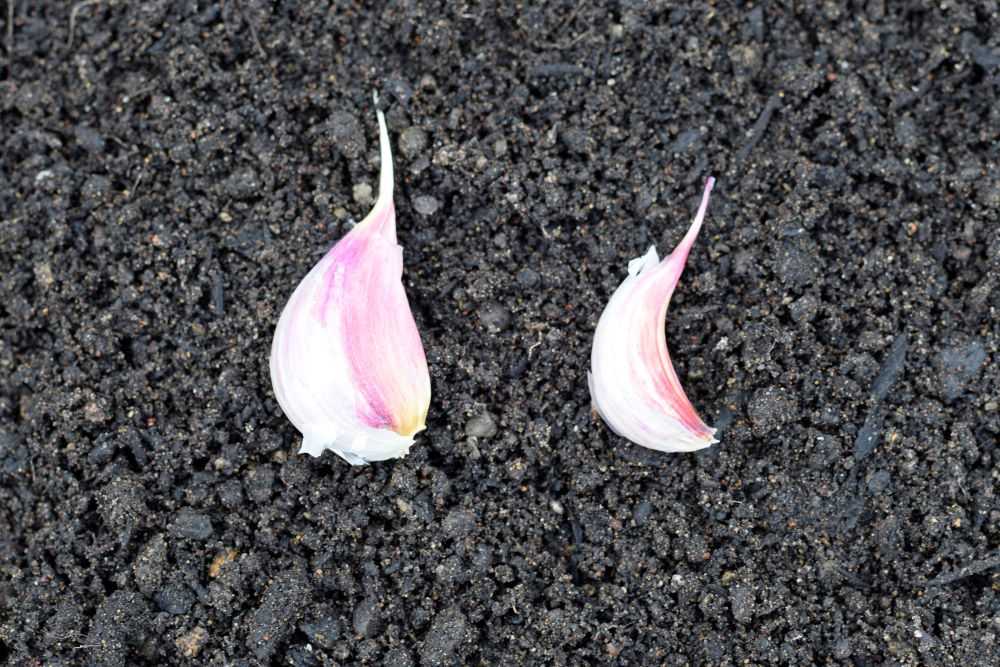
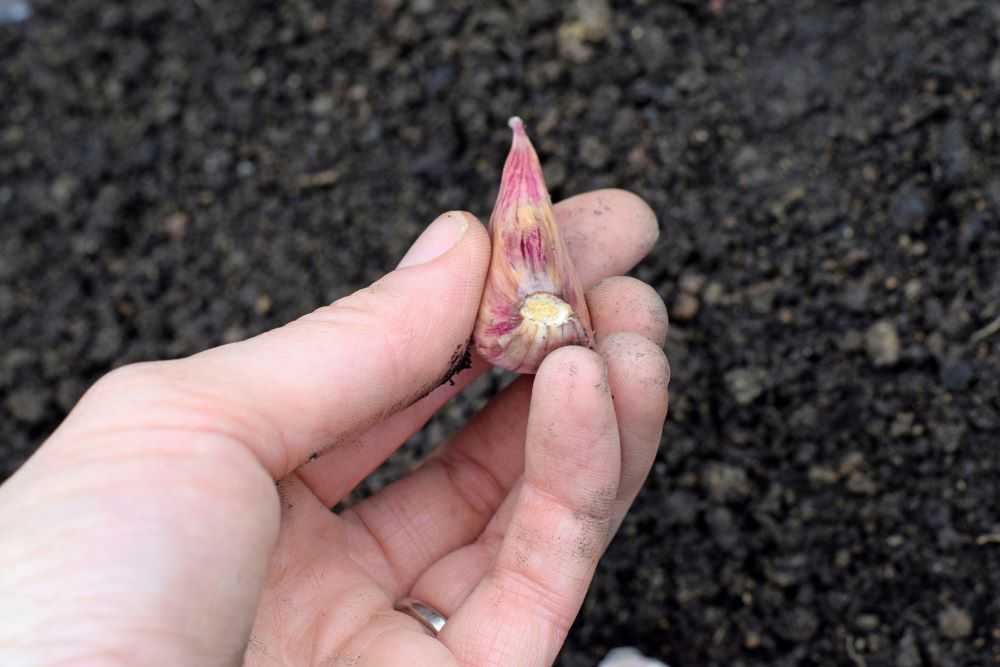
Carefully separate the garlic heads into cloves right before planting. Each of these cloves will eventually grow into a whole head of garlic. Try to keep the skins intact because they will help protect the cloves.
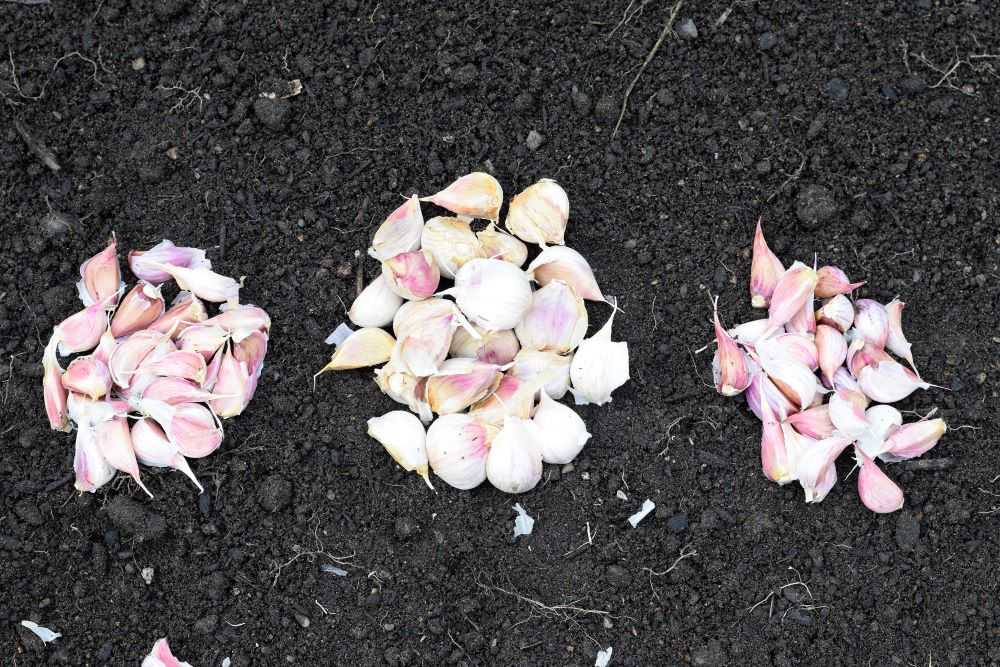
If you have more garlic than you need, select only the biggest cloves to plant and save the smaller ones for cooking. Larger cloves produce larger plants. You cannot get a big garlic plant from a puny clove!
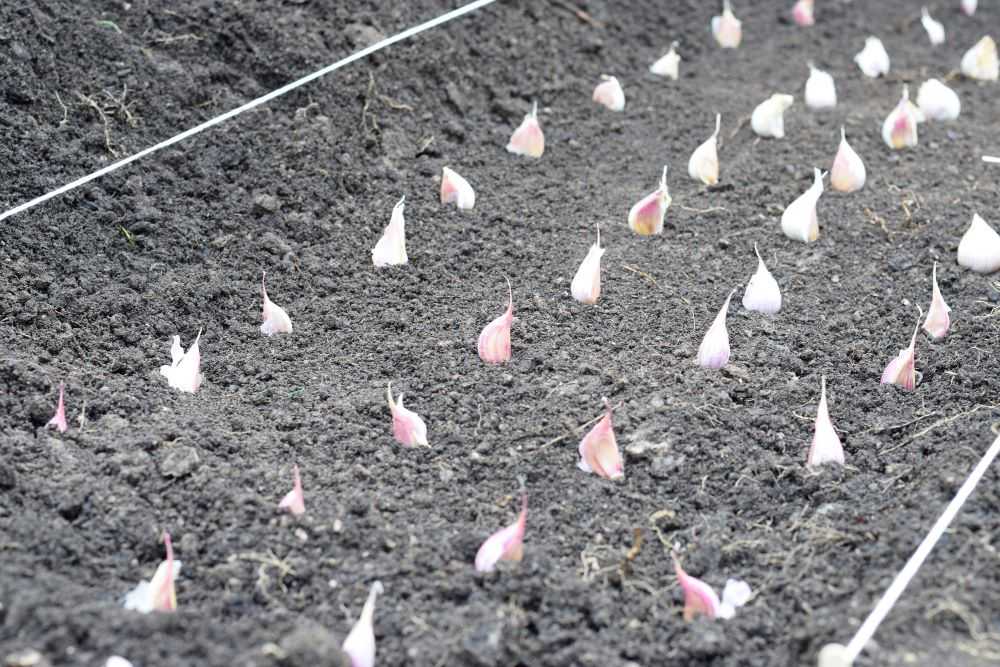
Step 5: Plant the Garlic
Plant the garlic cloves about 6 inches apart in all directions. Do not plant them closer than this because they will start to compete with each other for water and nutrients and not grow as big. Make sure the pointy ends of the cloves are facing upwards when you plant them.
When all the garlic cloves are placed cover them with soil. Gently pat the soil down with your hand and water the garlic lightly. Now wait for it to start growing!
Early Care
Garlic shoots should emerge in a few weeks to a few months, depending on the temperature. Water lightly because garlic does not like heavy wet soils. The fall rains will likely keep it plenty wet, and too much moisture could cause the garlic to rot in the ground if there is poor drainage.
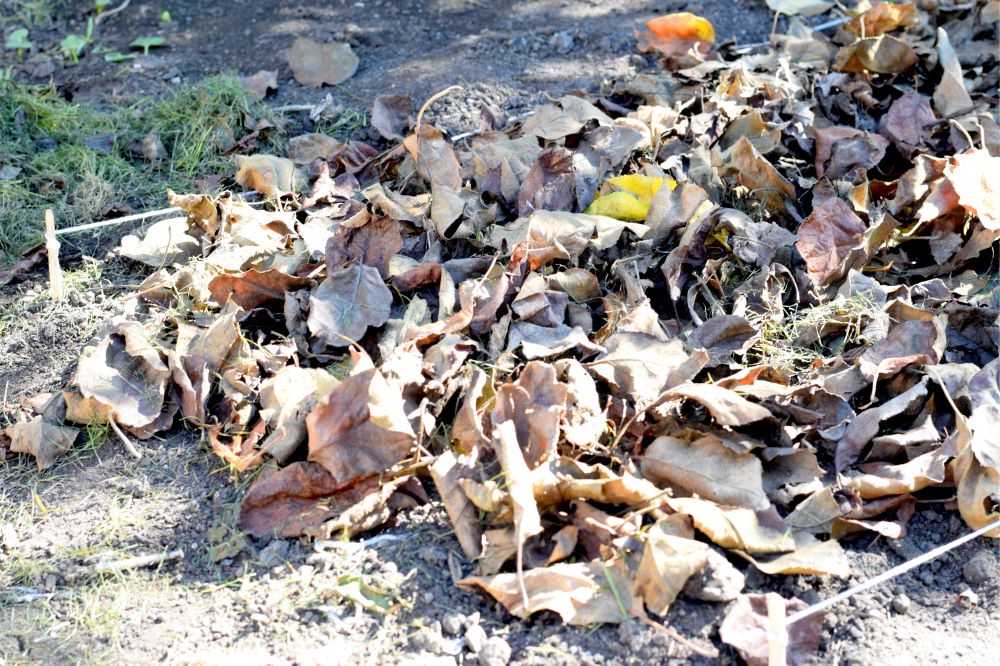
If you see green shoots appear you can add a few inches of mulch to help protect the plants against cold winter temperatures. Clean straw or leaves works well. You can pull the mulch away when the weather warms in the spring.
Final Thoughts
There you have it! Now that you know how to plant garlic you will be rewarded with beautiful garlic plants next spring that will be ready around July. Happy Gardening!
Don’t forget to pin for later!
Leave a Reply