Tag: green beans

Garden Update – October

It is hard to believe it is already October! The weather is changing and cooler weather is here. We had a challenging gardening month because wildfires stretched across Oregon and the thick smoke hid the September sun for weeks. Despite this, it has been a very busy month in the garden! Here is what we’ve been up to:
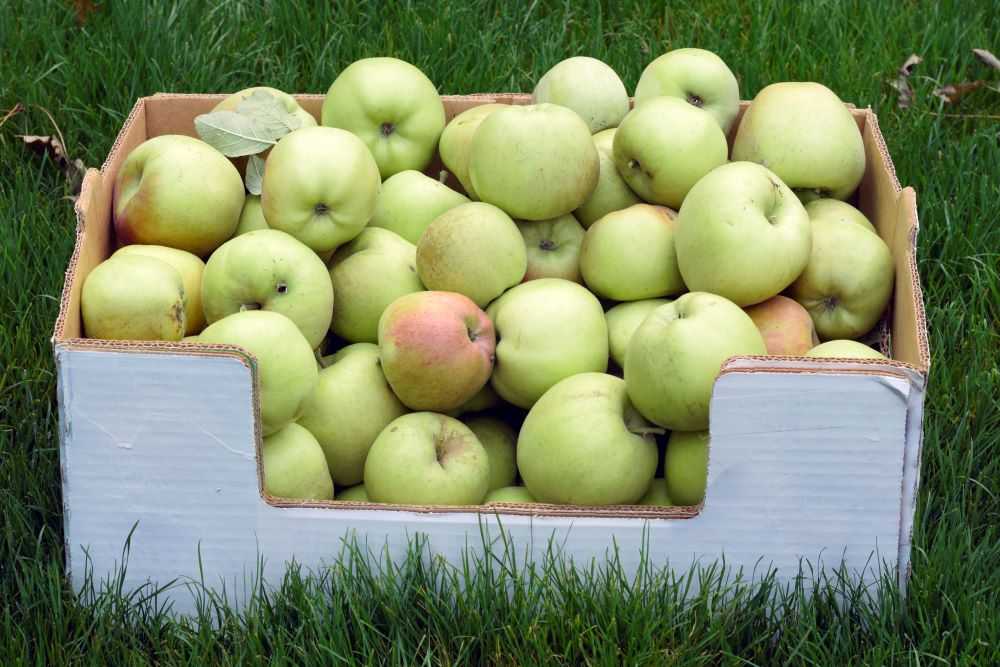
Apples

Our apple trees are doing great! I love having a 5-way grafted tree because apples ripen over a much longer season. While our gravenstein apples are ready in July, our other types are ready now. A few weeks ago I picked a 33 pound box of apples. And there are still plenty more on the tree!

What have we been doing with all these apples? Most of them have been eaten fresh. We also made some apple crisp, which is my absolute favorite fall dessert! You can check out the recipe here.
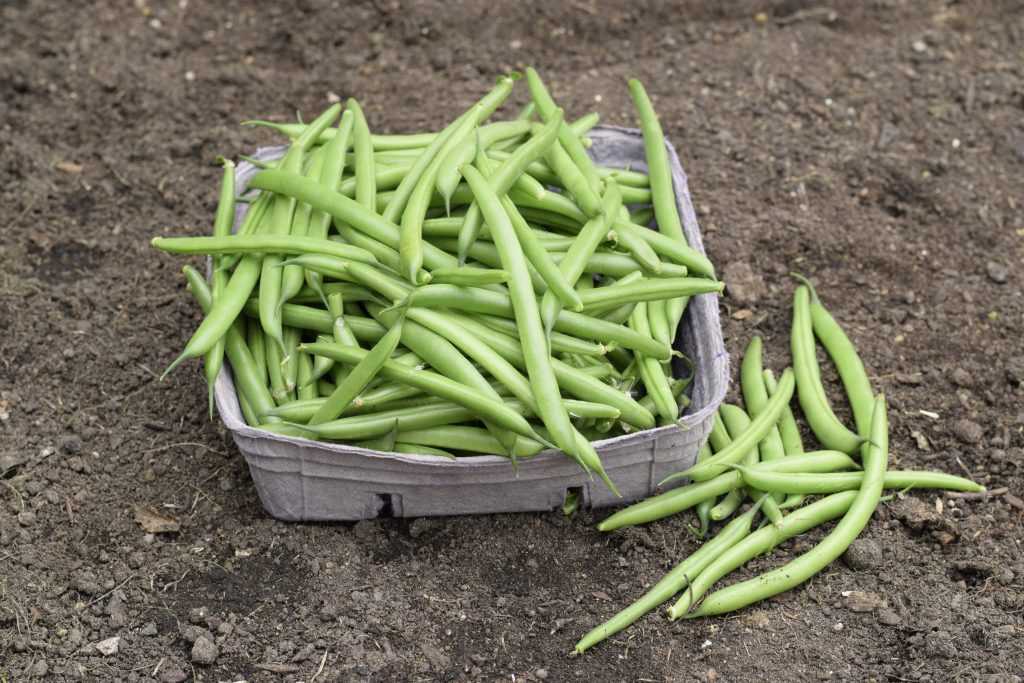
Box full of apples.
Lots of apples for apple crisp!

Beans

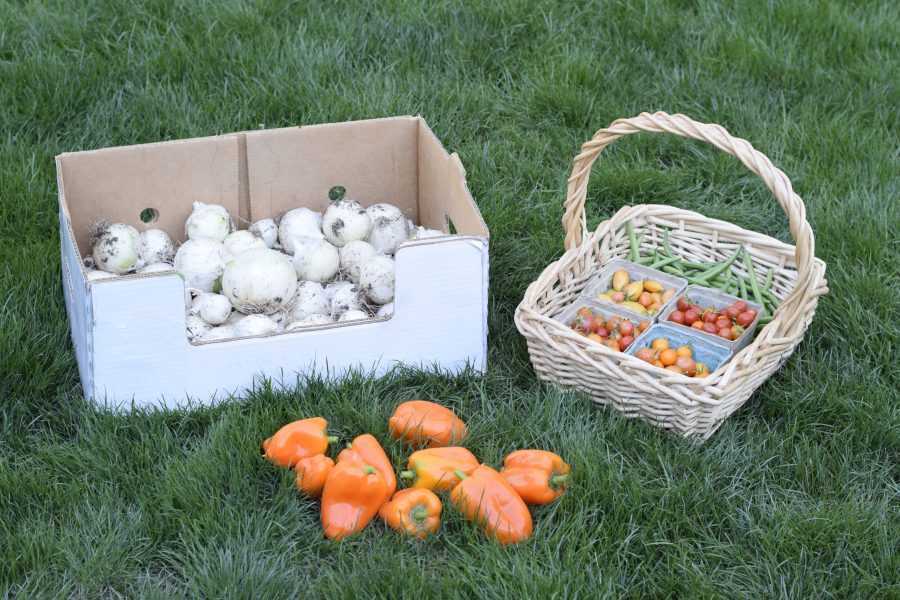
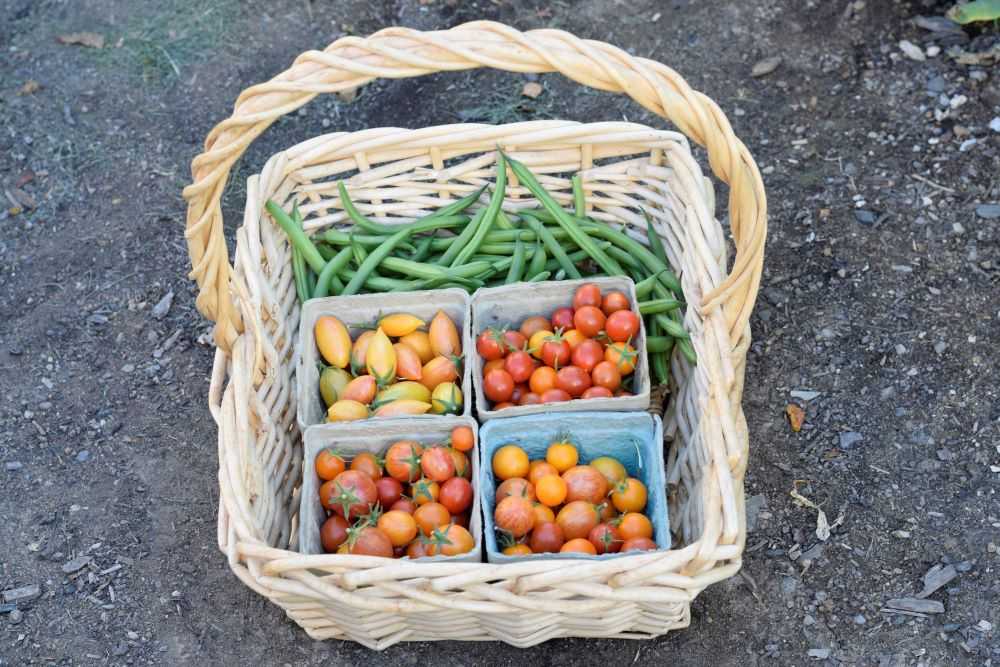
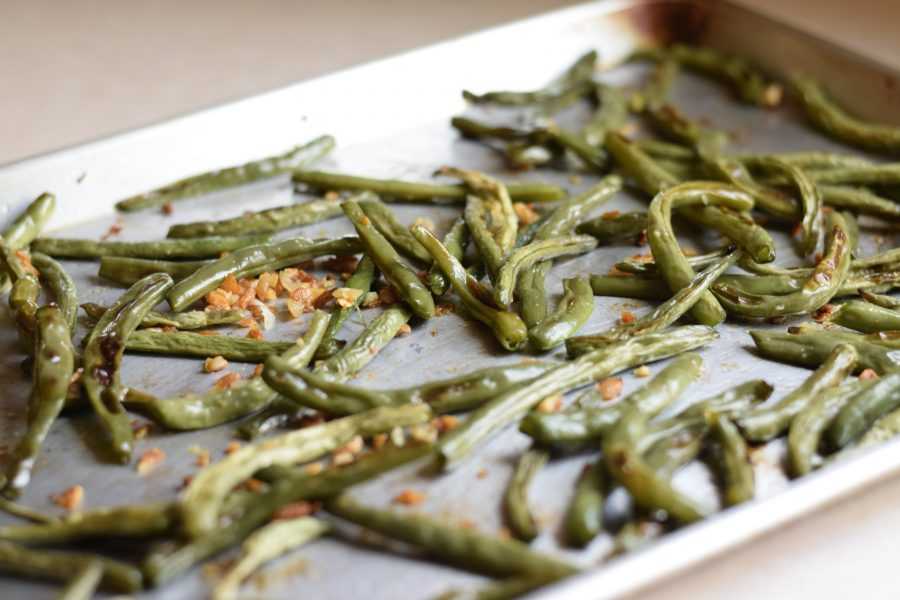
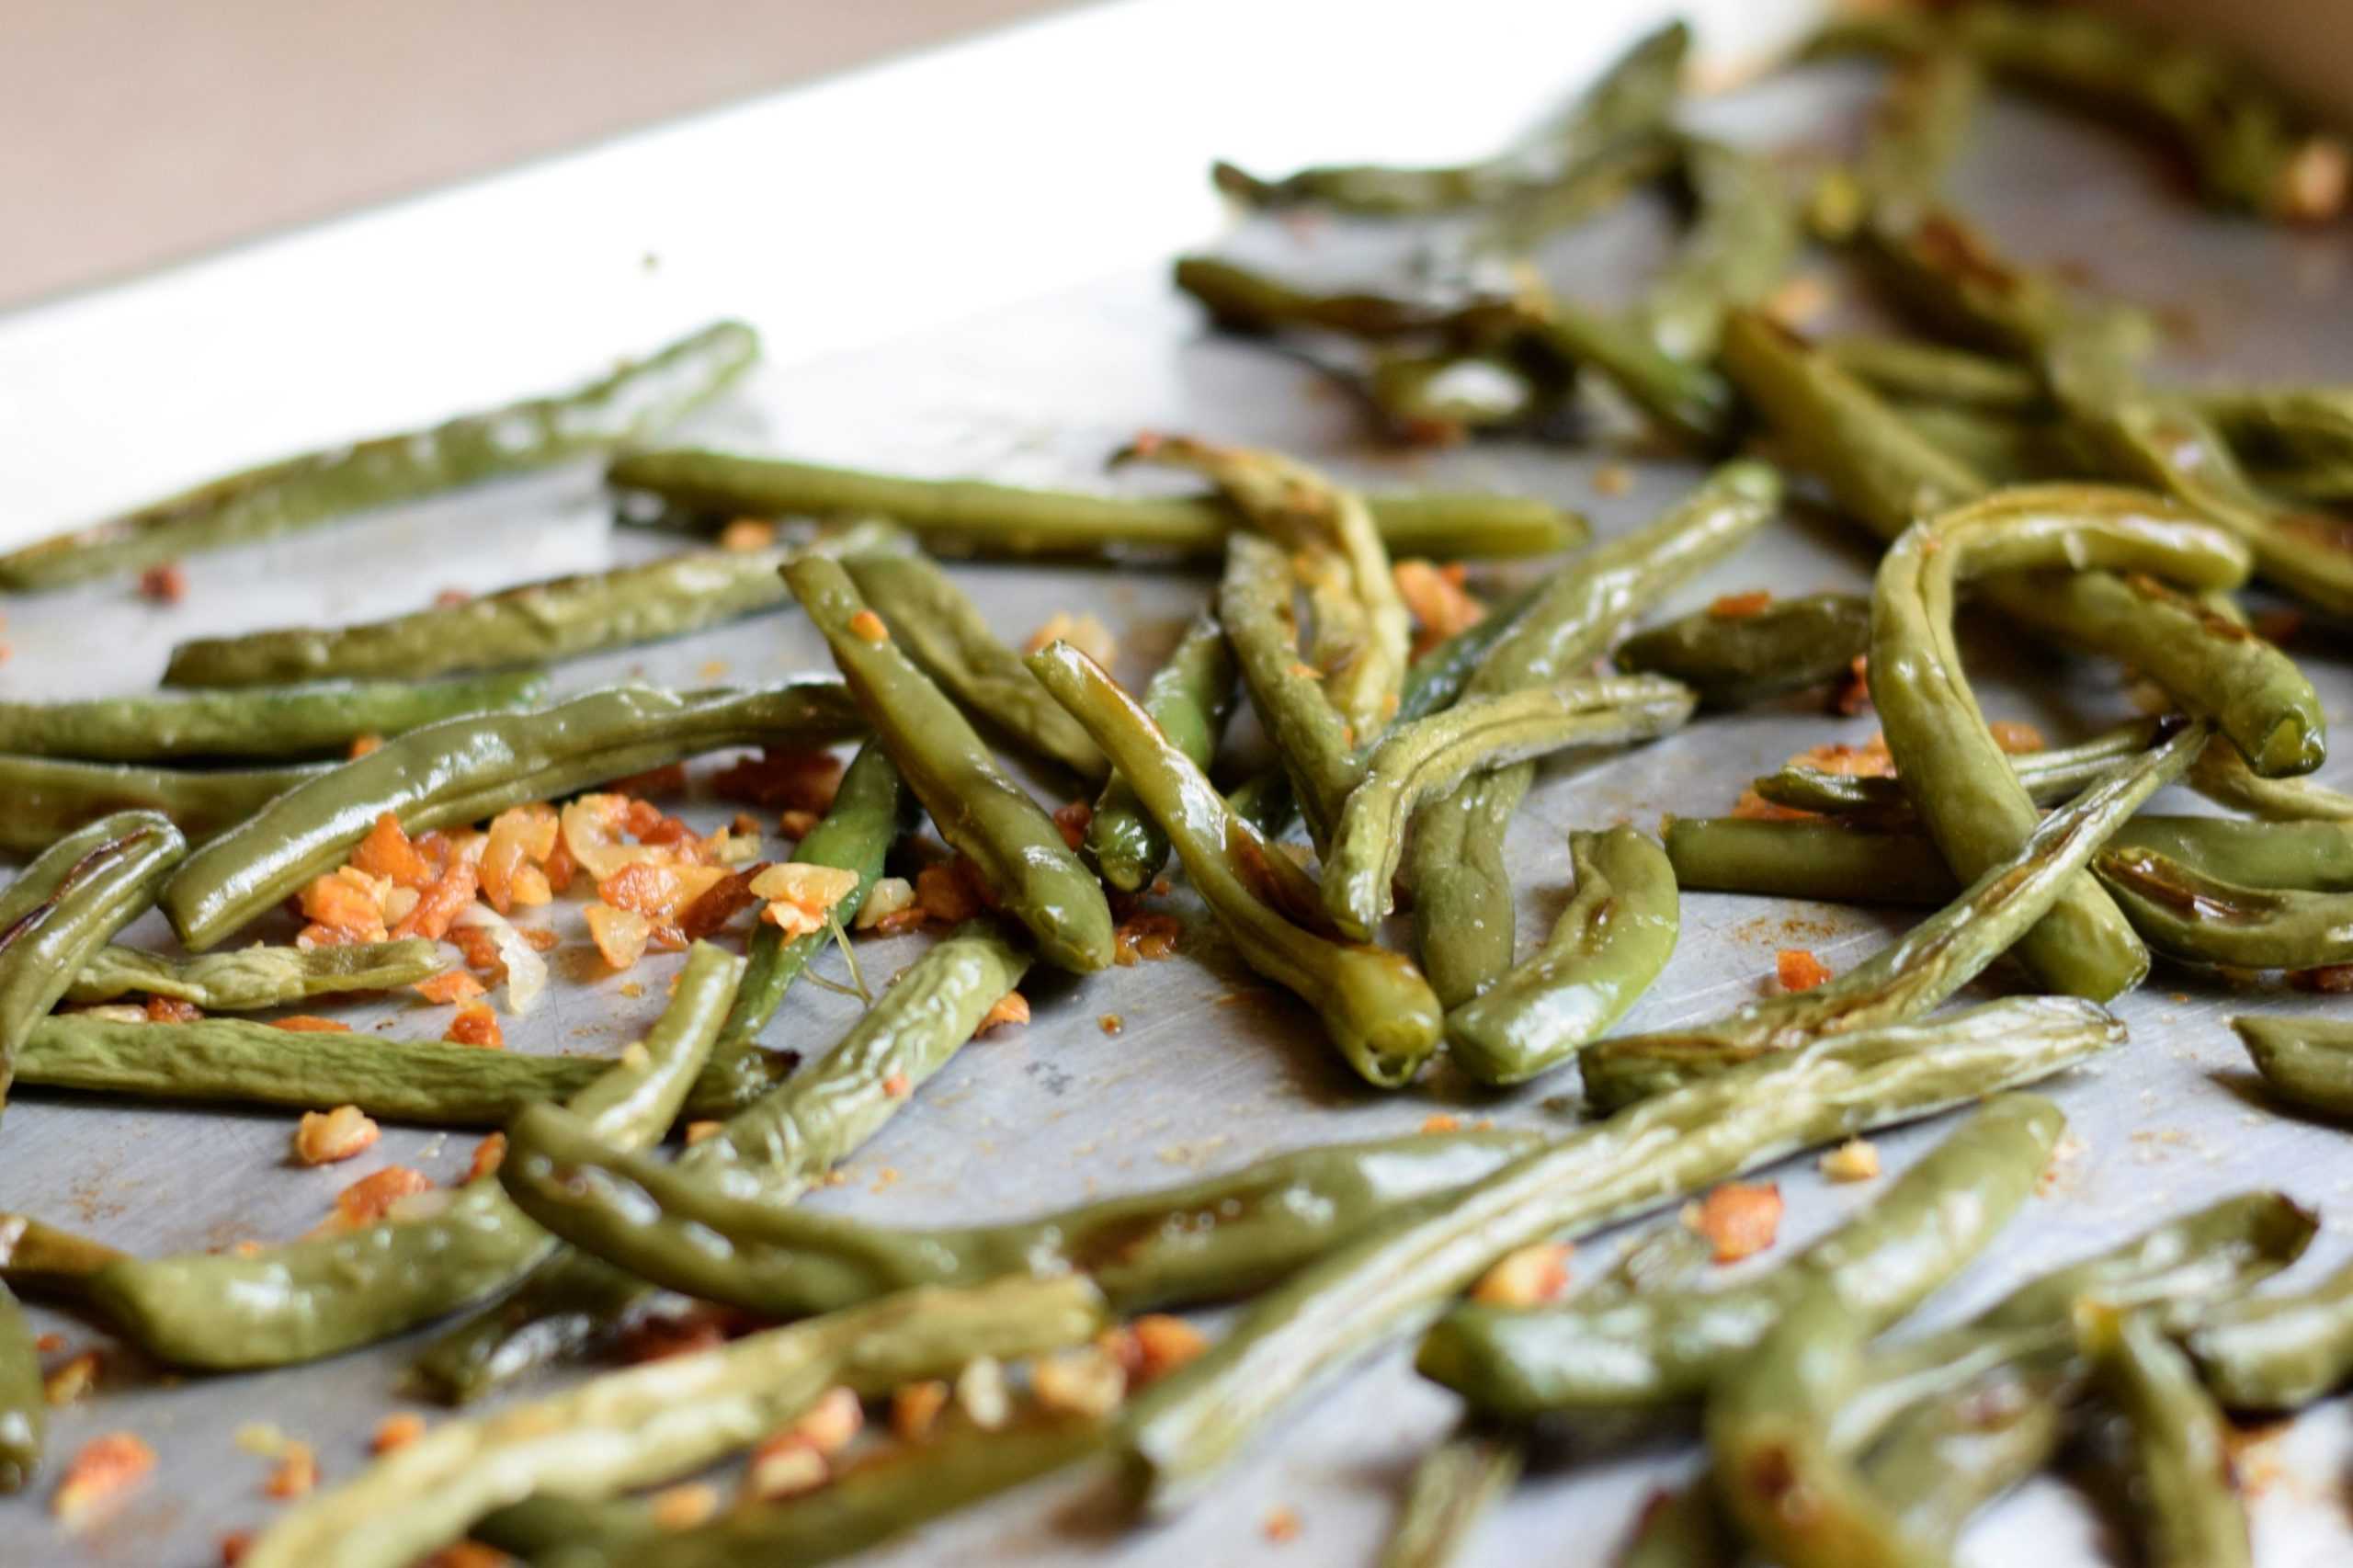
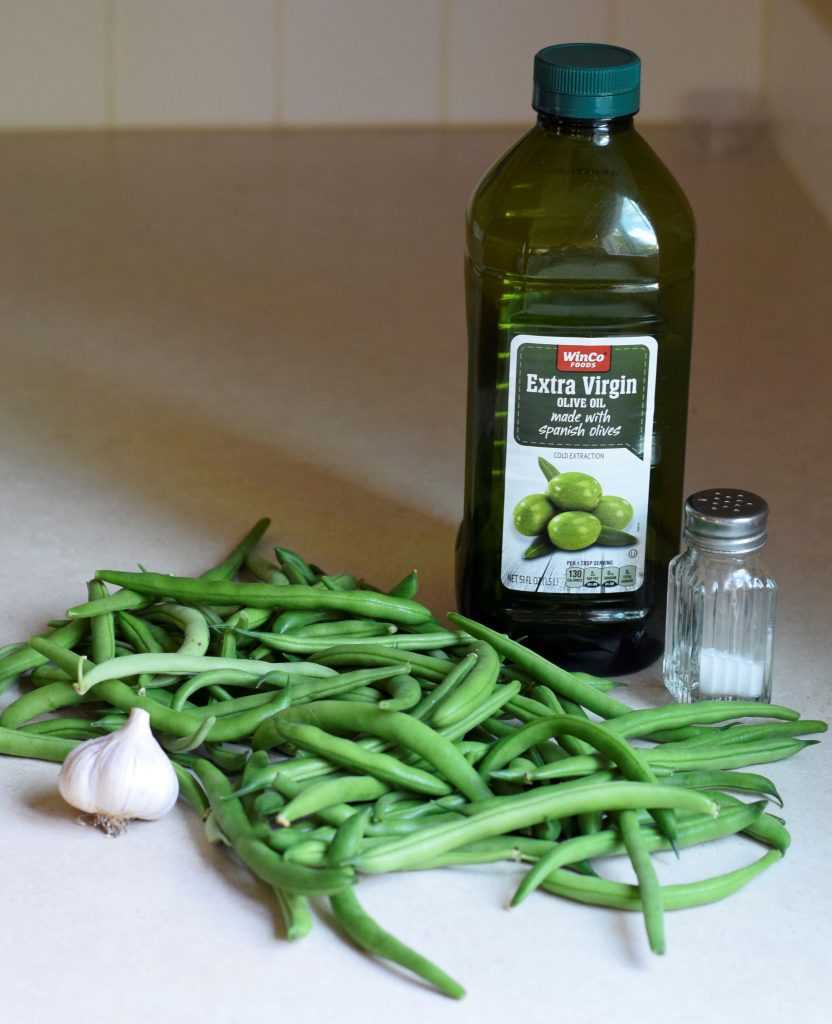
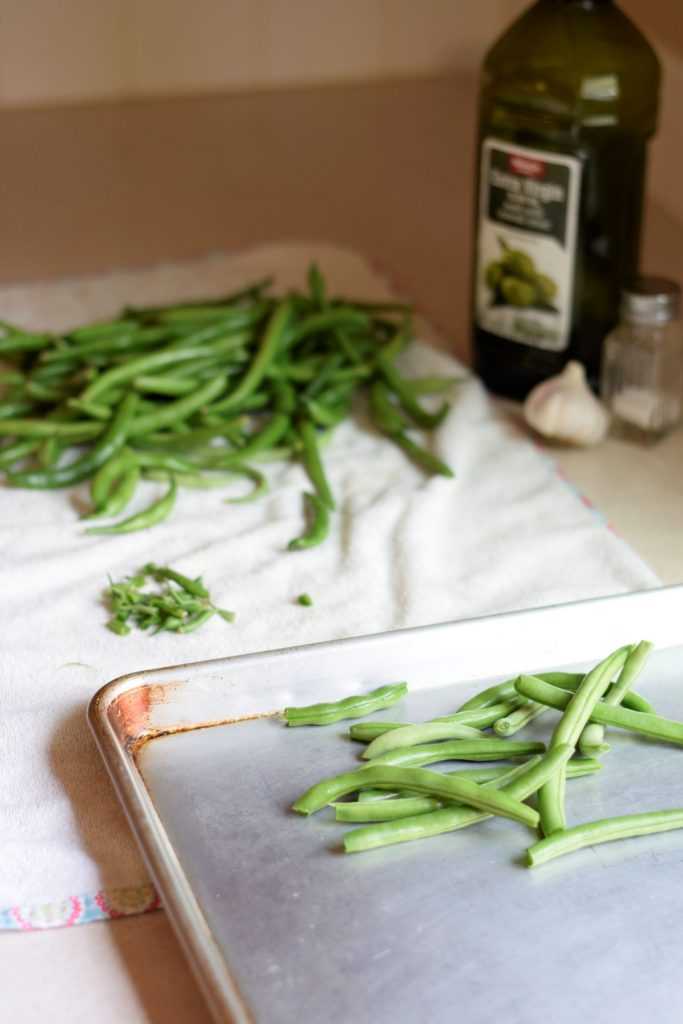
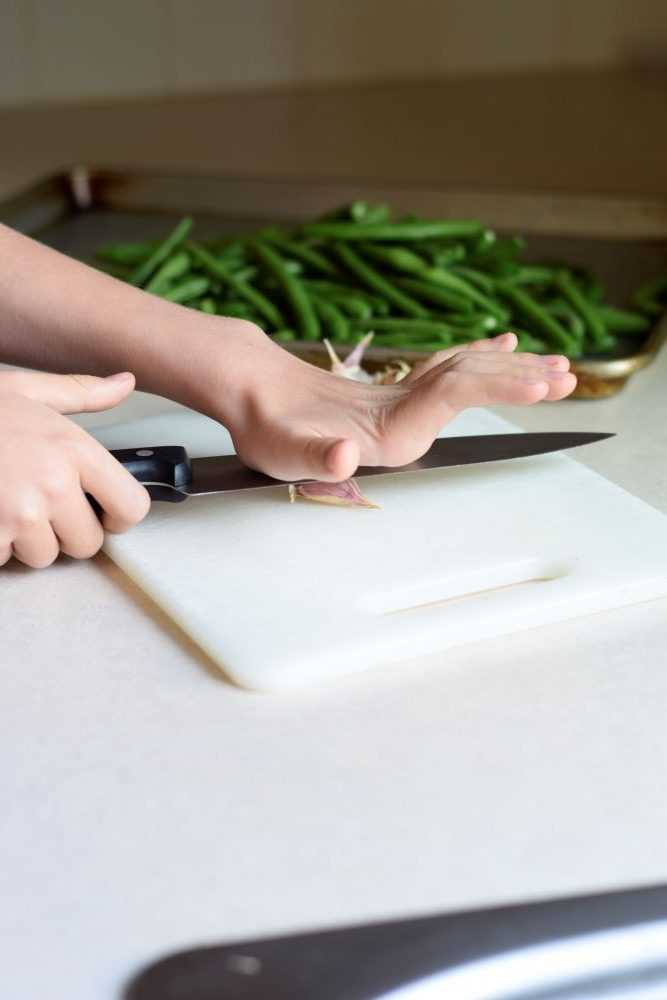
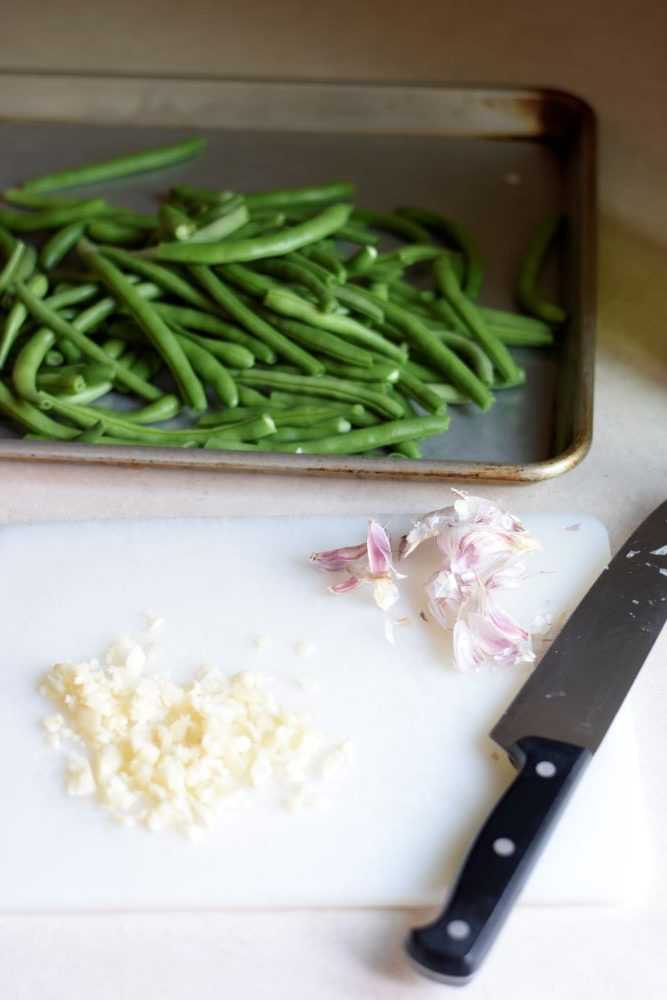
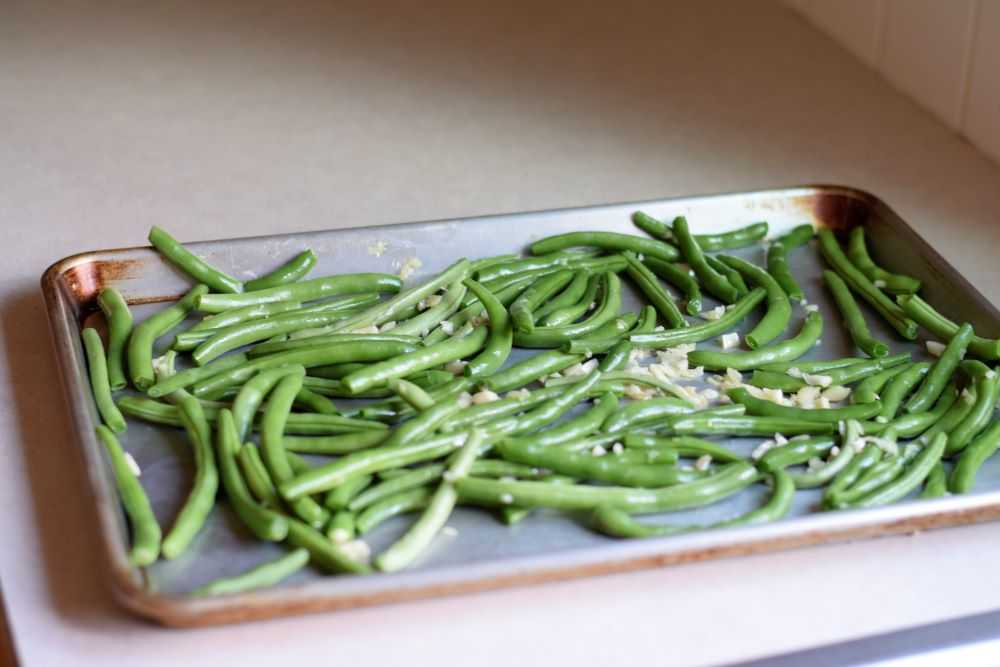
I cannot remember bean plants ever being as productive as ours have been this year. The variety I planted was Hickok from Territorial Seed. After setting a large crop in July, we got a second large crop a month later. In mid September we still had flowers and small beans on our plants!

I finally had to pull the bean plants after the weather started getting cooler at night. We have been enjoying lots of garlic roasted green beans! Yum!
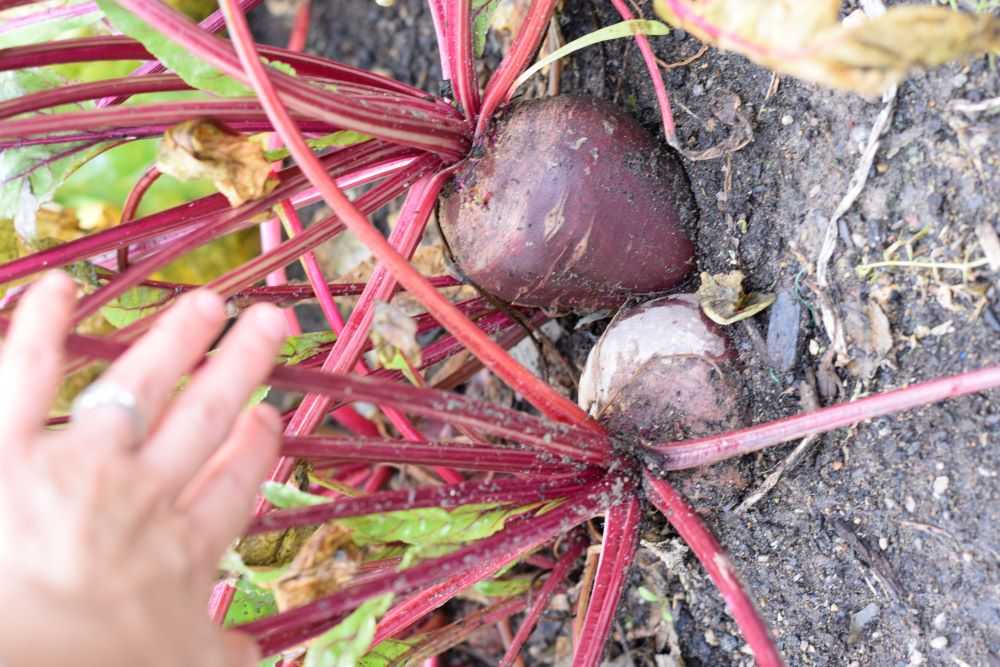
Hickok green beans.
We picked beans up through the middle of September. It was a great year!

Beets

I did not plant many beets this year. After our radishes were done in June I poked a few seeds in here and there. I was surprised that they got as big as they did! I will have to plant more next year.
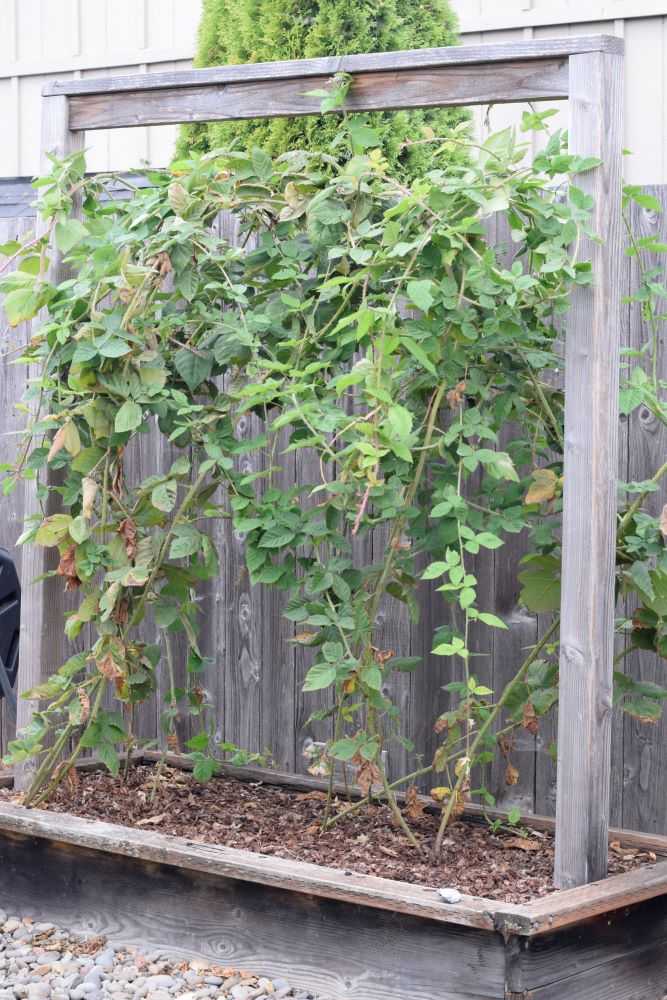
Blackberries

The canes for our marion berries are growing long! I wound them around the trellis so they were not dragging on the ground. This also prevents them from sprouting new plants. The blackberries seem healthy and strong so think we will have a pretty good harvest next year!
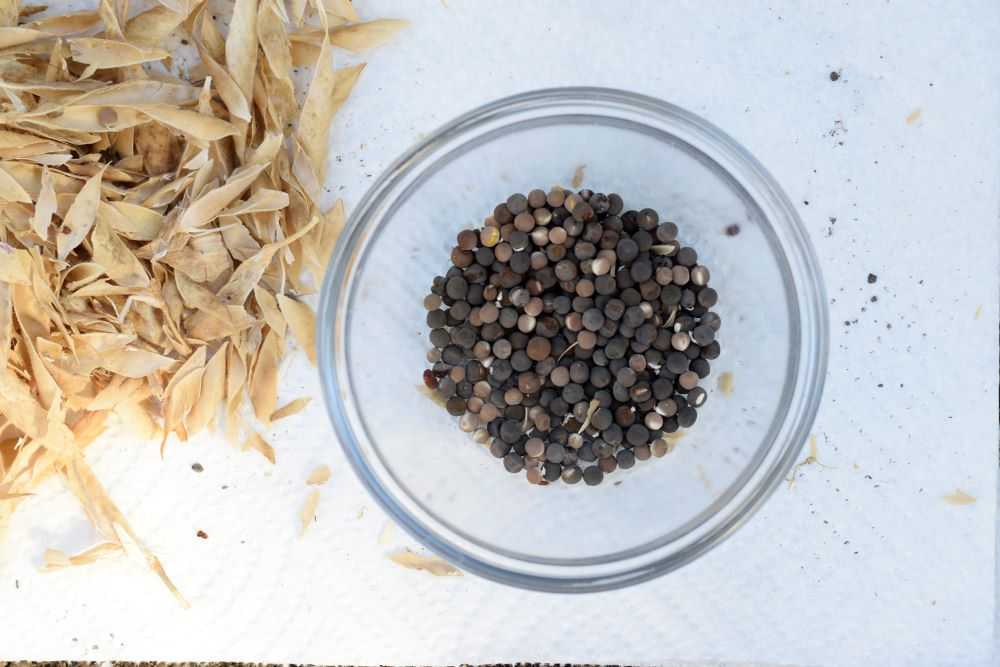
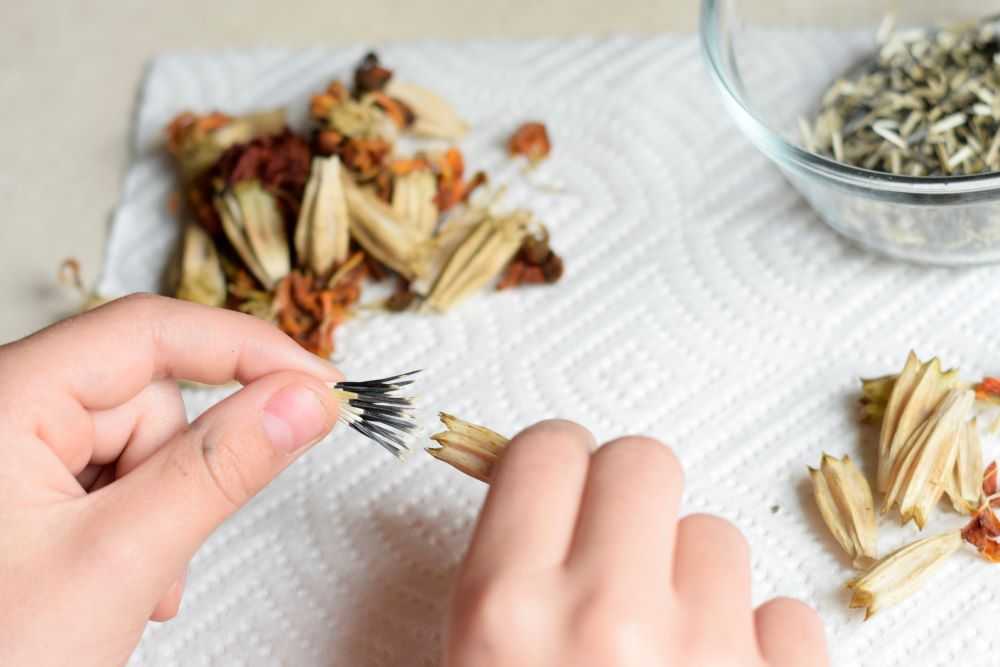
Marion berries on a trellis.
I wound the blackberries around the trellis so they do not drag on the ground. I think we will have a great harvest next year!

Marigold Flowers

I finally took our marigolds out last week. I saved the seeds and you can read more about that here. Marigolds produce SO MANY SEEDS and I will have plenty to plant next year!
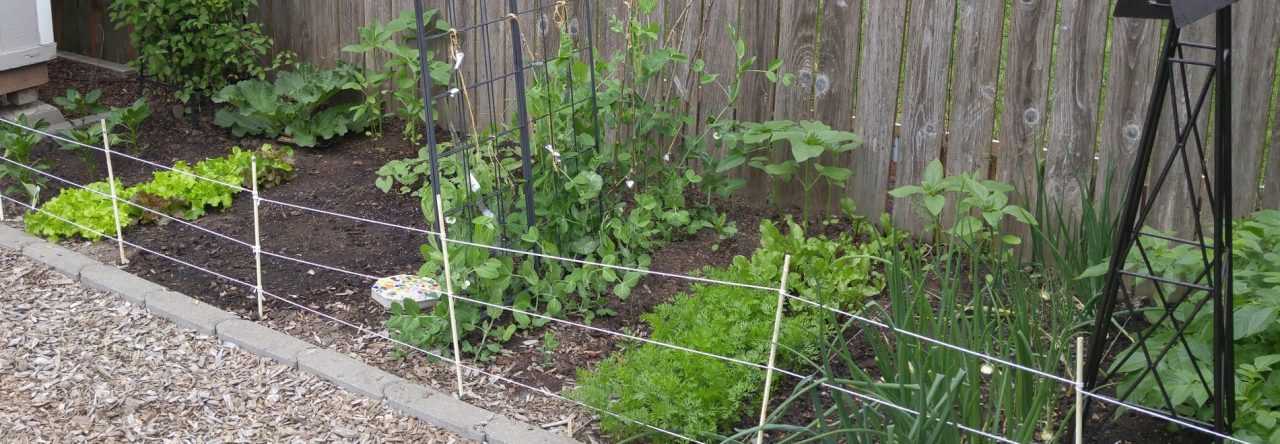
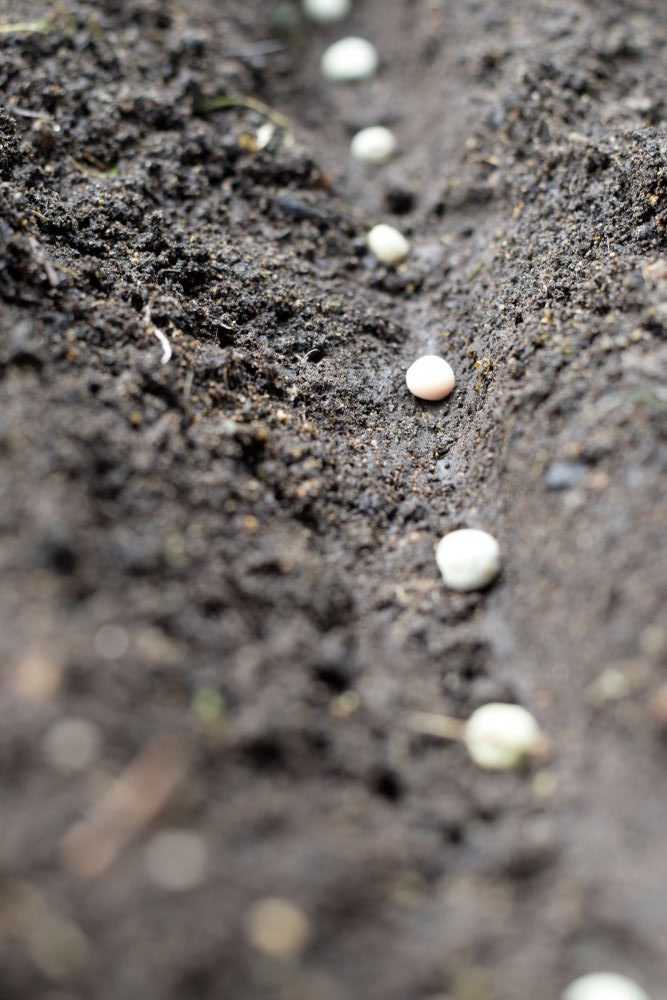
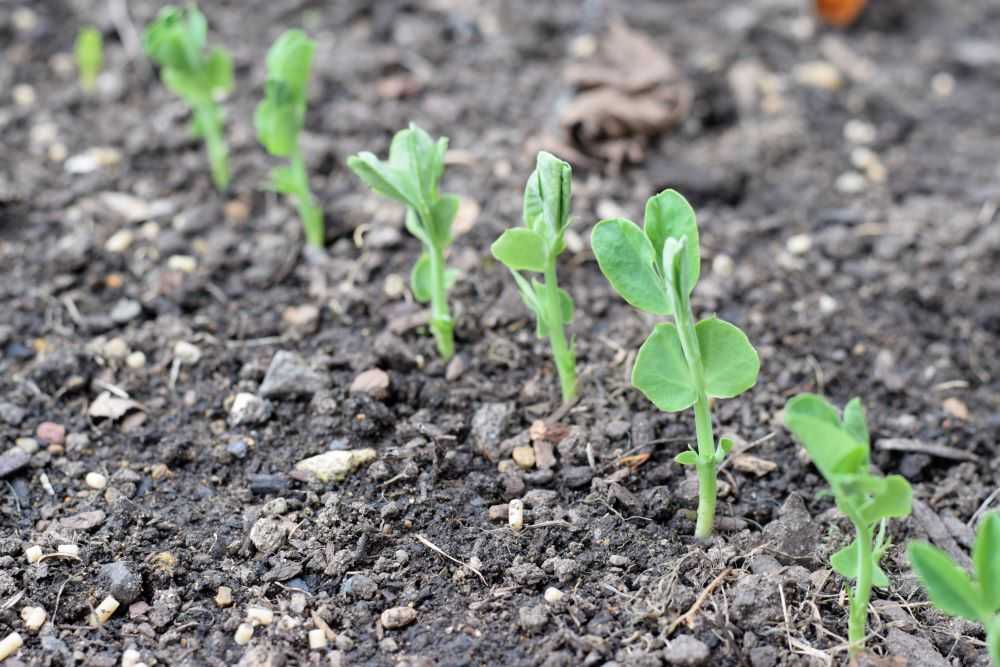
Taking marigold seeds out of seed heads
It is easy to save marigold seeds for next year!

Peas

I planted peas a few weeks ago and the seedlings are about 4 inches tall now. I usually start my peas in the fall and overwinter them for a bigger and earlier crop. You can learn more about overwintering pea plants here.

Related post: Why Garden Planning Starts in September

Sweet Peas

Shortly after I planted my peas, I also planted my sweet pea flowers. After I saw “volunteer” sweet peas coming up already I knew the seeds would sprout easily. I planted a row along the bottom of my trellis so they can get established before winter comes. I am looking forward to early flowers in the spring!

Related post: How to Save Sweet Pea Seeds
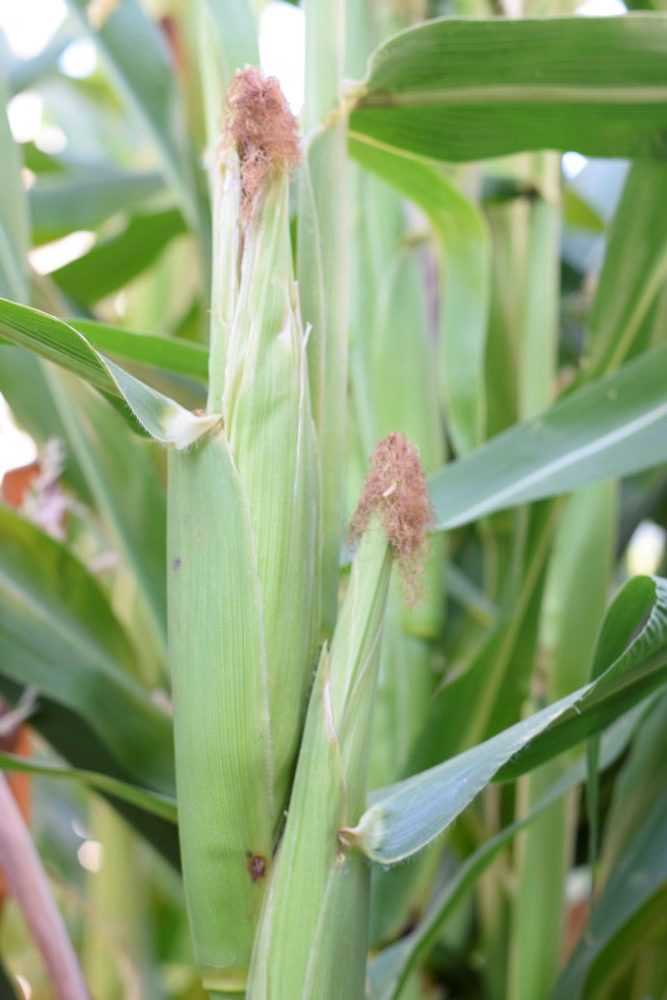
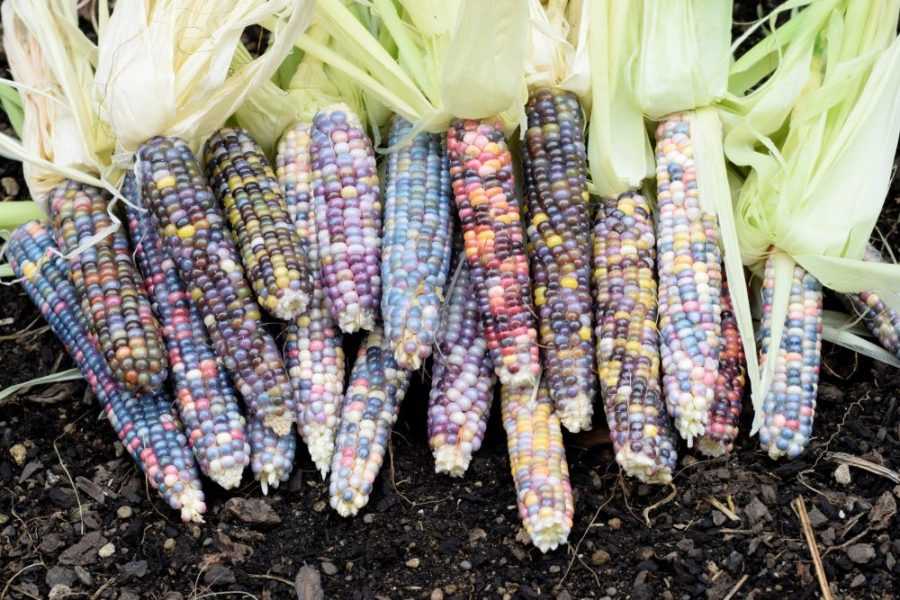
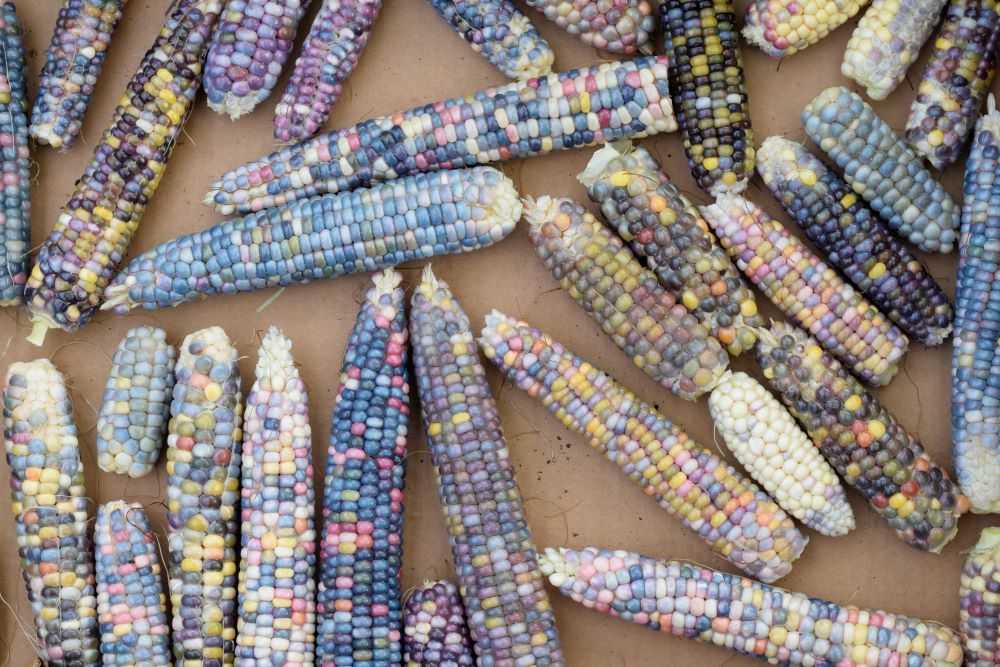
Popcorn

Each year we grow something we have never tried before, and the kids chose popcorn to grow this year! We planted the popcorn after the weather warmed in June. However I did not realize that popcorn takes 110-120 days to mature, which is significantly longer than regular sweet corn. It FINALLY got ripe and the end of September.

Glass Gem popcorn.
The popcorn is finally ready. It is SO pretty!!!

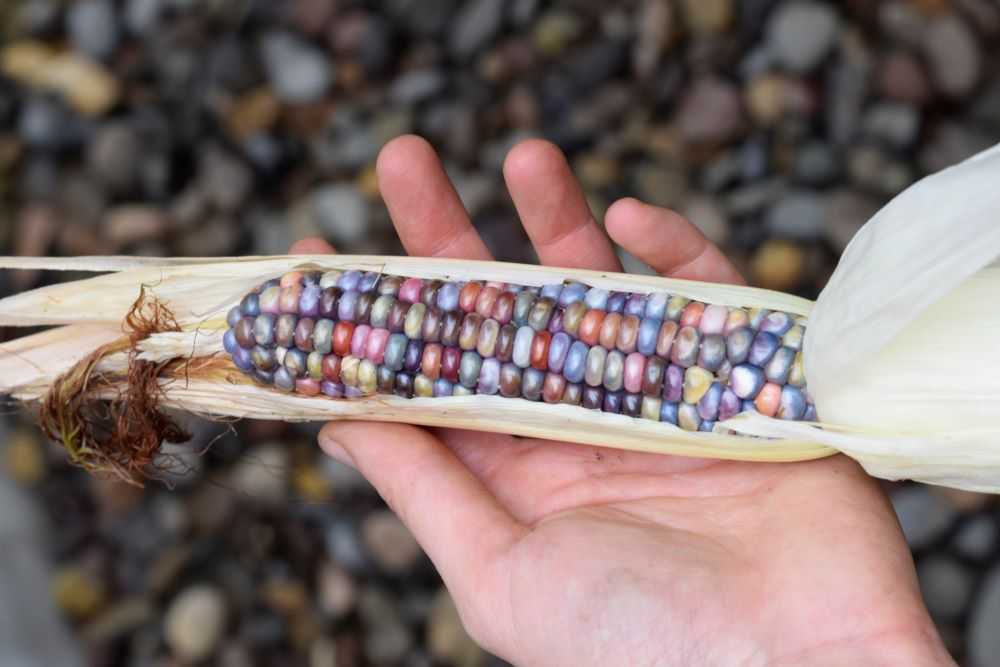
Ideally we would have let the popcorn dry in the garden but we had to pick it and bring it indoors since the weather has been so wet. The ears were so beautiful! We pulled the husks back and displayed some of the prettiest ears around the house.

We peeled the rest of the corn and put it in a box in the garage to dry out. We put one ear in the food dehydrator to speed up the process. It was very difficult to get the moisture content just right but finally we got it to pop! So fun!
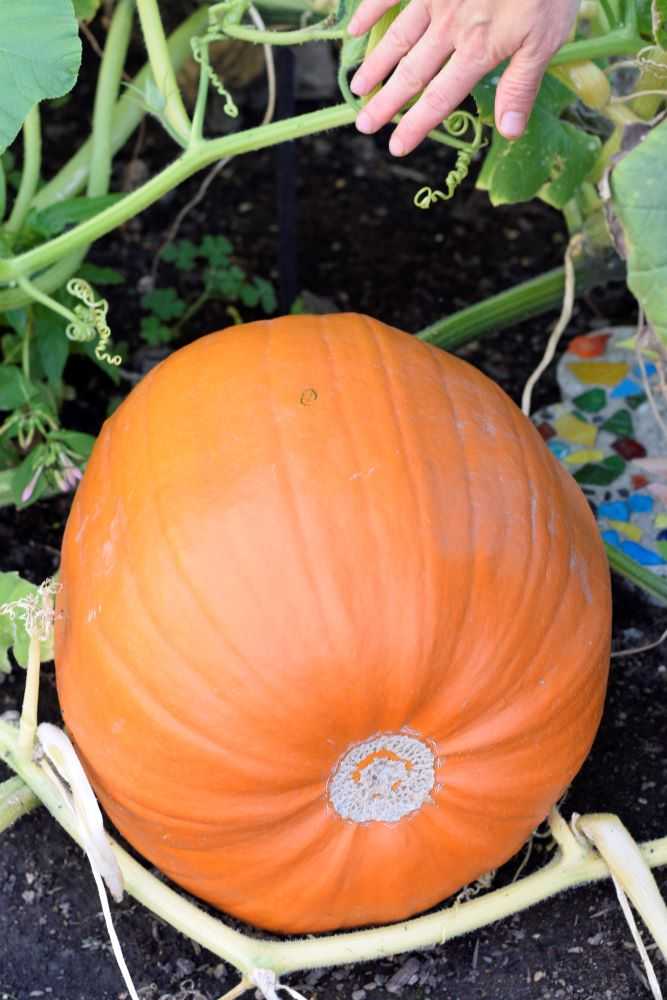
Place the popcorn in a box to dry.
We peeled the rest of the popcorn and put it in a box in the garage to dry out. It is so pretty to see the variety of different colors!

Pumpkins

We finally picked our pumpkins for the year! One weighed in at 15 pounds and the other was 25 pounds. We did not get as many pumpkins as we do some years. This may be because they were planted in a little more shade. The kids are already looking forward later in the month when they will get to carve them!
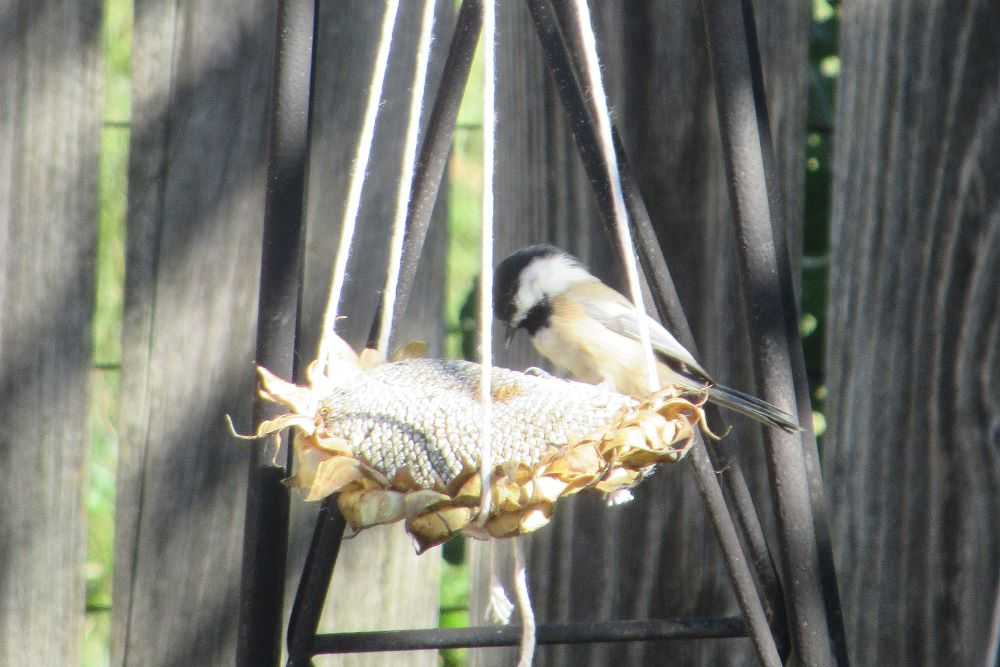
Sunflowers

I had to take some of my sunflowers out of the front yard so I made these cute DIY sunflower bird feeders. The birds found them right away and the seeds are almost gone already. It has been a lot of fun to watch the birds out our back window!
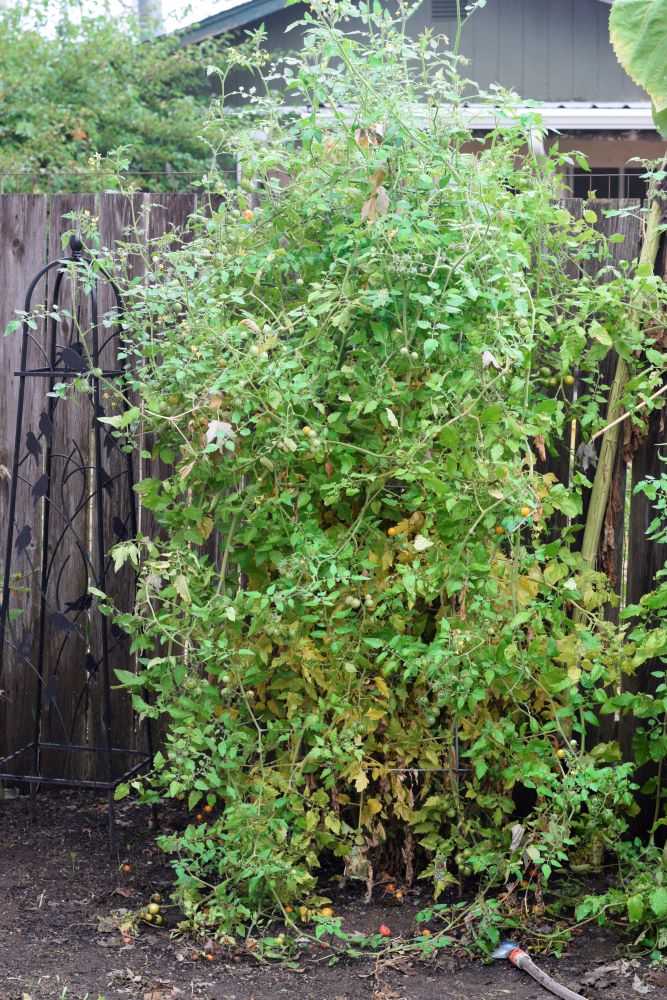
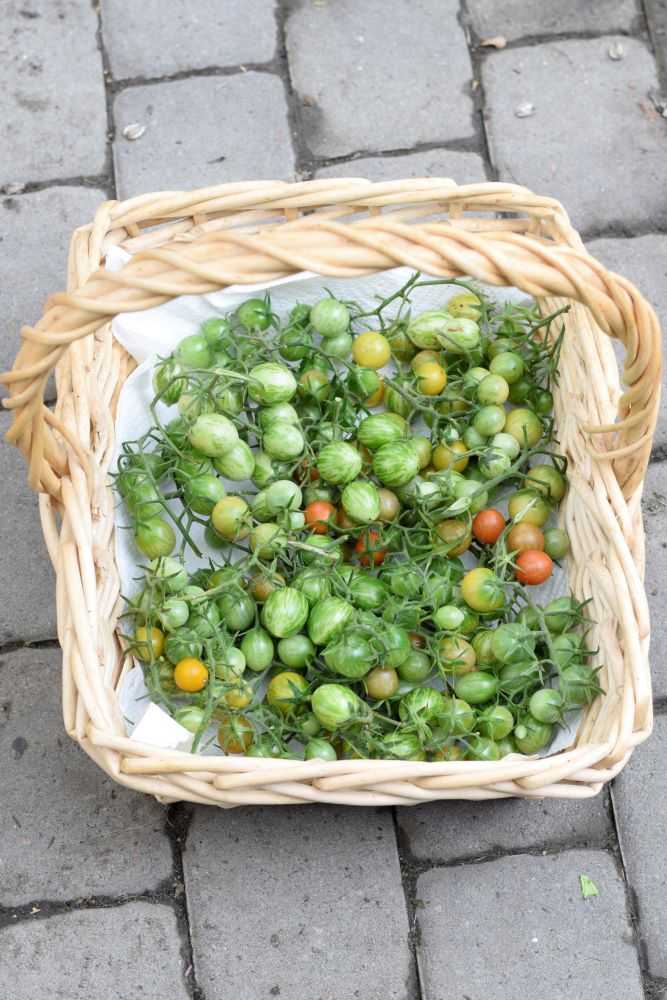
Chickadee bird on DIY sunflower birdfeeder.
The birds love these sunflower bird feeders!

Tomatoes

I took out my tomato plants a few weeks ago. The weather has been getting cooler and the tomatoes started ripening much slower. Before I pulled my plants I picked off all of the green fruit to ripen inside. You can read more about ripening green tomatoes here.

Only nine months to go until fresh tomatoes again next year! I am already thinking of what varieties I want to plant 🙂

Related: Cherry Tomato Taste Test

Final Thoughts

It has been a busy month around here but a lot of fun to harvest everything. What have you been up to in your garden? Let me know in the comments below!

Hope you are able to enjoy this beautiful fall weather! Happy Gardening!

Onions, peppers, tomatoes, and green beans

Garden Update – September

September is here and the mornings are getting cooler. Fall is right around the corner! Although the garden is slowing down for the year we are still getting plenty of fresh vegetables. Here is what has been happening this past month:

Apples

Our second apple tree has many apples that are getting ripe. We picked a box full and got over 20 pounds of apples! We have been eating them fresh as well as making apple pie and apple crisp. Yum!

Cucumbers

I finally pulled up our cucumber plants. They were not as productive as some years and I think they did not get enough water. Look at this funny cucumber we got today:

Two cucumbers grown together
A double cucumber!

Green Beans

Our green beans are still doing very well. Although production has slowed down we are still getting enough for 1-2 meals per week. There are lots of blooms and small beans still on the plant so we will get at least a few more weeks of picking before they are done for the year.

Related: Garlic Roasted Green Beans

Cherry tomatoes and green beans in a basket
Our green beans are still hanging in there. It has been a great bean season!

Onions

We pulled all of our onion plants a few weeks ago and got over 25 pounds! After cutting off the stems we put them in a big box in our garage. We use onions in everything and it is so nice to have them fresh from our garden!

White onions
Lots of onions! We use them in everything though so they won’t last long 🙂

Peppers

Our sweet bell peppers are FINALLY getting ripe. We could have picked them when they were green but we love allowing them to get fully ripe and sweet! I planted one orange bell pepper this year and it has outperformed my red peppers by a mile. It is amazing how productive this plant is! See how many beautiful ripe peppers it has?

This variety is called Orange Blaze, and it is an AAS winner. It produced over 20 peppers on one plant. It will be going in my garden next year for sure!

Popcorn

Our popcorn is still ripening. We had some hot days and the plants did not like it. There are 2-4 ears of popcorn on each stalk but they still need a few weeks before they will be ready to pick. Hopefully they will be ready before the cold weather sets in!

Pumpkins

Our pumpkins are now fully orange and I am just letting them sit in the garden to finish ripening. One pumpkin plant is still flowering and trying to produce a pumpkin, so I will not take out the plants quite yet. The kids are looking forward to carving their pumpkins this year!

Orange pumpkin in the garden
Our pumpkins are getting big!

Sweet Pea Flowers

I took our sweet peas out last week. I saved the seeds and you can read more about that here. In a week or two I will plant the seeds and overwinter them so we will have earlier blooms in the spring.

Brown sweet pea seeds in bowl.
We have plenty of sweet pea seeds for next year!

Tomatoes

Our tomato plants are still doing great! We are still getting several pints of cherry tomatoes each week. I have been freezing the extras to use in soups during the winter months. You can read more about that here.

Related: Cherry Tomato Taste Test

Final Thoughts

It has been a great year so far but I will probably have to take out most of my plants soon with the weather getting cooler. What have you been up to in your garden? Let me know in the comments below!

Hope you are able to enjoy the last few weeks of summer! Happy Gardening!

Roasted green beans with garlic on sheet pan

Garlic Roasted Green Beans

The first time I tried garlic roasted green beans was when we went to a friend’s house for dinner.  The beans were the star of the meal for me. Prior to this I had had canned green beans, or maybe steamed green beans, and I never knew green beans could taste this good!  These beans totally rocked my world and now my kids even like them too! Read on to learn how to make them yourself at home.

Garlic roasted green beans on a pan
Garlic roasted green beans–yum!

Assemble the Ingredients

These green beans are super simple to make.  All you need four ingredients and you are in business:

Green beans, garlic, salt, and oil on the counter.
Fresh green beans, garlic, olive oil, and salt are the only ingredients you need for these delicious beans.

Green beans – You need green beans, obviously.  Fresh is the only way to go here because frozen beans will have too much moisture in them.  This is a great way to use up extra green beans from your garden!

Garlic – Garlic gives the beans so much flavor!  I use fresh garlic from our garden when I can.  We always fight over who gets the caramelized pieces of garlic that are stuck to the bottom of the pan.  If you don’t have fresh garlic then garlic powder may also be used.

Oil – I use olive oil, but any cooking oil will do.

Salt – I use plain old table salt, but use whatever you like.

Prep the Beans

First thing’s first, you need to wash the beans and snap them.  I spread the beans out on a clean kitchen towel to help them dry. “Snapping beans” simply  means that you break the ends off.  You can leave the tail end on if you wish, but I usually break them off because they can get a little crispy and maybe burn in the oven.  If you don’t want to break the ends off you may also cut them off using a knife.  Snapping beans is a perfect job for kids by the way!

Snapping green beans onto a sheet pan.
Snap the ends off the beans and place them on your baking sheet.

While the kids are busy snapping the beans you can chop the garlic.  To chop the garlic take a big flat knife, put it sideways on the garlic and smash it down with the heel of your hand.  The garlic will be crushed and it will be easier to pick off the skins.  Use as much or as little garlic as you like.  Sometimes we use a whole head we like garlic so much.  You may leave the garlic in larger pieces or cut it small.  It is all up to you.

After the beans are ready to go, make sure they are mostly dry and spread them out on a large baking sheet.  Sprinkle the garlic over the top and drizzle with the olive oil.  Sprinkle with salt to taste.  Toss everything together with your hands and then shake the pan to even the beans out into a single layer. You want the beans to touch each other as little as possible or they will steam rather than roast.  They are now ready to go in the oven!

Green beans on a sheet pan.
Add the garlic, oil, and salt to the beans. Use your hands to mix everything together and spread it into an even layer.

Cook the Beans

Cook the beans at 425 degrees for about 20-25 minutes.  I usually put them on the bottom rack to help them brown.  Stir them about halfway through the cooking time and watch them carefully so they do not burn.  You want the beans to be tender, slightly shriveled, and lightly browned.

Garlic roasted green beans on a pan

Serve

Serve these beans hot out of the oven.  They go well with just about anything.  Be prepared to fight over the yummy crunchy garlic stuck to the bottom of the pan.  You may never go back to canned green beans ever again 🙂

I hope you get to try these green beans soon!  Let me know how it went in the comments below. Happy Cooking!

Garlic roasted green beans on a pan

Garlic Roasted Green Beans

Recipe by: Mandy
This is the perfect way to enjoy green beans fresh from the garden. They are simple to prepare and taste delicious!
Prep Time 10 minutes
Cook Time 25 minutes
Total Time 35 minutes
Servings 4

Ingredients
  

  • 1 lb fresh green beans
  • 4-5 cloves garlic, finely chopped
  • 1 tbsp olive oil
  • salt, to taste

Instructions

  • Preheat the oven to 425°.
  • Wash the green beans and snap off the ends. Pat them dry and place the beans on a large baking sheet.
  • Drizzle with olive oil and sprinkle with garlic. Season with salt to taste. Use your hands to thoroughly mix all ingredients.
  • Even the beans out into a single layer. Bake at 425° for 10 minutes.
  • Stir the beans and return them to the oven. Bake for 10-15 minutes longer, or until the beans are tender, slightly shriveled, and lightly browned. Watch them carefully so they do not burn.
  • Serve warm as desired.

Notes

If you do not have fresh garlic you may substitute garlic powder.  Use 1/4 teaspoon or to taste.

Be sure to pin for later!

Garlic Roasted Green beans

Powered by WordPress & Theme by Anders Norén