Tag: tomatoes

Garden Update – October

It is hard to believe it is already October! The weather is changing and cooler weather is here. We had a challenging gardening month because wildfires stretched across Oregon and the thick smoke hid the September sun for weeks. Despite this, it has been a very busy month in the garden! Here is what we’ve been up to:

Apples

Our apple trees are doing great! I love having a 5-way grafted tree because apples ripen over a much longer season. While our gravenstein apples are ready in July, our other types are ready now. A few weeks ago I picked a 33 pound box of apples. And there are still plenty more on the tree!

What have we been doing with all these apples? Most of them have been eaten fresh. We also made some apple crisp, which is my absolute favorite fall dessert! You can check out the recipe here.
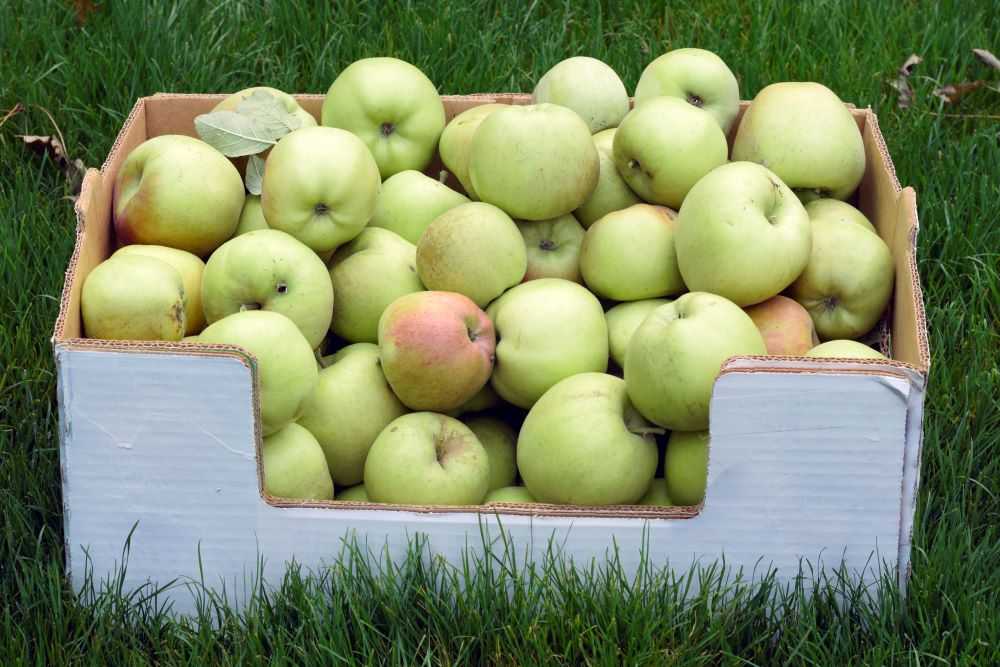
Box full of apples.
Lots of apples for apple crisp!

Beans

I cannot remember bean plants ever being as productive as ours have been this year. The variety I planted was Hickok from Territorial Seed. After setting a large crop in July, we got a second large crop a month later. In mid September we still had flowers and small beans on our plants!

I finally had to pull the bean plants after the weather started getting cooler at night. We have been enjoying lots of garlic roasted green beans! Yum!
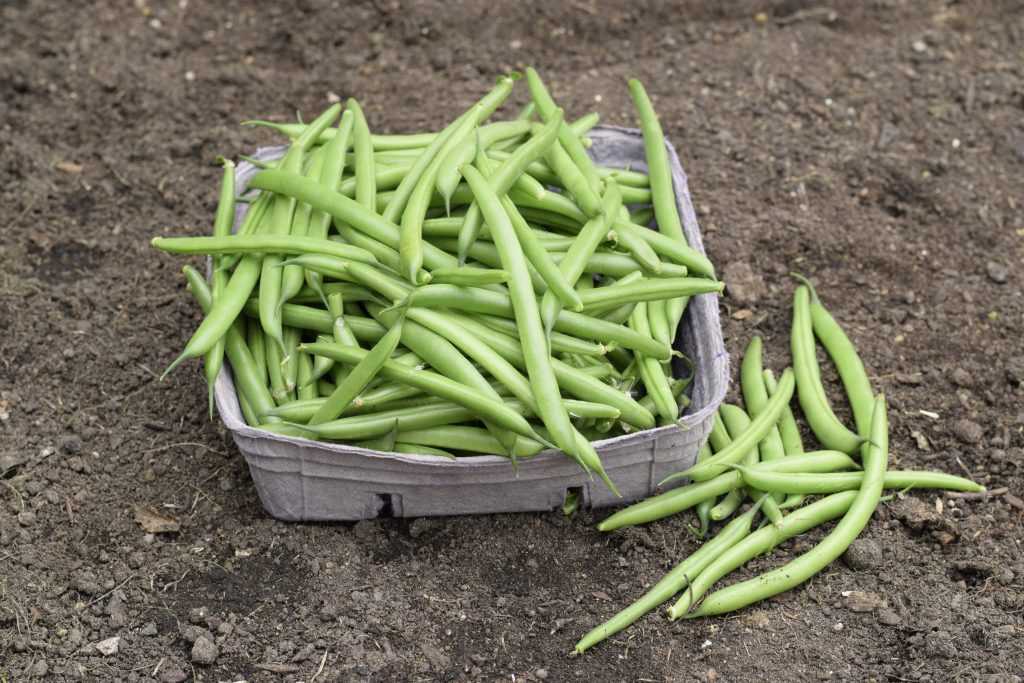
Hickok green beans.
We picked beans up through the middle of September. It was a great year!

Beets

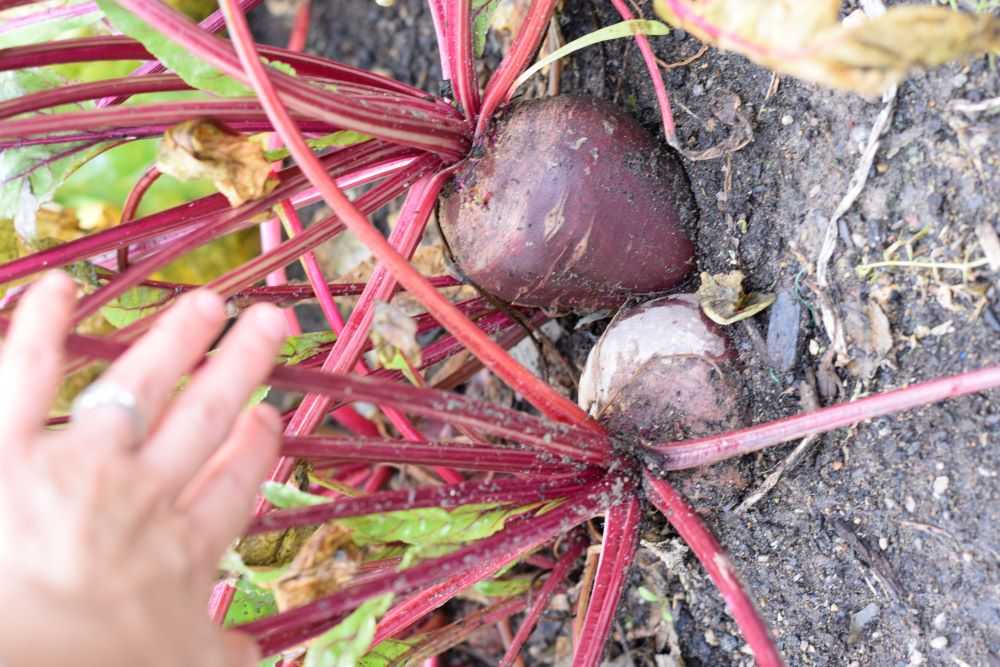
I did not plant many beets this year. After our radishes were done in June I poked a few seeds in here and there. I was surprised that they got as big as they did! I will have to plant more next year.

Blackberries

The canes for our marion berries are growing long! I wound them around the trellis so they were not dragging on the ground. This also prevents them from sprouting new plants. The blackberries seem healthy and strong so think we will have a pretty good harvest next year!
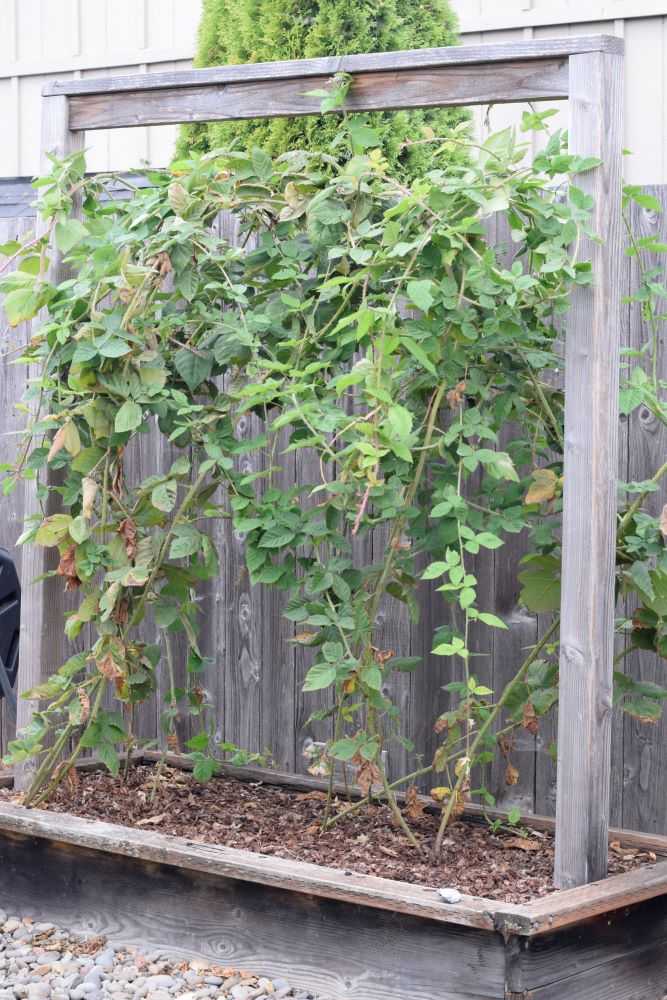
Marion berries on a trellis.
I wound the blackberries around the trellis so they do not drag on the ground. I think we will have a great harvest next year!

Marigold Flowers

I finally took our marigolds out last week. I saved the seeds and you can read more about that here. Marigolds produce SO MANY SEEDS and I will have plenty to plant next year!
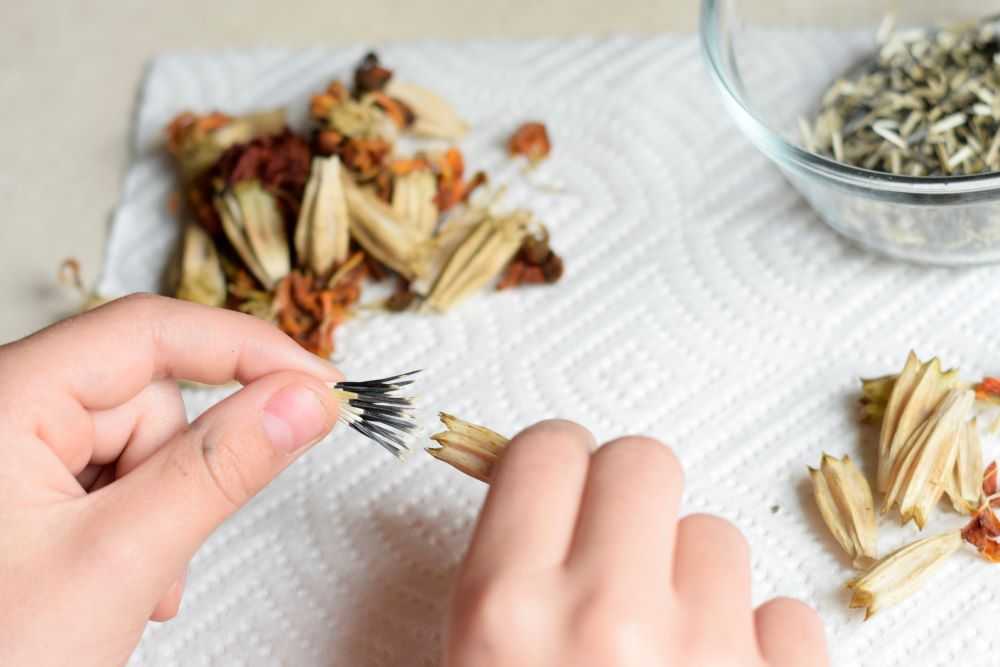
Taking marigold seeds out of seed heads
It is easy to save marigold seeds for next year!

Peas

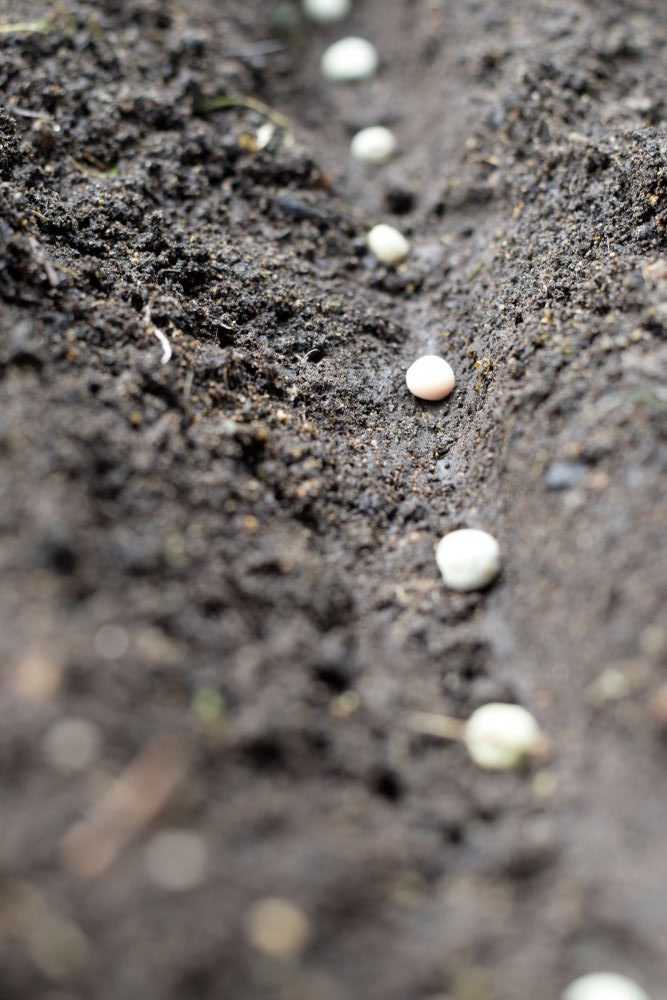
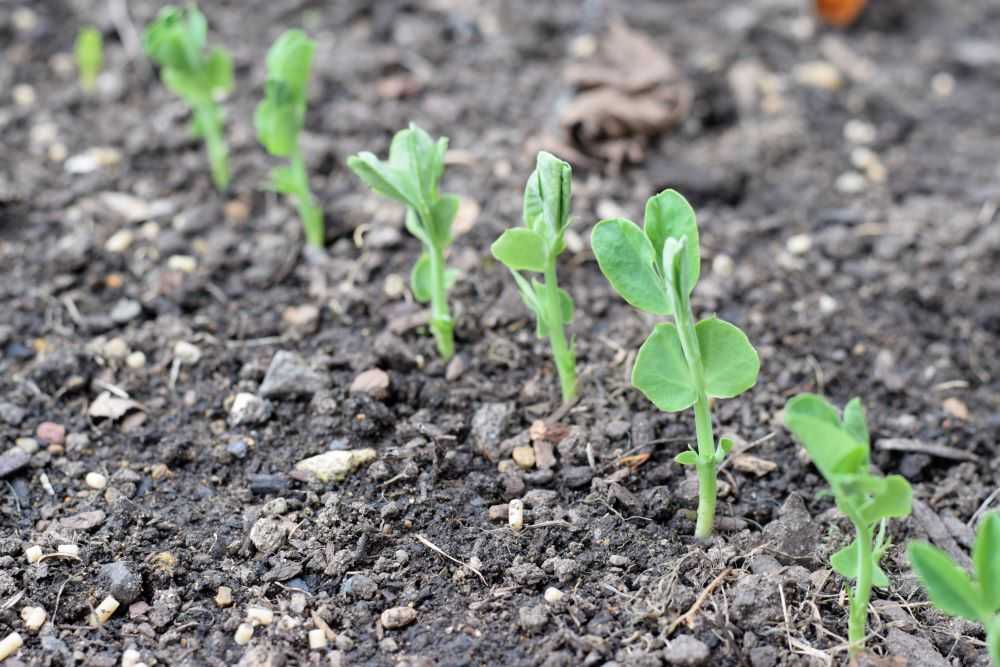
I planted peas a few weeks ago and the seedlings are about 4 inches tall now. I usually start my peas in the fall and overwinter them for a bigger and earlier crop. You can learn more about overwintering pea plants here.

Related post: Why Garden Planning Starts in September

Sweet Peas

Shortly after I planted my peas, I also planted my sweet pea flowers. After I saw “volunteer” sweet peas coming up already I knew the seeds would sprout easily. I planted a row along the bottom of my trellis so they can get established before winter comes. I am looking forward to early flowers in the spring!

Related post: How to Save Sweet Pea Seeds

Popcorn

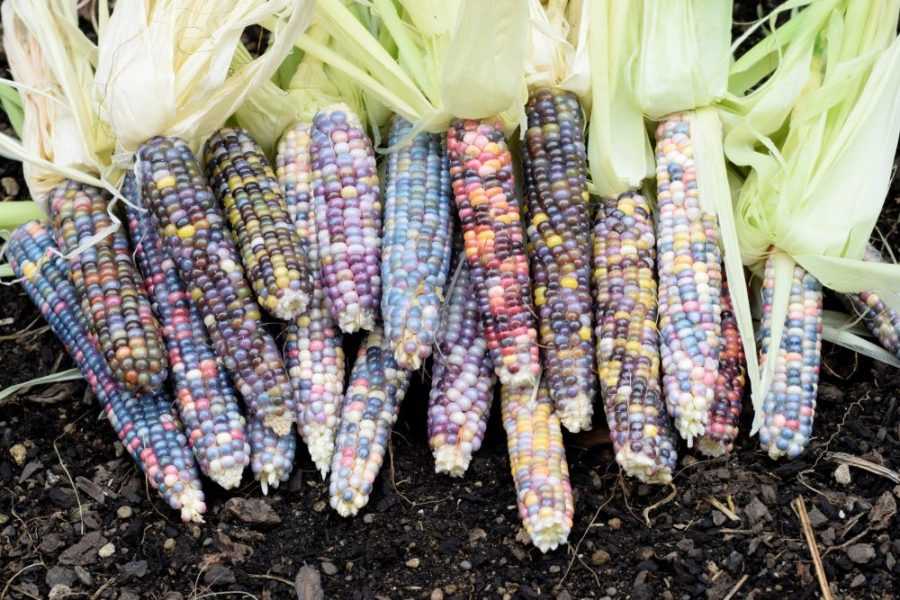
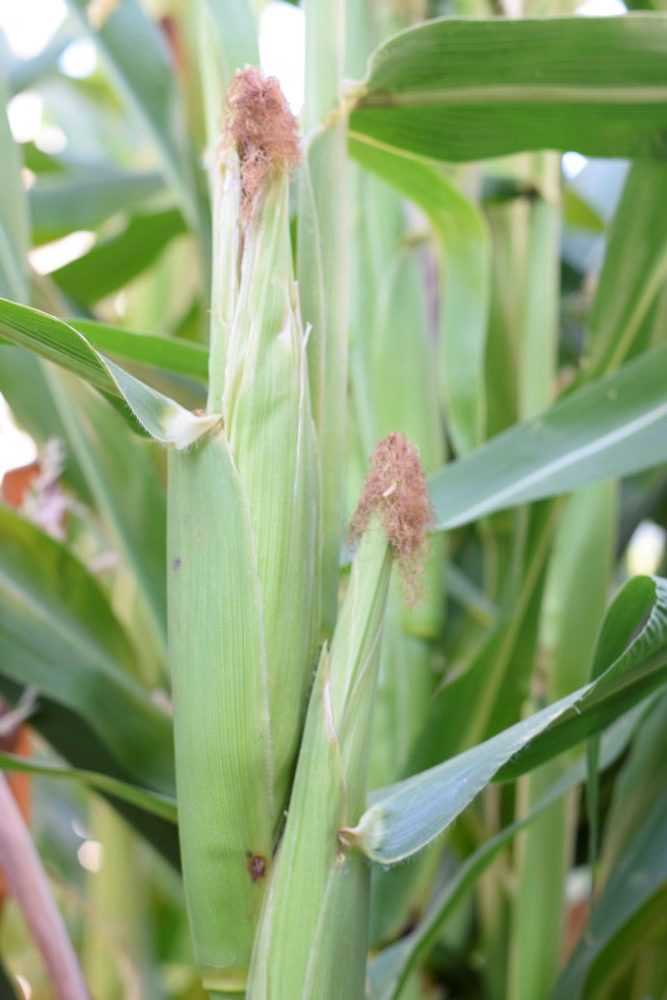
Each year we grow something we have never tried before, and the kids chose popcorn to grow this year! We planted the popcorn after the weather warmed in June. However I did not realize that popcorn takes 110-120 days to mature, which is significantly longer than regular sweet corn. It FINALLY got ripe and the end of September.
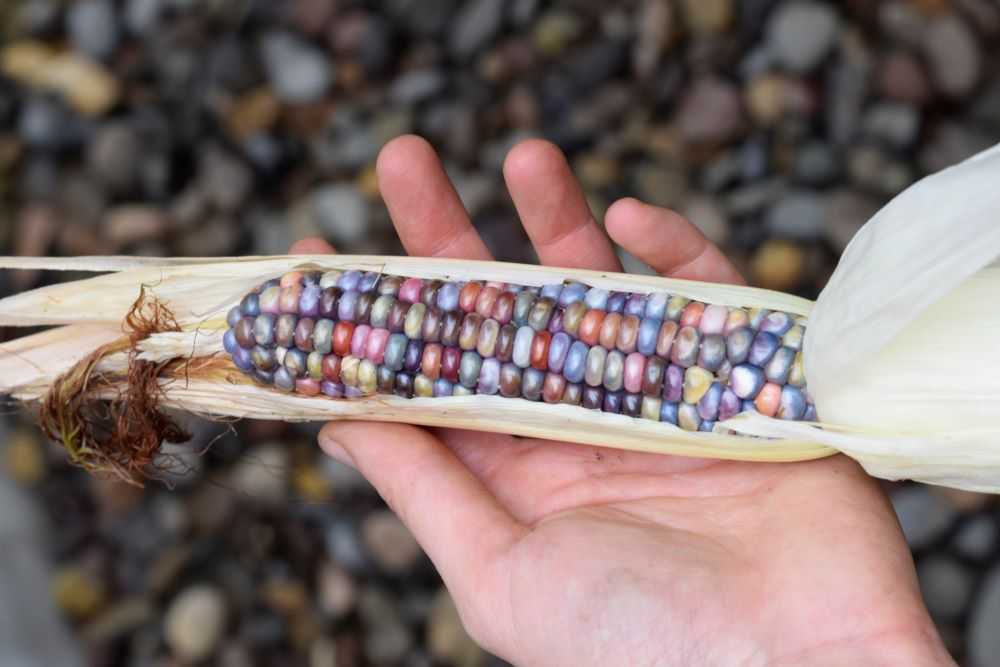
Glass Gem popcorn.
The popcorn is finally ready. It is SO pretty!!!

Ideally we would have let the popcorn dry in the garden but we had to pick it and bring it indoors since the weather has been so wet. The ears were so beautiful! We pulled the husks back and displayed some of the prettiest ears around the house.

We peeled the rest of the corn and put it in a box in the garage to dry out. We put one ear in the food dehydrator to speed up the process. It was very difficult to get the moisture content just right but finally we got it to pop! So fun!
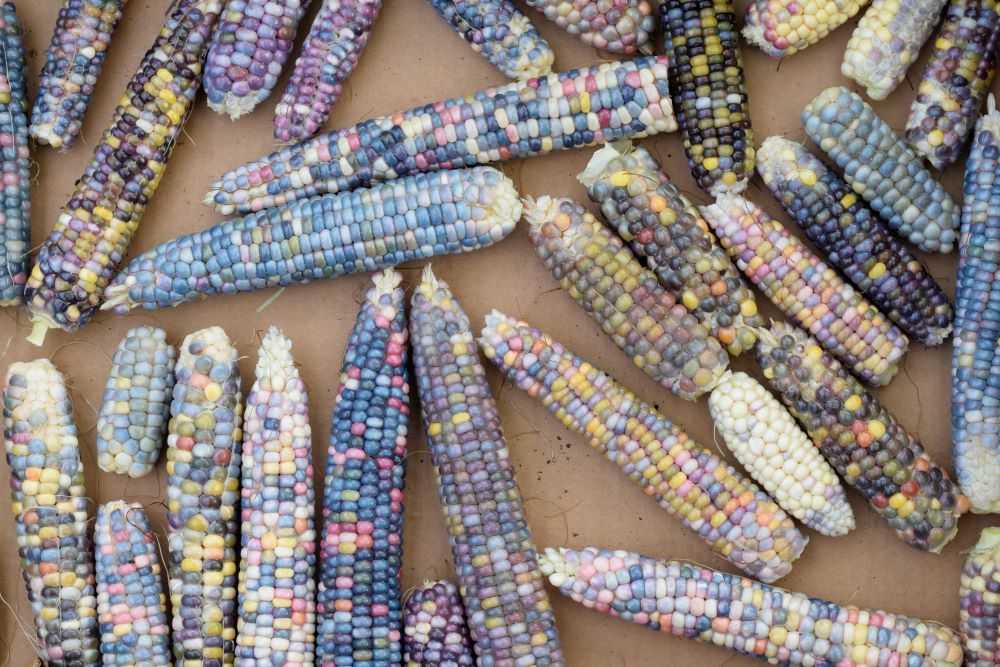
Place the popcorn in a box to dry.
We peeled the rest of the popcorn and put it in a box in the garage to dry out. It is so pretty to see the variety of different colors!

Pumpkins

We finally picked our pumpkins for the year! One weighed in at 15 pounds and the other was 25 pounds. We did not get as many pumpkins as we do some years. This may be because they were planted in a little more shade. The kids are already looking forward later in the month when they will get to carve them!

Sunflowers

I had to take some of my sunflowers out of the front yard so I made these cute DIY sunflower bird feeders. The birds found them right away and the seeds are almost gone already. It has been a lot of fun to watch the birds out our back window!
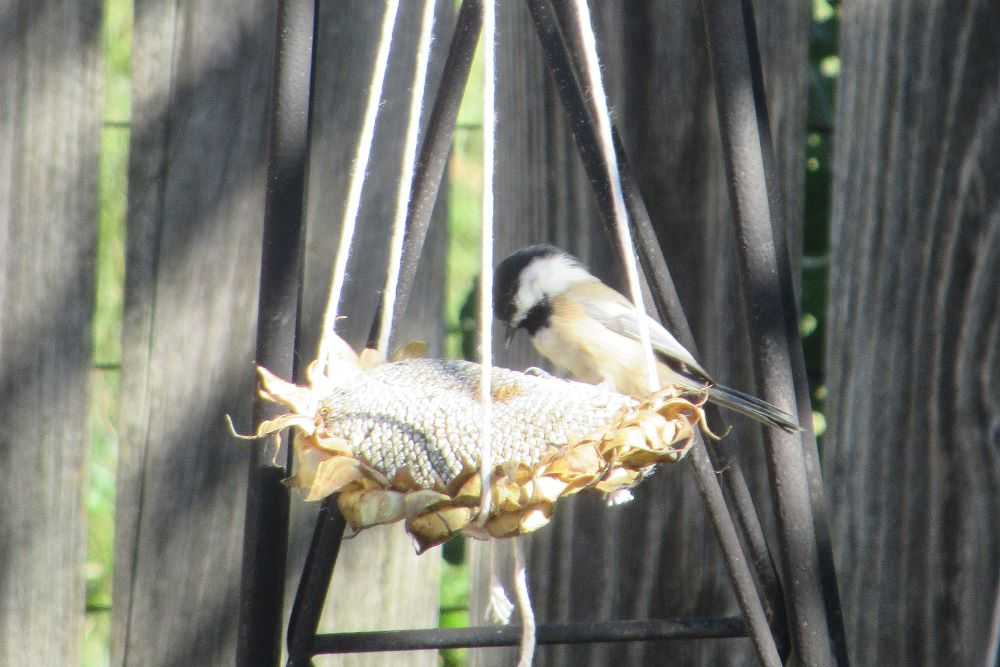
Chickadee bird on DIY sunflower birdfeeder.
The birds love these sunflower bird feeders!

Tomatoes

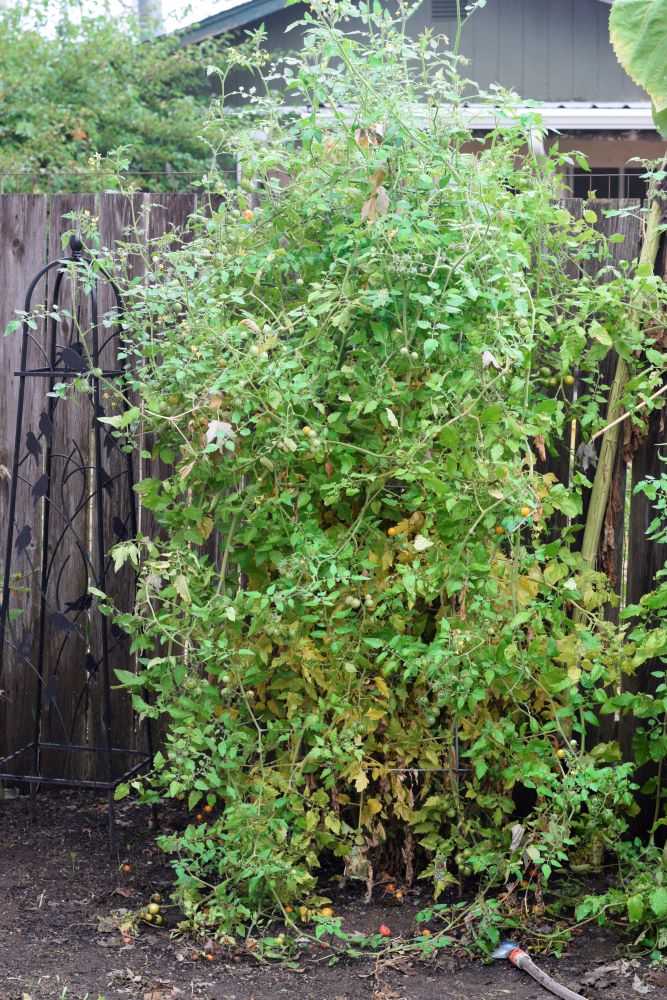
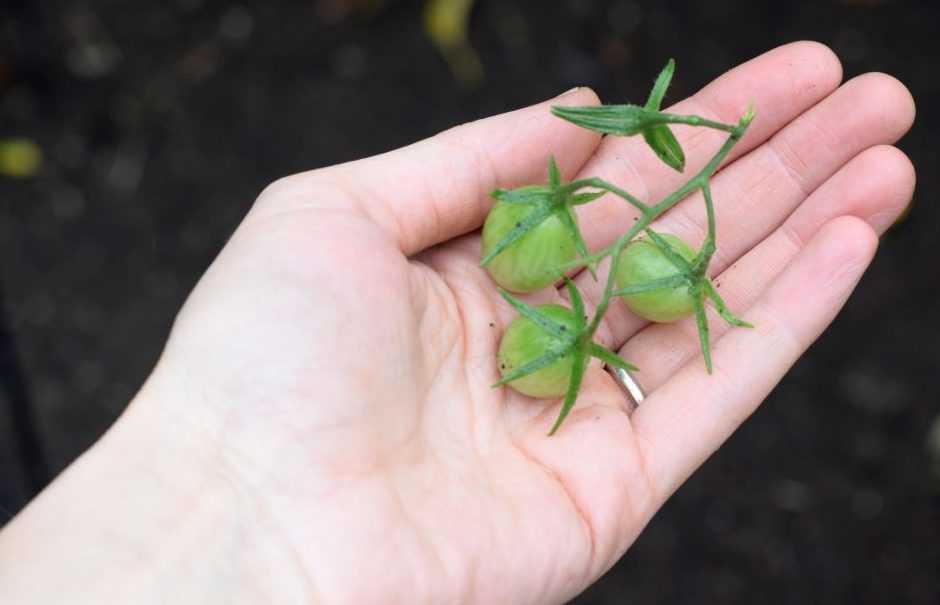
I took out my tomato plants a few weeks ago. The weather has been getting cooler and the tomatoes started ripening much slower. Before I pulled my plants I picked off all of the green fruit to ripen inside. You can read more about ripening green tomatoes here.

Only nine months to go until fresh tomatoes again next year! I am already thinking of what varieties I want to plant 🙂

Related: Cherry Tomato Taste Test

Final Thoughts

It has been a busy month around here but a lot of fun to harvest everything. What have you been up to in your garden? Let me know in the comments below!

Hope you are able to enjoy this beautiful fall weather! Happy Gardening!

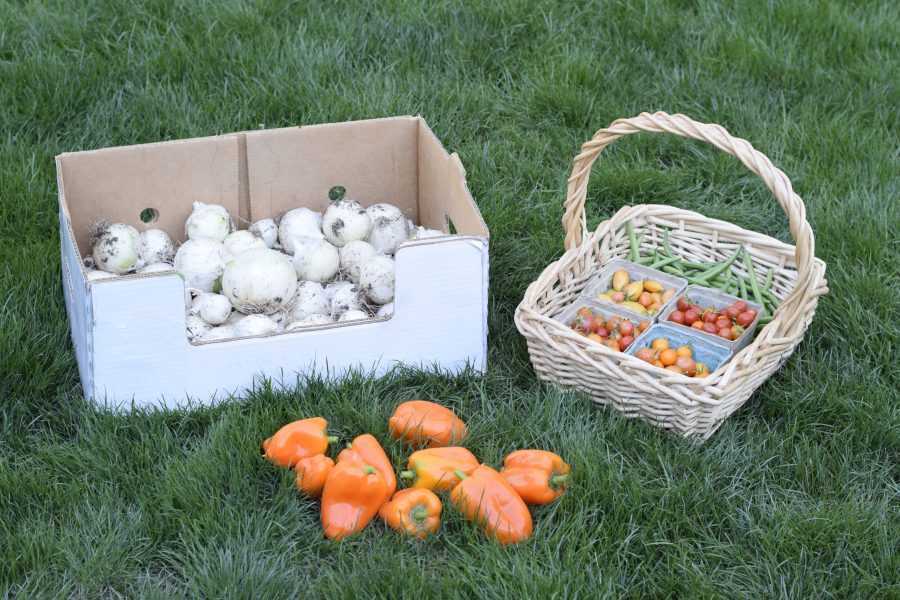
Onions, peppers, tomatoes, and green beans

Garden Update – September

September is here and the mornings are getting cooler. Fall is right around the corner! Although the garden is slowing down for the year we are still getting plenty of fresh vegetables. Here is what has been happening this past month:

Apples

Our second apple tree has many apples that are getting ripe. We picked a box full and got over 20 pounds of apples! We have been eating them fresh as well as making apple pie and apple crisp. Yum!

Cucumbers

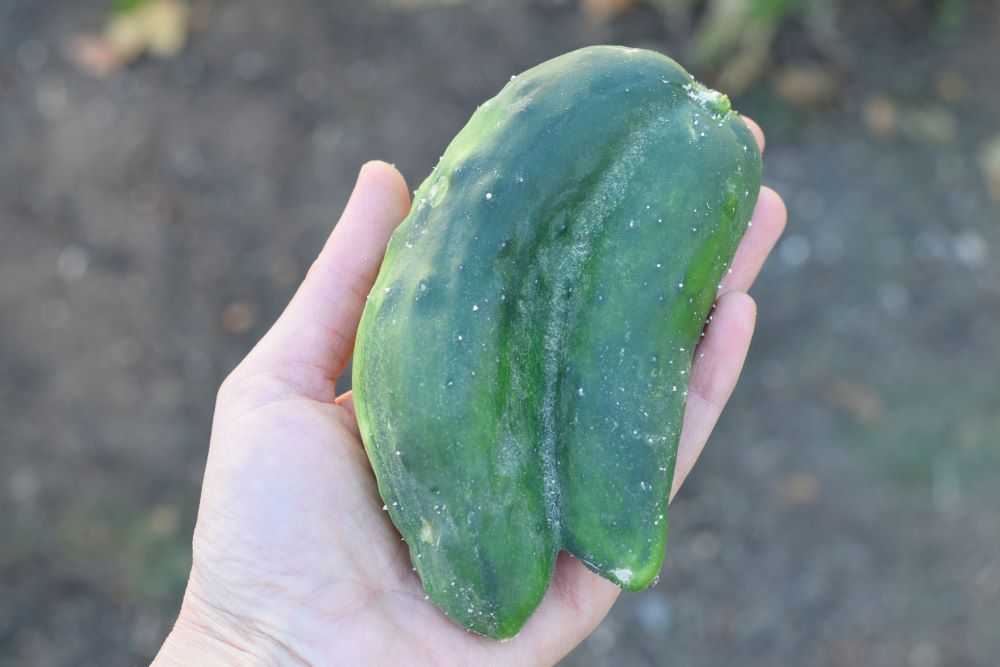
I finally pulled up our cucumber plants. They were not as productive as some years and I think they did not get enough water. Look at this funny cucumber we got today:

Two cucumbers grown together
A double cucumber!

Green Beans

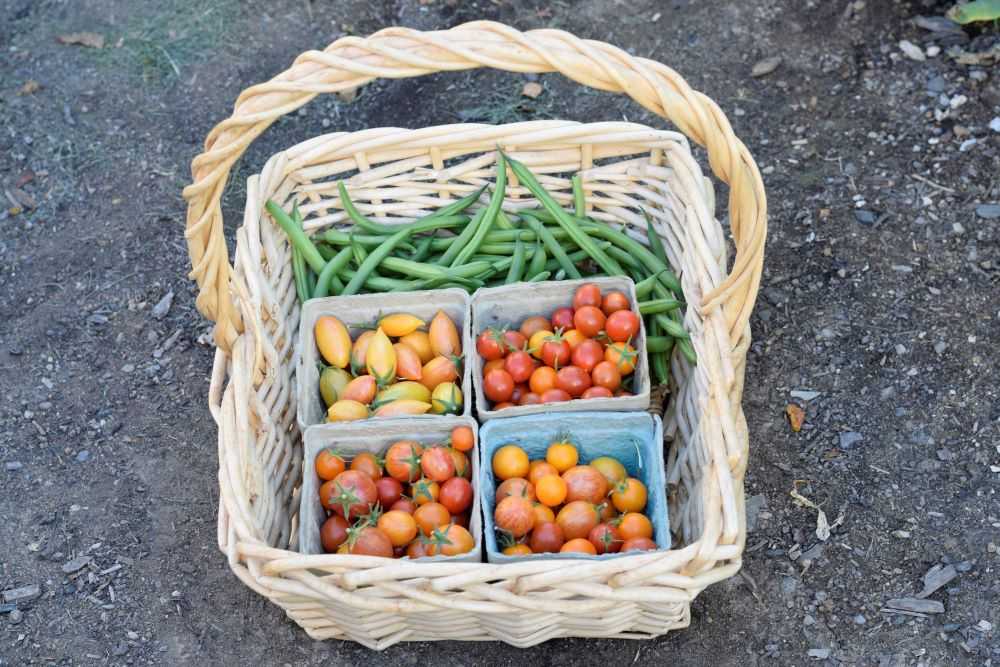
Our green beans are still doing very well. Although production has slowed down we are still getting enough for 1-2 meals per week. There are lots of blooms and small beans still on the plant so we will get at least a few more weeks of picking before they are done for the year.

Related: Garlic Roasted Green Beans

Cherry tomatoes and green beans in a basket
Our green beans are still hanging in there. It has been a great bean season!

Onions

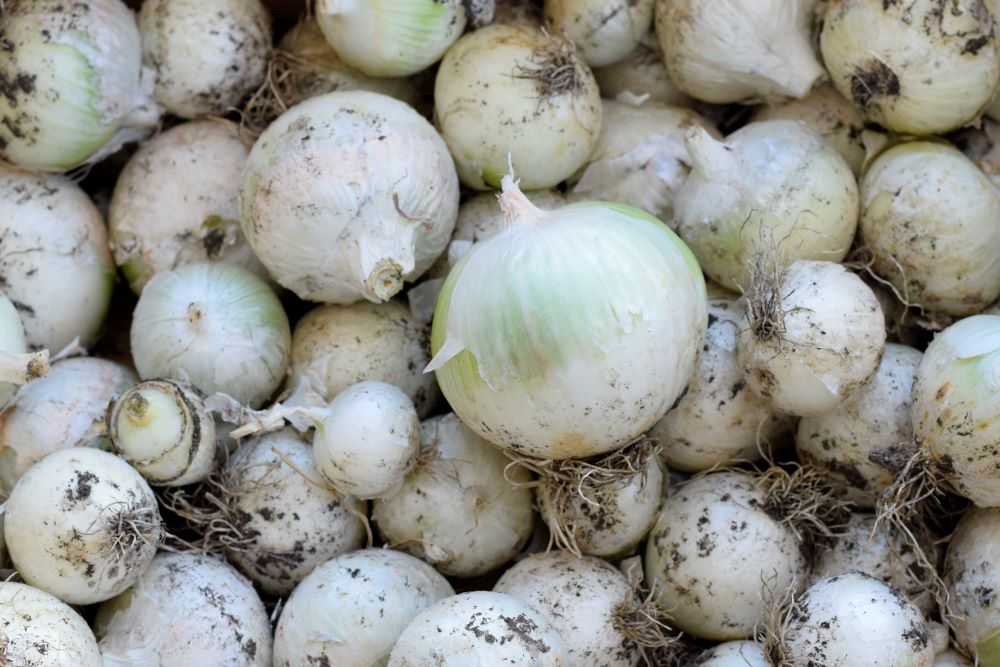
We pulled all of our onion plants a few weeks ago and got over 25 pounds! After cutting off the stems we put them in a big box in our garage. We use onions in everything and it is so nice to have them fresh from our garden!

White onions
Lots of onions! We use them in everything though so they won’t last long 🙂

Peppers

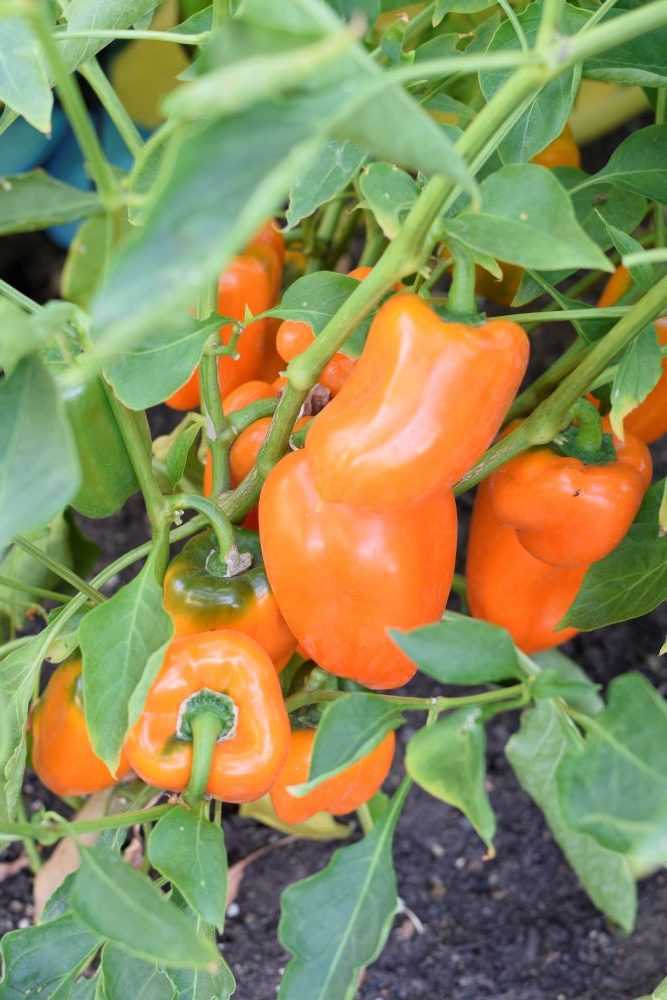
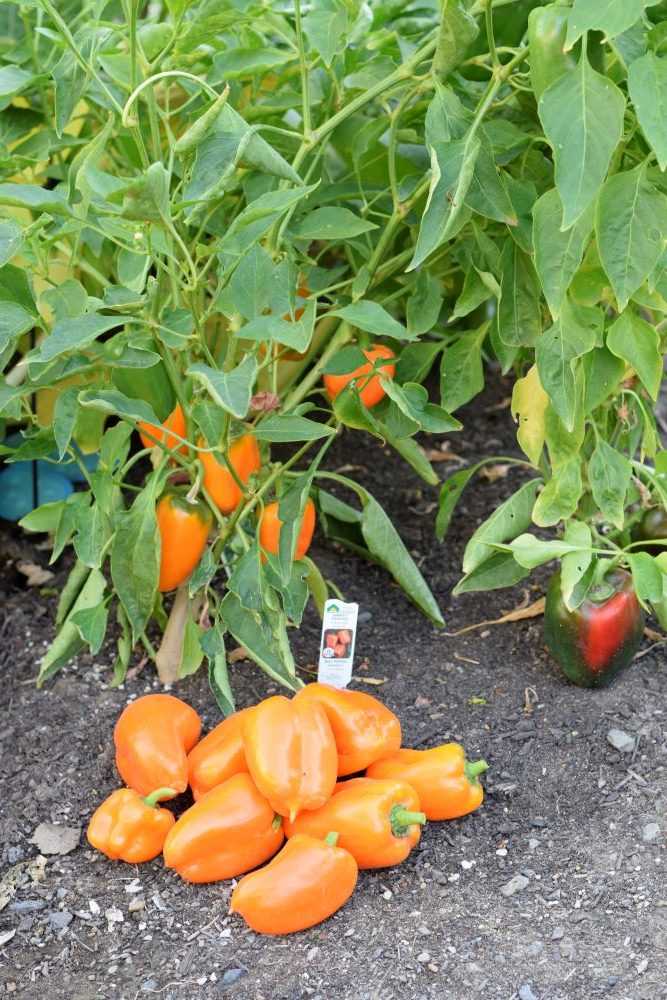
Our sweet bell peppers are FINALLY getting ripe. We could have picked them when they were green but we love allowing them to get fully ripe and sweet! I planted one orange bell pepper this year and it has outperformed my red peppers by a mile. It is amazing how productive this plant is! See how many beautiful ripe peppers it has?

This variety is called Orange Blaze, and it is an AAS winner. It produced over 20 peppers on one plant. It will be going in my garden next year for sure!

Popcorn

Our popcorn is still ripening. We had some hot days and the plants did not like it. There are 2-4 ears of popcorn on each stalk but they still need a few weeks before they will be ready to pick. Hopefully they will be ready before the cold weather sets in!

Pumpkins

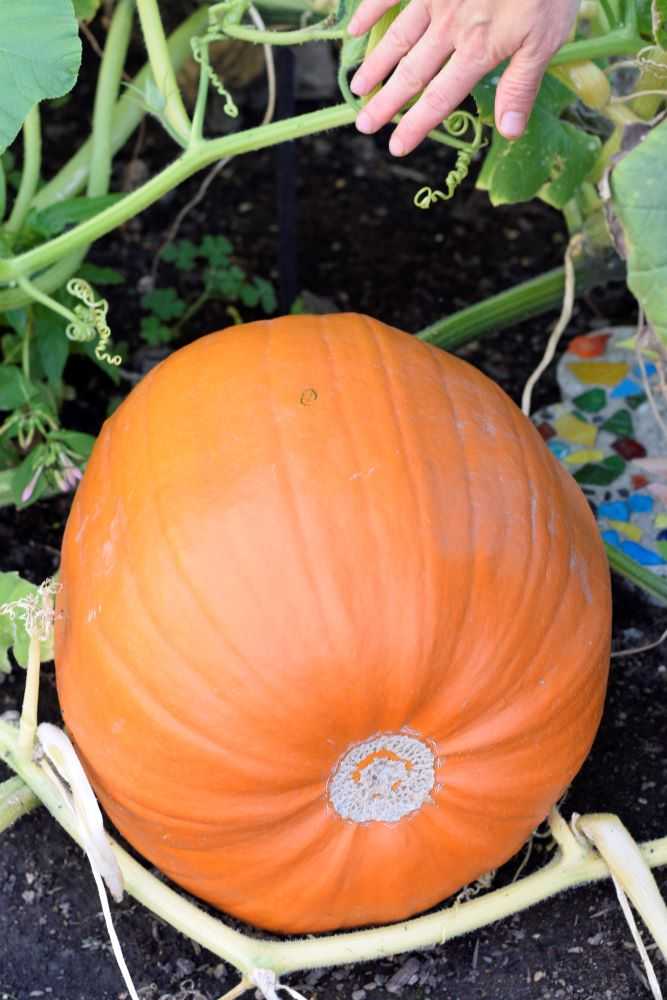
Our pumpkins are now fully orange and I am just letting them sit in the garden to finish ripening. One pumpkin plant is still flowering and trying to produce a pumpkin, so I will not take out the plants quite yet. The kids are looking forward to carving their pumpkins this year!

Orange pumpkin in the garden
Our pumpkins are getting big!

Sweet Pea Flowers

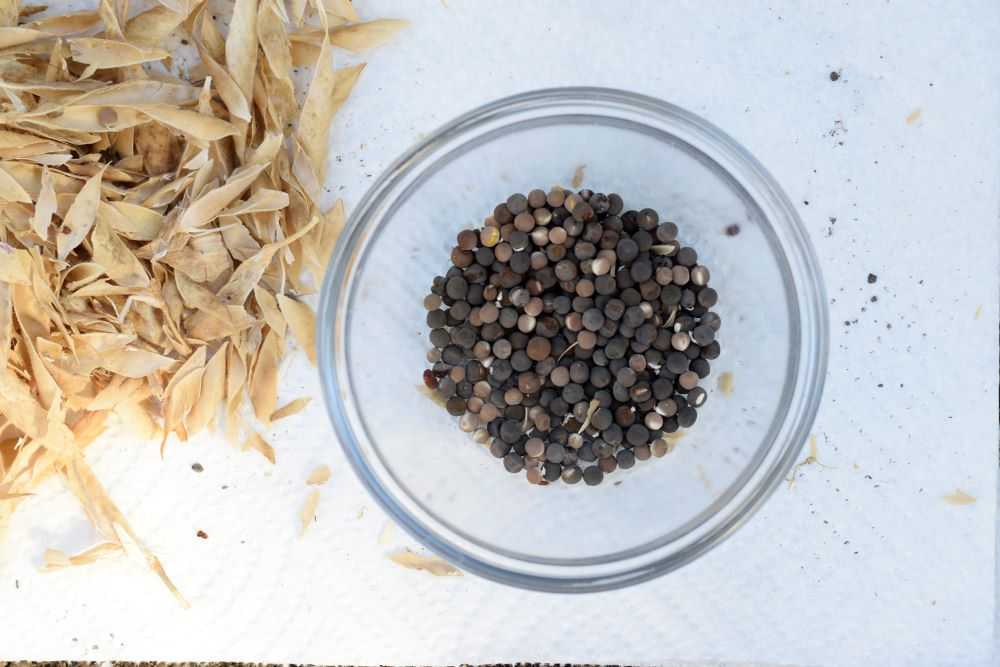
I took our sweet peas out last week. I saved the seeds and you can read more about that here. In a week or two I will plant the seeds and overwinter them so we will have earlier blooms in the spring.

Brown sweet pea seeds in bowl.
We have plenty of sweet pea seeds for next year!

Tomatoes

Our tomato plants are still doing great! We are still getting several pints of cherry tomatoes each week. I have been freezing the extras to use in soups during the winter months. You can read more about that here.

Related: Cherry Tomato Taste Test

Final Thoughts

It has been a great year so far but I will probably have to take out most of my plants soon with the weather getting cooler. What have you been up to in your garden? Let me know in the comments below!

Hope you are able to enjoy the last few weeks of summer! Happy Gardening!
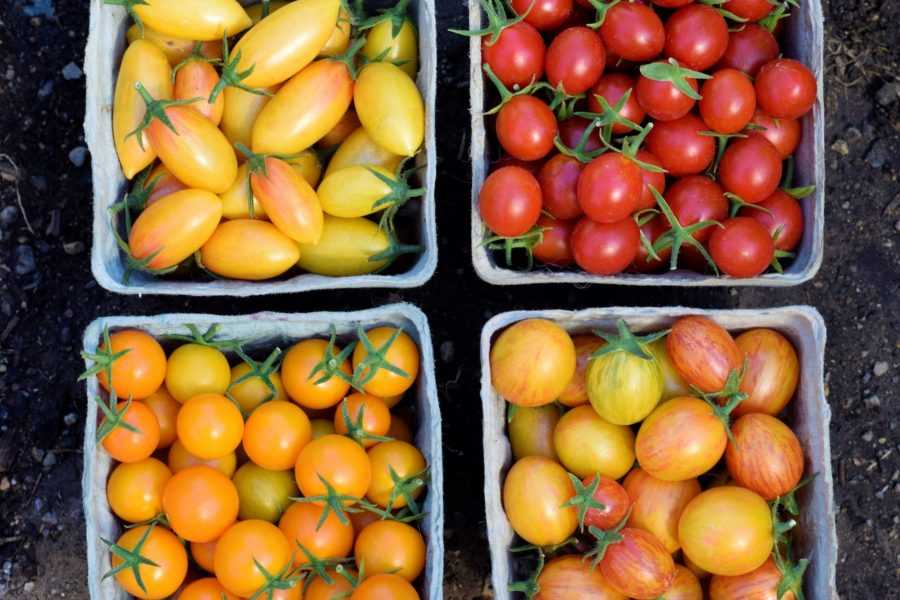
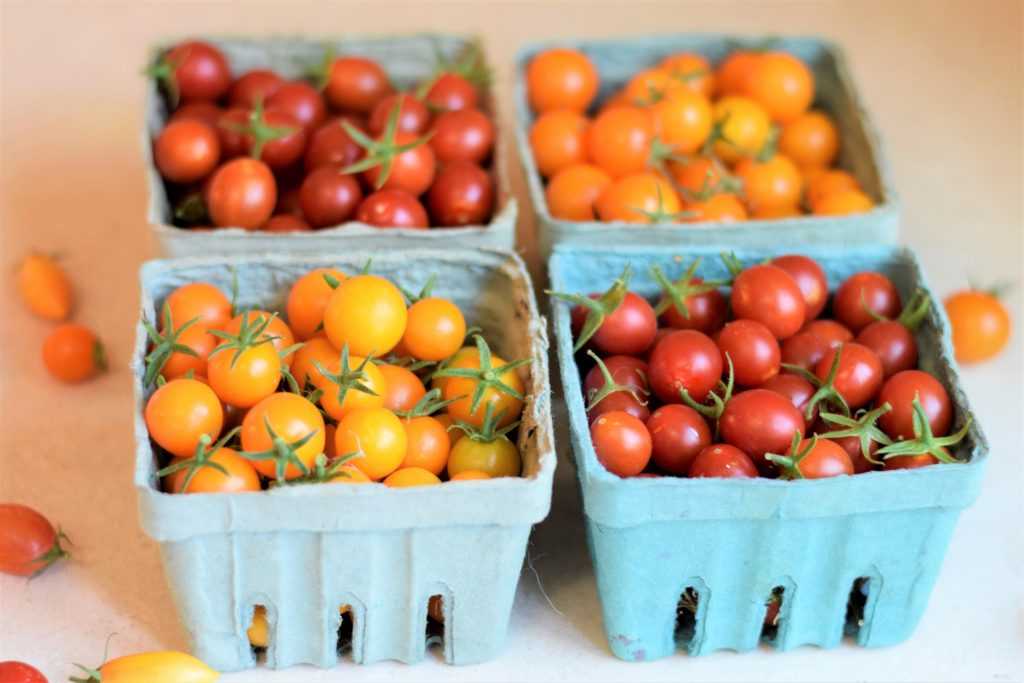
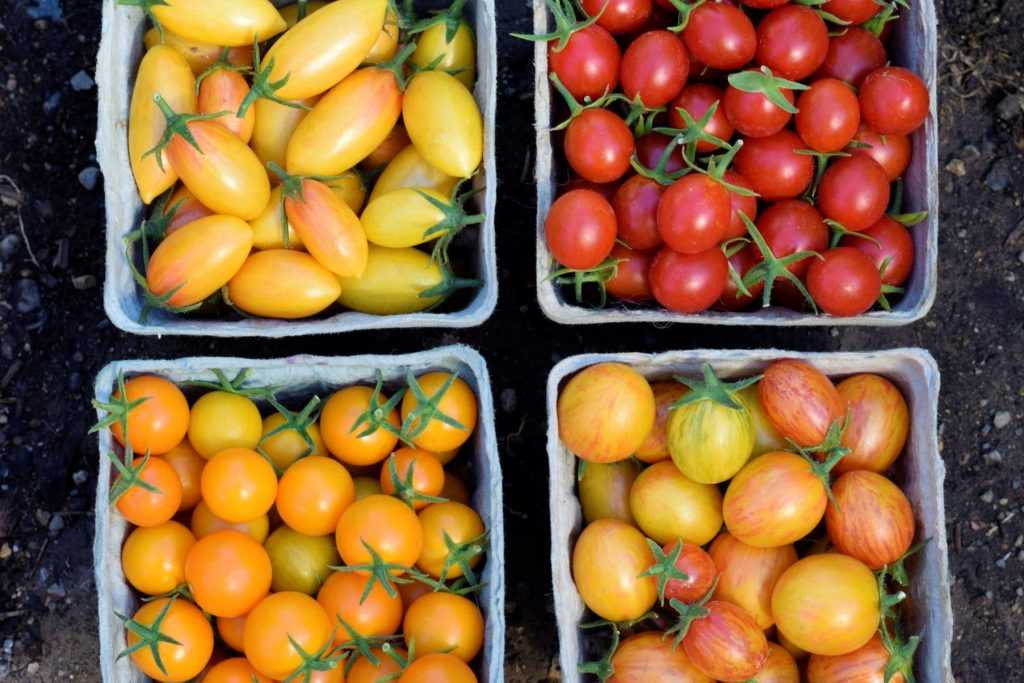
Orange yellow red cherry tomatoes

Cherry Tomato Taste Test

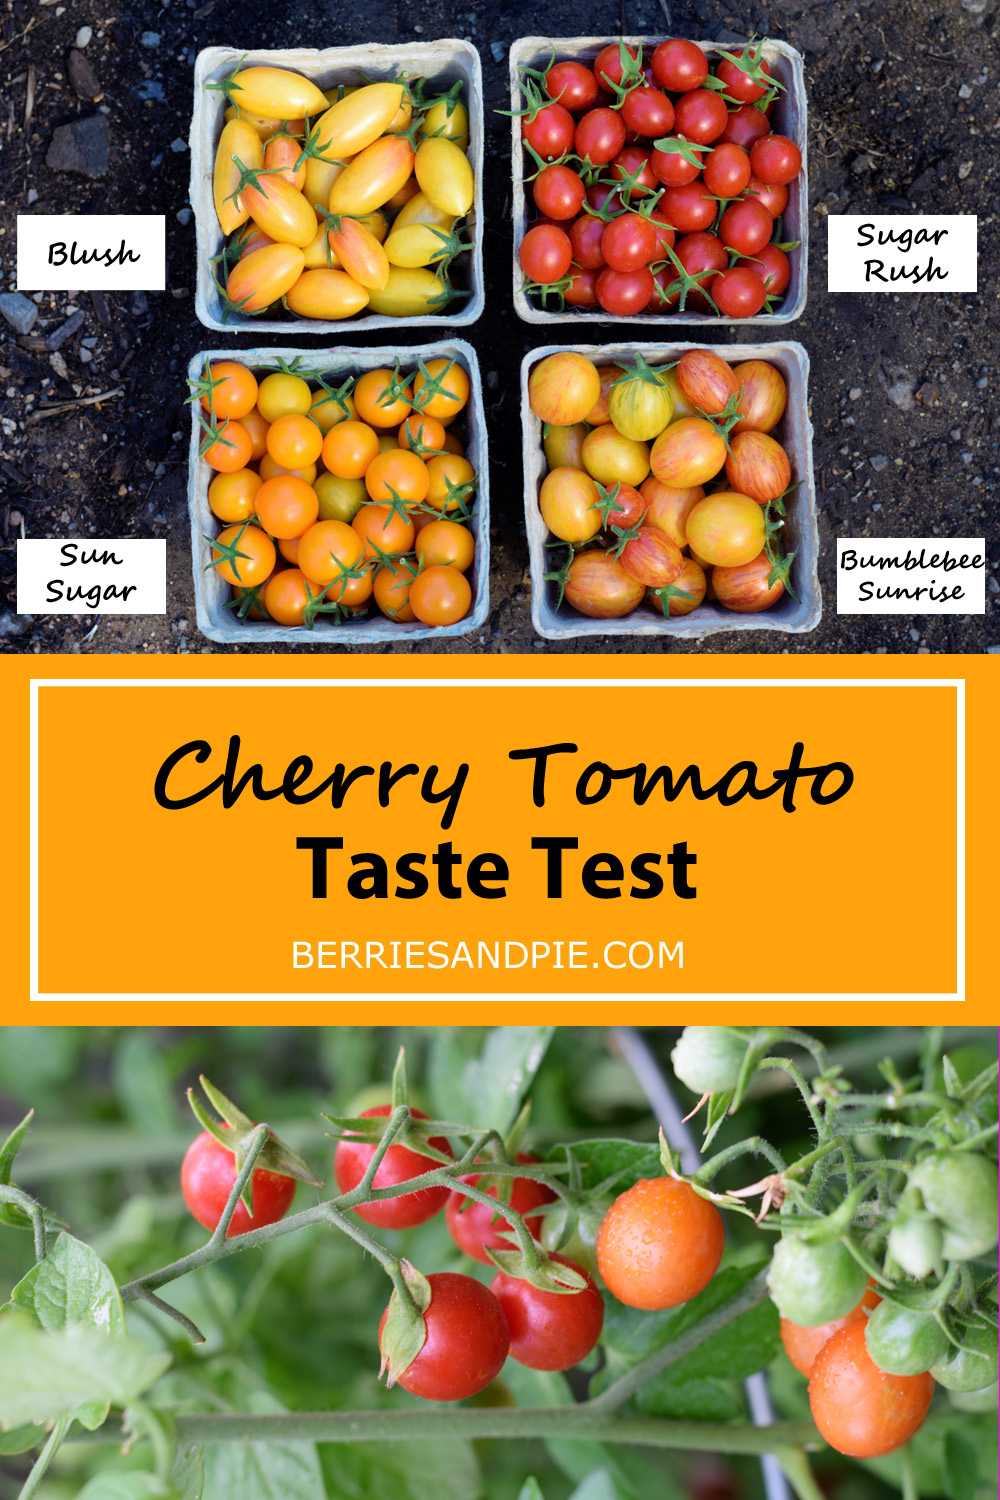
Do you enjoy trying new tomato varieties? I know I do! Each year I plant some new varieties as well as some old favorites. I only have room comfortably in my garden for two cherry tomato plants, but I bought some extra tomato plants this year and squeezed them in 🙂  Now they are producing more tomatoes than we can eat!  Read on to learn my thoughts on this year’s crop.

Sugar Rush

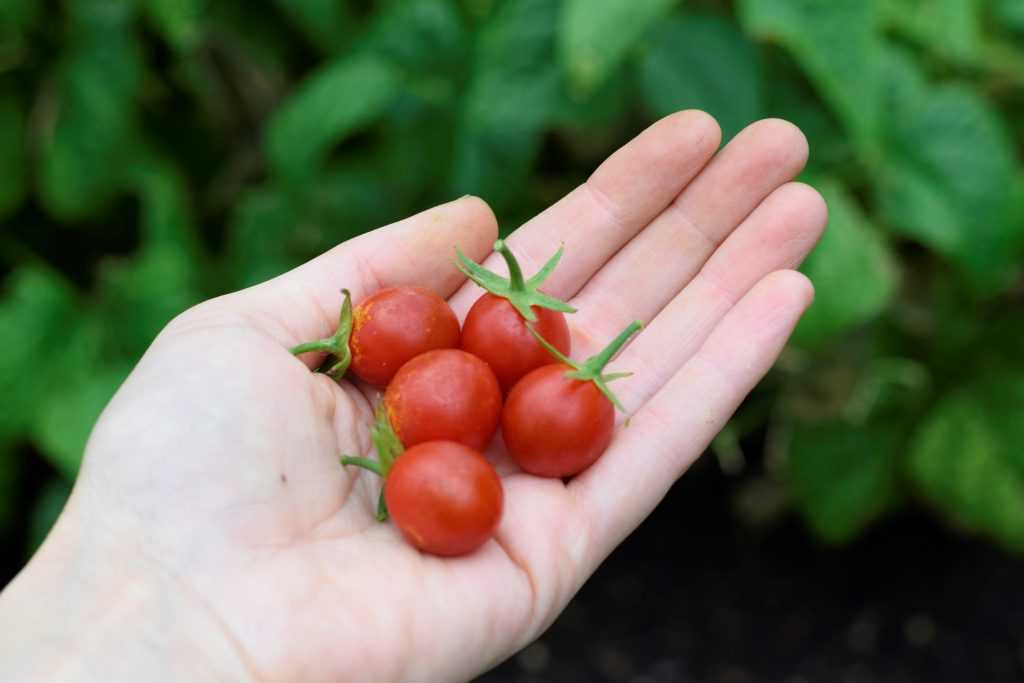
Sugar Rush red cherry tomatoes held in hand
Sugar Rush tomato
My Rating5/5 stars
TypeIndeterminate
ColorRed
ShapeGrape
Days to Maturity50-55 days

Sugar Rush is a red grape tomato.  I planted it last year and had to plant it again this year because I liked it so much!  At only 50-55 days until maturity, Sugar Rush produces continually over a long season.  The flavor is bright and sweet and the tomatoes have a firm texture that “pops” in your mouth.

My thoughts – Sugar Rush is a winner!  I love how early these plants mature and the high yields they produce.  I also appreciate the firmness of the tomatoes and how they pop in your mouth.  This has been a dependable variety and I will  probably plant it again next year!

Sun Sugar

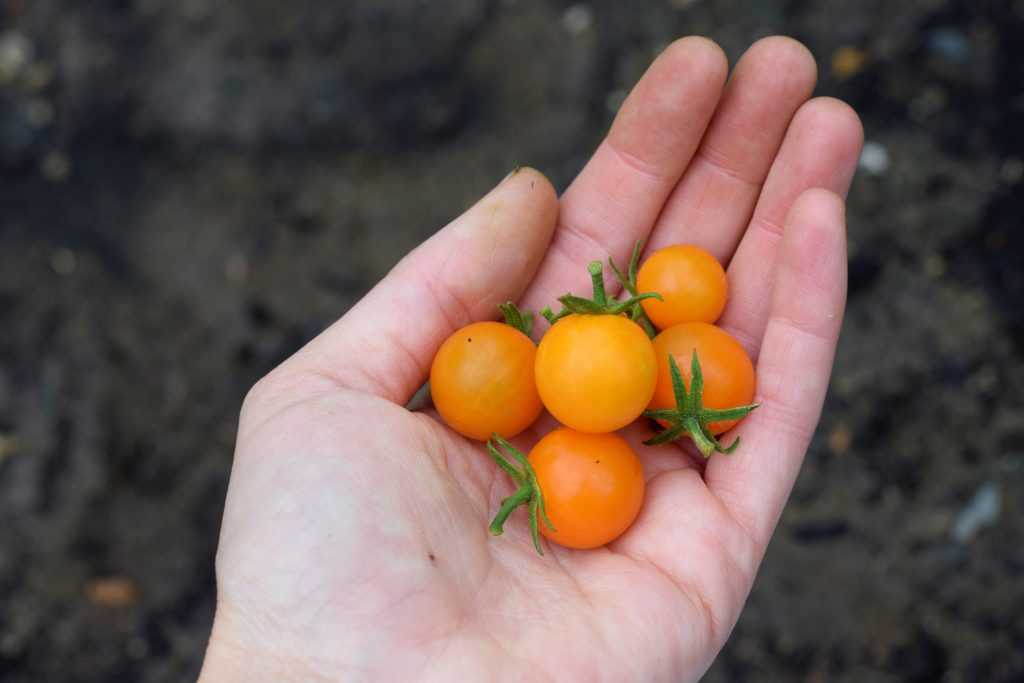
Sunsugar orange cherry tomatoes held in hand
Sunsugar tomato
My Rating4/5 stars
TypeIndeterminate
ColorOrange
ShapeCherry
Days to Maturity62 days

Sunsugar is a pretty delicious tomato!  The tomatoes have a good tartness that becomes super sweet as the fruit matures.  The tomatoes are slightly softer than Sugar Rush and seem to have better crack resistance that Sungold, which is another popular orange cherry tomato. Like Sugar Rush, Sunsugar is ready early and produces high yields over a long season.

My thoughts – I love planting both orange and red tomatoes because they look so beautiful together.  I really liked the bright flavor of Sunsugar but prefer slightly firmer tomatoes.  I will probably try something else next year.

Bumblebee Sunrise

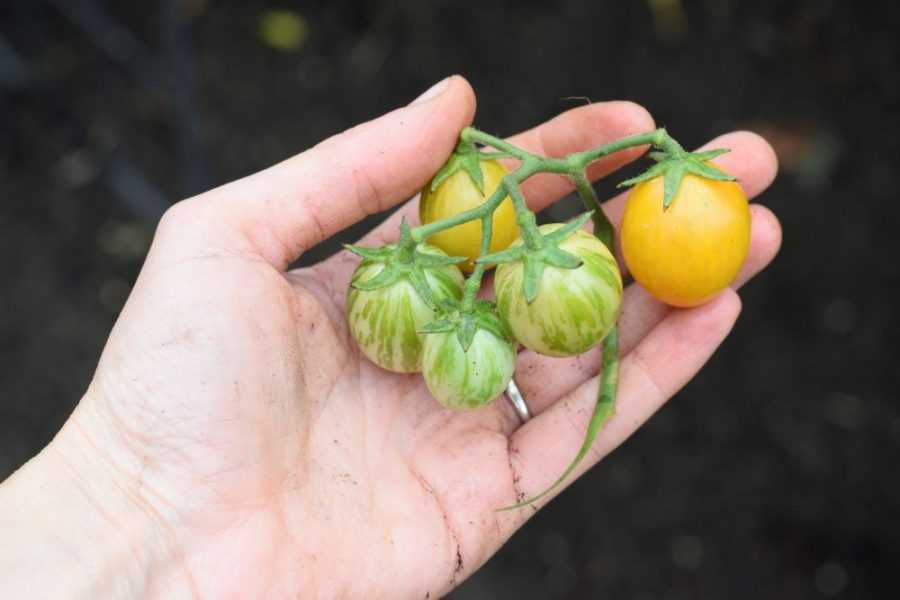
Bumblebee Sunrise small red and yellow striped tomatoes held in hand
Bumblebee Sunrise tomato
My Rating4/5 stars
TypeIndeterminate
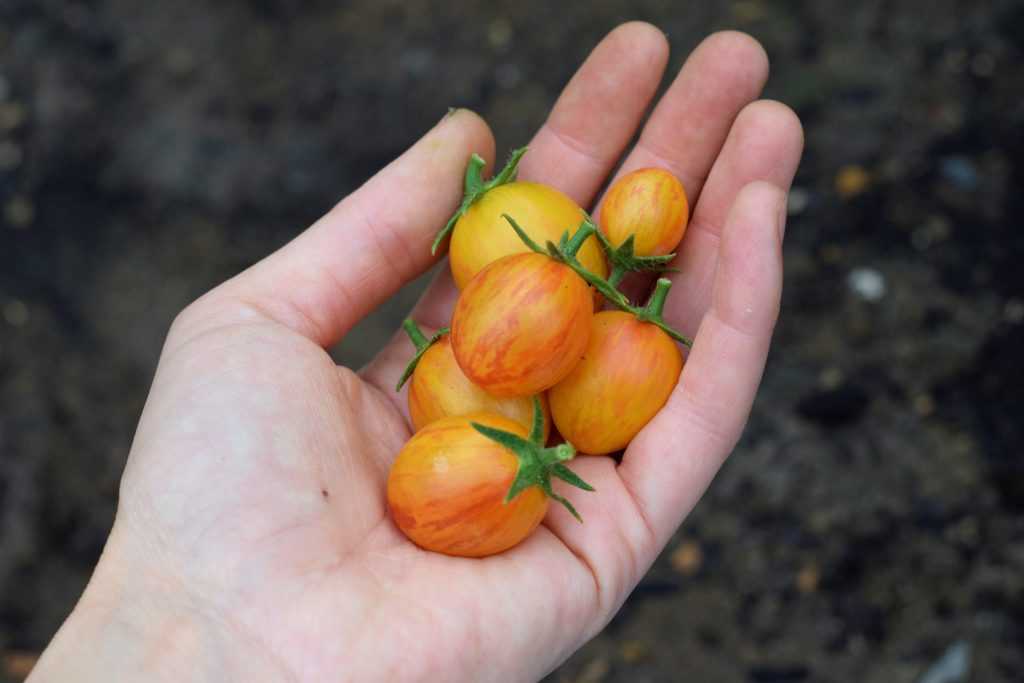
ColorYellow with red stripes
ShapeLarge cherry
Days to Maturity68-70 days

Bumblebee Sunrise may be the most beautiful cherry tomato I’ve ever grown!  The tomatoes are a deep golden color with striking red stripes.  Bumblebee is slightly larger than the other cherry tomatoes and has an excellent tangy and sweet flavor.  However, Bumblebee takes around 70 days to mature and the plant does not seem quite as productive as other varieties I planted this year.  

My thoughts – I appreciate Bumblebee’s excellent flavor but productivity is important to me since I have limited space in my garden.  It was good to try but I will probably plant a different variety next year.  If you have plenty of space though this is definitely one to add to your list!

Blush

Blush yellow cherry tomatoes held in hand
Blush tomato
My Rating5/5 stars
TypeIndeterminate
ColorYellow with red stripes
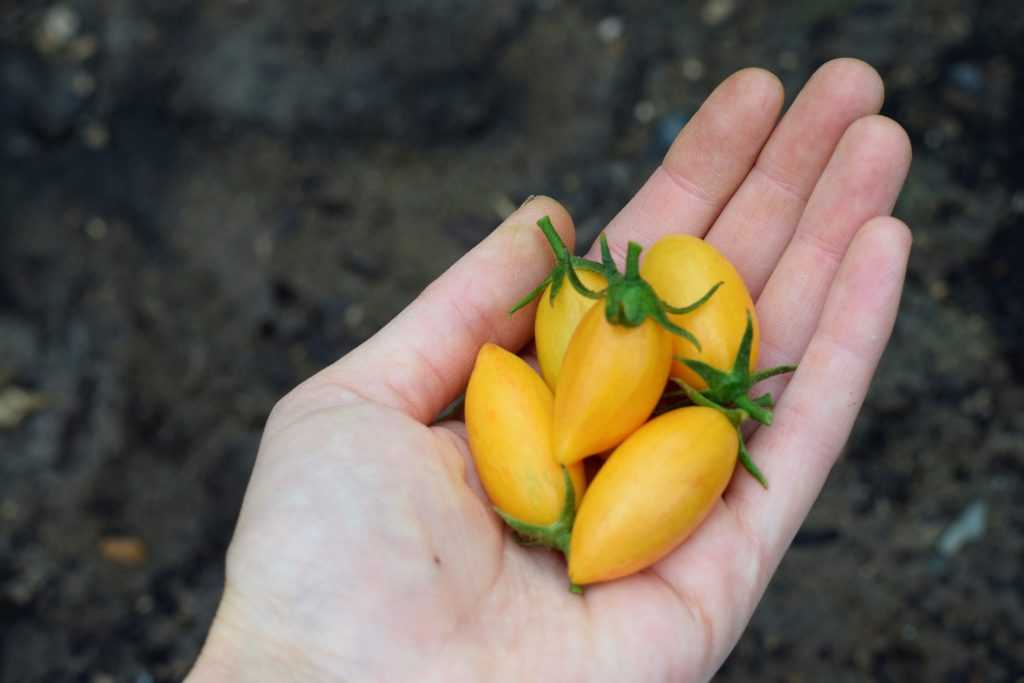
ShapeElongated cherry
Days to Maturity75 days

Blush is one beautiful tomato!  It features a pink blush over a golden yellow skin.  The long oval shape of these tomatoes is rather unique and they are slightly larger than your typical cherry tomato.  Blush tomatoes have a rather thick skin, and they remain firm and do not crack.  Their flavor is sweet with a good tang.  Blush is productive but took the longest to mature of the varieties I planted this year.

My thoughts – Despite the long maturity, Blush is the one that I would find myself snacking on more than any other tomato we planted this year.  The flavor is outstanding and I appreciate their “two bite” size.  I will definitely try to plant this one again next year!

Final Thoughts

All of these tomato varieties are delicious and would be an excellent addition to your garden. That being said, the best tomato variety for you depends what you are looking for. For me I prioritize yields as well as taste. Next year I will probably try the Blush tomato again because it surprised me how much I enjoyed it. However, since Blush takes some time to mature, I will probably plant Sugar Rush as well because it is early and dependable with great flavor.

Hope you get to try some of these varieties in your garden next year. Happy Gardening!

Be sure to pin for later!

Extending the Harvest: How to Ripen Green Tomatoes Indoors

Today was a sad day. This afternoon I took out the cherry tomato plants from our garden. For the next nine months we will have to get our tomatoes at the grocery store, which are a sorry comparison to the beautiful homegrown vine-ripened tomatoes we have been enjoying for the past few months.

Related: Cherry Tomato Taste Test

But there is a silver lining. I was able to save some of the green tomatoes to ripen inside over the next few weeks. Read on to learn how easy it is to ripen green tomatoes inside.

It is finally time to take out our cherry tomatoes. They grew huge this year and produced loads of tomatoes!

When to Pull Tomato Plants From Your Garden

It can be difficult to know when to finally remove tomato plants from your garden. Tomatoes like warm weather and they start ripening much more slowly in cooler weather. The bees are not as active to pollenate the flowers and production slows. While some people keep their tomatoes in the ground until frost, this may damage any tomatoes still on the plant. It is now taking several days to produce a single pint of ripe cherry tomatoes, so I decided it was finally time. Before I removed my tomato plants I picked off all of the immature fruit to ripen inside.

How to Ripen Green Tomatoes

Step 1: Pick the Tomatoes

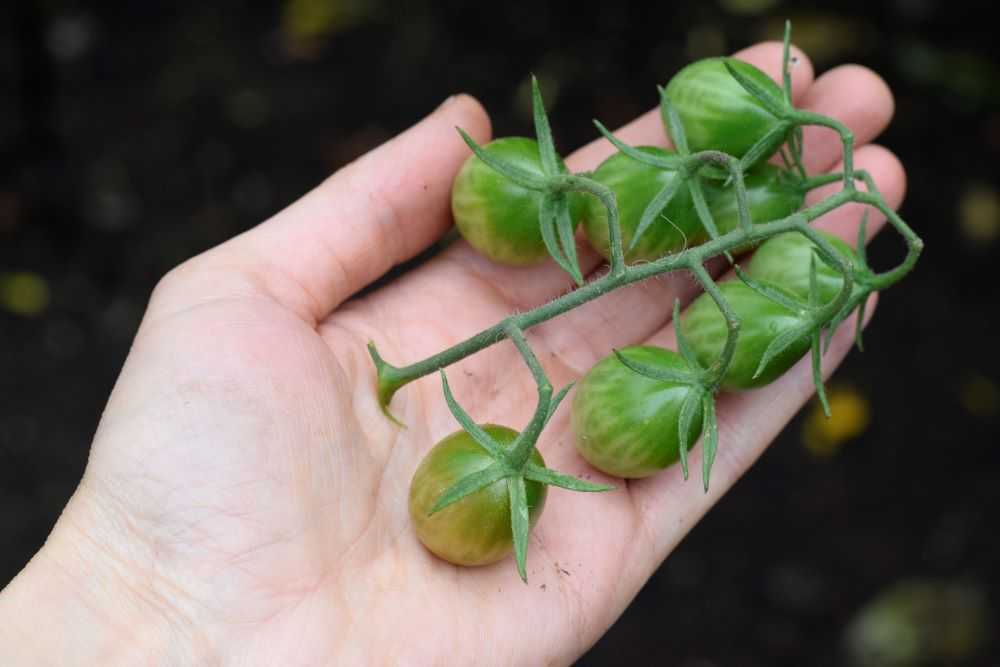
When I pick cherry tomatoes I usually keep them on the vine and pick the whole cluster of tomatoes. I do this because it will take the tomatoes some time to ripen, and by leaving the stems on they are less likely to crack. Damaged and diseased fruit will rot which may spread to other tomatoes.

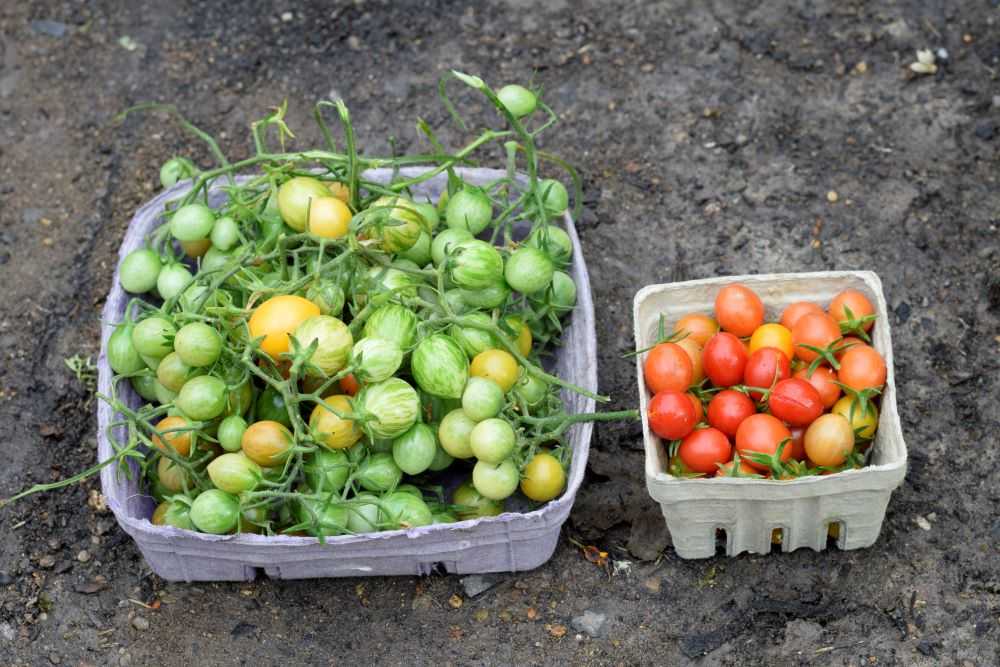
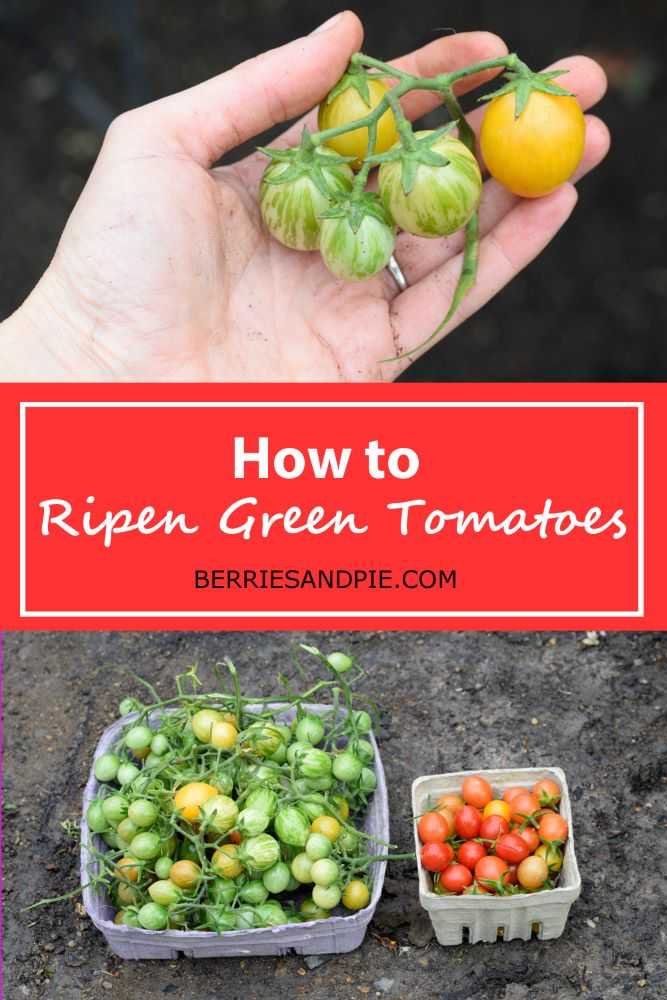
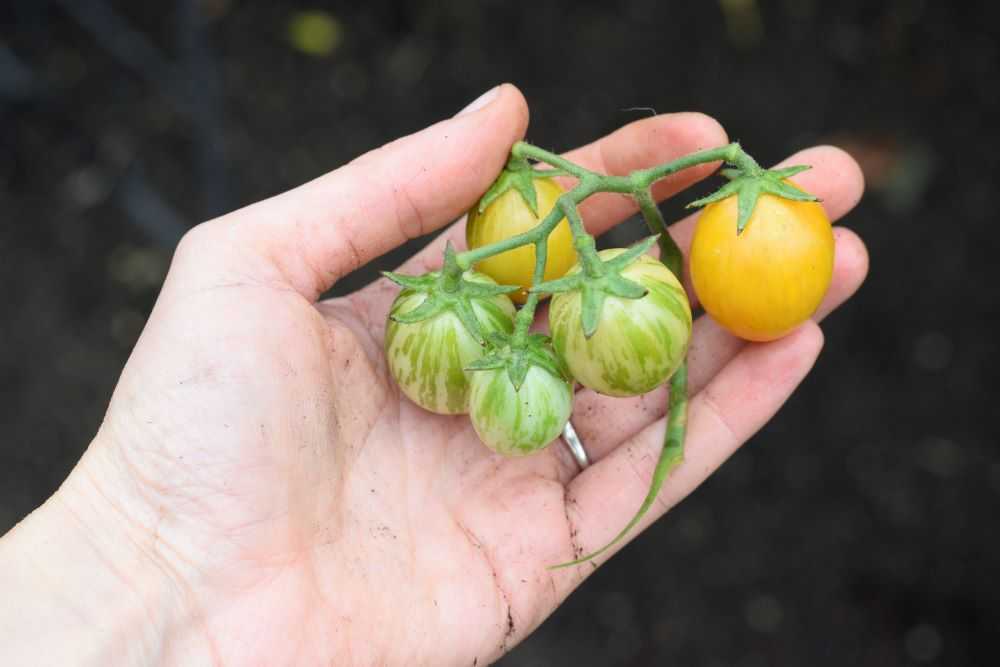
Green cherry tomatoes and red cherry tomatoes
Before removing tomato plants pick clusters of green tomatoes to ripen indoors.

Tomatoes that are off of the vine will not grow any larger, and ones that are too green will never really ripen properly. So look for tomatoes that have reached full size and may be showing a slight bit of color. These should ripen well inside.

Step 2: Wash the Tomatoes and Let them Dry

Carefully rinse your tomatoes under running water. This removes dirt that cause spoilage. Spread the tomatoes out on a clean kitchen towel to dry completely before storing.

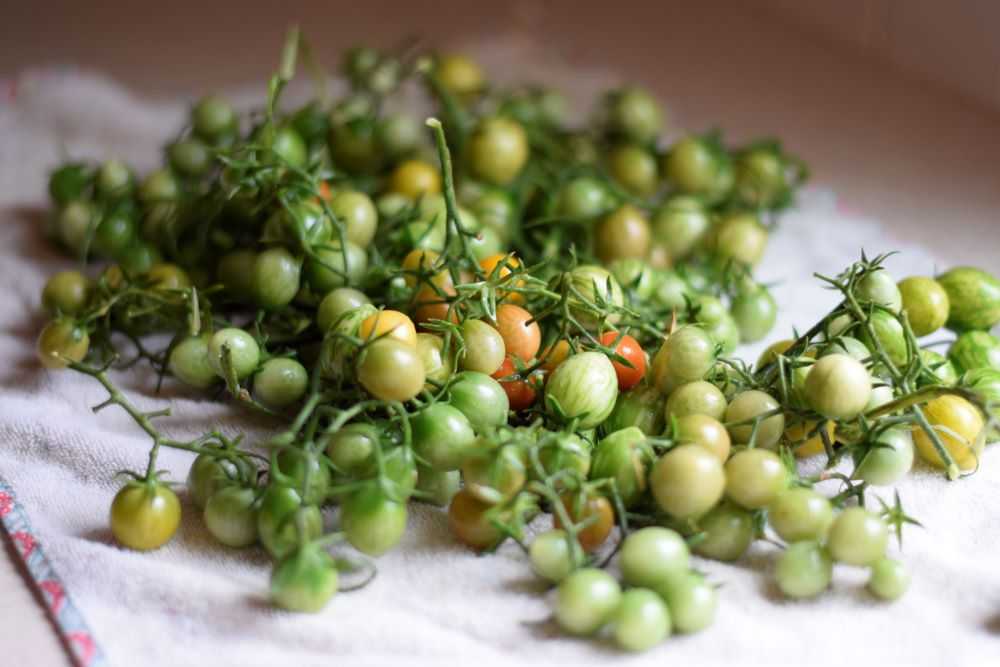
Green cherry tomatoes drying on a towel
Rinse the tomatoes and spread them out on a clean kitchen towel to dry.

Step 3: Store the Tomatoes

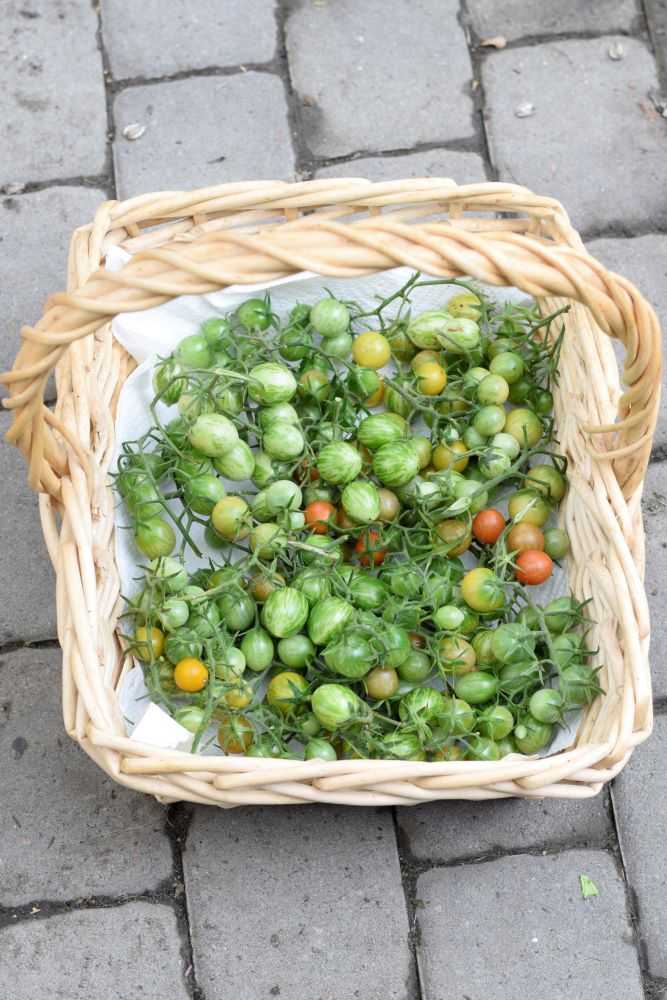
Select a container to store your tomatoes while they ripe. A box or basket lined with a few paper towels works well. Spread the tomatoes out so they get good air circulation. Store them inside your house (they like warmer temperatures) and they should ripen in a week or two. If you want them to ripen more slowly you can store them in your garage or another cool place. Make sure the temperature does not drop below 50 degrees for extended periods or so because this will halt ripening altogether.

Green cherry tomatoes in a basket
Store your tomatoes in a box or basket lined with paper towels. Spread them out so air can circulate.

Check on your tomatoes often and use them as they ripen. Remove any that start to go bad so rot does not spread to other tomatoes.

Final Thoughts

At least ripening tomatoes inside will prolong the season a little bit. Only nine months to go until fresh tomatoes again next year! I am already thinking of what varieties I want to plant 🙂

Hope you get to save some of your tomatoes to extend the season a bit. Happy Gardening!

Be sure to pin for later!

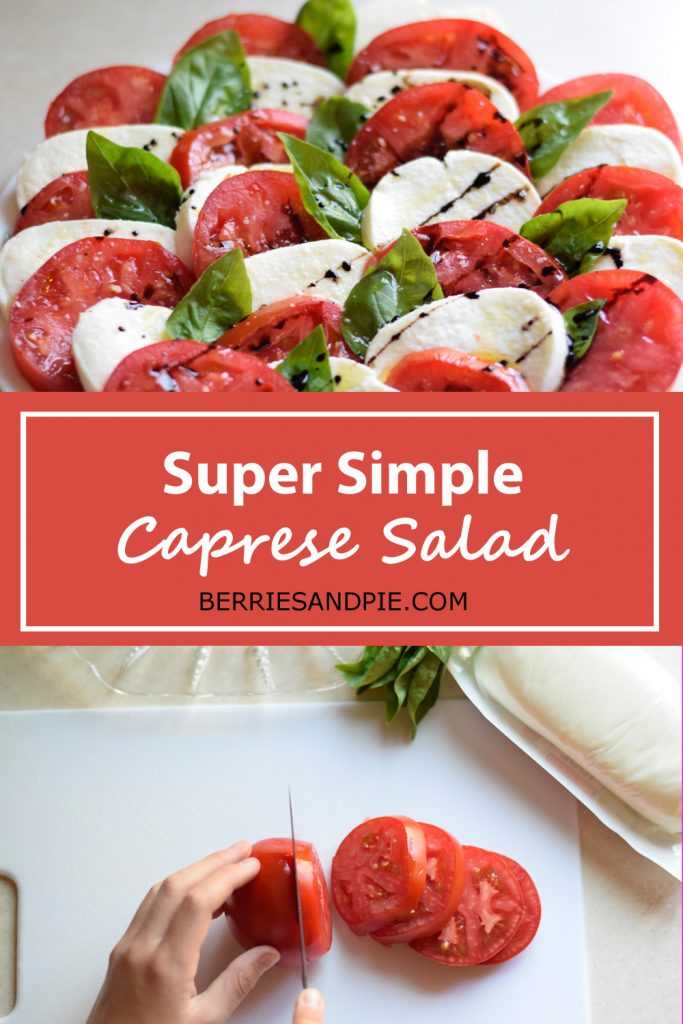
Simple Caprese Salad

I first stumbled upon caprese salad a few years ago when I was looking for ways to use extra tomatoes from my garden. Our family fell in love with the fresh taste and it quickly became one of our favorite accompaniments to grilled chicken!

If you have never had caprese salad it tastes like summer on a plate. A little bit of balsamic vinegar brings out the bright flavor of vine ripened tomatoes and sweet basil. It is a very simple salad to make and the flavors of summer really shine through. It is a great way to use all those tomatoes growing in your garden! Read on to learn how to make this delicious caprese salad at home.

Ingredients

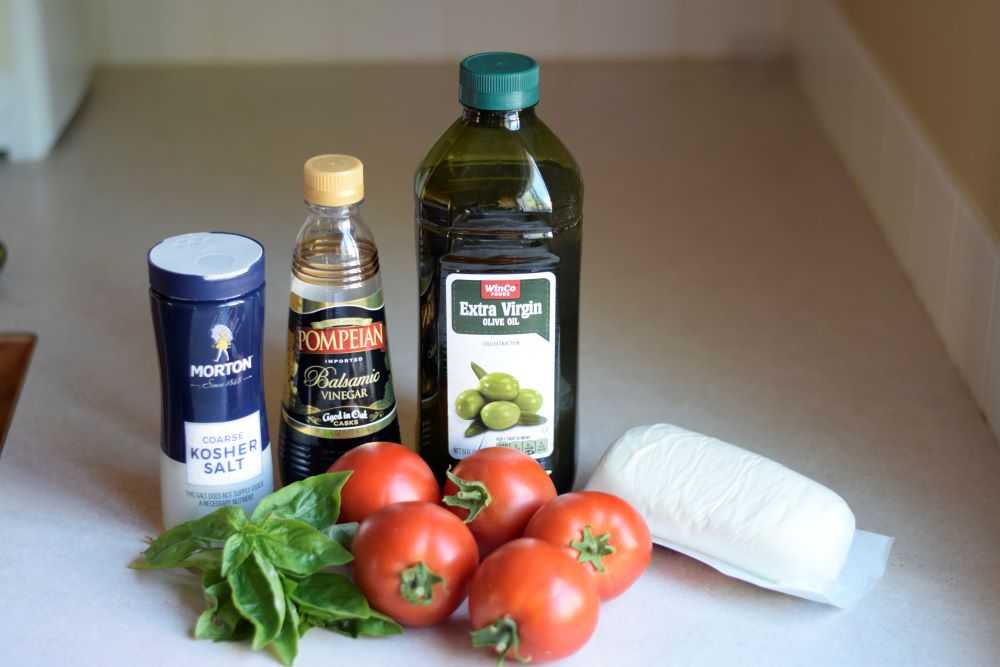
Caprese salad uses only six ingredients. We will go through them now:

Ingredients for caprese salad: tomatoes, basil, and mozzarella cheese.
Caprese salad is made with only six simple ingredients.

Tomatoes – Select tomatoes that are ripe, fresh, and full of flavor. Watery winter grocery store tomatoes aren’t going to cut it here. Try to choose ones that are about the same size around as your mozzarella cheese to make layering easier.

Basil – Fresh basil is the only way to go here. I like to use basil from our garden when we have it. Luckily basil has such a strong flavor you do not need too much of it.

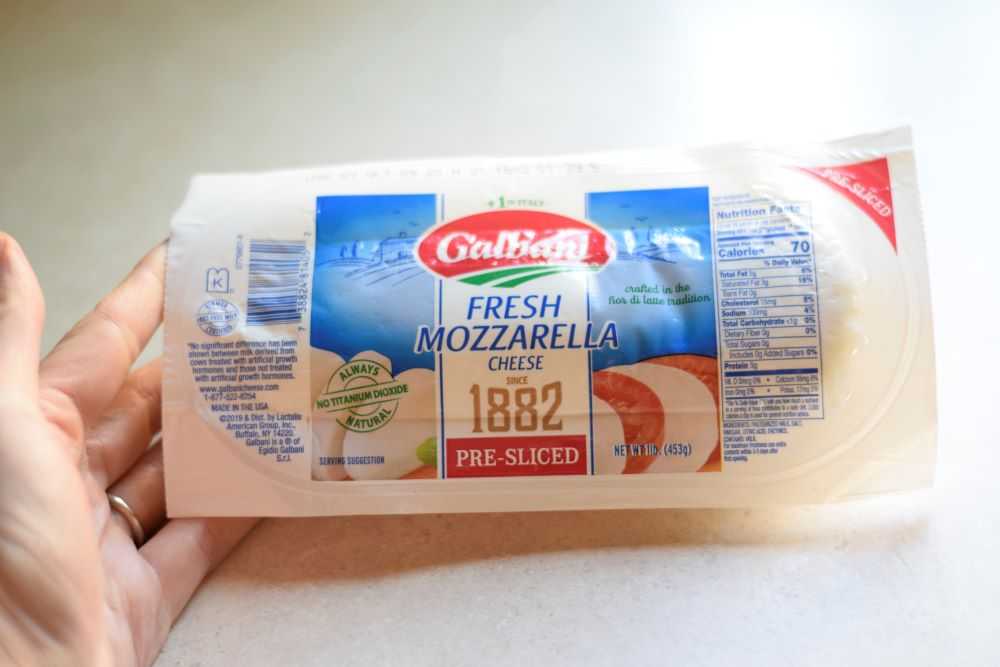
Mozzarella Cheese – Fresh mozzarella cheese is best for this salad, and it is usually sold in a ball or log. This type of mozzarella is moister and less rubbery than the cheese that you would buy for pizza, for example. Fresh mozzarella cheese does not keep very long and needs to be eaten within a few days of opening the package. Luckily, this caprese salad won’t last that long. 🙂

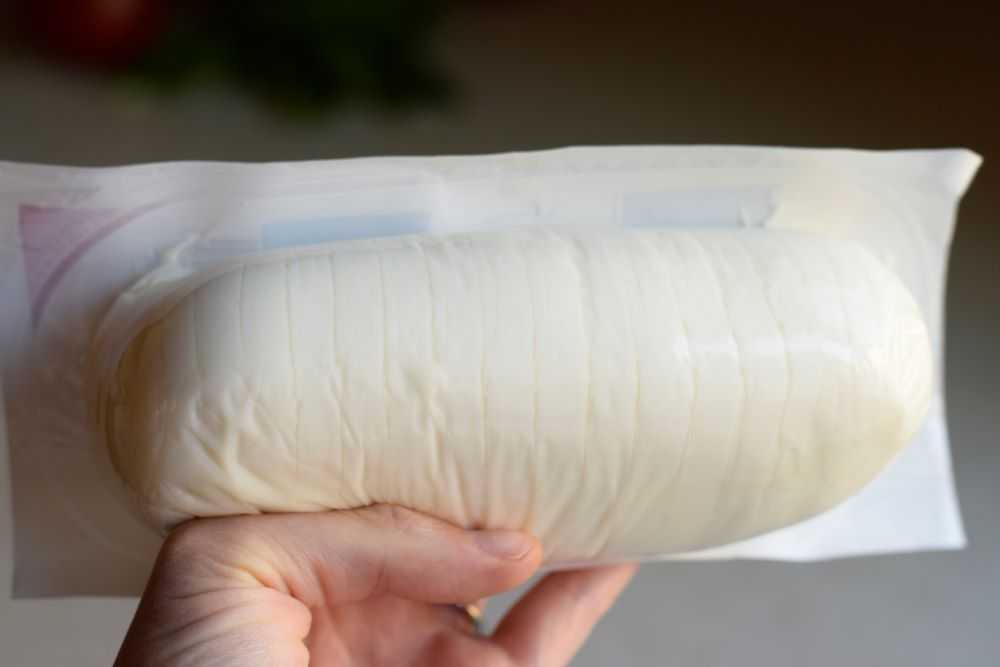
Fresh mozzarella can be a little difficult to cut because it is so soft and delicate. The mozzarella I use is pre-sliced, which saves time and makes things much easier.

Balsamic Vinegar – Balsamic vinegar really brings out the flavor of the tomatoes. A little goes a long way here. If you are not a fan of balsamic vinegar you can omit it if you would like.

Olive oil – Olive oil gives some flavor to the salad and keeps things moist.

Salt – I like to use kosher salt here because it is easier to sprinkle on top of the salad. Table salt works too, in a pinch. (Get it? 🙂 )

Instructions

Step 1: Make the Balsamic Glaze

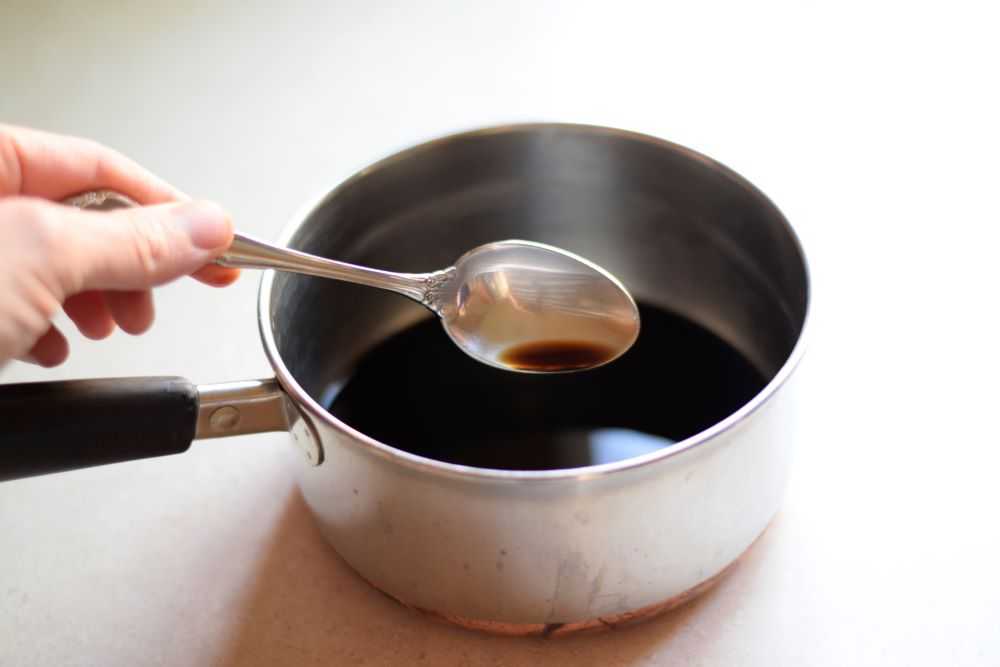
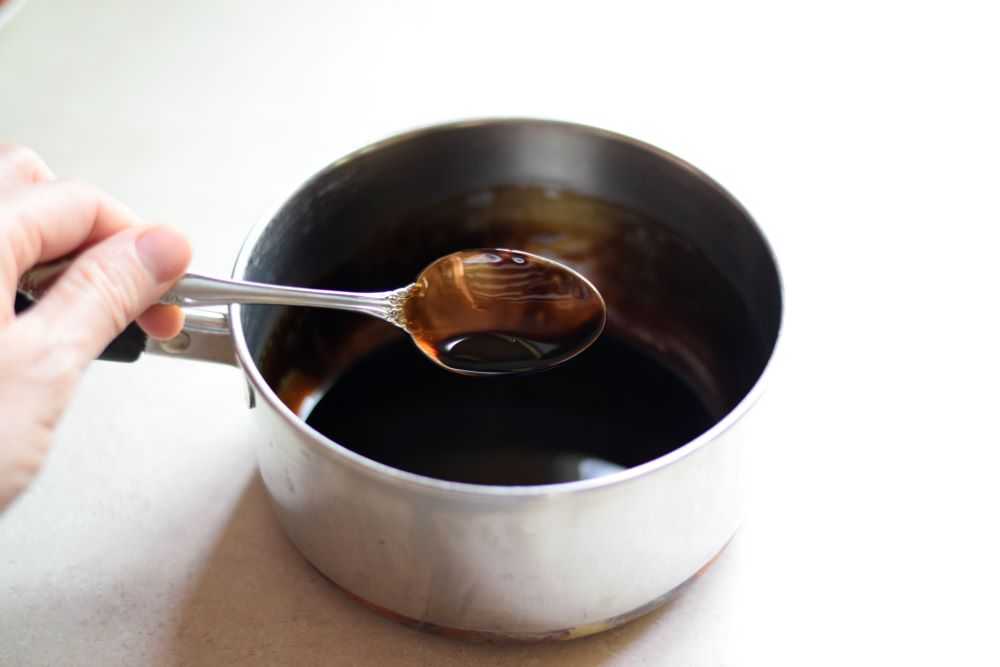
Start by making the balsamic glaze that is drizzled over the top of the salad. Cooking the balsamic vinegar will remove some of the harshness and make it taste sweeter. It also makes it thicker so it will not slide off of your salad.

To make the balsamic glaze put half a cup of balsamic vinegar into a small saucepan and bring it to a gentle boil. Allow it to simmer for 15-20 minutes, or until it is reduced by about half and the consistency is as thick as you would like. Do not walk away from this because it goes from perfect to burned in about two minutes. (Yes, I did this and yes, I had to start over). Set the glaze aside to cool while you make the rest of the salad.

Step 2: Assemble the Salad

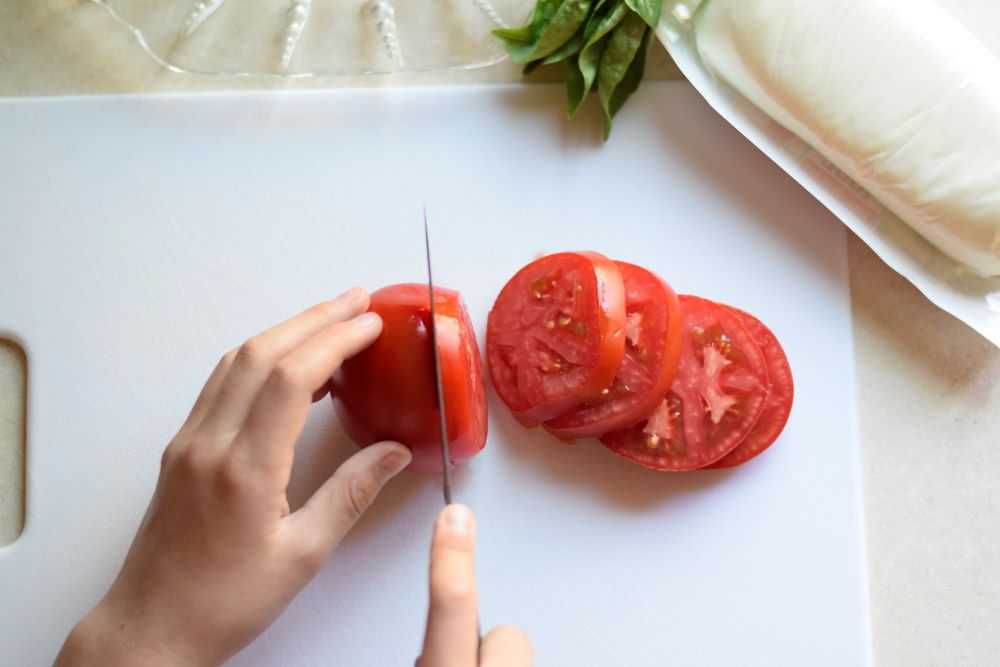
While the vinegar is cooling assemble the salad. Start by cutting the stems out of the tomatoes and slicing them in nice thick slices about 1/4 inch thick. Open the mozzarella cheese and drain out any whey in the package. Wash the basil and remove the leaves from the stems. Now everything is ready to go!

Slicing tomatoes.
Slice your tomatoes and get your ingredients ready.

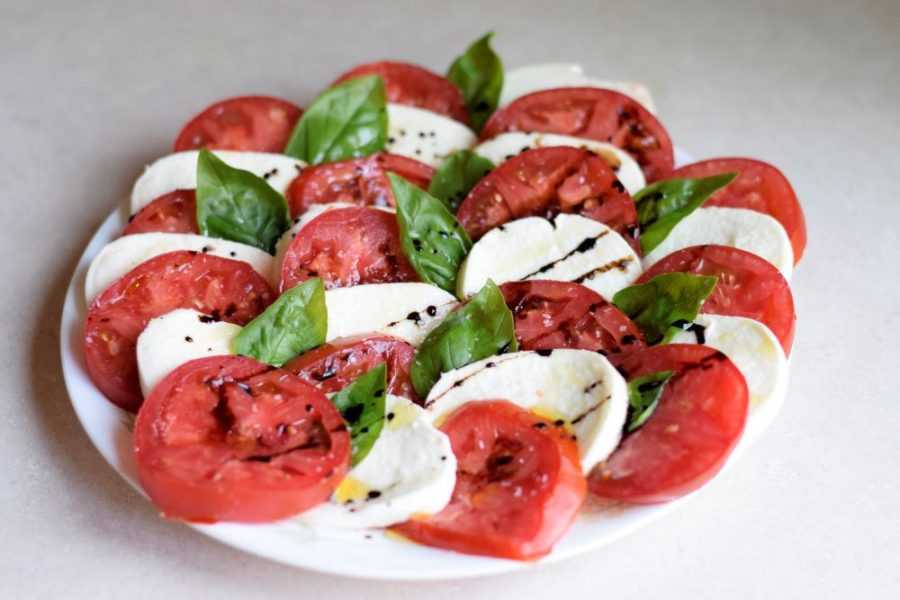
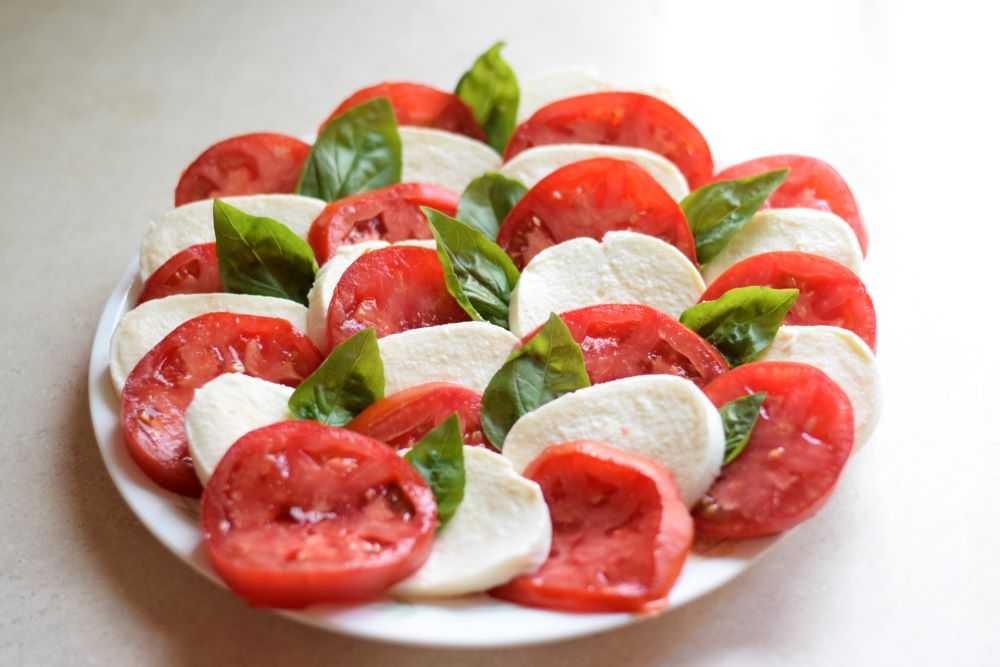
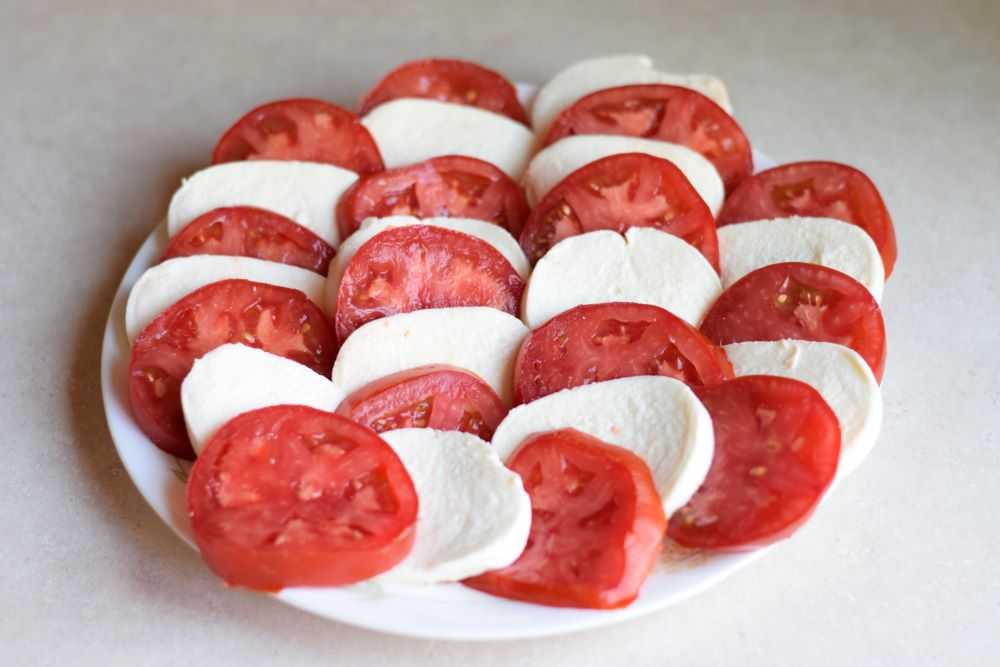
Get your serving platter and start alternating the tomatoes with the mozzarella cheese in a pretty pattern. Then poke some basil leaves here and there between the layers. Just before serving drizzle the salad with the olive oil and some of the cooled balsamic glaze. Don’t go crazy with the glaze here people, a little goes a long way. Lastly, sprinkle with salt. Isn’t it so pretty?

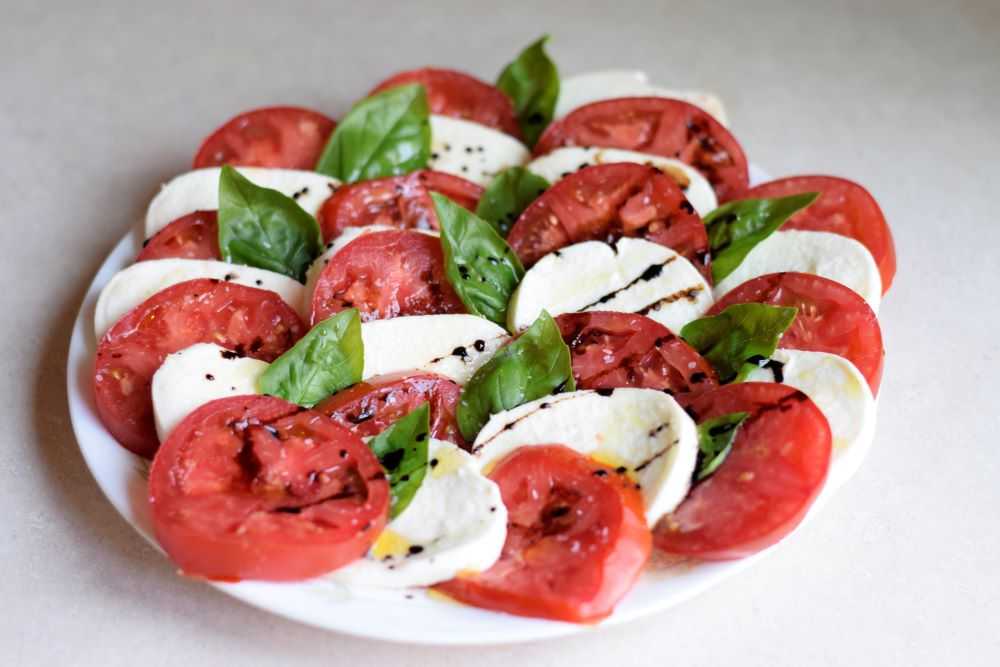
Caprese salad on a plate.
Caprese salad. Yum, yum, yum!

Serve

Serve your salad immediately. Enjoy it as a side dish or serve it alone with crusty bread for an easy summer lunch. Yum, yum, yum! Welcome to summer 🙂

I hope you get to try this caprese salad soon! Happy Cooking!

Simple Caprese Salad

Recipe by: Mandy
A little bit of balsamic vinegar brings out the bright flavor of vine ripened tomatoes and summery basil to give big flavor to this salad. Enjoy it as a side dish or serve it alone with crusty bread for an easy summer lunch!
Prep Time 10 minutes
Cook Time 30 minutes
Total Time 40 minutes
Servings 6

Ingredients
  

  • 1 lb fresh mozzarella cheese, cut into 1/4 inch thick slices
  • 4-5 medium tomatoes, cut into 1/4 inch thick slices
  • 10-20 basil leaves
  • ½ cup balsamic vinegar
  • 1 tablespoon olive oil
  • kosher salt, to taste

Instructions

  • Make the balsamic glaze by pouring the balsamic vinegar into a small saucepan. Bring to a boil, then reduce heat to low. Simmer for 15-20 minutes or until the vinegar is thick enough to coat a spoon and desired consistency is reached. Set aside to cool.
  • While the vinegar is cooling assemble the salad. On your serving platter alternate the sliced tomatoes with the mozzarella cheese in a pretty pattern. Then poke some basil leaves here and there between the layers. 
  • Drizzle the salad with the olive oil and as much balsamic glaze as you would like. Sprinkle with kosher salt to taste.
  • Serve immediately. Enjoy!

Notes

This salad may also be made without the balsamic glaze if desired.

Be sure to pin for later!

Freezing Cherry Tomatoes: An Easy Way to Preserve the Harvest

Do you have more cherry tomatoes than you can eat? Are you wondering what you can do with them? Try freezing them to use later in the season! It is a real treat to make homemade soup in the wintertime with tomatoes from your summer garden!

I prefer freezing my cherry tomatoes over other preservation methods because it is so incredibly easy. There is no chopping, peeling, or canning involved! Now we will go through how simple this process is.

Too many cherry tomatoes? Try freezing them!

Prep the Tomatoes

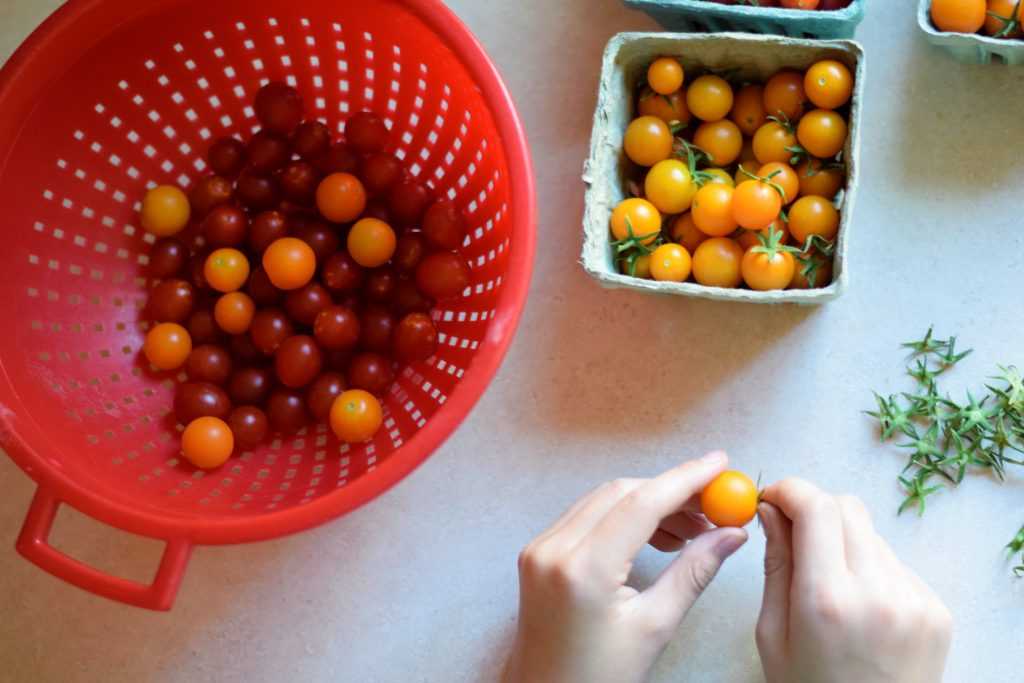
First off, you need to sort through your tomatoes and discard any that are cracked or blemished because they will not keep as well. Prep the tomatoes by taking off the stems and washing them thoroughly.

Taking the stems off cherry tomatoes and placing them in a colander.
Take the stems off of the tomatoes and wash them thoroughly.

After they are washed get as much water off as you can. You can drain them well in a colander or spread them out on a clean kitchen towel. This is important because they may stick to your pan or stick together if too much water is present.

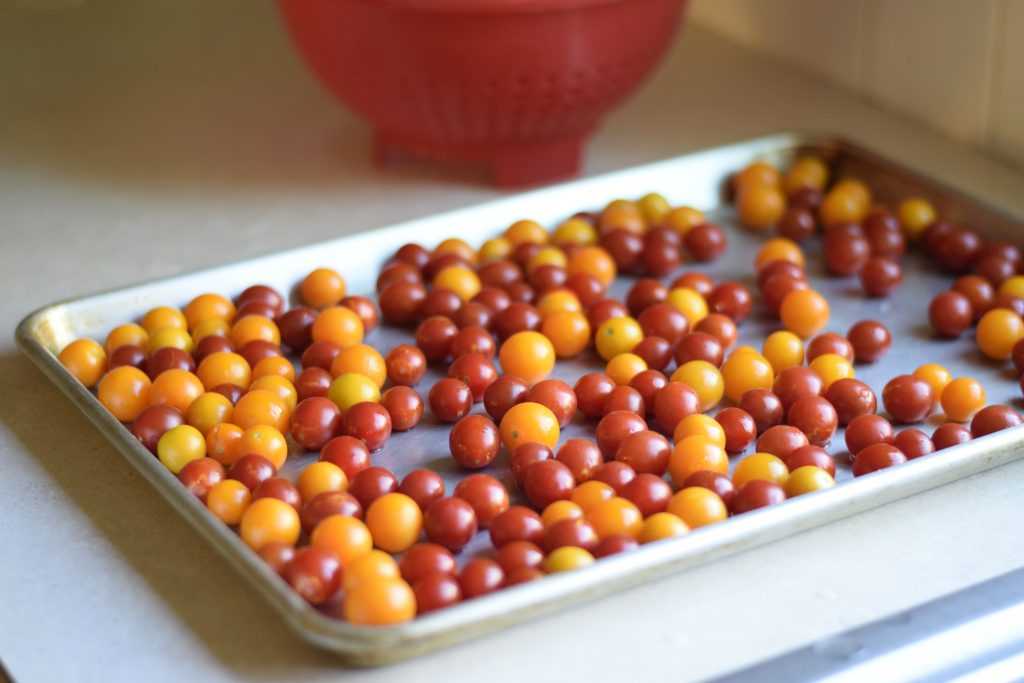
Orange and red cherry tomatoes on a sheet pan.
Spread the dry tomatoes out on a large sheet pan. Try to leave some space between them if possible.

When they are dry spread the tomatoes out onto a large sheet pan. We want to freeze them before putting them into bags for long term storage. The advantage of this method is that the tomatoes are less likely to get squished or stick together in a giant tomato ice block. Try to leave some space between them on the pan and do not crowd them if possible. This way they will freeze faster and are less likely to get stuck together.

Freeze the Tomatoes

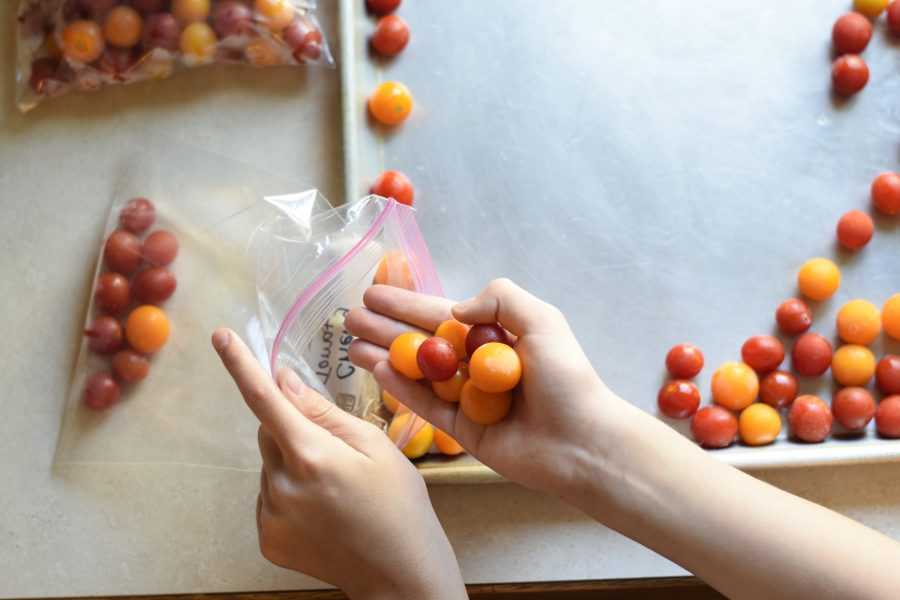
Place the sheet pan in the freezer for at least 1-2 hours, or until the tomatoes have firmed up.

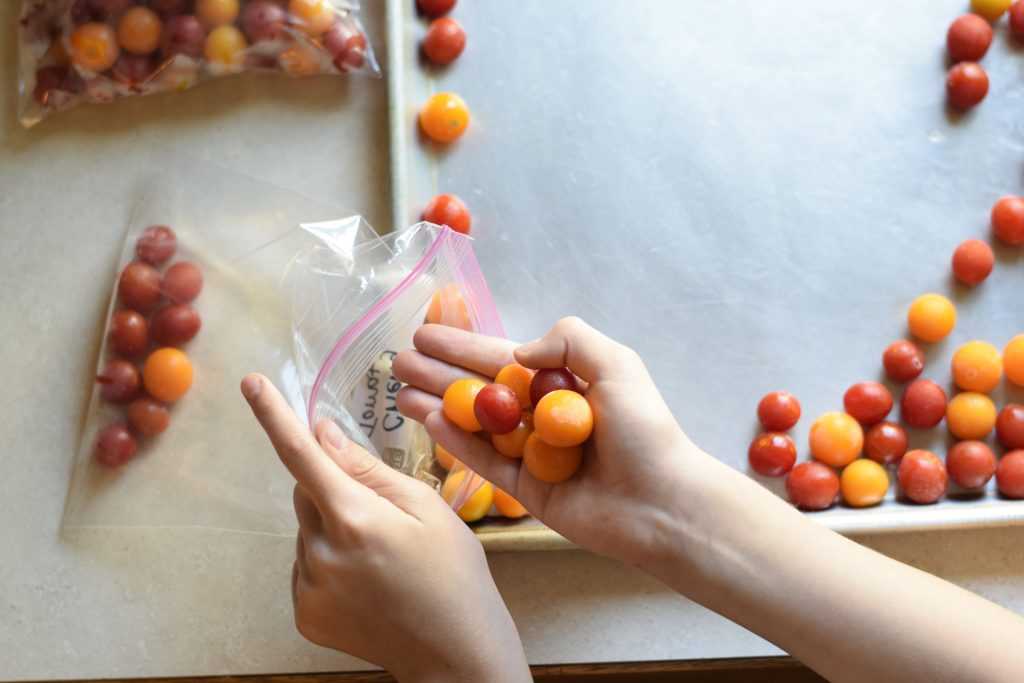
Once frozen, the tomatoes are ready to be placed into freezer bags. Be sure to label the bags with the date.

After the tomatoes are frozen, you should be able to easily gather them up and place them in freezer bags. Freezer bags are preferable to regular zip top bags because they are thicker and will help protect the food better. Labeling the bags before you fill them will make it easier to write on them. Make sure that you also write the date on the bag.

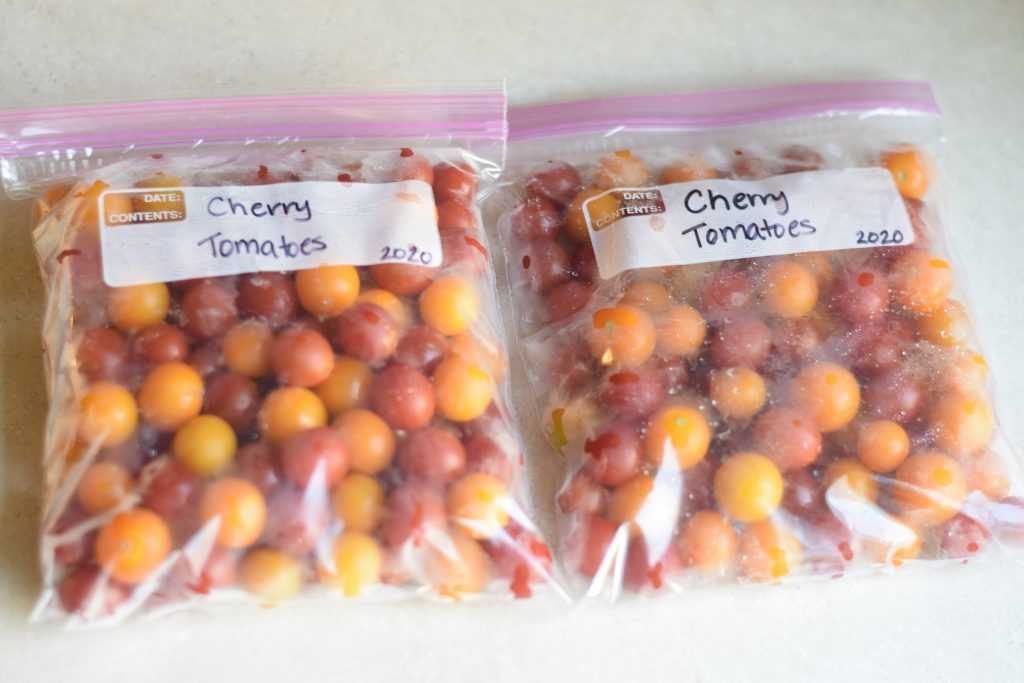
Two bags of orange and red cherry tomatoes.
Cherry tomatoes will last for up to a year in the freezer.

Store the tomatoes in the freezer for 6 months or up to a year or so. After that time they will still be safe to eat but the quality may begin to decline.

How to Use Frozen Cherry Tomatoes

Realize that frozen cherry tomatoes will have a different texture than fresh tomatoes. They will be softer and are best used in cooked dishes such as soups, sauces, or casseroles. These tomatoes will also have their skins on which may affect the texture of some dishes. For most recipes however this is not an issue.

My favorite way to use these frozen cherry tomatoes is in homemade vegetable soup. I use them straight out of the bag and pour however many I need into the boiling soup as it cooks. Yum!

Hope you are able to freeze some of your tomatoes to enjoy in the winter months. Happy Gardening!

Be sure to pin for later!

You may also like:

Orange yellow red cherry tomatoes

Cherry Tomato Taste Test


How to Ripen Green Tomatoes Indoors


Taking marigold seeds out of seed heads

How to Save Marigold Seeds

Powered by WordPress & Theme by Anders Norén