Tag: vegetables

How to Germinate Seeds in Paper Towels

Germinating seeds in paper towels adds an extra step before planting but often leads to better outcomes. It is easy to do and takes just a few minutes!
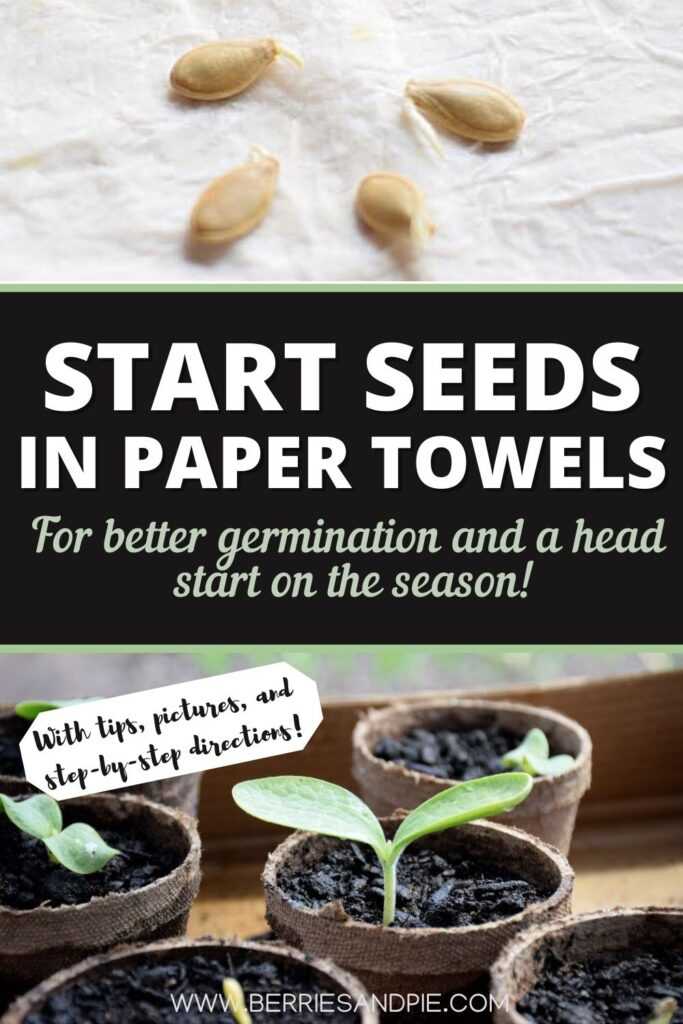
Start Seeds in paper towels for better germination and a head start on the season.

Have you ever planted seeds just to wonder why they aren’t germinating? Maybe the seeds are old? Maybe the growing conditions aren’t right? Did I plant them too deep? If you have ever tried to start seeds indoors you know it can sometimes be a frustrating process.

Germinating seeds in paper towels before you plant them in containers adds an extra step but often leads to better outcomes. Seeds germinate more quickly and you can easily check on your seeds as they start to grow. Best of all, it is easy to do and just takes a few minutes.

Now we will go through this process step-by-step. Let’s get started!

Advantages to Germinating Seeds in Paper Towels Before Planting

You may be wondering, why germinate seeds in paper towels at all? Why not plant them directly in the soil and skip this step all together?

Excellent questions! Here are some reasons why I germinate many of my seeds in paper towels before planting:

  • I use a lot of seeds that I have saved from previous years. It is impossible to know if seeds are still good just by looking at them. Within a couple of days I will know if the seeds are still viable or if I need to purchase new ones.

  • Putting the seeds in a damp paper towel in a plastic bag makes greenhouse-like conditions which often leads to faster germination.

  • You can see exactly which seeds have germinated so you only plant seeds that are sure to develop.

  • It is fun to check you seeds each day and watch them grow!

What types of seeds to germinate in paper towels?

If you have seeds saved from previous years, this method can be used to test germination of pretty much any type of seed. Place a few seeds in the paper towel and see if they start to grow. If all are duds, it is time to purchase some new seed!

Most of the time though, I just start seeds that I am going to start as transplants rather than seeds I would sow directly in the garden. Good choices for transplants are vegetables with a longer growing season than would be damaged from cold and frosty conditions. This way you can start them earlier and get a head start on the season.

Here are some of the seeds I regularly start inside:

  • Tomatoes
  • Peppers
  • Pumpkins
  • Zucchini
  • Squash
  • Cucumbers
  • Melons
  • Some flowers

Materials

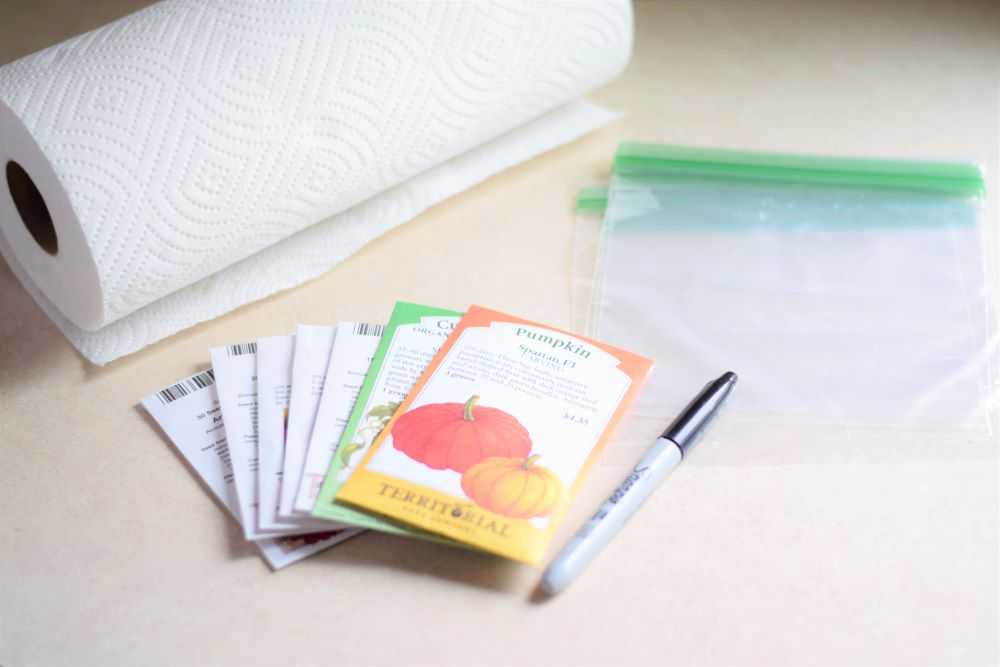
To germinate seeds in paper towels you will need:

  • Paper towels
  • Sandwich sized zip-top bags
  • A permanent marker
  • Seeds
Seed packets with paper towels, bags, and a marker

How to Germinate Seeds in Paper Towels

Start by wetting a paper towel. I usually use about 2 paper towels per type of seed. You want the paper towel to be fully moist but not dripping wet.

Holding a paper towel under running water.
Start by wetting a paper towel or two. You want them moist but not dripping wet.

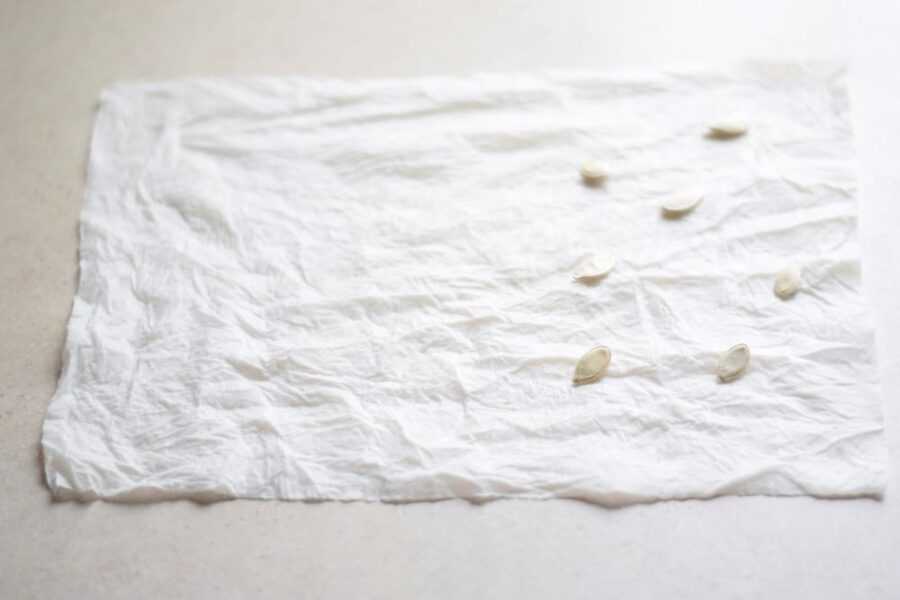
Lay the paper towels flat and place the seeds on one side. You can put however many seeds you want as long as you leave some space between them. This way they will not crowd each other as they start to grow. It is a good idea to start a few more seeds than you think you need because you will rarely get a 100% germination rate.
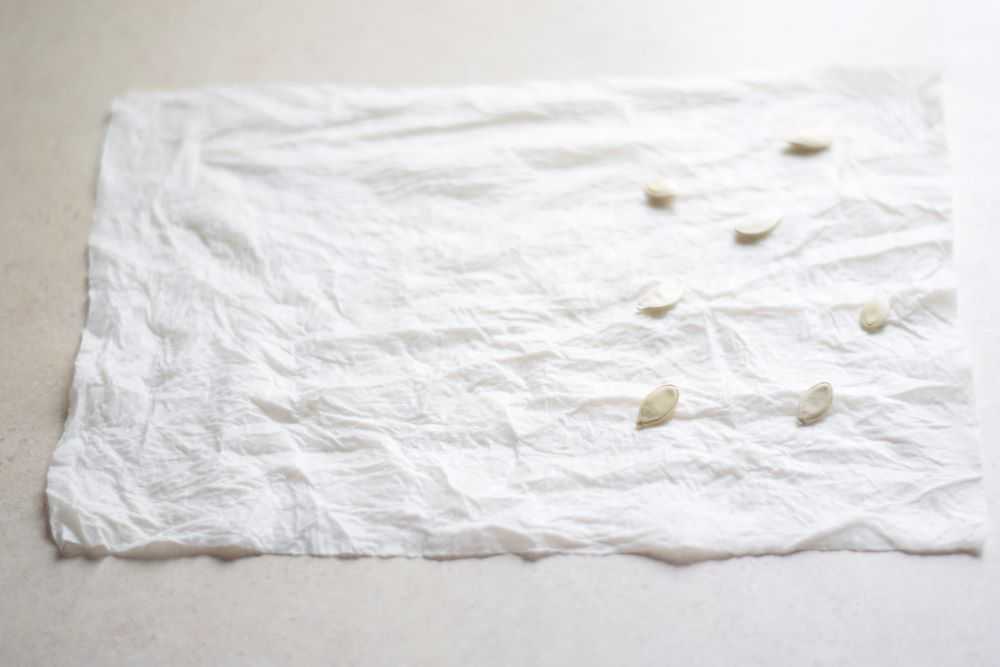
Pumpkin seeds on a damp paper towel
Lay the seeds on one side of the towel. It is a good idea to start a few more seeds than you think you will need.

After you have placed your seeds fold the paper towel one or two more times so it will fit in your zip top bag. Place it inside the bag and seal it closed. Label the bag with the permanent marker.
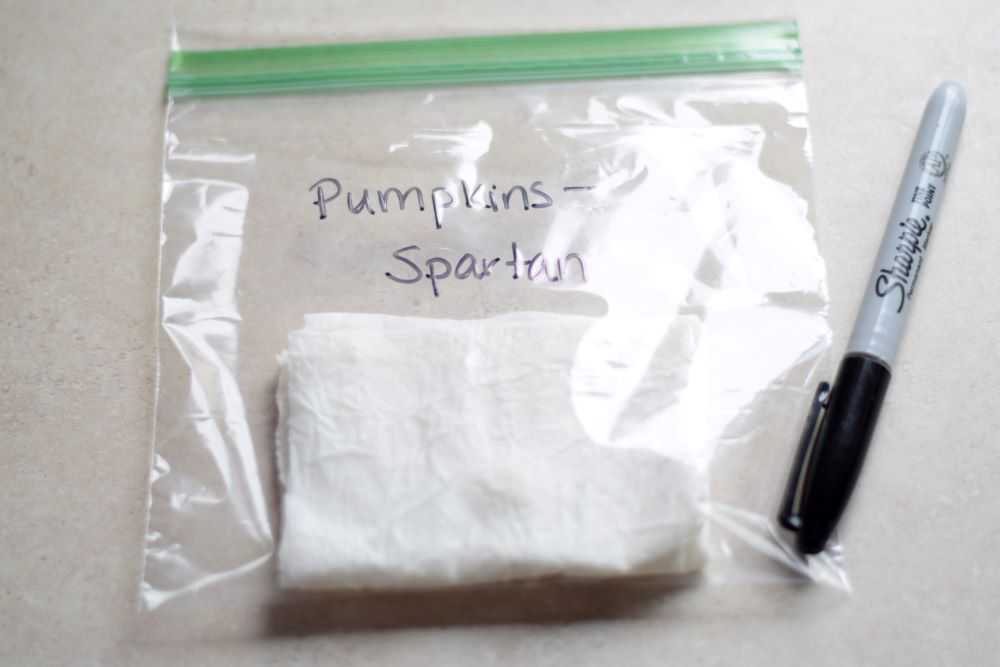
folded paper towel in a zip-top bag
Label the bag so you know what is inside!

Place the plastic bags where they will not be disturbed. Since many seeds germinate well at room temperature, I usually just leave mine on the kitchen counter. This way I will not forget to check them often. Make sure you keep the seeds out of direct sunlight because they will easily become too hot.

Make sure you check your seeds every day for progress and signs of growth. If the paper towels seem like they have dried out, add a little more water to keep them moist.
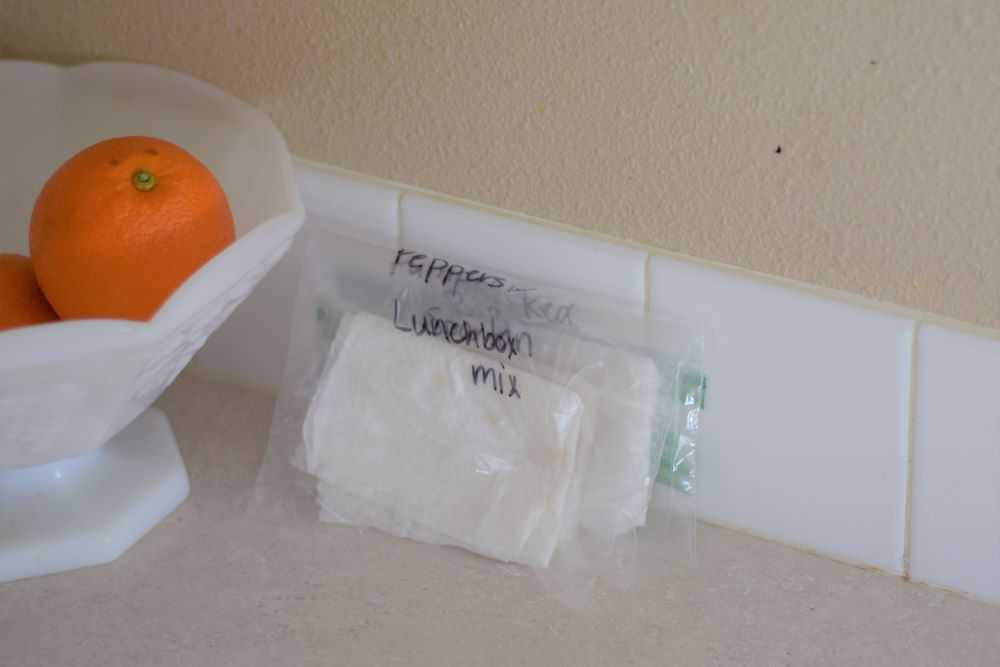
starting seeds in paper towels
Leave seeds where you remember to check on them often. I usually put mine on the kitchen counter.

When to Plant Your Seeds

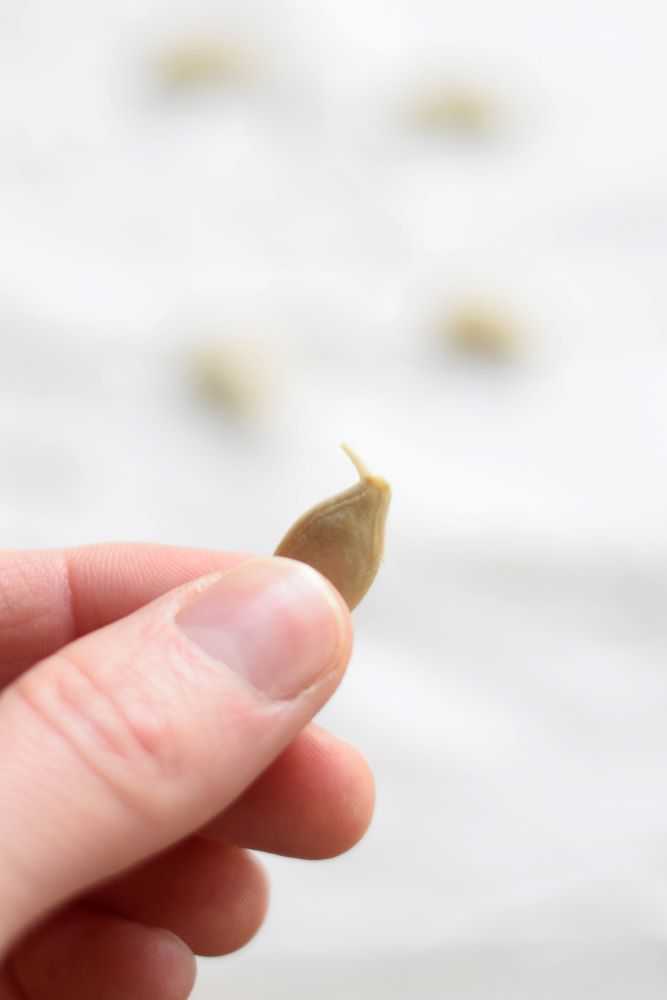
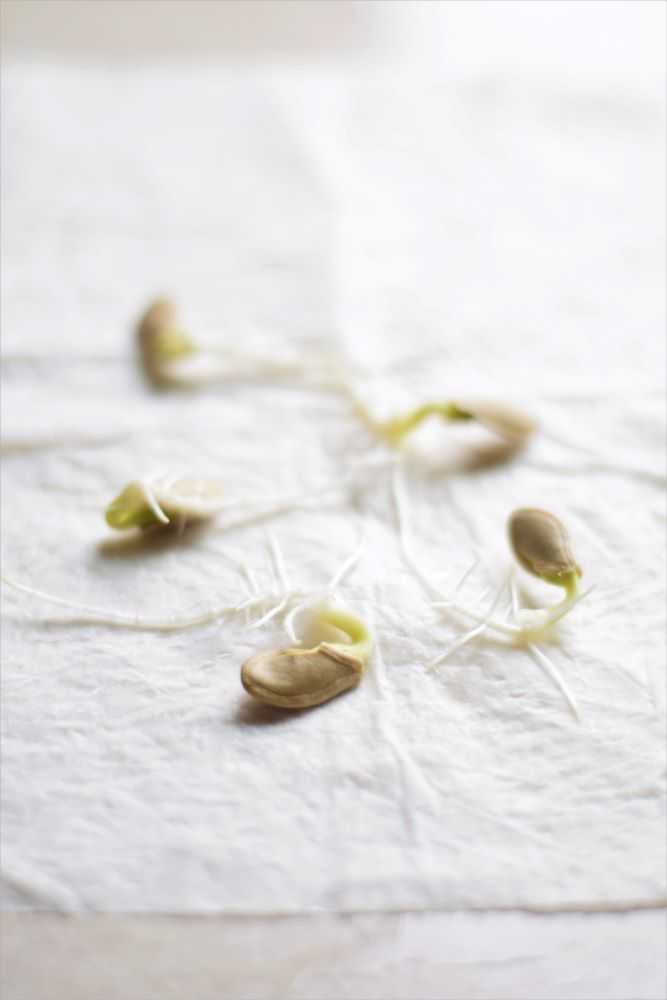
Most seeds take 3-5 days to germinate. I have had some that have taken up to a week. As soon as you see some root growth you can plant them in peat pots, egg cartons, or plastic containers.

Transplanting the seeds as soon as possible makes is less likely that the roots will become damaged, which may impede growth and proper development. If you wait too long, the roots will become long and tangled in the paper towel and root damage is more likely to occur. After you plant your seeds, it generally takes 2-5 more days for the seedlings to emerge.
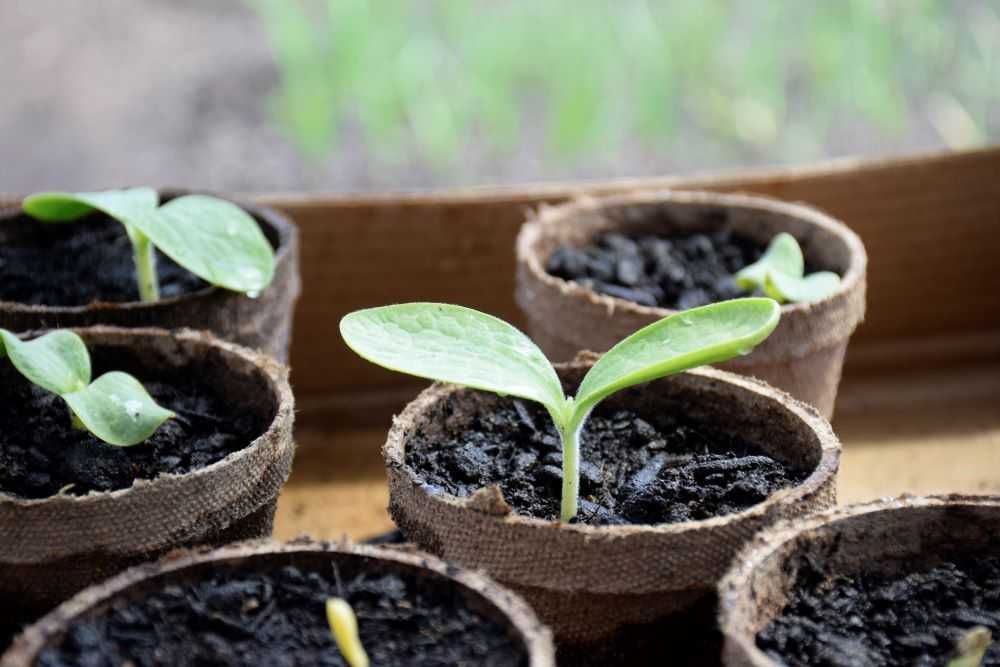
pumpkin seedlings in peat pots
After your seeds germinate plant them in pots. They will usually emerge in a few more days.

Hope you get better and faster germination this year by starting your seeds in paper towels before transplanting. Happy Gardening!


Not ready to plant right now? Be sure to pin for later!
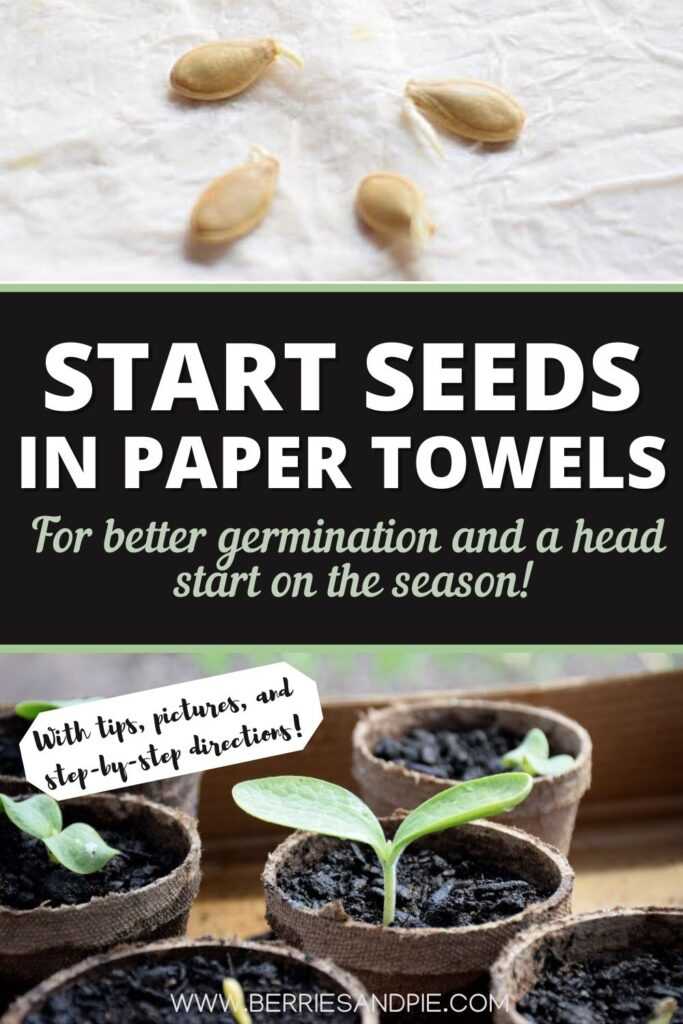
Start Seeds in paper towels for better germination and a head start on the season.

You may also like:

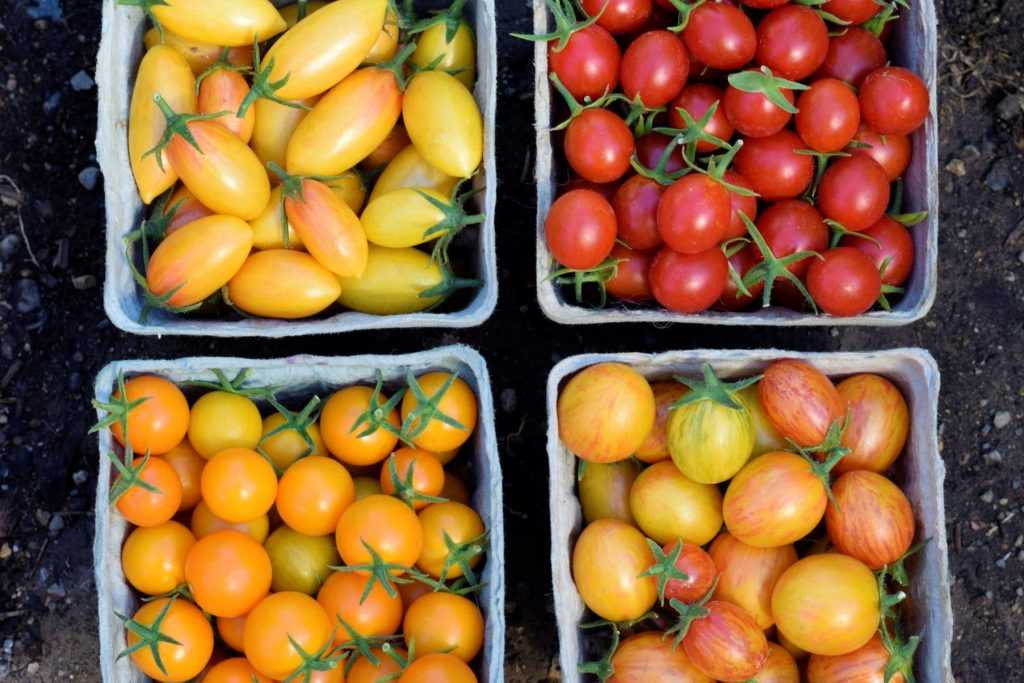
Orange yellow red cherry tomatoes

Cherry Tomato Taste Test


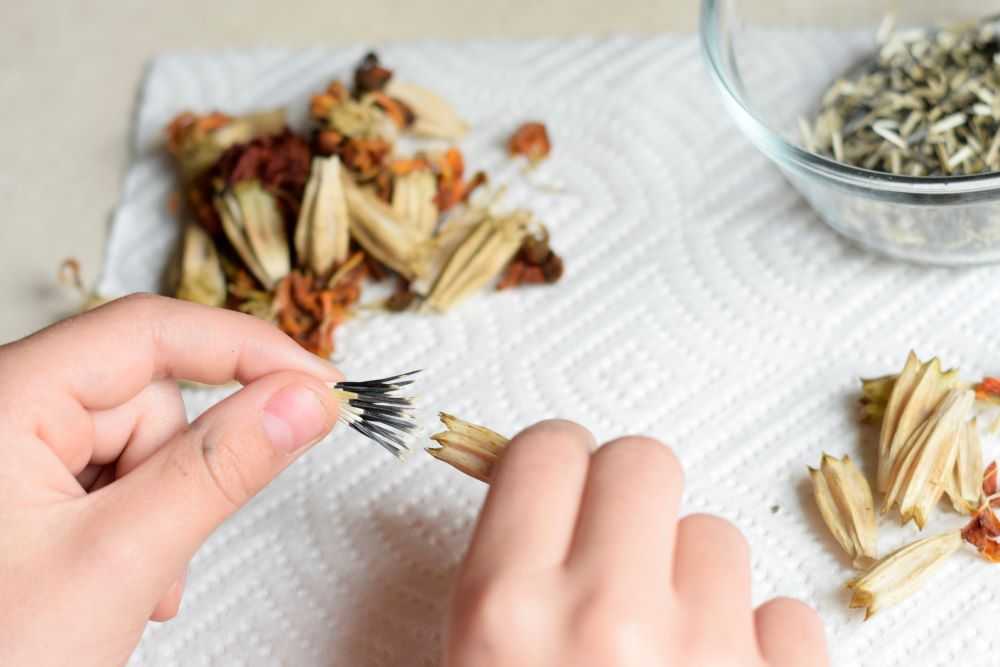
Taking marigold seeds out of seed heads

How to Save Marigold Seeds


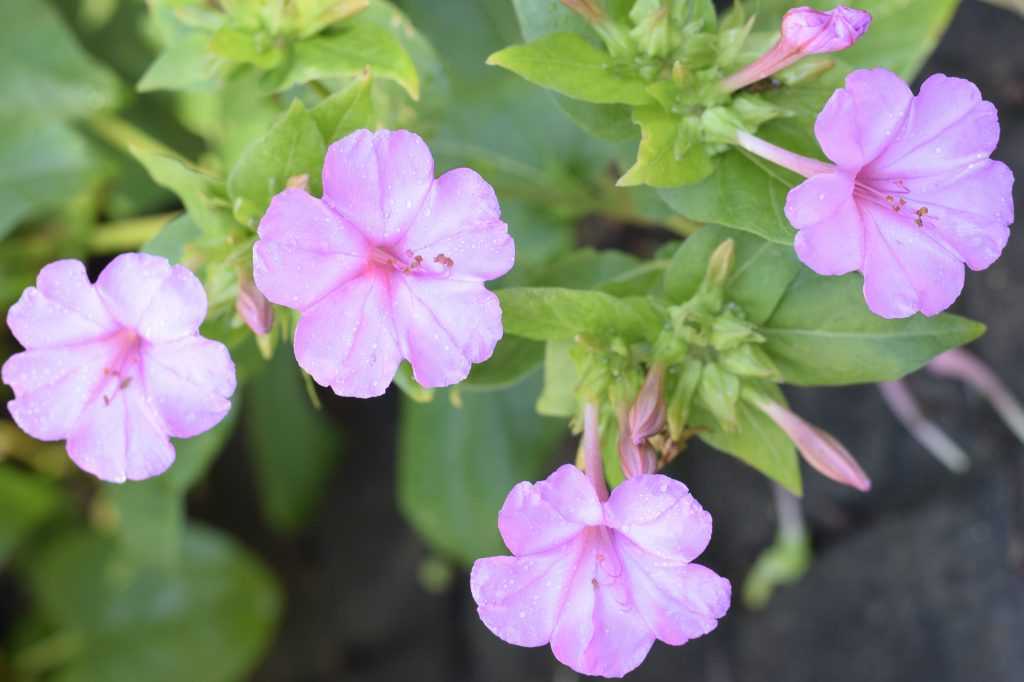
pink four o'clock flowers

How to Grow Four o’Clock Flowers

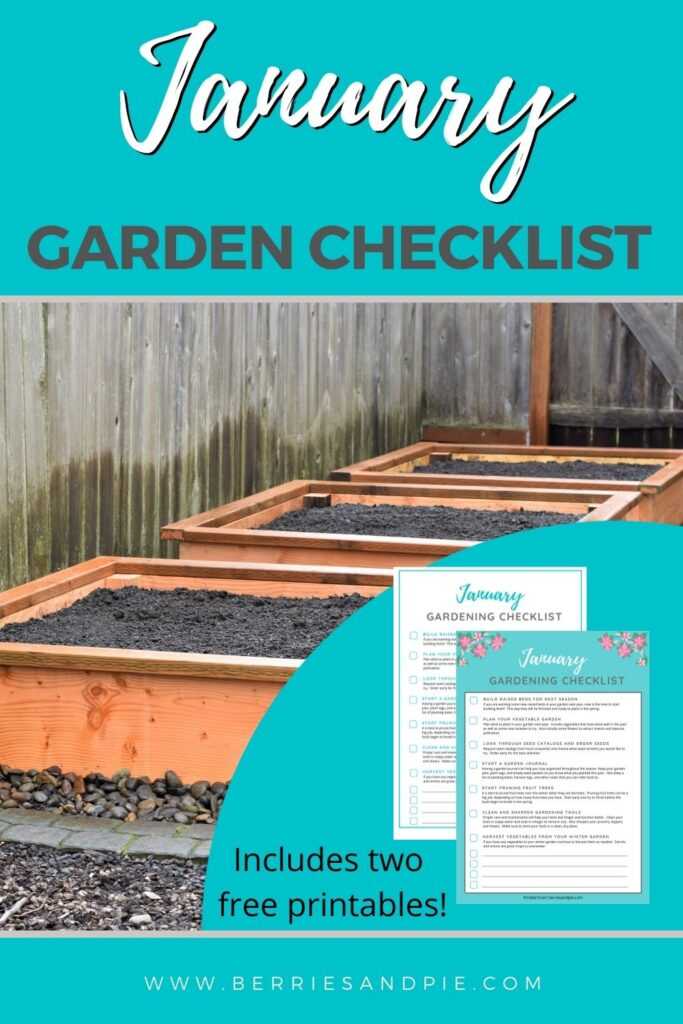
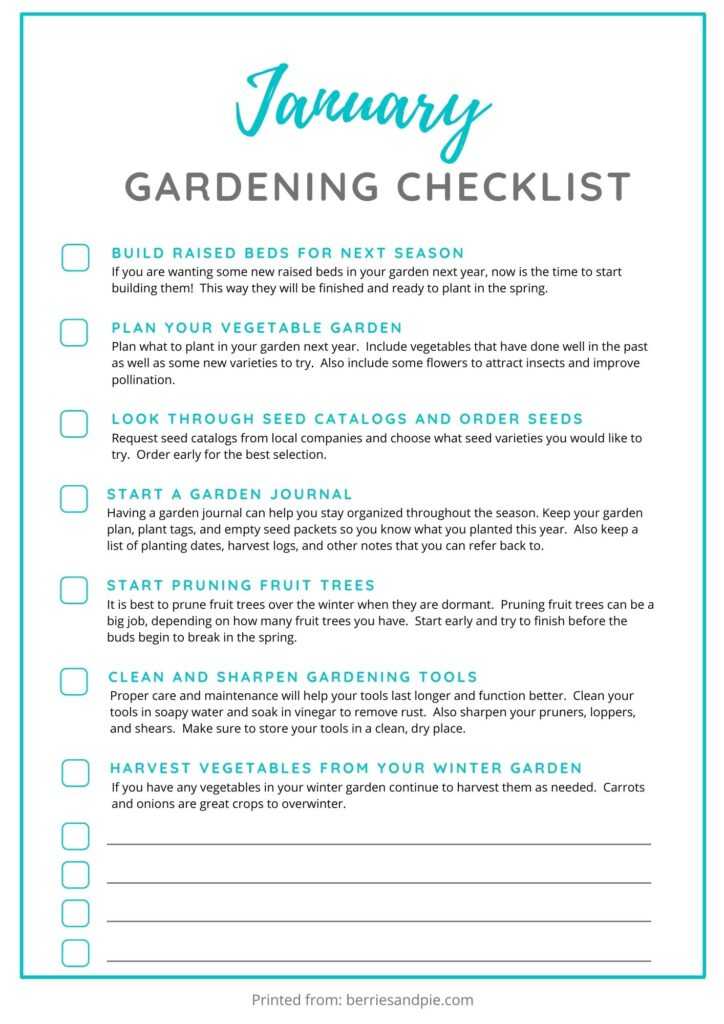
January Garden Checklist

The weather is cold but there is still plenty to do in the garden! Here are some tips and ideas for your garden this month.

The new year is here! Here in Oregon the weather is often very cold and wet in January which makes it difficult to get outside. Luckily there is still plenty to do indoors on these rainy days!

January is a great time to focus on planning, indoor projects, and maintenance tasks so you will be well prepared for the season ahead. The list below is based on my garden in zone 8, and you may need to adjust timing based on your specific climate and geographic location. Here are this month’s chores:

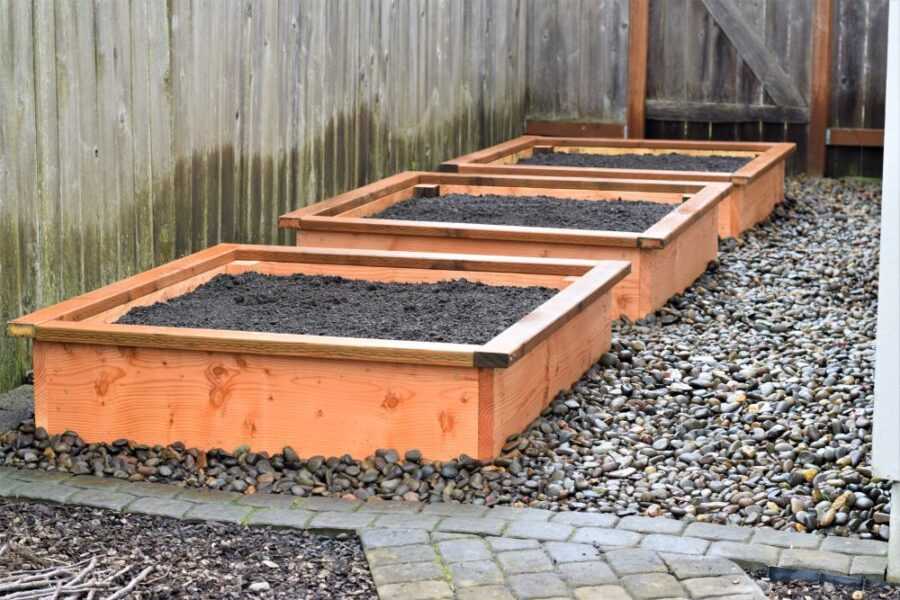
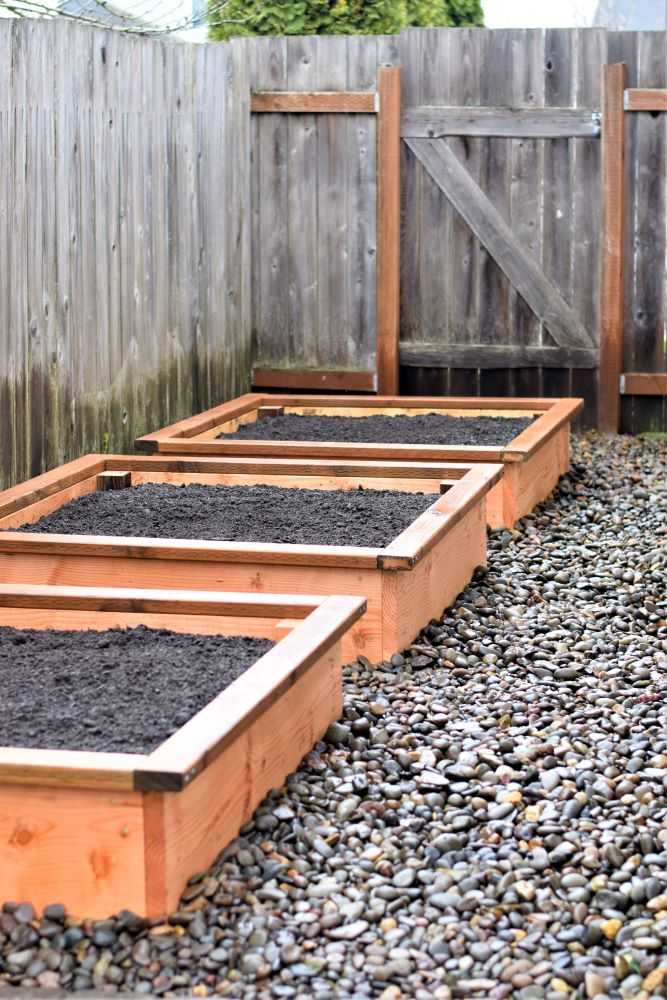
1. Build raised beds for next season

If you are wanting some new raised beds in your garden next year, now is the time to start building them! This way they will be finished and ready to plant in the spring.

raised garden beds

2. Plan your vegetable garden for next year

Now is the time to start planning what you want to include in your garden next year! Plan to include vegetables that have done well in the past as well as some new varieties that you will like to try. Also include flowers such as marigolds to help attract bees and other beneficial insects to improve pollination.

I usually plan my garden on a piece of graph paper. I always work in pencil because my plans are sure to change! After you are done place it in a plastic page protector. This will help to keep it clean and dry when you take it outside to plant your garden in the spring.

garden plan on graph paper

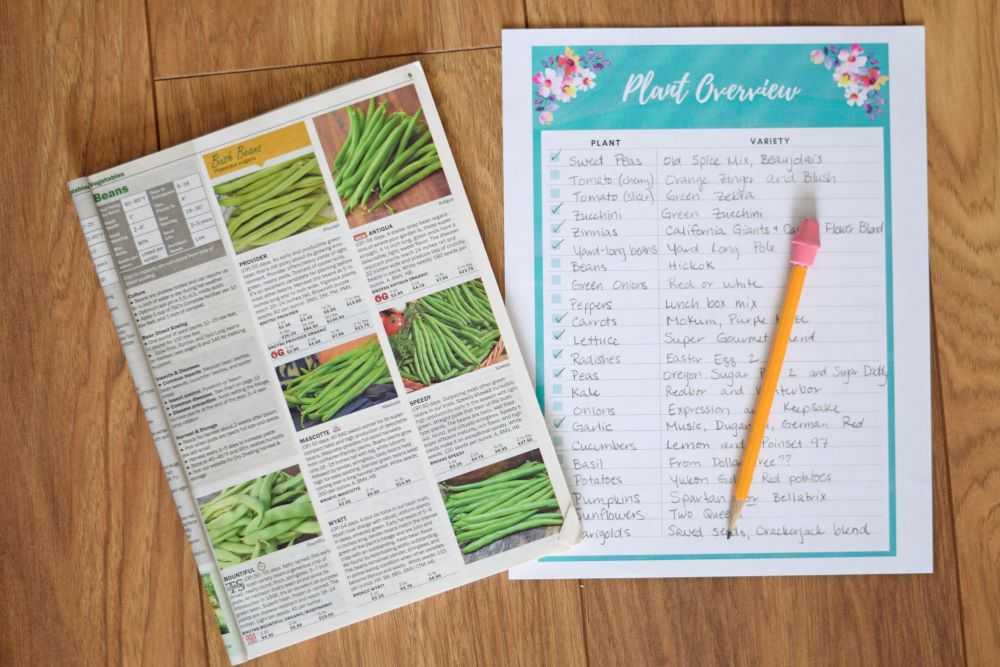
3. Look through seed catalogs and order seeds

Nothing beats the winter doldrums better than getting a seed catalog in your mailbox! Many seed companies will send you a free catalog if you request one on their website.

My absolute favorite seed catalog is from Territorial Seed because they are located in Oregon where I live. They carry varieties that do well in my specific climate and I have had great success with seeds I have purchased from them. Other popular seed companies are Park Seed, Burpee Seed, Botanical Interests, and Johnny’s Selected Seeds.

Enjoy going through the catalog and dreaming about what seed varieties you want to try. Be sure to order early for the best selection.

Look through seed catalogs and make a list

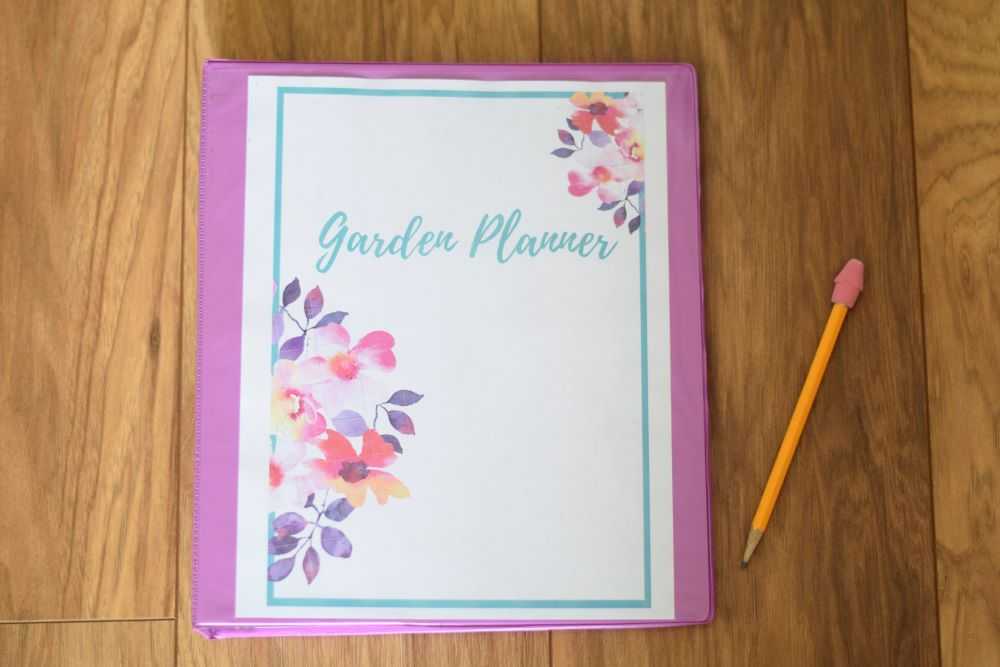
4. Start a garden journal

Having a garden journal can help you stay organized throughout the season. Keep your garden plan, plant tags, and empty seed packets so you know what you planted this year. Also keep a list of planting dates, harvest logs, and other notes that you can refer back to. Next year you can look back at what went well and what you learned.

Start a garden journal by finding a notebook that you like. I like to use a 3-ring binder so I can easily add and remove pages. Record whatever information you find the most useful. Use dividers to help keep everything organized.

Use a 3 ring notebook as a garden journal

5. Clean and sharpen gardening tools

Now is a great time to clean and sharpen your garden tools so they are ready for the season ahead. Proper care and maintenance will help your tools last longer and function better.

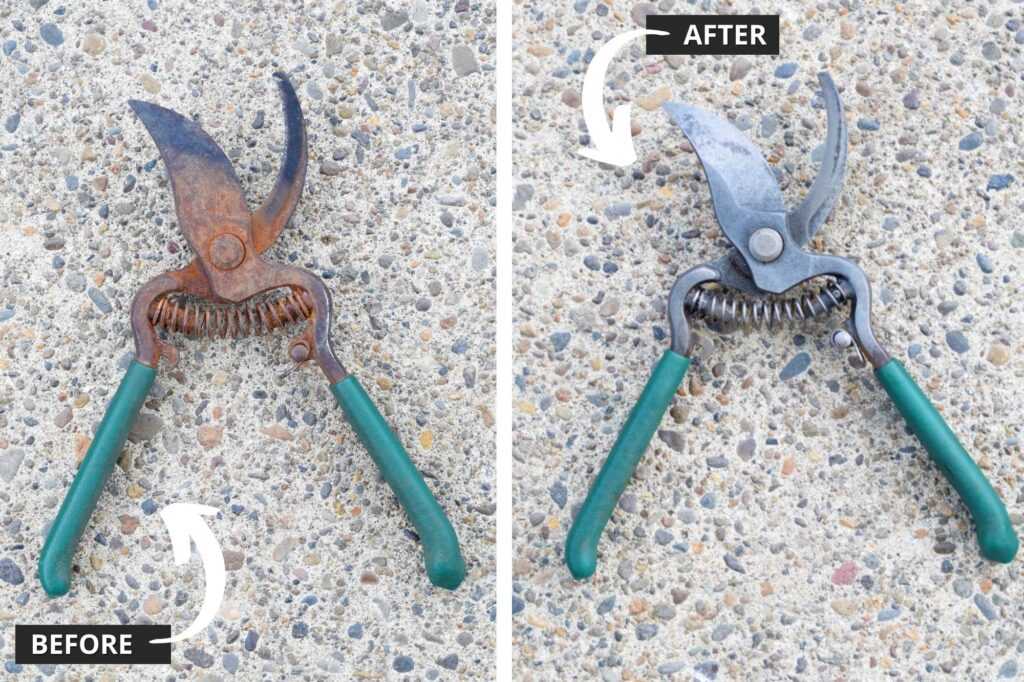
Clean your tools in soapy water and soak in vinegar to remove rust. Also sharpen your pruners, loppers, and shears. Make sure to store your tools in a clean, dry place.

Related Post: How to easily clean rusty pruners

How to easily clean rusty pruners

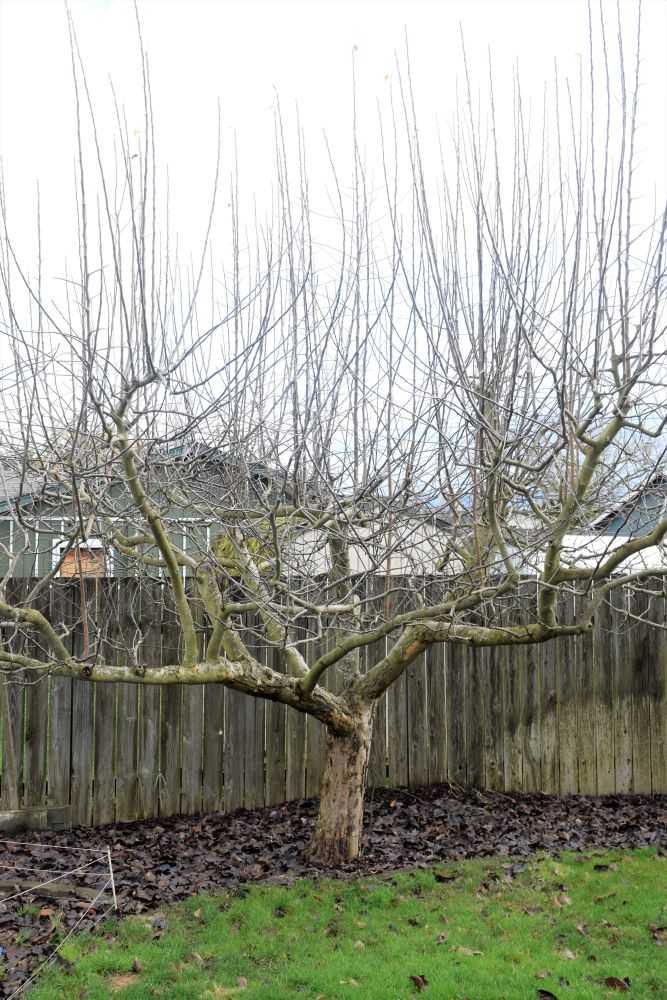
6. Start pruning fruit trees while dormant

Regular yearly pruning will help develop a strong structure so your trees can handle the load of heavy fruit. It will also help to keep the trees healthy and improve fruit quality.

The best time to prune fruit trees is in the winter months when they are dormant. Winter pruning is easier on the tree and also easier for you because you can better see the framework of the tree without the all the leaves in the way. Pruning fruit trees can be a big job, depending on how many fruit trees you have. Start early and try to finish before the buds begin to break in the spring.

an apple tree that needs to be pruned

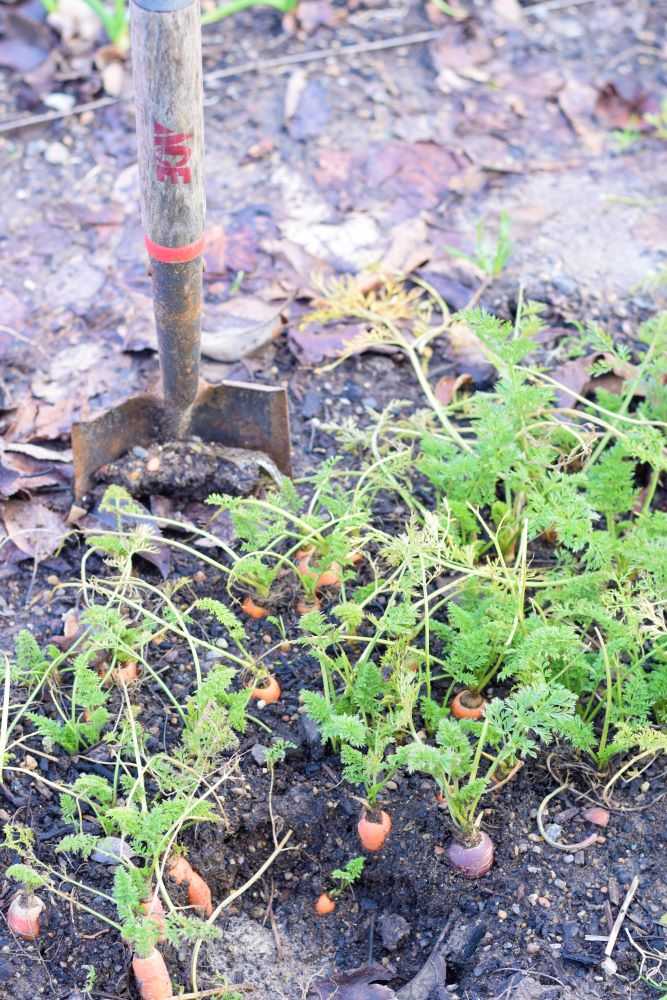
7. Harvest vegetables from your winter garden

If you have any vegetables in your winter garden continue to harvest them throughout the season as needed. Carrots, onions, beets, turnips, and other root crops can be stored in the ground and harvested throughout the winter as long as the ground temperature stays above 20-25 degrees or so. The tops will die back but the roots will be crunchy and sweet. Make sure to dig all your root crops before spring because the quality will start to decline when growth begins again.

Harvest carrots throughout the winter

Final Thoughts

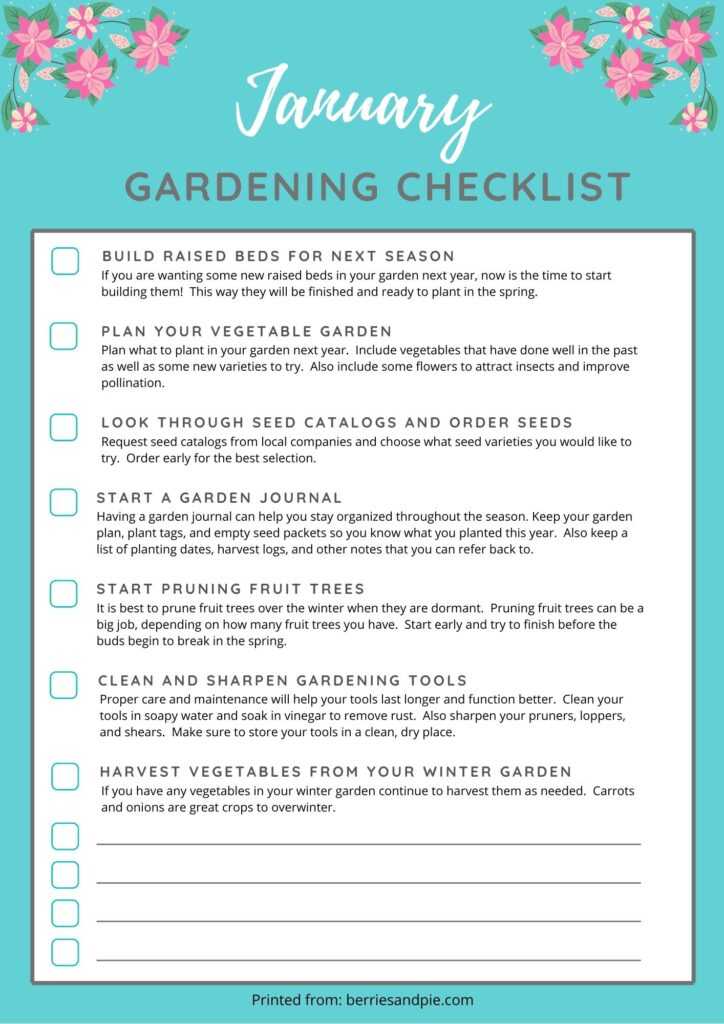
Hope you find some time to get in the garden this month! Print the checklist below to help keep you on track. There are also some blank areas so you can add your own items to the list. Happy gardening!


Free Printables:

January Garden Checklist (color version)

January Garden Checklist

January garden checklist

You may also like:

How to easily clean rusty pruners

How to Easily Clean Rusty Pruners

Orange yellow red cherry tomatoes

Cherry Tomato Taste Test

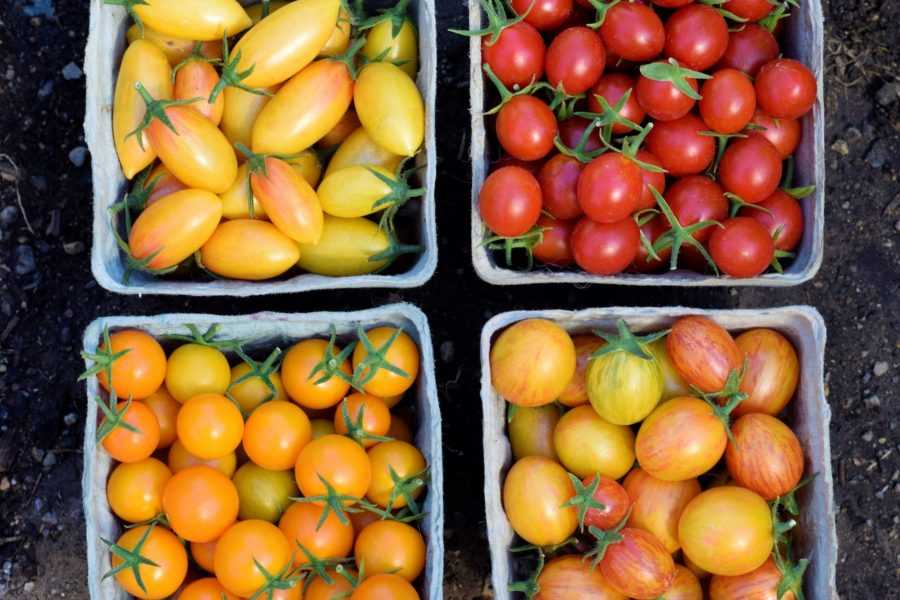
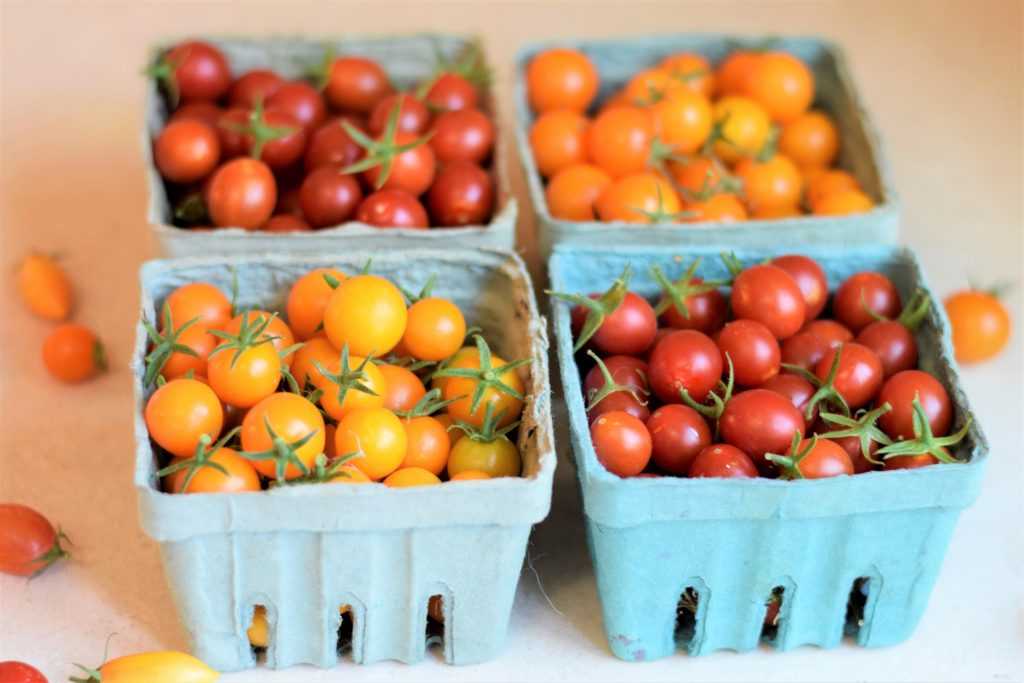
Do you enjoy trying new tomato varieties? I know I do! Each year I plant some new varieties as well as some old favorites. I only have room comfortably in my garden for two cherry tomato plants, but I bought some extra tomato plants this year and squeezed them in 🙂  Now they are producing more tomatoes than we can eat!  Read on to learn my thoughts on this year’s crop.

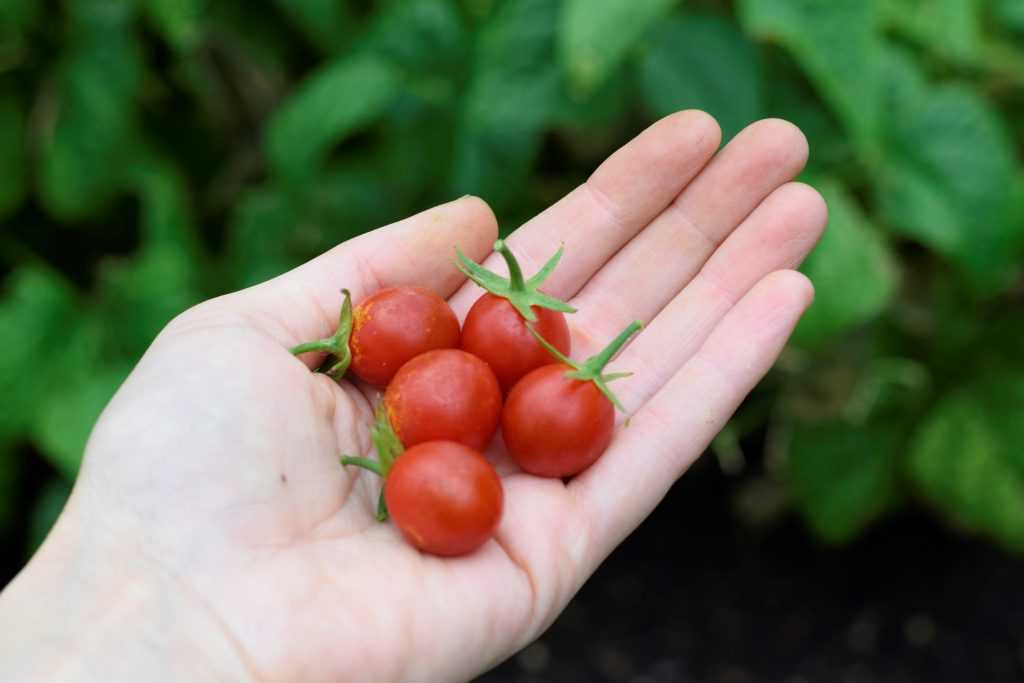
Sugar Rush

Sugar Rush red cherry tomatoes held in hand
Sugar Rush tomato
My Rating5/5 stars
TypeIndeterminate
ColorRed
ShapeGrape
Days to Maturity50-55 days

Sugar Rush is a red grape tomato.  I planted it last year and had to plant it again this year because I liked it so much!  At only 50-55 days until maturity, Sugar Rush produces continually over a long season.  The flavor is bright and sweet and the tomatoes have a firm texture that “pops” in your mouth.

My thoughts – Sugar Rush is a winner!  I love how early these plants mature and the high yields they produce.  I also appreciate the firmness of the tomatoes and how they pop in your mouth.  This has been a dependable variety and I will  probably plant it again next year!

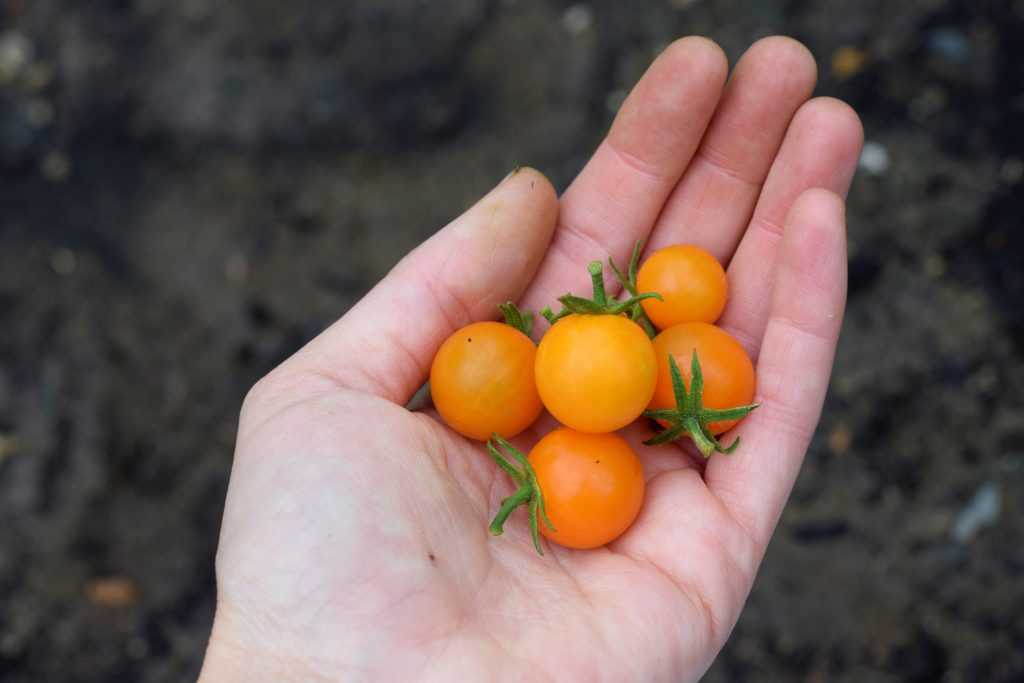
Sun Sugar

Sunsugar orange cherry tomatoes held in hand
Sunsugar tomato
My Rating4/5 stars
TypeIndeterminate
ColorOrange
ShapeCherry
Days to Maturity62 days

Sunsugar is a pretty delicious tomato!  The tomatoes have a good tartness that becomes super sweet as the fruit matures.  The tomatoes are slightly softer than Sugar Rush and seem to have better crack resistance that Sungold, which is another popular orange cherry tomato. Like Sugar Rush, Sunsugar is ready early and produces high yields over a long season.

My thoughts – I love planting both orange and red tomatoes because they look so beautiful together.  I really liked the bright flavor of Sunsugar but prefer slightly firmer tomatoes.  I will probably try something else next year.

Bumblebee Sunrise

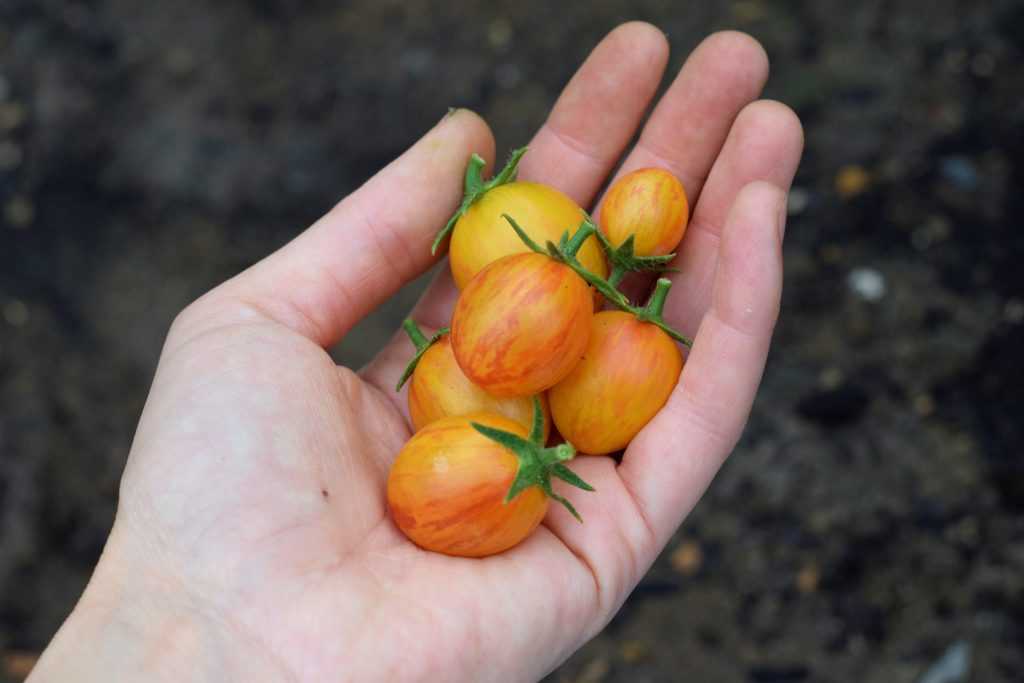
Bumblebee Sunrise small red and yellow striped tomatoes held in hand
Bumblebee Sunrise tomato
My Rating4/5 stars
TypeIndeterminate
ColorYellow with red stripes
ShapeLarge cherry
Days to Maturity68-70 days

Bumblebee Sunrise may be the most beautiful cherry tomato I’ve ever grown!  The tomatoes are a deep golden color with striking red stripes.  Bumblebee is slightly larger than the other cherry tomatoes and has an excellent tangy and sweet flavor.  However, Bumblebee takes around 70 days to mature and the plant does not seem quite as productive as other varieties I planted this year.  

My thoughts – I appreciate Bumblebee’s excellent flavor but productivity is important to me since I have limited space in my garden.  It was good to try but I will probably plant a different variety next year.  If you have plenty of space though this is definitely one to add to your list!

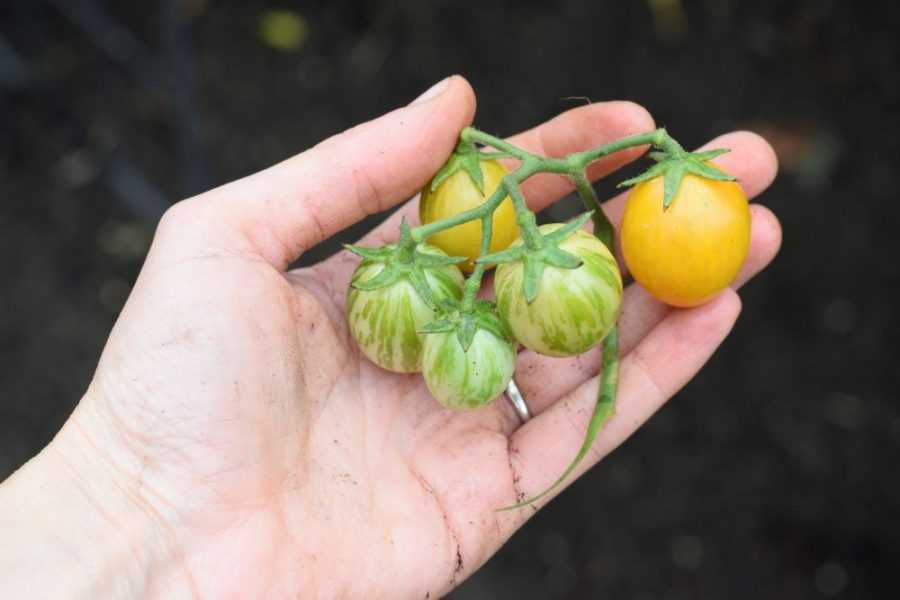
Blush

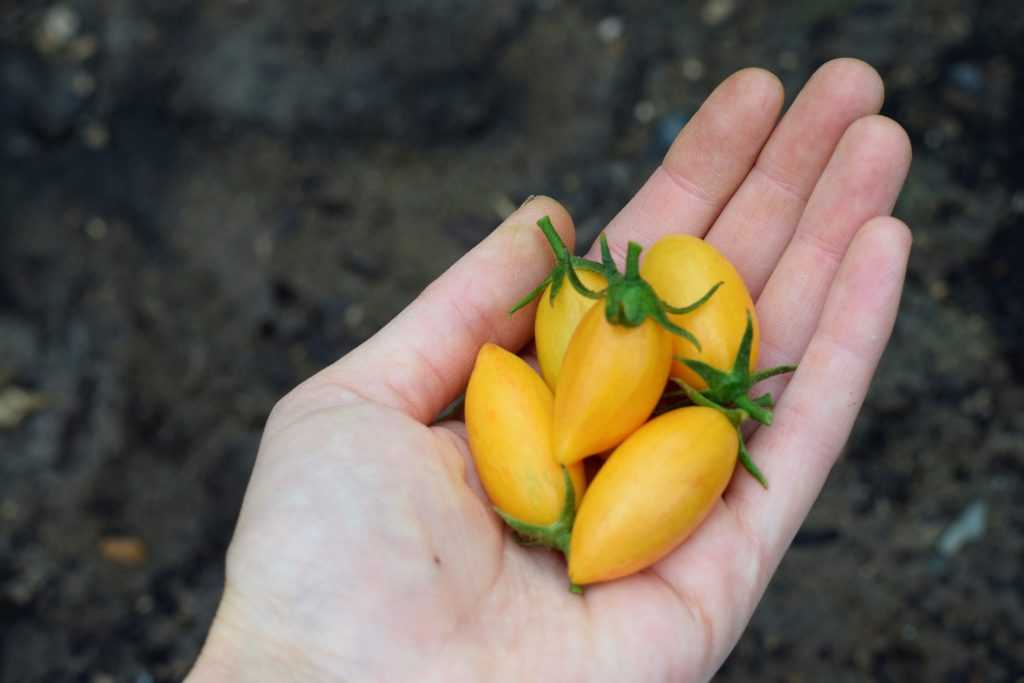
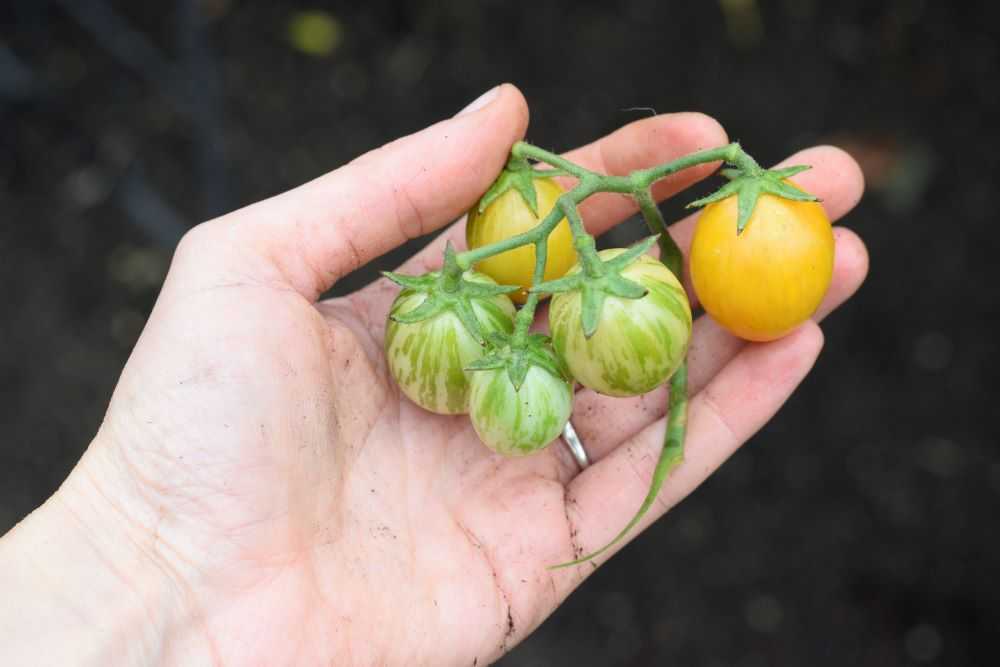
Blush yellow cherry tomatoes held in hand
Blush tomato
My Rating5/5 stars
TypeIndeterminate
ColorYellow with red stripes
ShapeElongated cherry
Days to Maturity75 days

Blush is one beautiful tomato!  It features a pink blush over a golden yellow skin.  The long oval shape of these tomatoes is rather unique and they are slightly larger than your typical cherry tomato.  Blush tomatoes have a rather thick skin, and they remain firm and do not crack.  Their flavor is sweet with a good tang.  Blush is productive but took the longest to mature of the varieties I planted this year.

My thoughts – Despite the long maturity, Blush is the one that I would find myself snacking on more than any other tomato we planted this year.  The flavor is outstanding and I appreciate their “two bite” size.  I will definitely try to plant this one again next year!

Final Thoughts

All of these tomato varieties are delicious and would be an excellent addition to your garden. That being said, the best tomato variety for you depends what you are looking for. For me I prioritize yields as well as taste. Next year I will probably try the Blush tomato again because it surprised me how much I enjoyed it. However, since Blush takes some time to mature, I will probably plant Sugar Rush as well because it is early and dependable with great flavor.

Hope you get to try some of these varieties in your garden next year. Happy Gardening!


Be sure to pin for later!

How to Plant Garlic in the Fall

The mornings are cool and the leaves are turning colors. Fall is here! And that means that it is the perfect time to plant garlic in your garden!

While garlic can be planted in the fall or the spring, I usually prefer to plant my garlic in the fall. This way it can develop a good strong root system over the winter. The garlic has a longer time to grow during cool weather which may lead to larger heads. Some people think that fall planted garlic also tastes better and has a more complex flavor.

A second reason why I usually plant my garlic in the fall is because I am usually planting garlic that I grew the previous season. By planting it in the fall so I will not have to store it as long, so the garlic is less likely to sprout early or have other issues during storage. 

This post will explain the different types of garlic and how to plant it step-by-step. Let’s get started!

Related Post: Why Garden Planning Starts in September

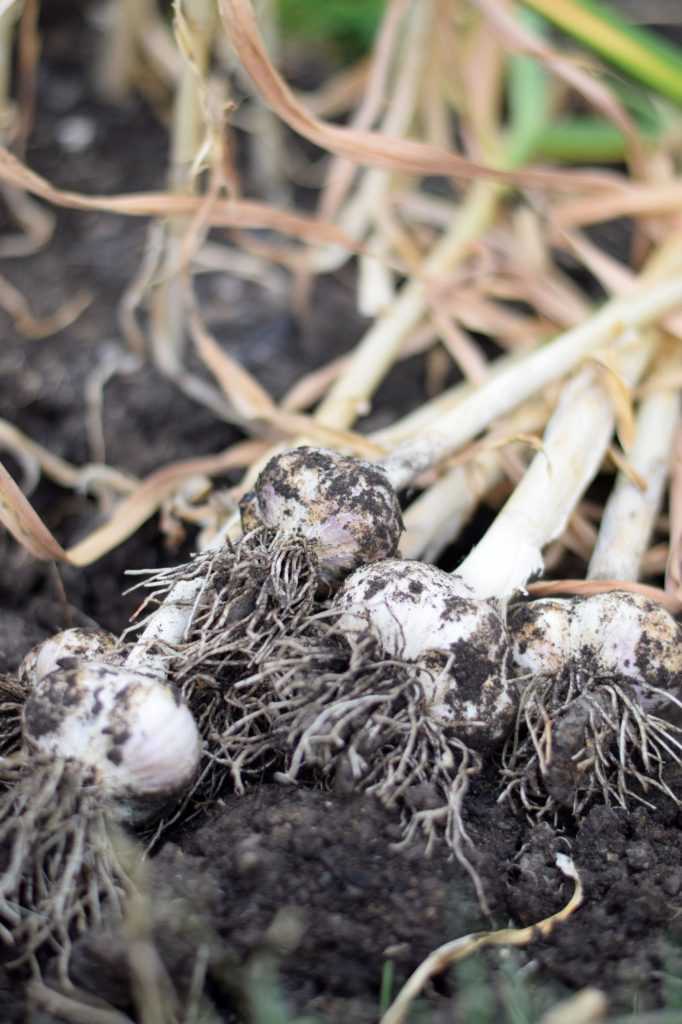
freshly dug garlic

This post may contain affiliate links, where I earn a small commission from qualifying purchases. I only provide links to products that I use personally and recommend highly.

When to Plant Garlic

Garlic should be planted in the late fall before the ground freezes for the winter. October through early November is the ideal time. It is best to err on the side of starting it too late rather than too early because too much top growth could make it more susceptible to winter injury.

What Type of Garlic to Plant

Make sure that you purchase garlic from a seed company rather than the grocery store. Grocery store garlic may be sprayed with chemicals to prevent sprouting, and it is not guaranteed to be free of disease.

There are two main types of garlic to choose from: hardnecks and softnecks. We will go through the differences below.

Hardneck Garlic

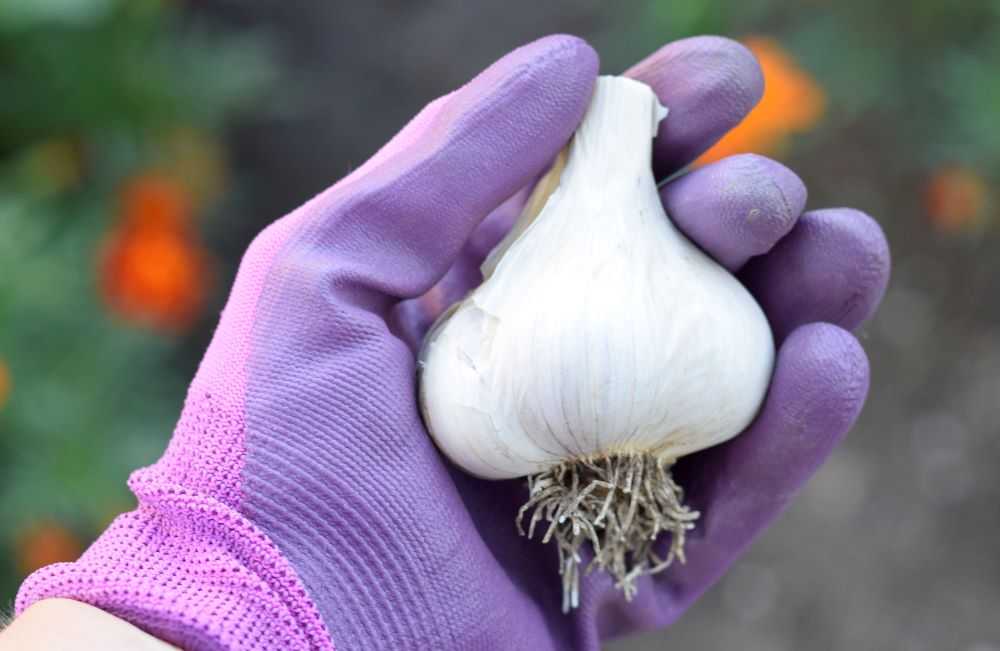
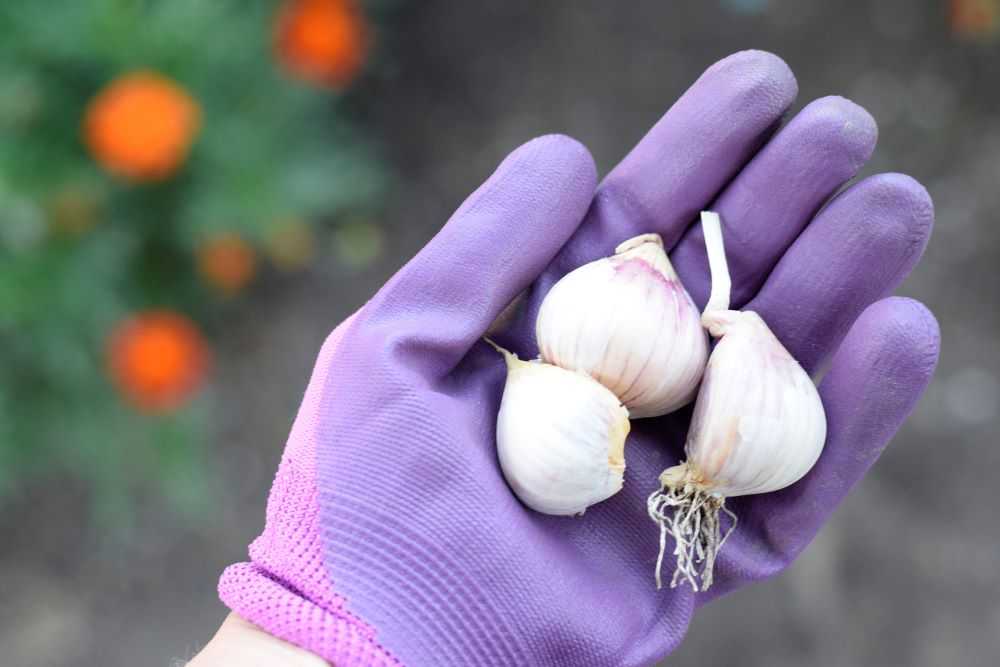
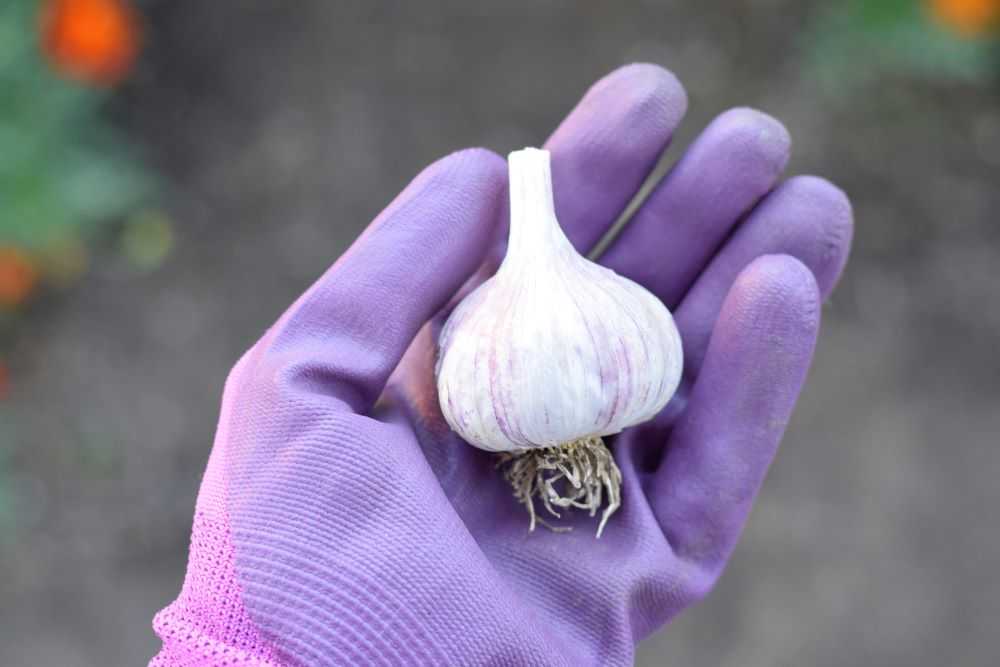
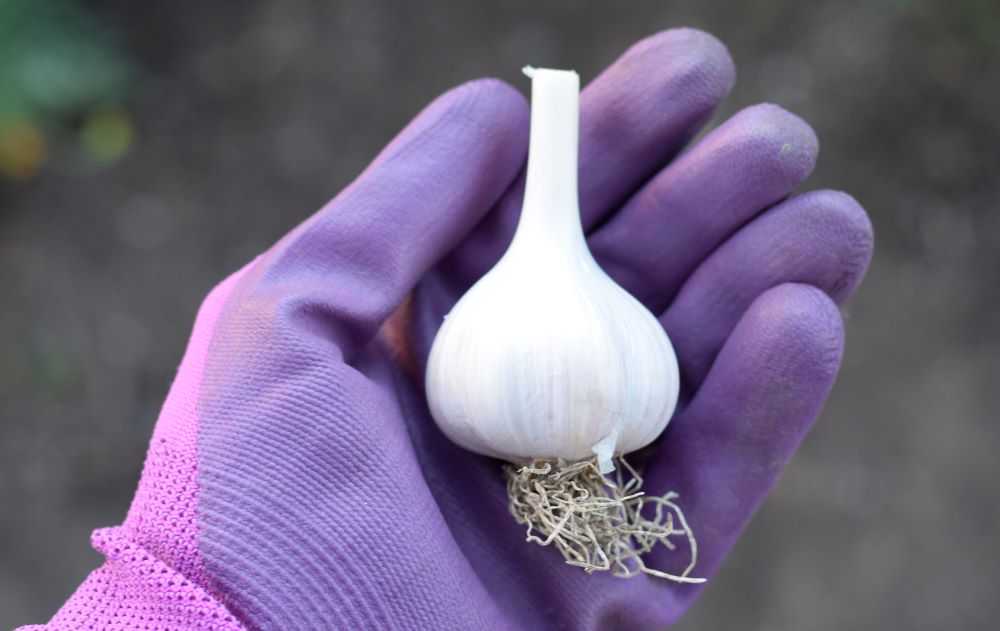
Hardneck garlic has one row of cloves around a stiff woody stem. The cloves are generally larger and there are generally 6-8 cloves per head. Some people think the flavor of hardneck garlic is superior to other types. However, hardneck garlic may not keep as well as softneck types and it is generally less hardy in warmer climates.

Hardneck garlic has one row of cloves around a stiff woody stem.

Popular hardneck varieties include: Music, German Extra Hardy, Purple Italian, German Red, Purple Glazer, and Chesnok Red.

Softneck Garlic

This type of garlic has a few rows of cloves and does not have a central stem like the hardneck garlic. The cloves are generally smaller and there are around 10-20 cloves per head. Softneck garlic can be better in warmer climates and the heads keep for 9-12 months if stored properly.

Popular softneck varieties include: Inchelium Red, Italian Late, Silver White, and Blanco Piacenza.

What Type to Choose

What variety to plant is up to you! Personally I usually plant the hardneck types because the cloves are larger and easier to peel. But depending on where you live the softenecks or hardnecks may grow better. Try a few different varieties and see what you like!

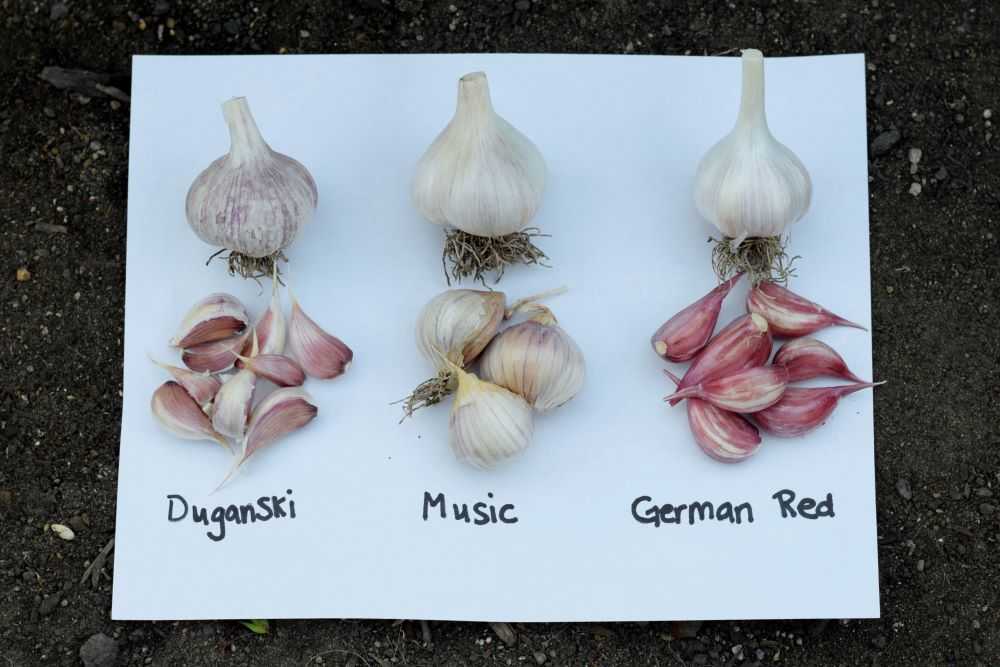
Related Post: Garlic Review: Comparing Music, Duganski, and German Red

How to Plant Garlic

Step 1: Select a Site

Garlic grows best in full sun. Choose a site that has loose, well drained soil and few weeds.

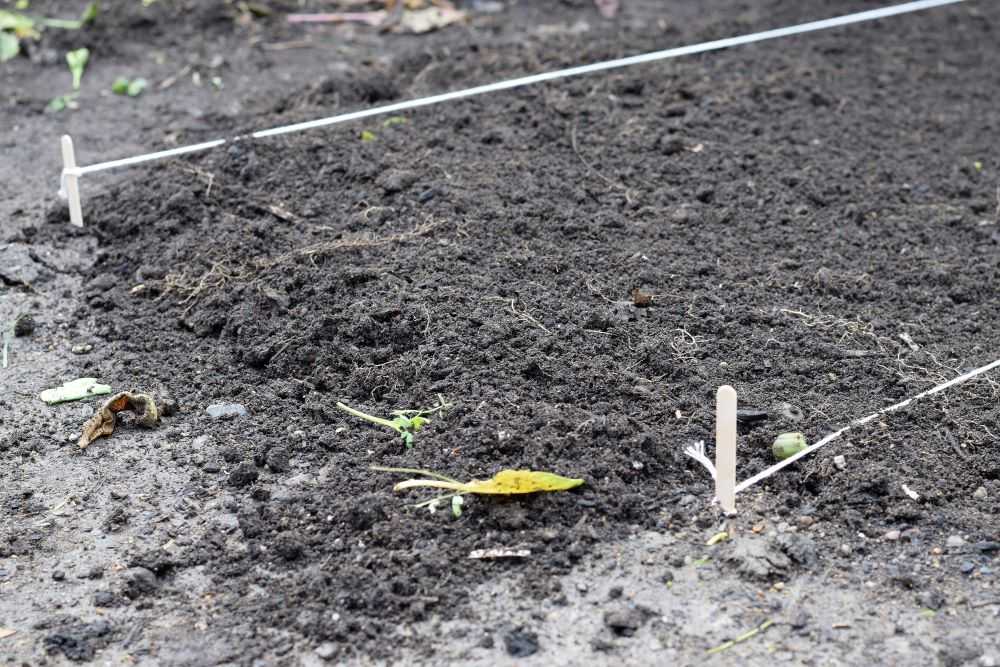
After I choose where I’m going to plant my garlic, I like to mark my rows with heavy cotton string (affiliate link) tied to popsicle sticks. This helps me to see the edges of the row so I plant my garlic in the correct place.

Mark garden rows with string or twine.

Step 2: Prepare the Soil

Garlic are heavy feeders but too much fertilizer at this point can make the plants more susceptible to winter damage. You can add a small amount of compost or fertilizer at planting time but this is not required.

If you do add fertilizer, choose one that is higher in phosphorus such as bone meal so it will help the garlic to get a good root system established. It is best to wait to add too much nitrogen until after growth starts in the spring.

Step 3: Dig a Hole

Garlic needs to be planted 3-4 inches deep. How you dig a hole for your garlic depends on how much you have to plant. If you don’t have many cloves to plant you can just dig a small individual hole for each clove and drop it in. If you are planting your garlic in rows, you can dig a long narrow trench.

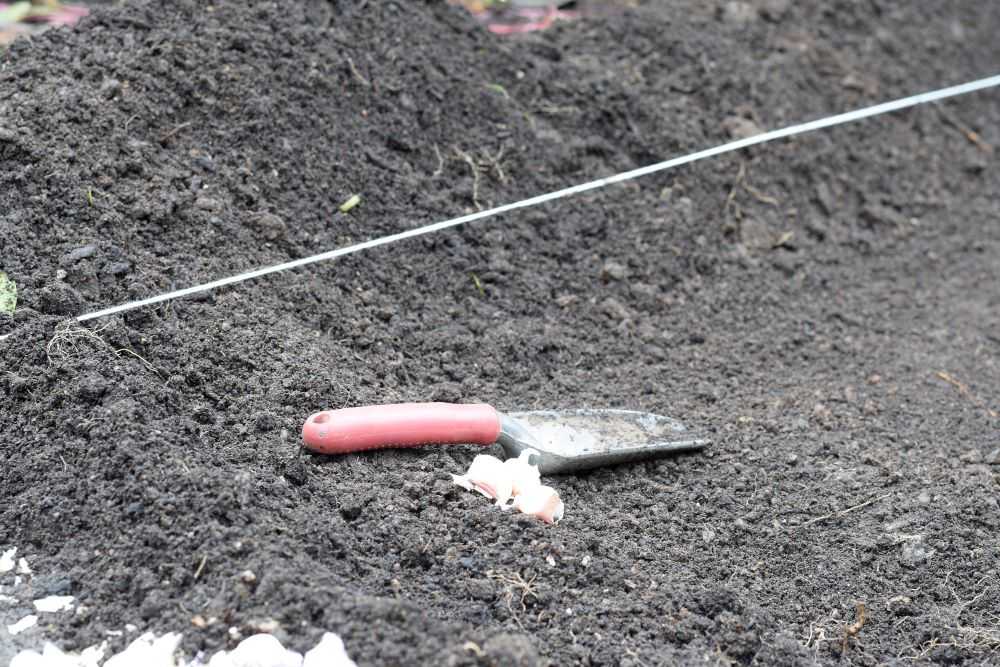
I am planting a lot of garlic this year (about 80 cloves!) so I like to plant it in a wide row about 18-24 inches wide. Instead of digging individual holes, I use a rake to move all the soil off to the sides of the row. This way I can plant the garlic all at once.

Dig a hole for your garlic. Since I have so much garlic to plant I plant it in a wide row.

Step 4: Separate the Garlic into Cloves

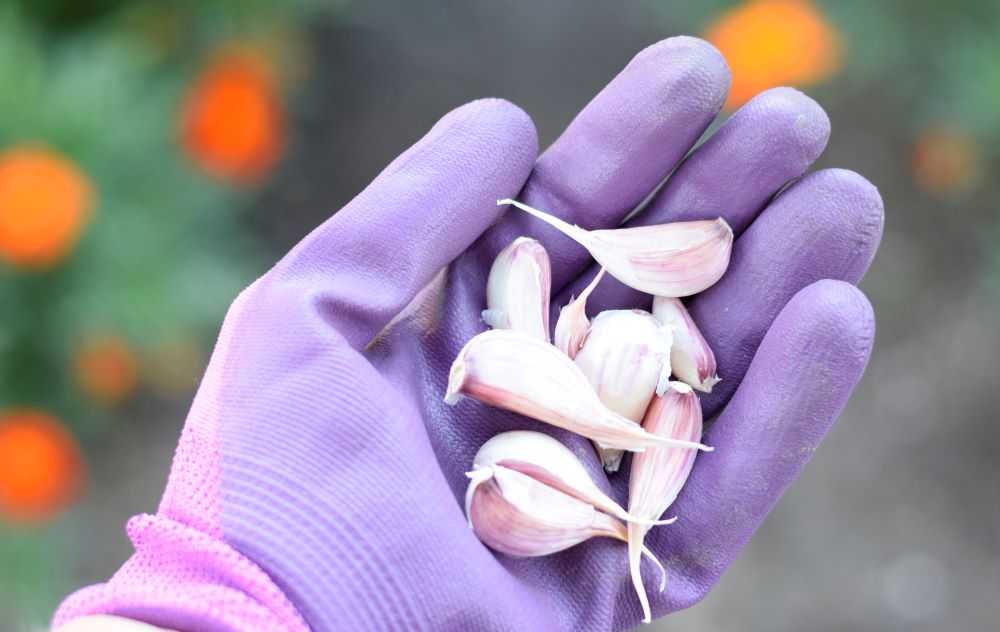
Carefully separate the garlic heads into cloves right before planting. Each of these cloves will eventually grow into a whole head of garlic. Try to keep the skins intact because they will help protect the cloves.

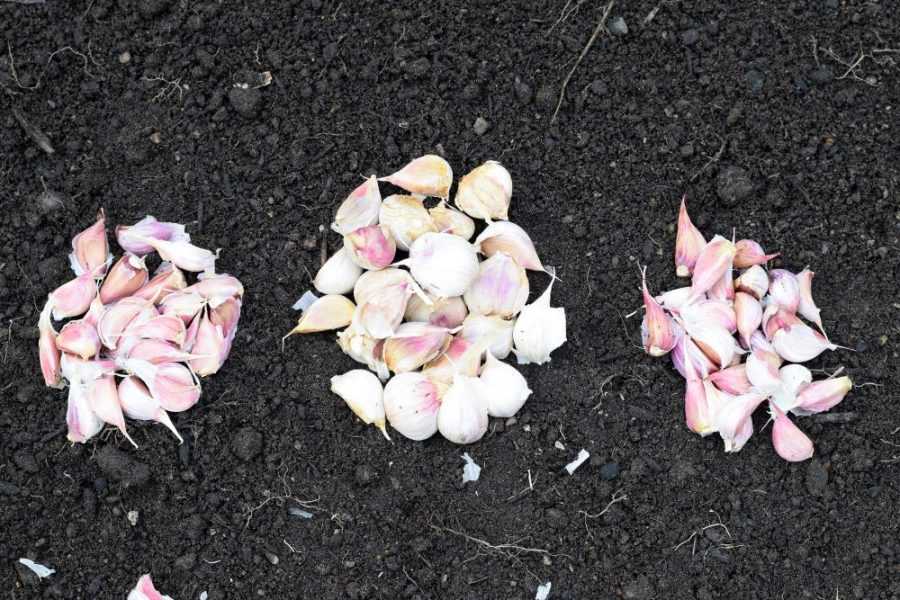
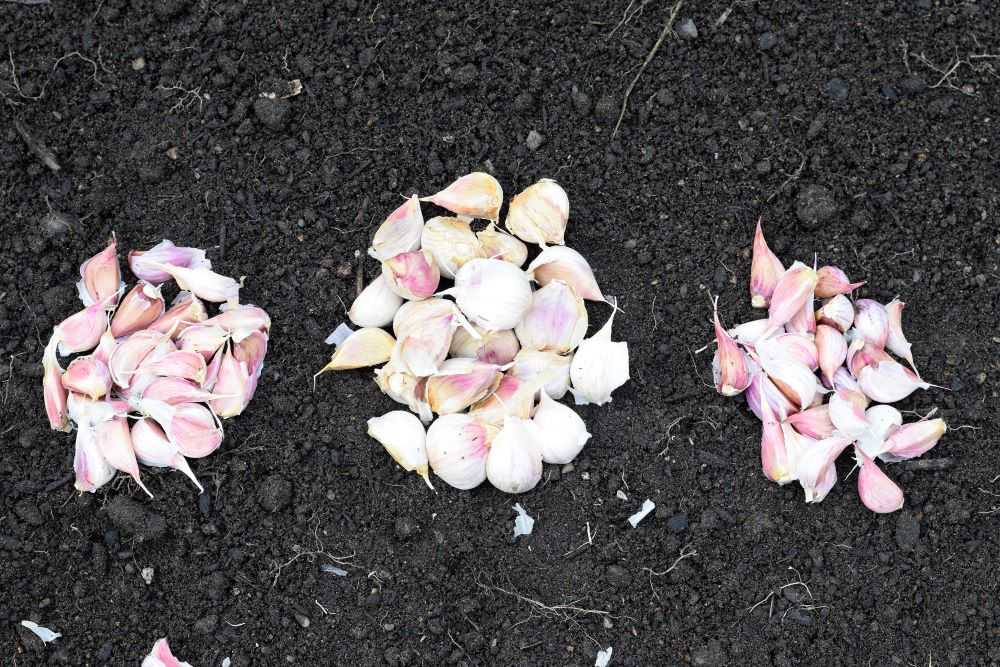
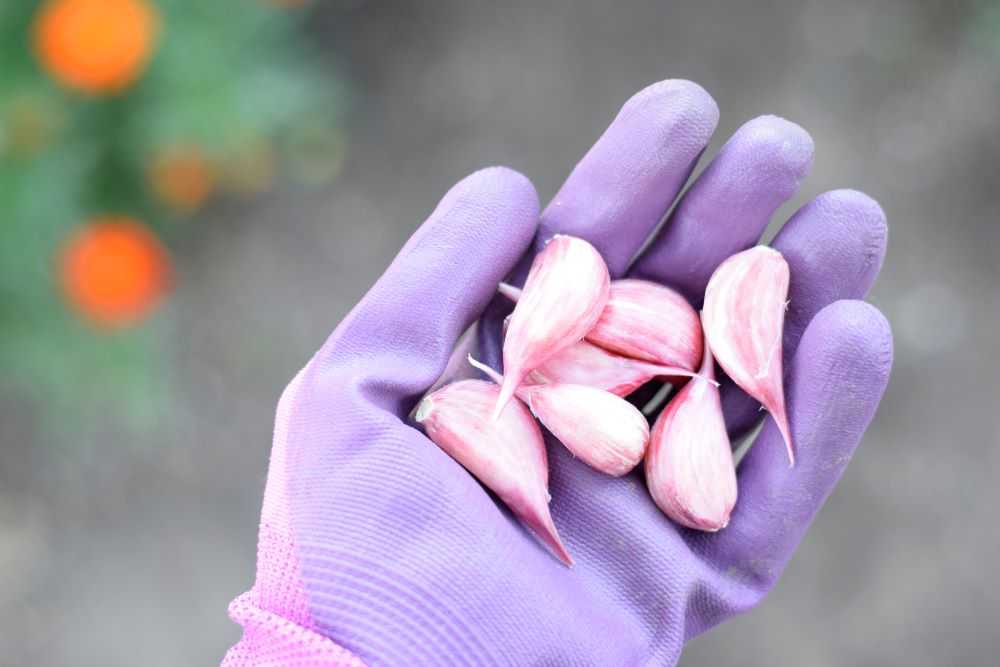
Garlic cloves ready to plant.
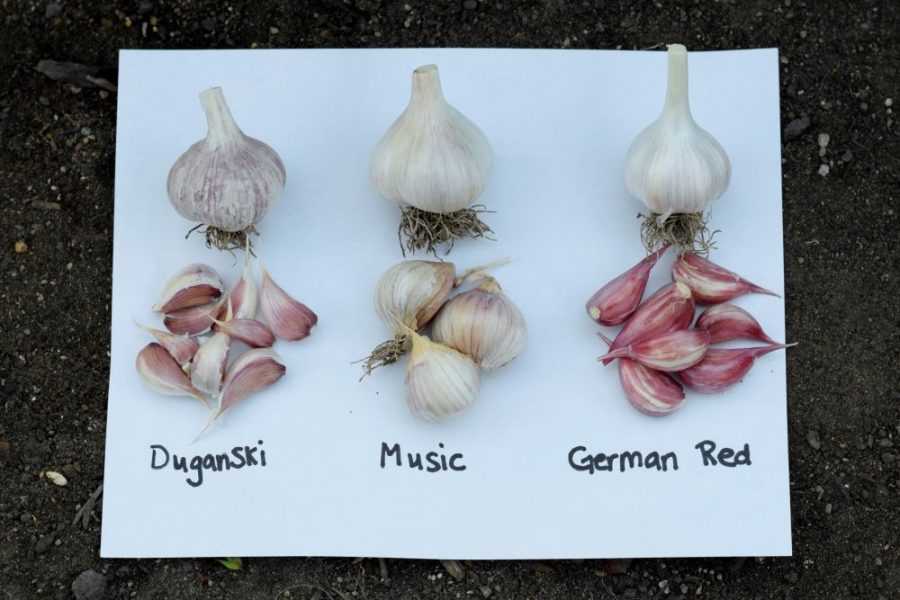
Separate the garlic into cloves right before planting. Today I am planting three varieties of garlic: Duganski, Music, and German Red.

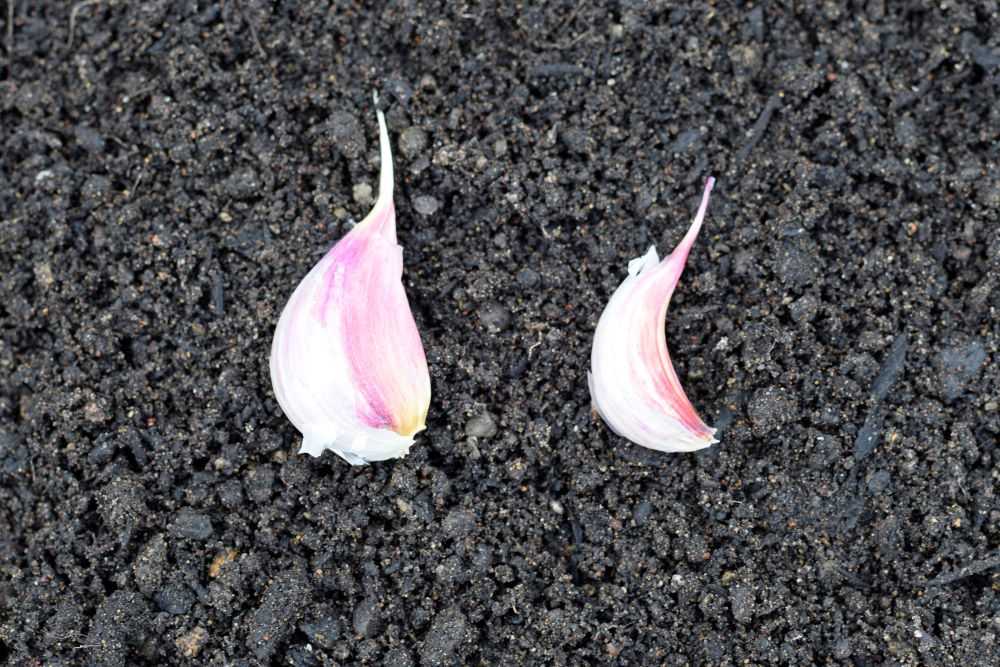
If you have more garlic than you need, select only the biggest cloves to plant and save the smaller ones for cooking. Larger cloves produce larger plants. You cannot get a big garlic plant from a puny clove!

Larger garlic cloves will produce larger plants.
Larger garlic cloves produce larger plants. After I have separated all of my garlic cloves, I select the biggest to plant. I will save the smaller cloves like the one on the right to use in the kitchen.

Step 5: Plant the Garlic

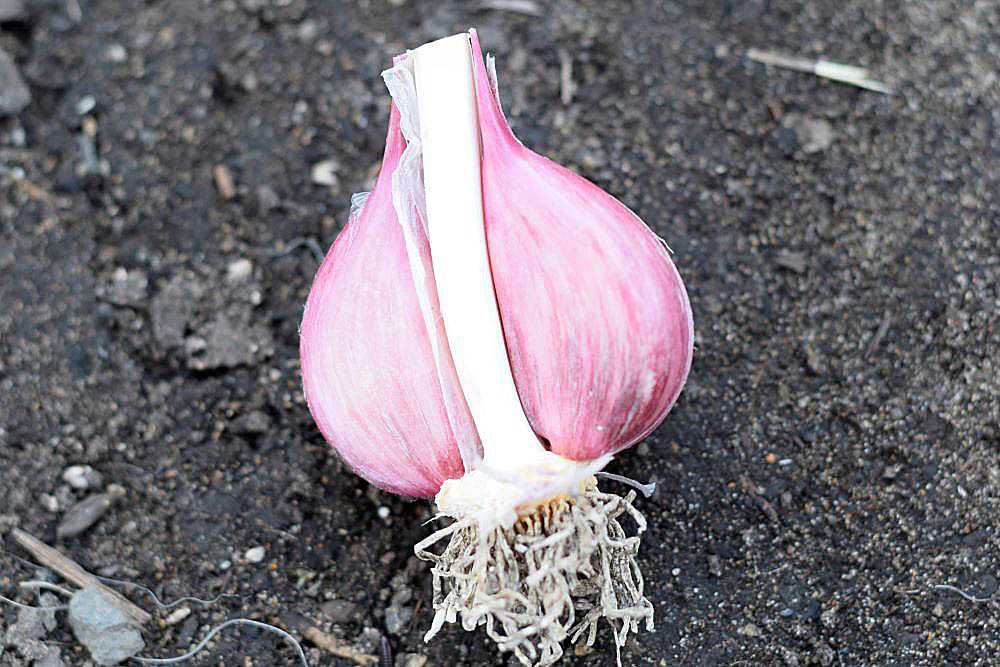
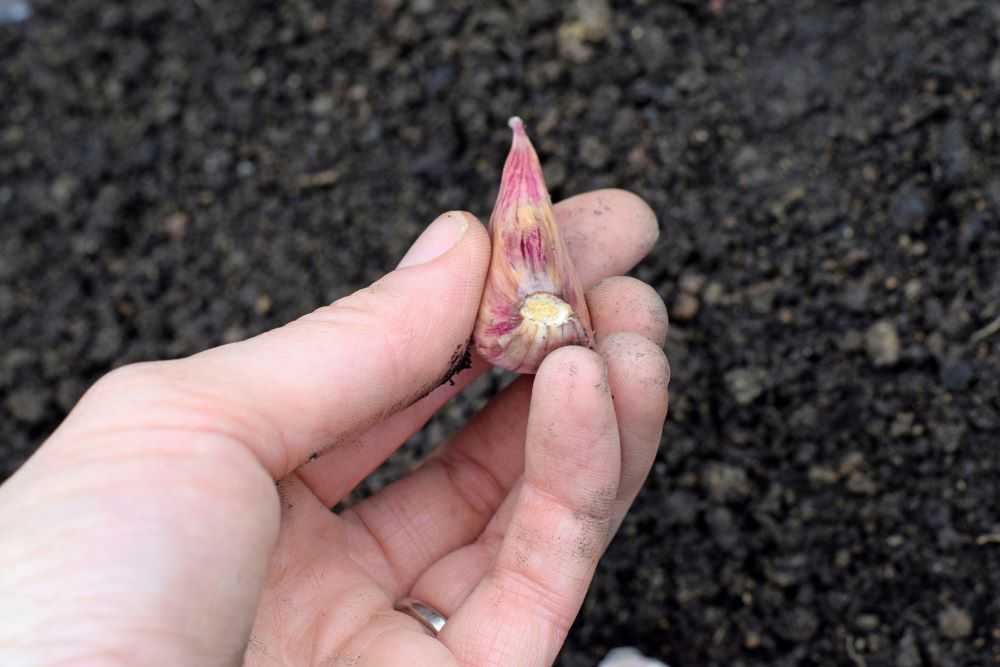
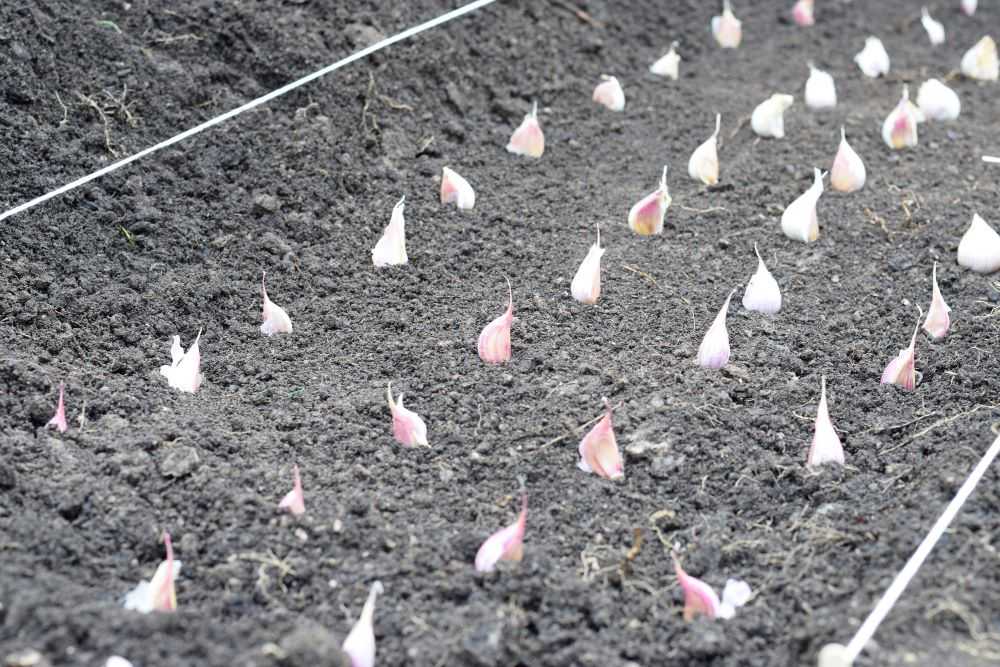
Plant the garlic cloves about 6 inches apart in all directions. Do not plant them closer than this because they will start to compete with each other for water and nutrients and not grow as big. Make sure the pointy ends of the cloves are facing upwards when you plant them.

Garlic
This flat part here will form the root so make sure it is pointing down. Plant with the pointy end up!

When all the garlic cloves are placed cover them with soil. Gently pat the soil down with your hand and water the garlic lightly. Now wait for it to start growing!

Plant garlic in rows about 6 inches apart.
Plant the garlic 6 inches apart in all directions and then cover them with soil.

Early Care

Garlic shoots should emerge in a few weeks to a few months, depending on the temperature. Water lightly because garlic does not like heavy wet soils. The fall rains will likely keep it plenty wet, and too much moisture could cause the garlic to rot in the ground if there is poor drainage.

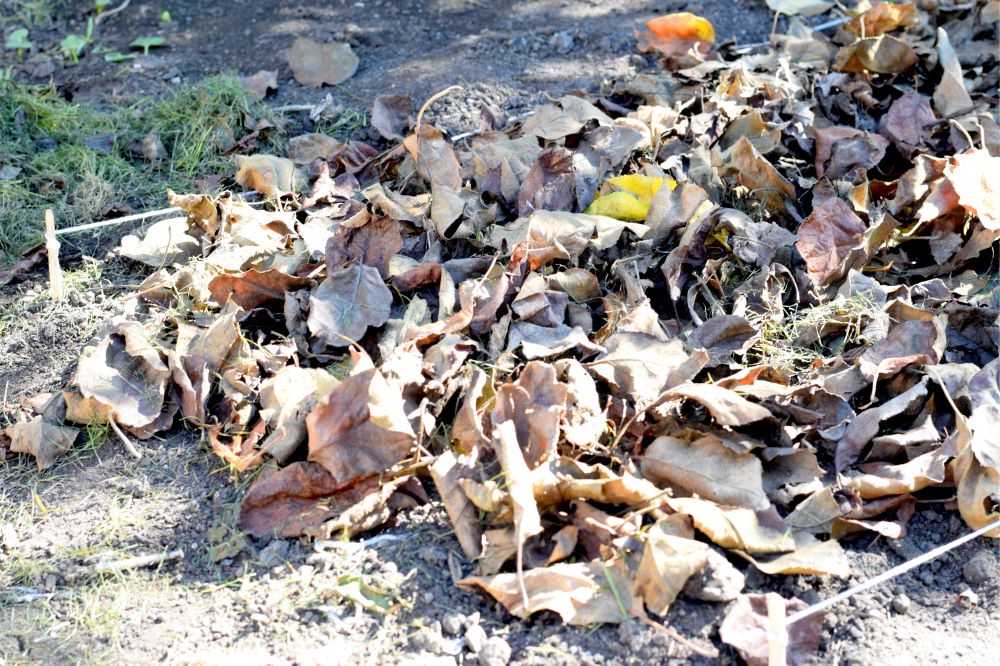
If you see green shoots appear you can add a few inches of mulch to help protect the plants against cold winter temperatures. Clean straw or leaves works well. You can pull the mulch away when the weather warms in the spring.

Add some mulch to help protect against cold winter temperatures. Clean straw or leaves works well.

Final Thoughts

There you have it! Now that you know how to plant garlic you will be rewarded with beautiful garlic plants next spring that will be ready around July. Happy Gardening!


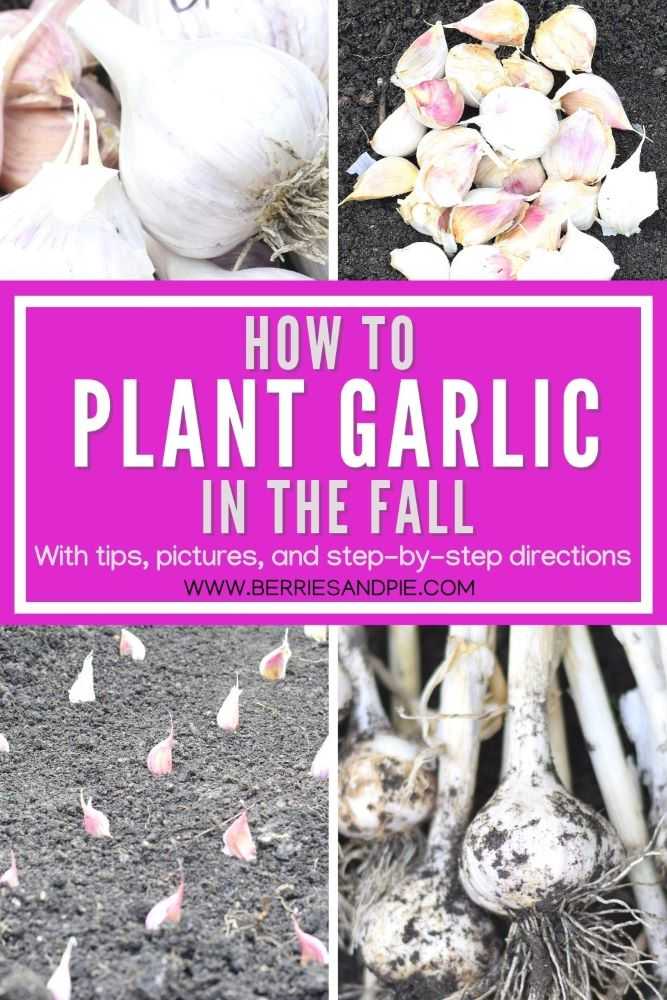
Don’t forget to pin for later!

Garlic Review: Comparing Music, Duganski, and German Red

My garlic adventure started two years ago when I planted a few cloves of Duganski garlic that I bought on a whim the store. Isn’t garlic all the same? I thought. Why am I bothering to grow my own?

Then I tried the homegrown Duganski garlic in my favorite garlic roasted green beans and I was hooked. The garlic was so much more flavorful than the generic white garlic at the grocery store! And it also had bigger cloves, which meant less peeling and prep work. Yay! I have been growing my own garlic ever since.

This spring I grabbed two more varieties to try: Music and German Red.  I am excited to share my thoughts with you!

Duganski, Music, and German Red garlic

Garlic Varieties

All three varieties of garlic I planted this year are a type of hardneck garlic.  This means that there is a single row of cloves around a hard, woody stem. 

Hardneck garlic has a single layer of cloves around a hard woody stem.
Hardneck garlic varieties have a single layer of cloves around a hard, woody stem.

I prefer hardneck varieties because they generally have great flavor and larger cloves.  There are few things I dislike more in the kitchen than peeling puny garlic cloves!  Here is a summary of the three types I planted this year:

Music

Music is a porcelain type hardneck garlic and it has silvery white skins covering the cloves.  The heads were larger than the other varieties I planted this year. The cloves are gigantic and each head has only 3-5 cloves. 

Duganski

Duganski is a purple stripe variety and has very pretty outer skin.  It has 8-9 cloves per head.

German Red

German Red is rocambole type hardneck garlic. The skin covering the cloves is a beautiful deep red color.  It has 5-7 cloves per head.

Taste

All three garlic varieties have a great garlic flavor.  When raw they all taste the same to me: super spicy!  When cooked Music seemed the most mild tasting while Duganski and German Red retained a slightly stronger garlic flavor.

My Thoughts

I really like Music because it has such large cloves.  However, I like the flavor of the Duganski and German Red slightly better, and Duganski is still my top choice for my garlic roasted green beans. Since I like variety, I will probably plant all three again next year!

How to Save Garlic for Planting

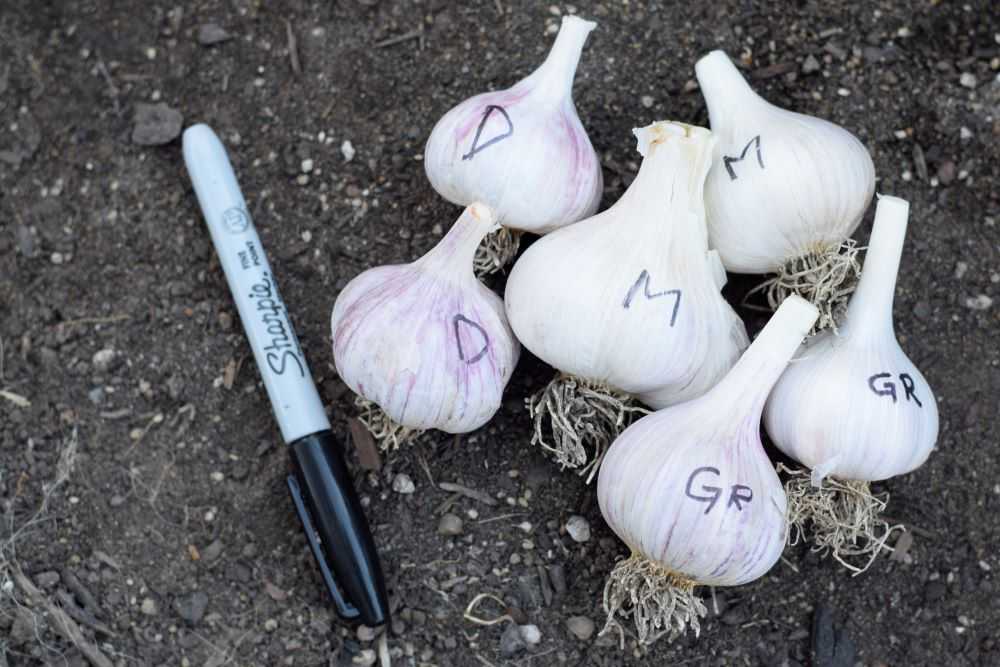
Make sure you save some of your garlic to plant in your garden next year!  After you dig your garlic let it dry for at least a couple of weeks.  Then cut the stems off a little ways above the bulb.  Since I have three varieties of garlic, I use a Sharpie to label the different varieties right on the bulbs.  Keep your garlic in a dry place until you are ready to plant it, either in the fall or in the spring. I place mine in a small paper lunch bag and keep it in the garage until October, when I plant it out in my garden. More information on planting garlic is coming soon!

Label your garlic to tell them apart.
Cut the stems a little above the bulbs. Use a permanent marker to label the different varieties.

Hope you get to try one of these garlic varieties in your garden next year. Do you have another favorite type of garlic? Let me know in the comments below! Happy Gardening!


Be sure to pin for later!

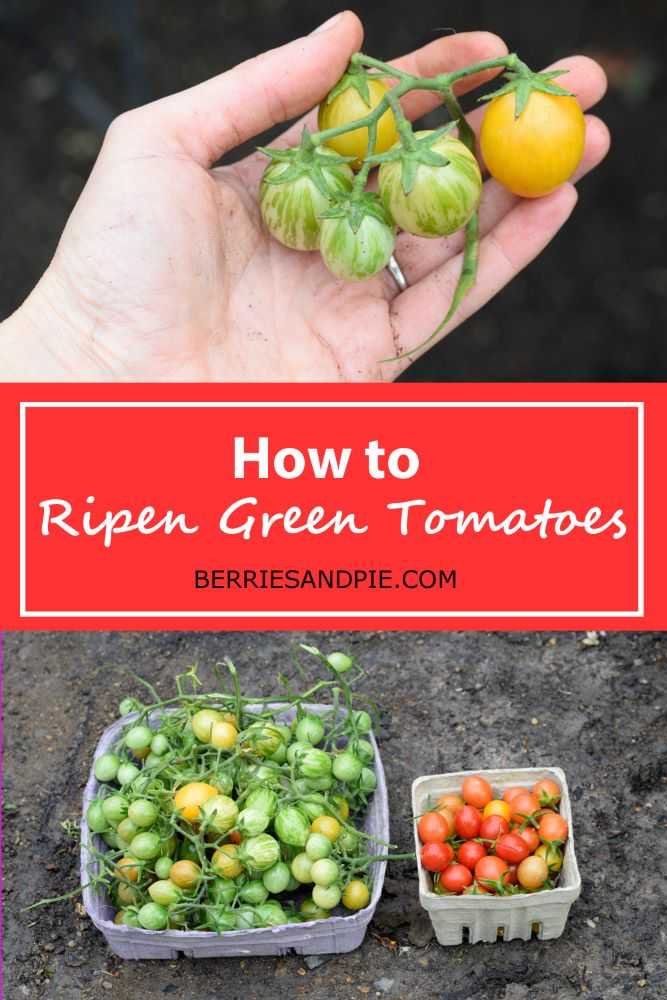
Extending the Harvest: How to Ripen Green Tomatoes Indoors

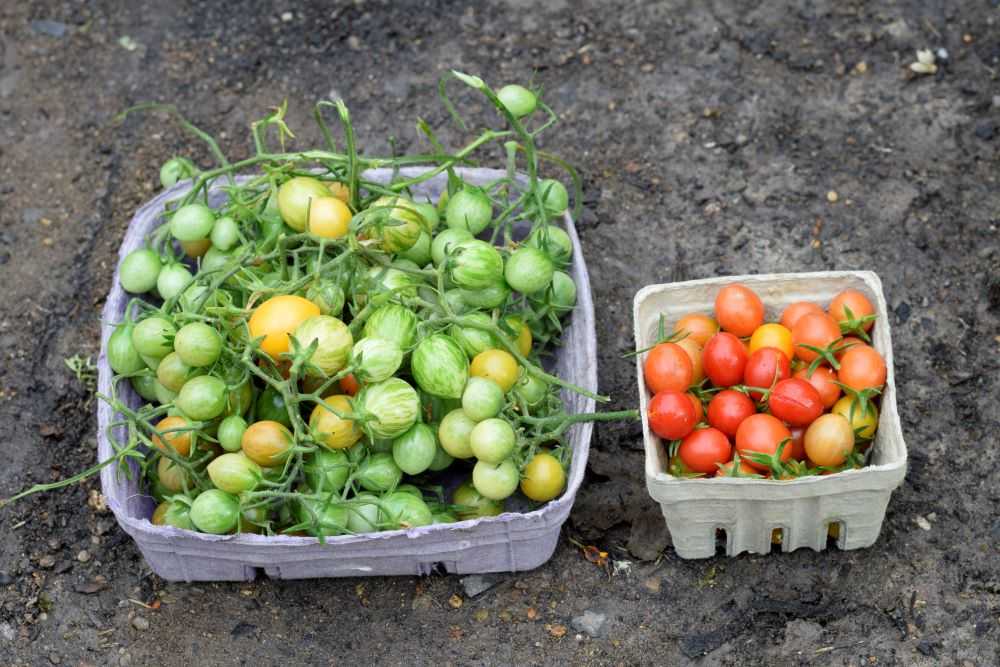
Today was a sad day. This afternoon I took out the cherry tomato plants from our garden. For the next nine months we will have to get our tomatoes at the grocery store, which are a sorry comparison to the beautiful homegrown vine-ripened tomatoes we have been enjoying for the past few months.

Related: Cherry Tomato Taste Test

But there is a silver lining. I was able to save some of the green tomatoes to ripen inside over the next few weeks. Read on to learn how easy it is to ripen green tomatoes inside.

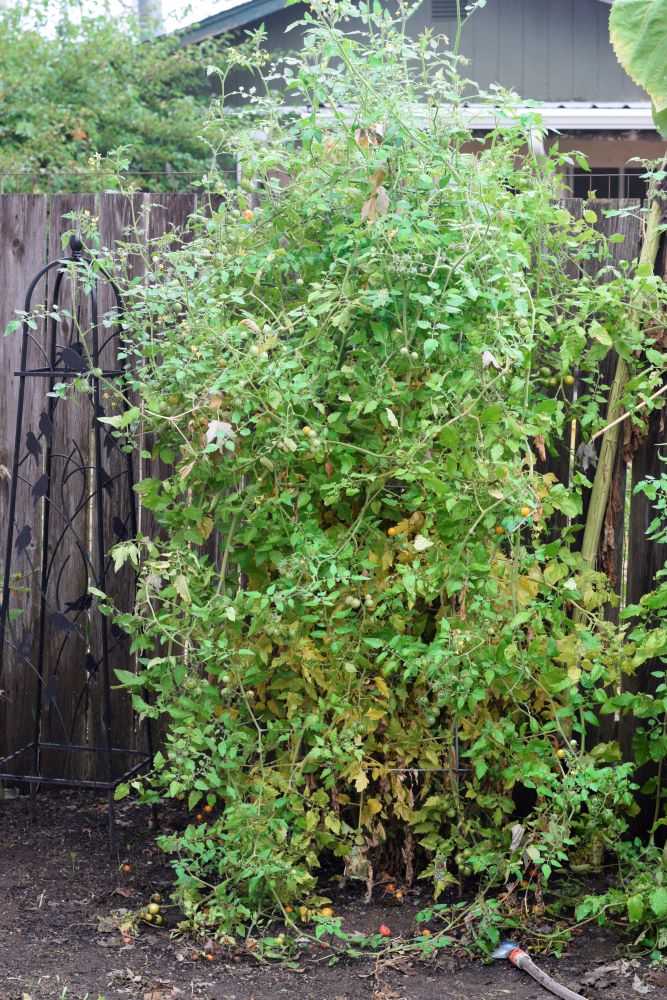
It is finally time to take out our cherry tomatoes. They grew huge this year and produced loads of tomatoes!

When to Pull Tomato Plants From Your Garden

It can be difficult to know when to finally remove tomato plants from your garden. Tomatoes like warm weather and they start ripening much more slowly in cooler weather. The bees are not as active to pollenate the flowers and production slows. While some people keep their tomatoes in the ground until frost, this may damage any tomatoes still on the plant. It is now taking several days to produce a single pint of ripe cherry tomatoes, so I decided it was finally time. Before I removed my tomato plants I picked off all of the immature fruit to ripen inside.

How to Ripen Green Tomatoes

Step 1: Pick the Tomatoes

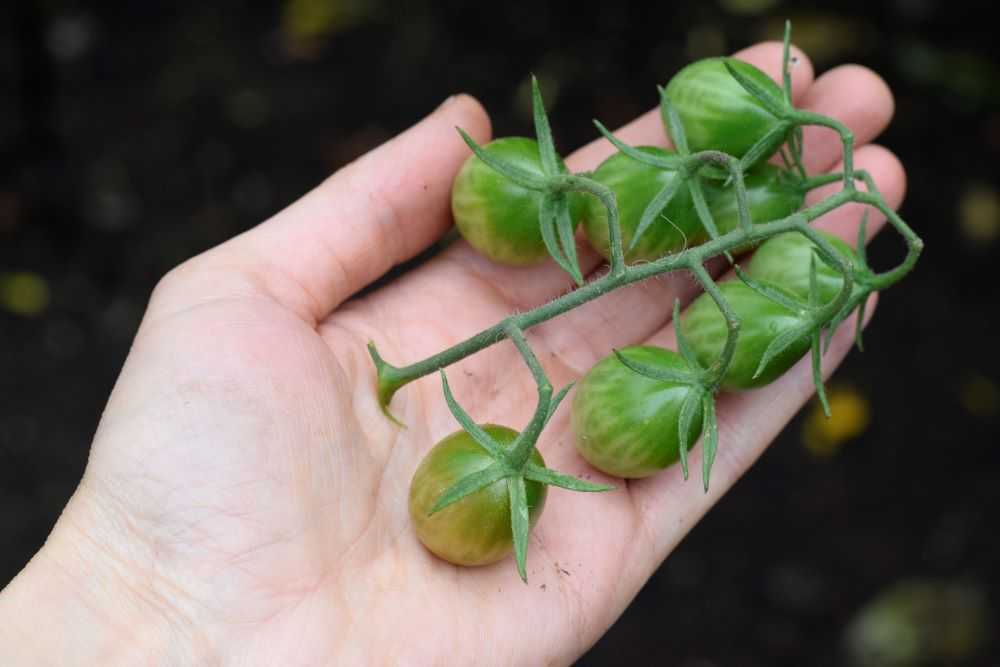
When I pick cherry tomatoes I usually keep them on the vine and pick the whole cluster of tomatoes. I do this because it will take the tomatoes some time to ripen, and by leaving the stems on they are less likely to crack. Damaged and diseased fruit will rot which may spread to other tomatoes.

Green cherry tomatoes and red cherry tomatoes
Before removing tomato plants pick clusters of green tomatoes to ripen indoors.

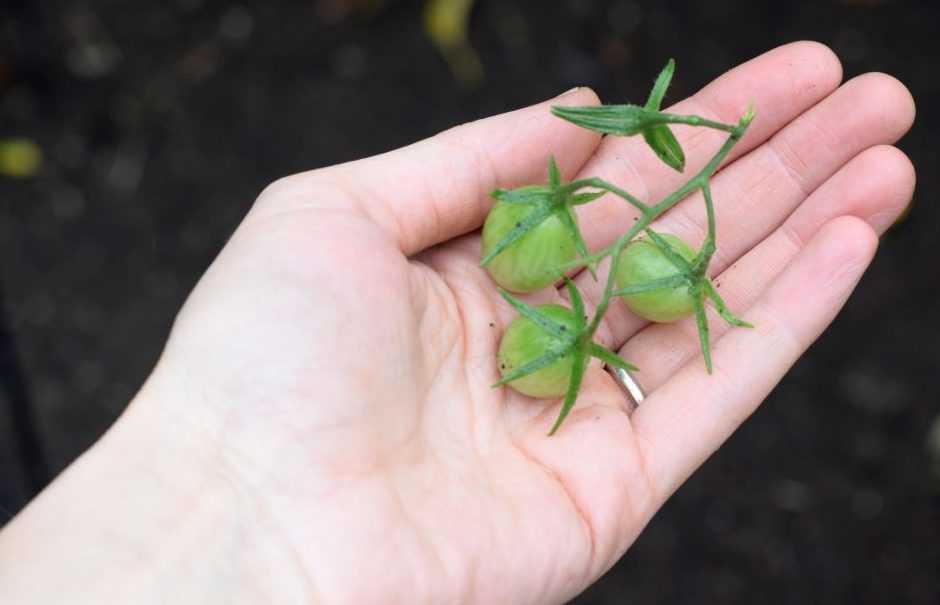
Tomatoes that are off of the vine will not grow any larger, and ones that are too green will never really ripen properly. So look for tomatoes that have reached full size and may be showing a slight bit of color. These should ripen well inside.

Step 2: Wash the Tomatoes and Let them Dry

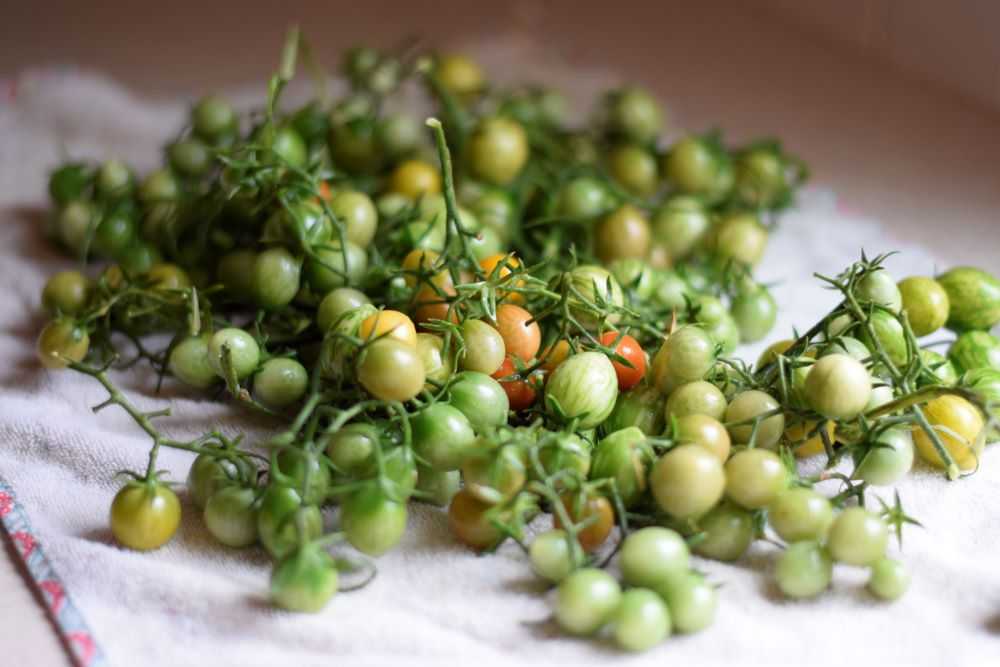
Carefully rinse your tomatoes under running water. This removes dirt that cause spoilage. Spread the tomatoes out on a clean kitchen towel to dry completely before storing.

Green cherry tomatoes drying on a towel
Rinse the tomatoes and spread them out on a clean kitchen towel to dry.

Step 3: Store the Tomatoes

Select a container to store your tomatoes while they ripe. A box or basket lined with a few paper towels works well. Spread the tomatoes out so they get good air circulation. Store them inside your house (they like warmer temperatures) and they should ripen in a week or two. If you want them to ripen more slowly you can store them in your garage or another cool place. Make sure the temperature does not drop below 50 degrees for extended periods or so because this will halt ripening altogether.

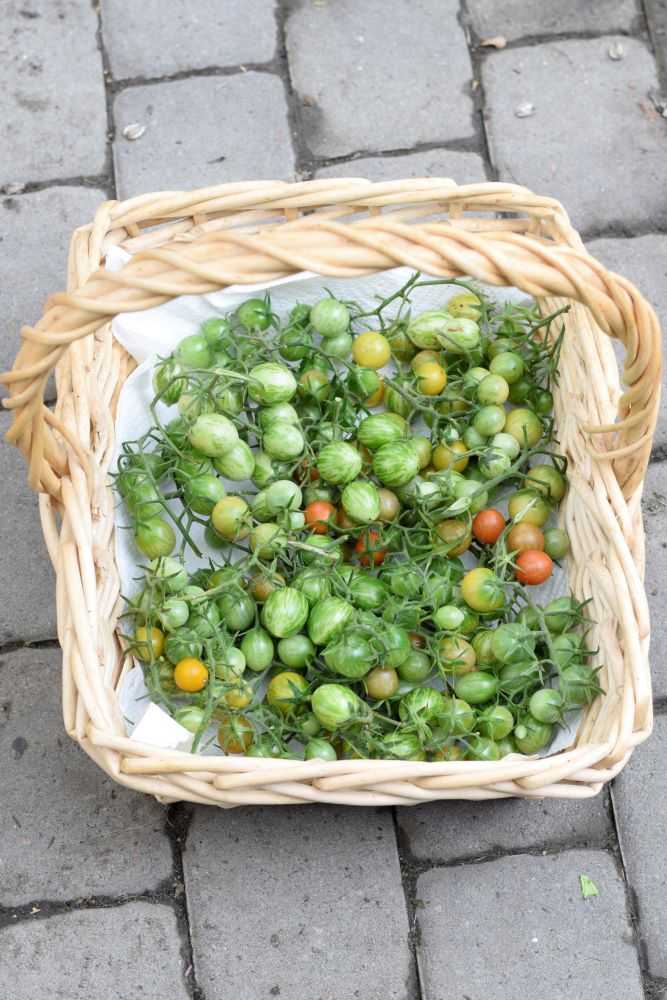
Green cherry tomatoes in a basket
Store your tomatoes in a box or basket lined with paper towels. Spread them out so air can circulate.

Check on your tomatoes often and use them as they ripen. Remove any that start to go bad so rot does not spread to other tomatoes.

Final Thoughts

At least ripening tomatoes inside will prolong the season a little bit. Only nine months to go until fresh tomatoes again next year! I am already thinking of what varieties I want to plant 🙂

Hope you get to save some of your tomatoes to extend the season a bit. Happy Gardening!


Be sure to pin for later!

How to Overwinter Peas

I always struggle to get peas started in the spring. The weather is warm enough to plant pea seeds in March or so but the soil is so wet the seeds often rot. Then I have to replant the peas and the snails eat them. Or the birds. Yes, birds. They pick at the tendrils and chop the leaves to pieces. It’s annoying. And it often kills the whole plant and I need to start over completely.

Now I have a new method for getting my peas started. I plant them in the fall and overwinter them. This solves many of my problems. Since the soil is not so wet the seeds get off to a good strong start. And by spring the plants are big enough to withstand a bird or snail here and there. Read on to learn how easy it is to overwinter peas for an earlier spring harvest.

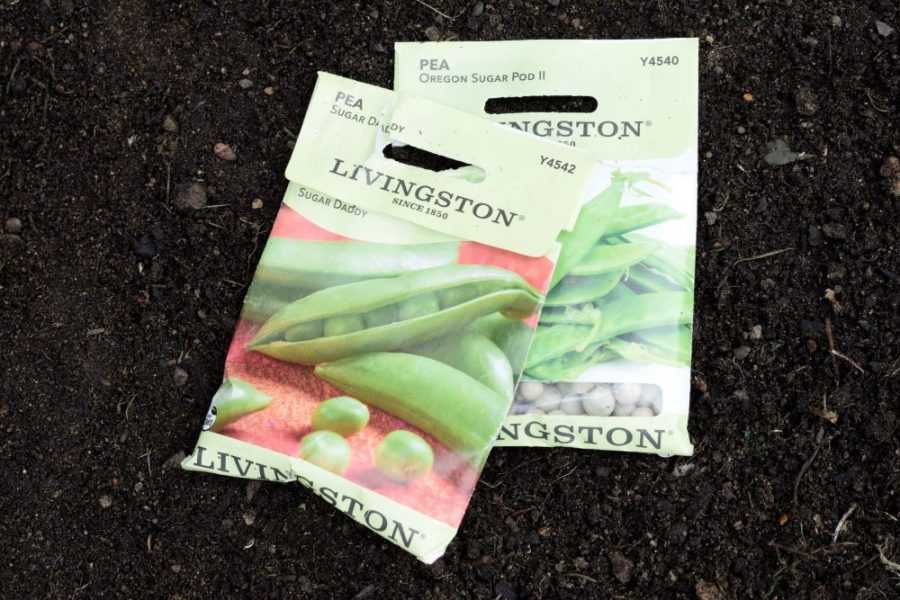
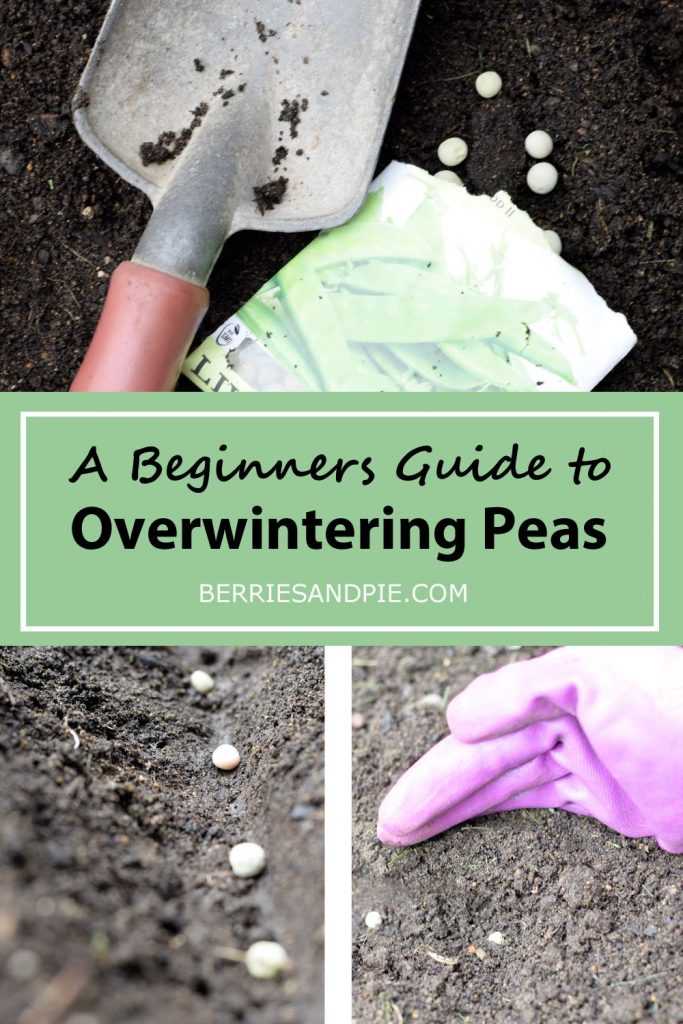
Pea seed packets in the dirt.
Late September or October is a great time to plant peas to overwinter!

Pea Plant Hardiness

Peas are hardy down to about 20 degrees, and colder if covered with an insulating layer of snow. Overwintering peas will not work in all areas without additional protection but here in Oregon we rarely have temperatures cooler than this so this method works well.

Keep in mind though that once in awhile the weather will get cold enough to damage your pea plants. But the worst case scenario is that all of your plants die and you need to replant in the spring. While this is unfortunate, you are no further behind than you would have been otherwise.

When to Plant Peas for Overwintering

Peas should be planted in late September or October. The timing can be a little tricky because you want them to get established and grow to about a foot high before going dormant for the winter. They may look a little scraggly over the winter months but when the temperatures warm in the spring they will put on lush green growth!

Related: Why Garden Planning Starts in September

How to Plant Peas for Overwintering

Step 1: Select a Site

Peas grow best in the cool temperatures of early spring. Choose a site that will be in full sun with good drainage.

Although peas do not grow very tall, they seem to do better with some type of support so the plants are not flopping on the ground. There are many types of trellises to choose from. I have a folding metal trellis that works great! Get this in place so you know where to plant your seeds.

Step 2: Prepare the Soil

Peas are light feeders. Since they are able to make their own nitrogen their need for extra fertilizer is low. You can add a small amount of compost or balanced fertilizer at planting time but this is not required. Fertilizing peas with too much nitrogen will cause big healthy plants but not many pea pods.

Step 3: Dig a Trench

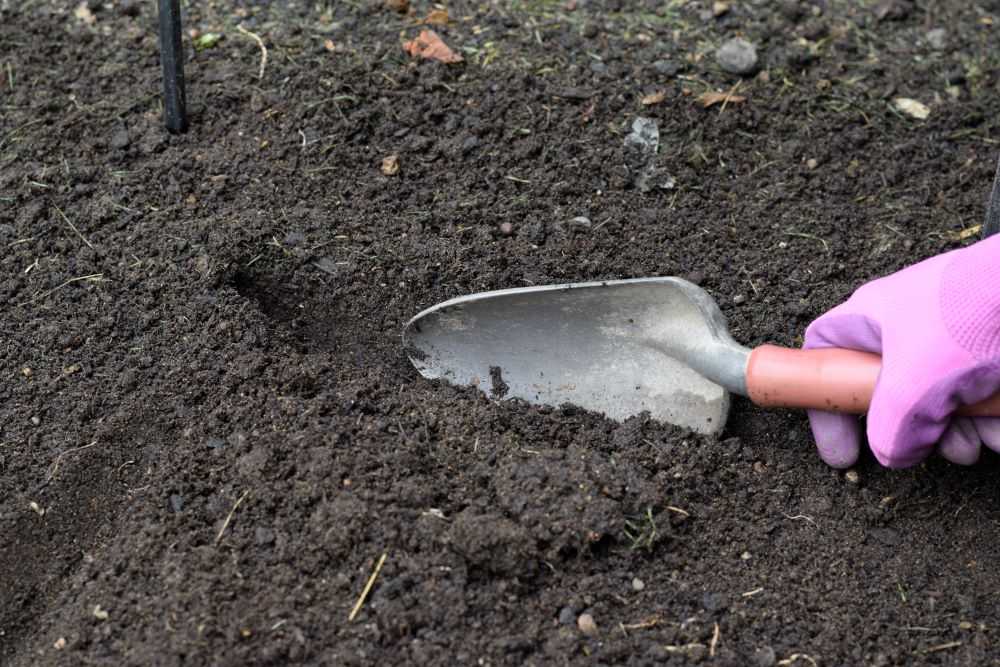
Digging a trench with a trowel.
Start by digging a trench about one inch deep.

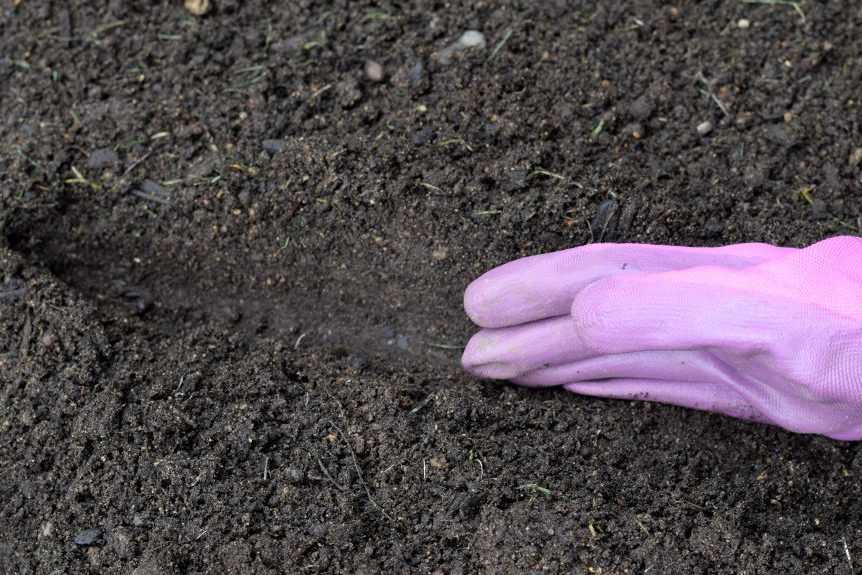
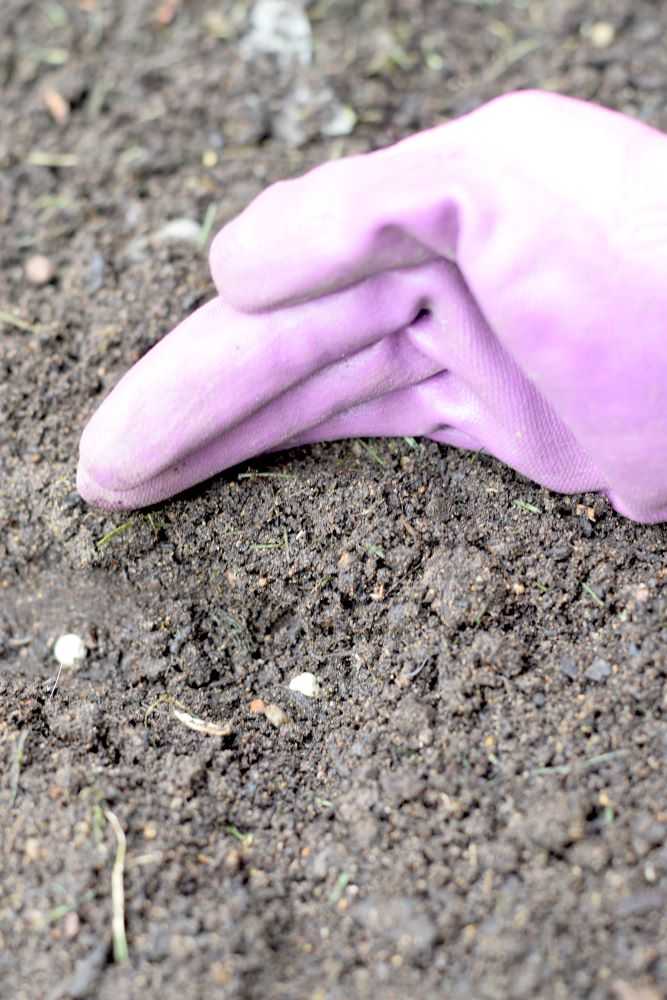
Start by digging a trench about 3-4 inches from the base of your trellis. The trench should be about 1 to 1 1/2 inches deep. Use the side of your hand to gently smooth the bottom of the trench so it is even.

Use your hand to gently smooth the bottom of the trench.

Step 4: Plant the Seeds

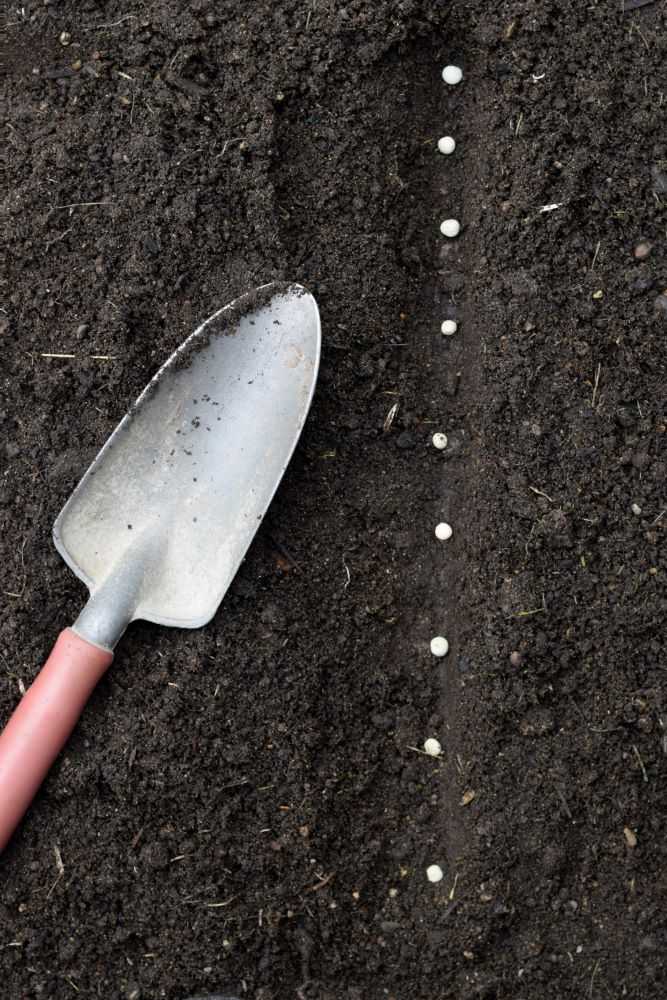
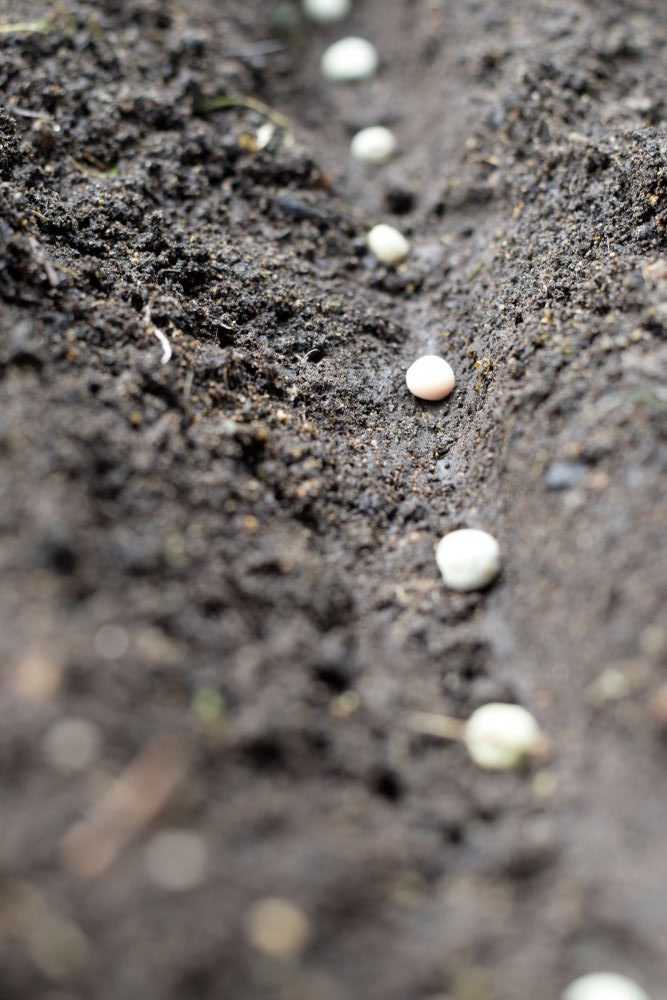
Plant your seeds about 2 inches apart and cover them with soil. Gently pat the soil down with your hand and water the seeds lightly. Now wait for them to start growing!

Planting pea seeds with a trowel.

Early Care

Peas seedlings should emerge in about 1-2 weeks, depending on the temperature. Help them find the trellis when they get tall enough. Peas like to be a little crowded so there is no reason to thin the seedlings.

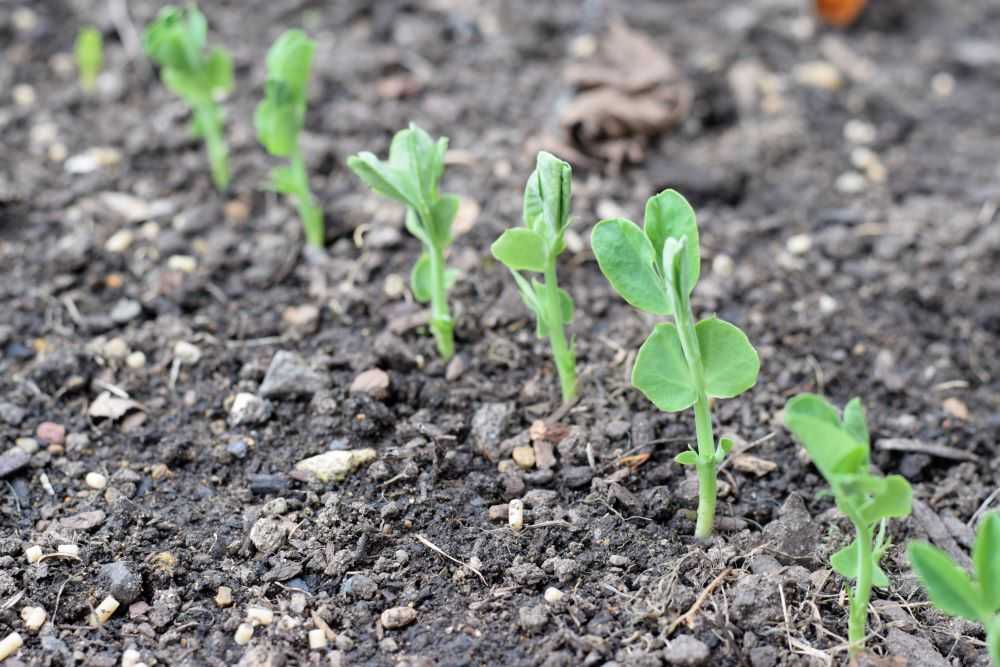
Pea seedlings.
Pea seedlings about 2 weeks after planting. Peas like to be a little crowded so there is no reason to thin the seedlings.

Water the seedlings lightly because peas do not like heavy wet soils. The fall rains will likely keep them plenty wet. Protect them from slugs and snails, especially when they are small so the snails do not kill the whole plant. If you do lose some plants you can poke a hole with your finger and add in a few more seeds.

When winter comes consider protecting and covering the seedlings if the weather gets below 25 degrees or so. If you have snow it will insulate the peas plants and protect them down to even lower temperatures. Make sure you uncover them as the weather warms because they will soon put on rapid growth!

Final Thoughts

There you have it! Now that you know how to overwinter peas you will be rewarded with strong and healthy plants and have peas well before your neighbors in the spring. Happy Gardening!


Be sure to pin for later!

Why Garden Planning Starts in September

Our garden is starting to wind down for the year.  The green beans are about done, and we just picked our pumpkins. So why am I already planning next year’s garden when this season has not yet finished?

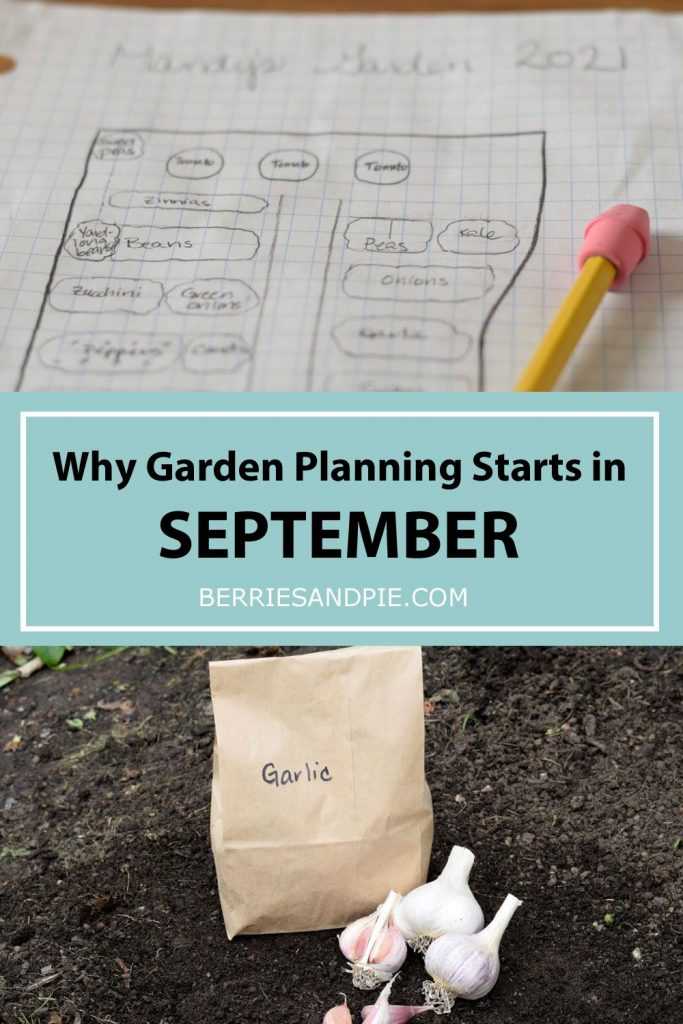
Mandy's Garden 2021.  Garden plan on graph paper with a pencil.
Garden planning starts in September!

The main reason why I do this is so I can overwinter some of my vegetables for bigger and earlier yields next spring. Planting vegetables such as peas and garlic in the fall allows them to start growing and get a good root system developed before going dormant over the winter.  In the spring they start growing as soon as the weather warms and they have a big head start on the season!

In order to plant these crops, I need to know where to put them because they will affect my garden layout in the spring. Read on to learn more about which crops overwinter well and how to start planning your garden for next year.

Crops to Overwinter

Peas (including sweet pea flowers) and garlic are the two crops that I regularly plant in the fall.

Peas

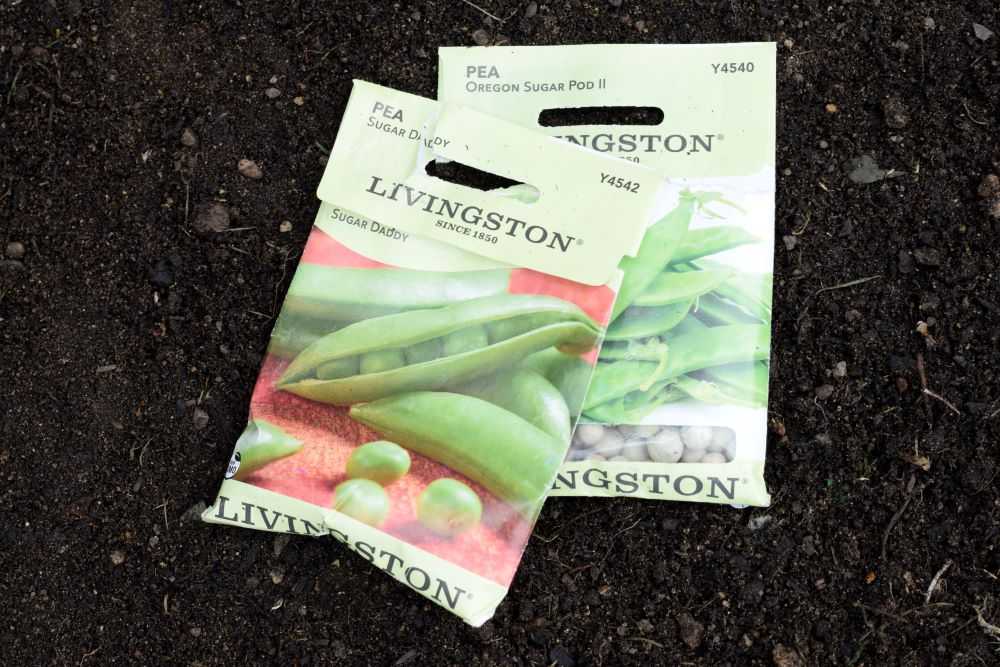
Pea seed packets ready for fall planting.
Peas are easy to start in the fall. You will be rewarded with larger and earlier crops in the spring!

The main advantage to starting peas in the fall is that you can get them growing earlier in the spring. Where I live in Oregon our late winter and early spring is usually very rainy.  This makes it difficult to get seeds started because the soil is so wet that the seeds may rot.  By planting peas in the fall, the plants will already be established so they can start growing as soon as the weather gets warm enough. Since peas grow best in cooler weather, you will get more peas before the hot weather comes and they stop producing.

For more information on planting fall peas click here.

Garlic

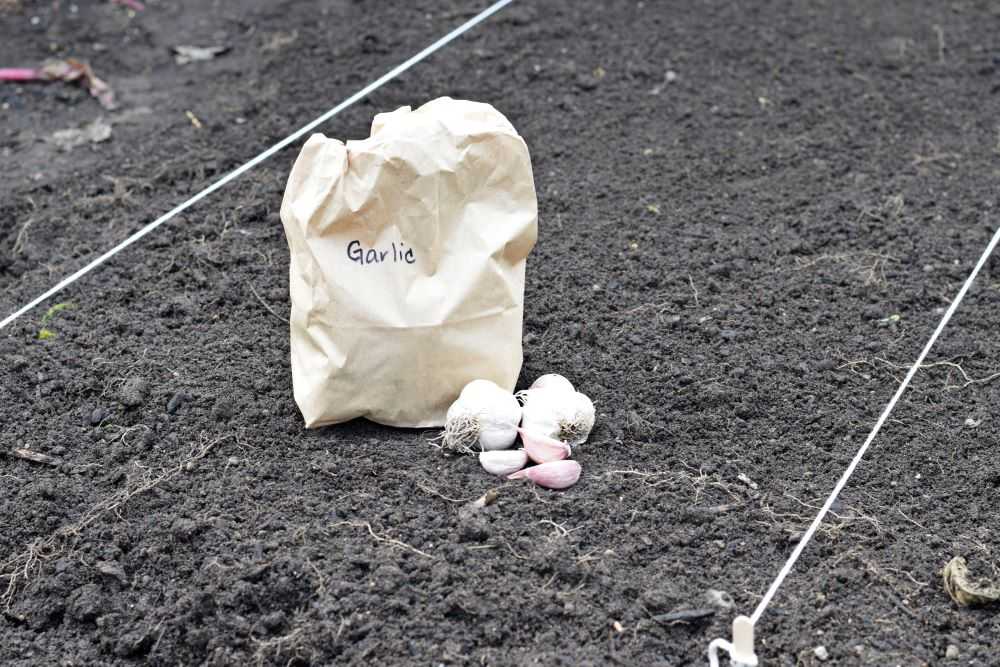
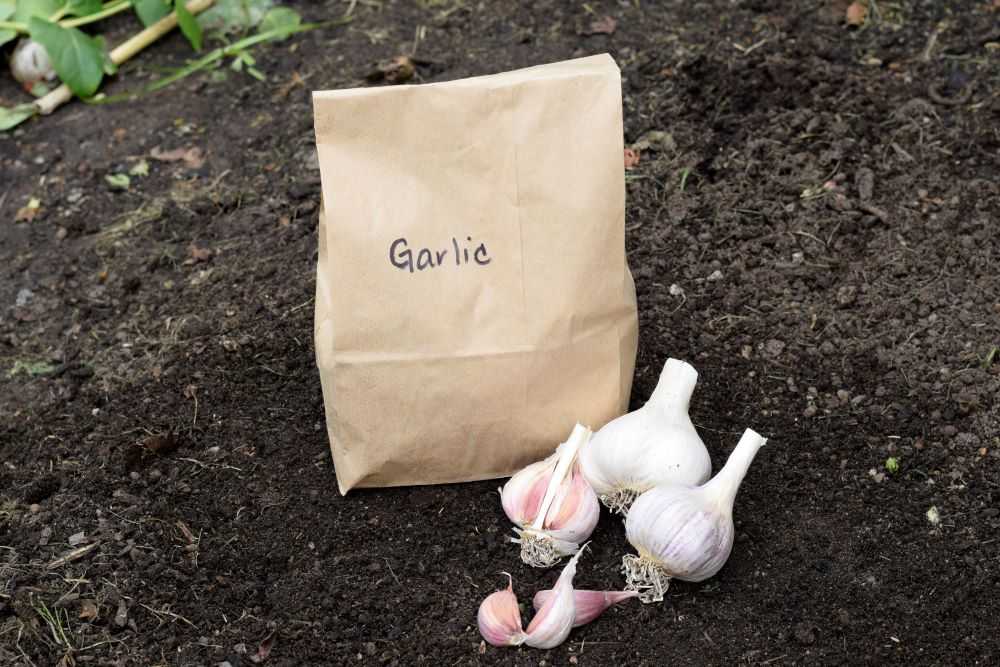
Garlic in a bag ready for fall planting
Fall planted garlic may be larger than spring garlic because it has more time to grow in cooler weather.

Garlic can be planted in the fall or in the spring.  I have done both and gotten good results from each method.  Since I am planting garlic that I grew the previous season, I prefer to plant it in the fall so I will not have to store it as long before putting it in the ground.  This way the garlic is less likely to sprout early or have other issues during storage.  Fall planted garlic can also be larger than garlic planted in the spring because it has more time to grow in cooler weather. 

For more information on planting garlic click here.

Onions

Many people overwinter onions, which can help to produce larger bulbs.  I have not done this yet but am eager to try!  Maybe next year?

Start Planning Your Garden

A little planning can help your garden thrive. If you start with a good plan your garden will be much more productive!

I usually start by doing a rough sketch of my garden in the fall so I know where to plant these crops.  While I don’t fill in all the details at this point but I have a rough idea of where I want them to go so I can get them in the ground! I usually fill in more information over the winter when I receive my seed catalogs in the mail.

A much more complete guide to garden planning is coming soon, so stay tuned!

Final Thoughts

Do I have you convinced yet?  Hopefully you can try overwintering some of your vegetables for an early spring harvest. As always, Happy Gardening!


Be sure to pin for later!

Freezing Cherry Tomatoes: An Easy Way to Preserve the Harvest

Do you have more cherry tomatoes than you can eat? Are you wondering what you can do with them? Try freezing them to use later in the season! It is a real treat to make homemade soup in the wintertime with tomatoes from your summer garden!

I prefer freezing my cherry tomatoes over other preservation methods because it is so incredibly easy. There is no chopping, peeling, or canning involved! Now we will go through how simple this process is.

Too many cherry tomatoes? Try freezing them!

Prep the Tomatoes

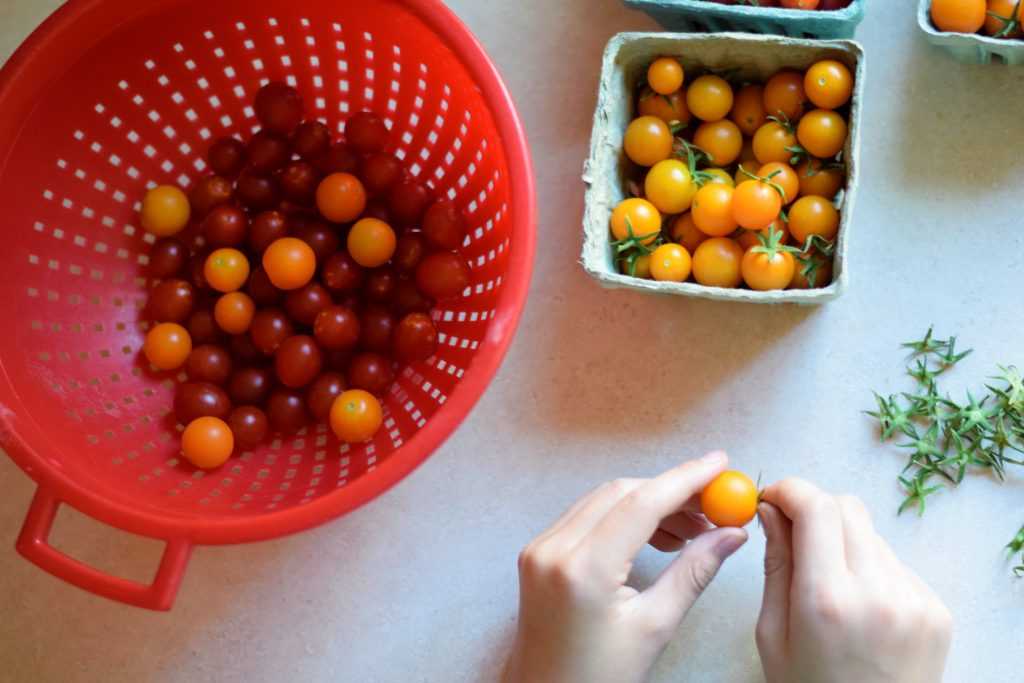
First off, you need to sort through your tomatoes and discard any that are cracked or blemished because they will not keep as well. Prep the tomatoes by taking off the stems and washing them thoroughly.

Taking the stems off cherry tomatoes and placing them in a colander.
Take the stems off of the tomatoes and wash them thoroughly.

After they are washed get as much water off as you can. You can drain them well in a colander or spread them out on a clean kitchen towel. This is important because they may stick to your pan or stick together if too much water is present.

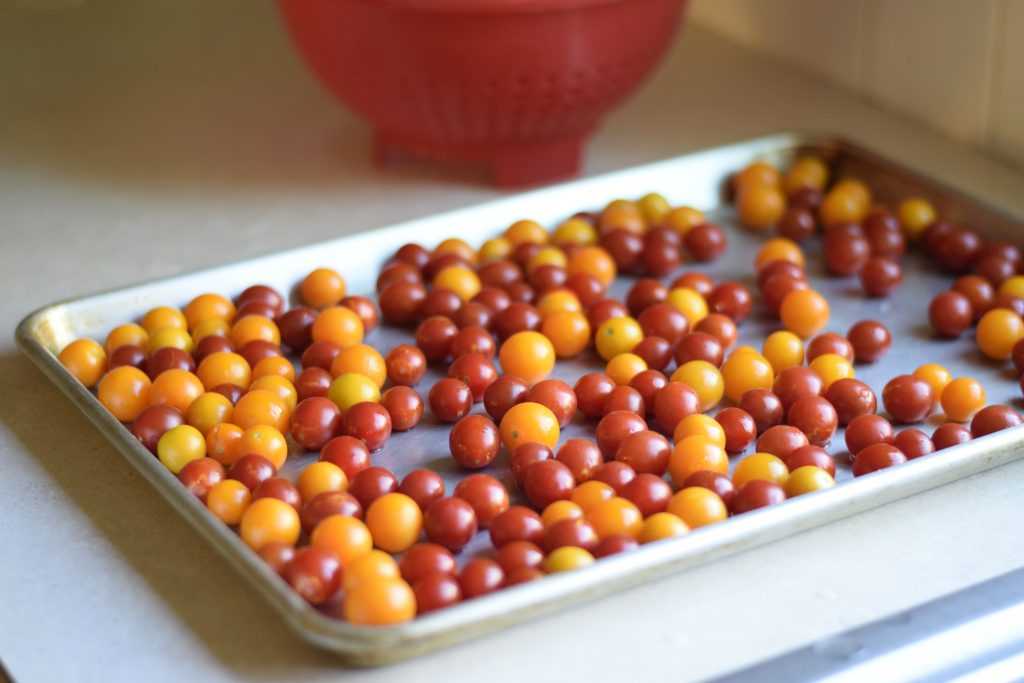
Orange and red cherry tomatoes on a sheet pan.
Spread the dry tomatoes out on a large sheet pan. Try to leave some space between them if possible.

When they are dry spread the tomatoes out onto a large sheet pan. We want to freeze them before putting them into bags for long term storage. The advantage of this method is that the tomatoes are less likely to get squished or stick together in a giant tomato ice block. Try to leave some space between them on the pan and do not crowd them if possible. This way they will freeze faster and are less likely to get stuck together.

Freeze the Tomatoes

Place the sheet pan in the freezer for at least 1-2 hours, or until the tomatoes have firmed up.

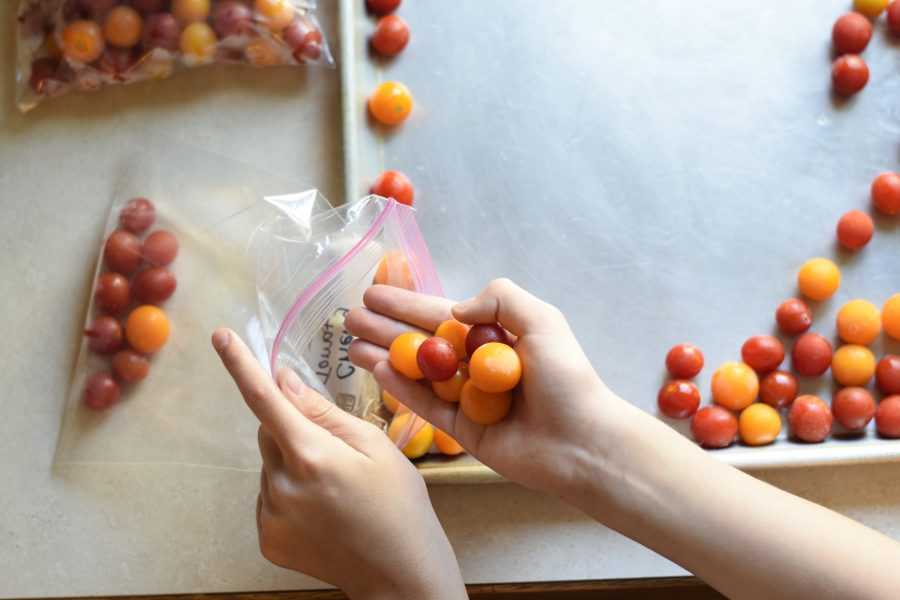
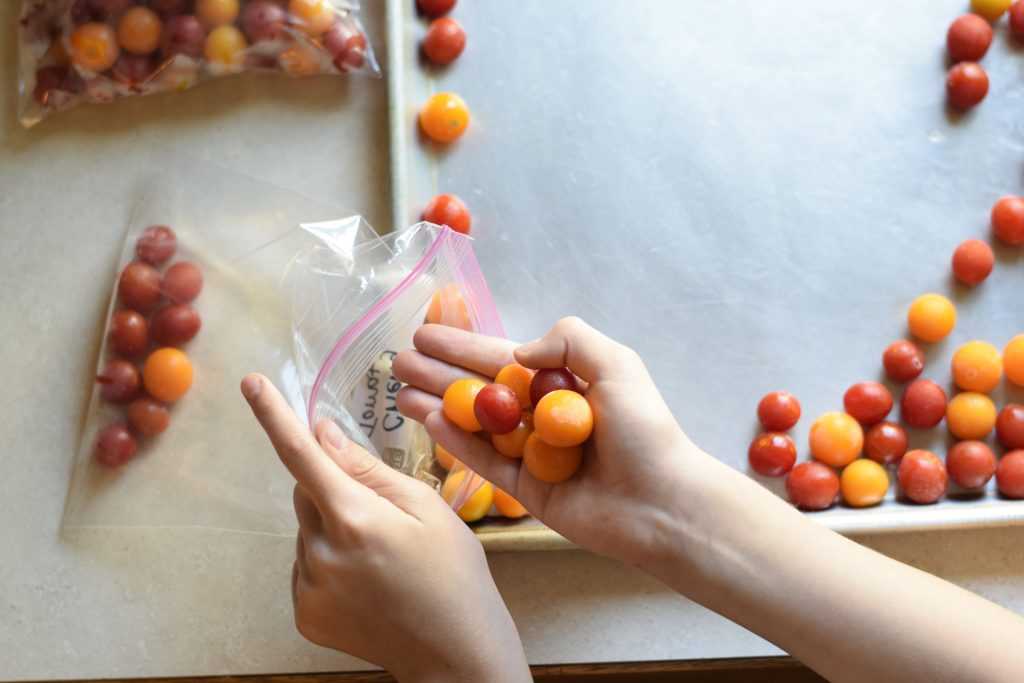
Once frozen, the tomatoes are ready to be placed into freezer bags. Be sure to label the bags with the date.

After the tomatoes are frozen, you should be able to easily gather them up and place them in freezer bags. Freezer bags are preferable to regular zip top bags because they are thicker and will help protect the food better. Labeling the bags before you fill them will make it easier to write on them. Make sure that you also write the date on the bag.

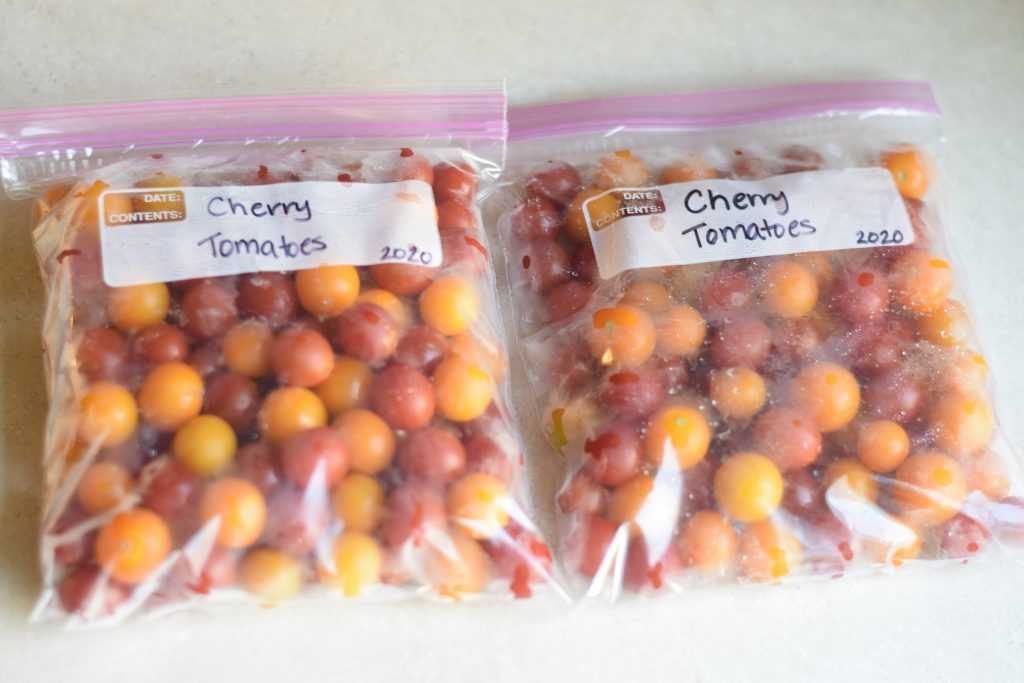
Two bags of orange and red cherry tomatoes.
Cherry tomatoes will last for up to a year in the freezer.

Store the tomatoes in the freezer for 6 months or up to a year or so. After that time they will still be safe to eat but the quality may begin to decline.

How to Use Frozen Cherry Tomatoes

Realize that frozen cherry tomatoes will have a different texture than fresh tomatoes. They will be softer and are best used in cooked dishes such as soups, sauces, or casseroles. These tomatoes will also have their skins on which may affect the texture of some dishes. For most recipes however this is not an issue.

My favorite way to use these frozen cherry tomatoes is in homemade vegetable soup. I use them straight out of the bag and pour however many I need into the boiling soup as it cooks. Yum!

Hope you are able to freeze some of your tomatoes to enjoy in the winter months. Happy Gardening!


Be sure to pin for later!


You may also like:
Orange yellow red cherry tomatoes

Cherry Tomato Taste Test


How to Ripen Green Tomatoes Indoors


Taking marigold seeds out of seed heads

How to Save Marigold Seeds

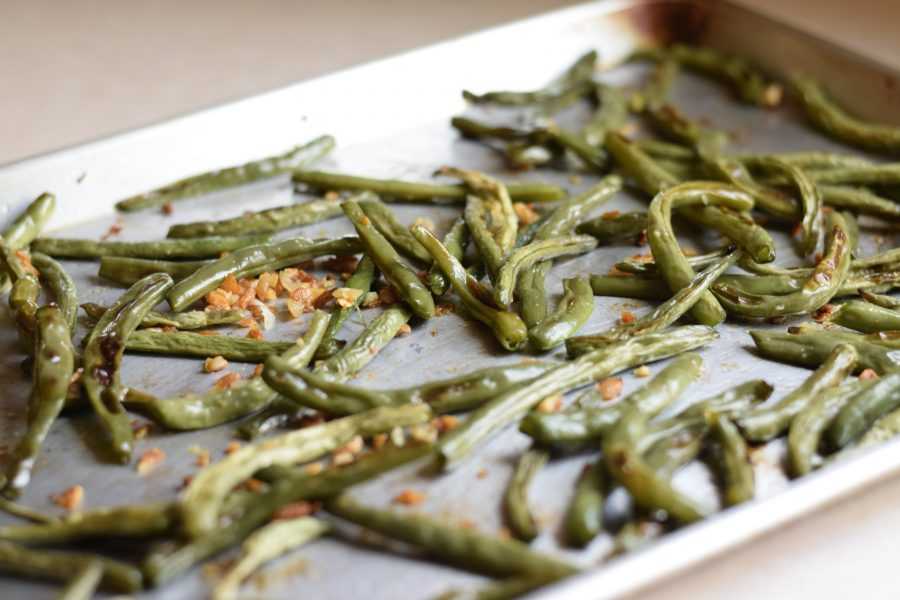
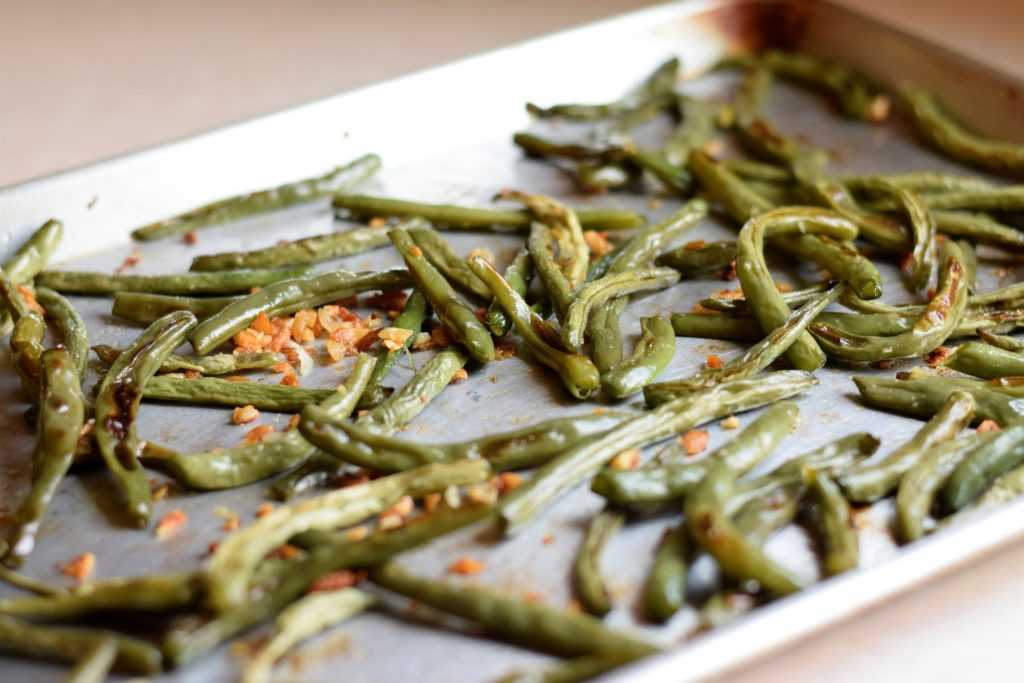
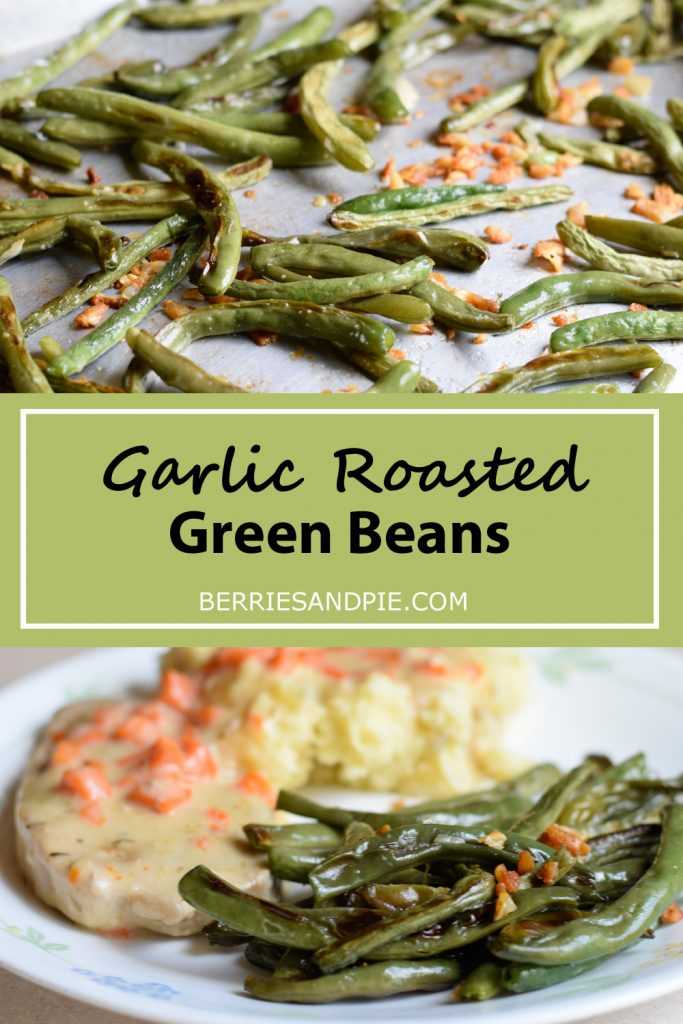
Roasted green beans with garlic on sheet pan

Garlic Roasted Green Beans

The first time I tried garlic roasted green beans was when we went to a friend’s house for dinner.  The beans were the star of the meal for me. Prior to this I had had canned green beans, or maybe steamed green beans, and I never knew green beans could taste this good!  These beans totally rocked my world and now my kids even like them too! Read on to learn how to make them yourself at home.

Garlic roasted green beans on a pan
Garlic roasted green beans–yum!

Assemble the Ingredients

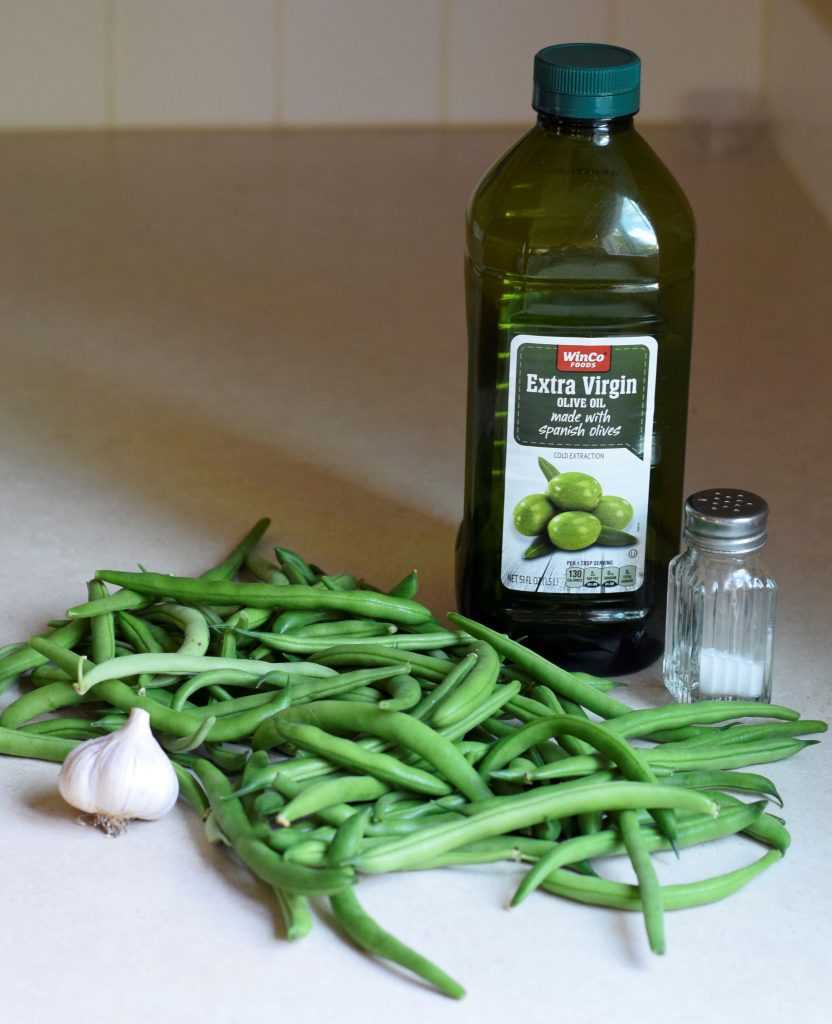
These green beans are super simple to make.  All you need four ingredients and you are in business:
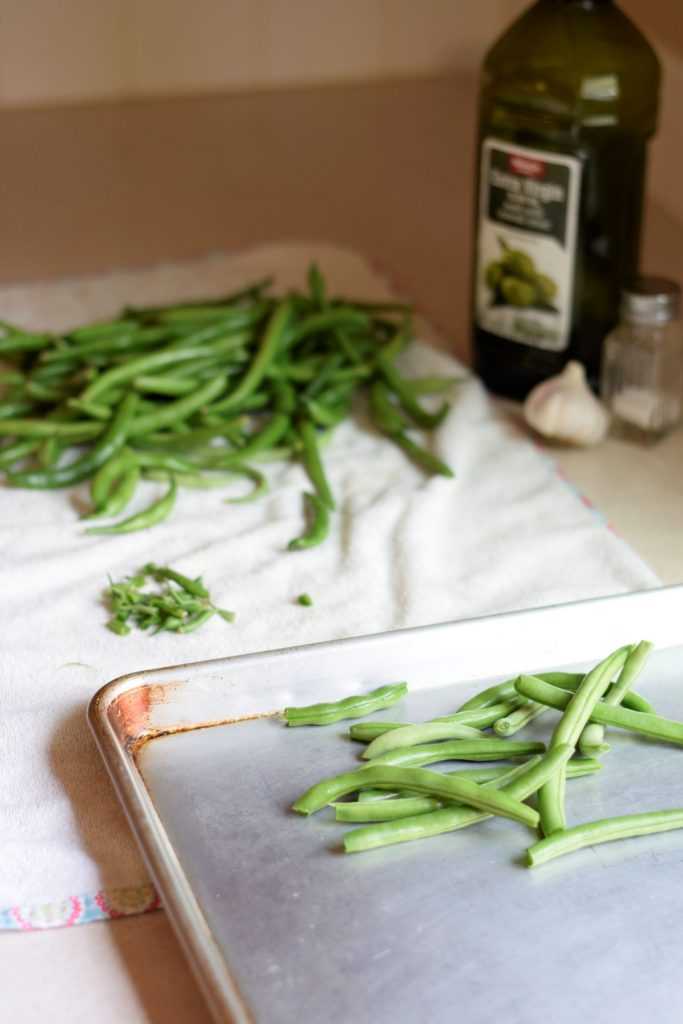
Green beans, garlic, salt, and oil on the counter.
Fresh green beans, garlic, olive oil, and salt are the only ingredients you need for these delicious beans.

Green beans – You need green beans, obviously.  Fresh is the only way to go here because frozen beans will have too much moisture in them.  This is a great way to use up extra green beans from your garden!

Garlic – Garlic gives the beans so much flavor!  I use fresh garlic from our garden when I can.  We always fight over who gets the caramelized pieces of garlic that are stuck to the bottom of the pan.  If you don’t have fresh garlic then garlic powder may also be used.

Oil – I use olive oil, but any cooking oil will do.

Salt – I use plain old table salt, but use whatever you like.

Prep the Beans

First thing’s first, you need to wash the beans and snap them.  I spread the beans out on a clean kitchen towel to help them dry. “Snapping beans” simply  means that you break the ends off.  You can leave the tail end on if you wish, but I usually break them off because they can get a little crispy and maybe burn in the oven.  If you don’t want to break the ends off you may also cut them off using a knife.  Snapping beans is a perfect job for kids by the way!

Snapping green beans onto a sheet pan.
Snap the ends off the beans and place them on your baking sheet.

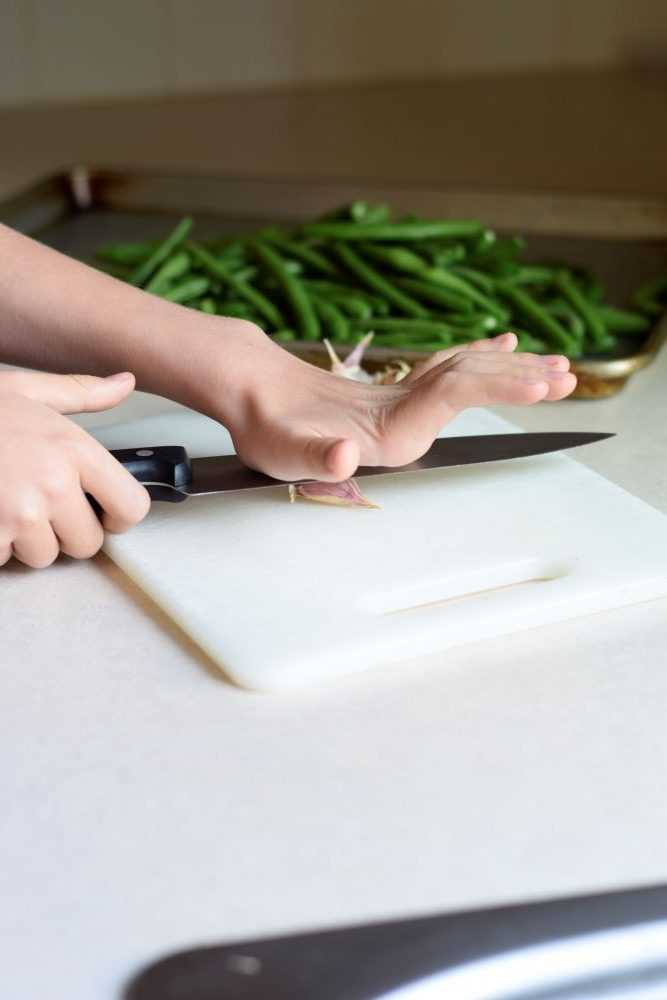
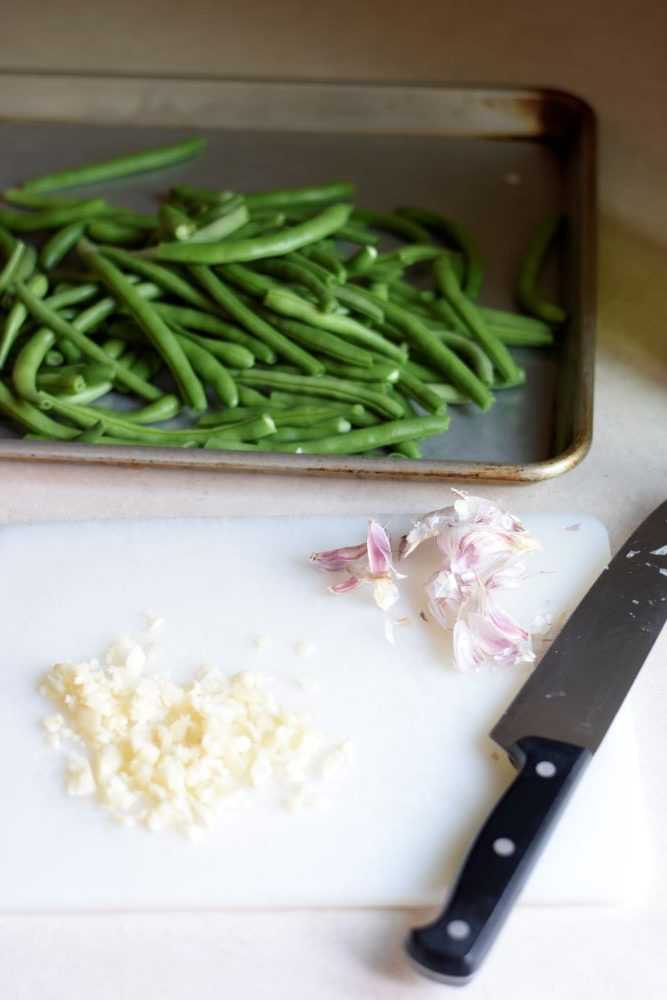
While the kids are busy snapping the beans you can chop the garlic.  To chop the garlic take a big flat knife, put it sideways on the garlic and smash it down with the heel of your hand.  The garlic will be crushed and it will be easier to pick off the skins.  Use as much or as little garlic as you like.  Sometimes we use a whole head we like garlic so much.  You may leave the garlic in larger pieces or cut it small.  It is all up to you.

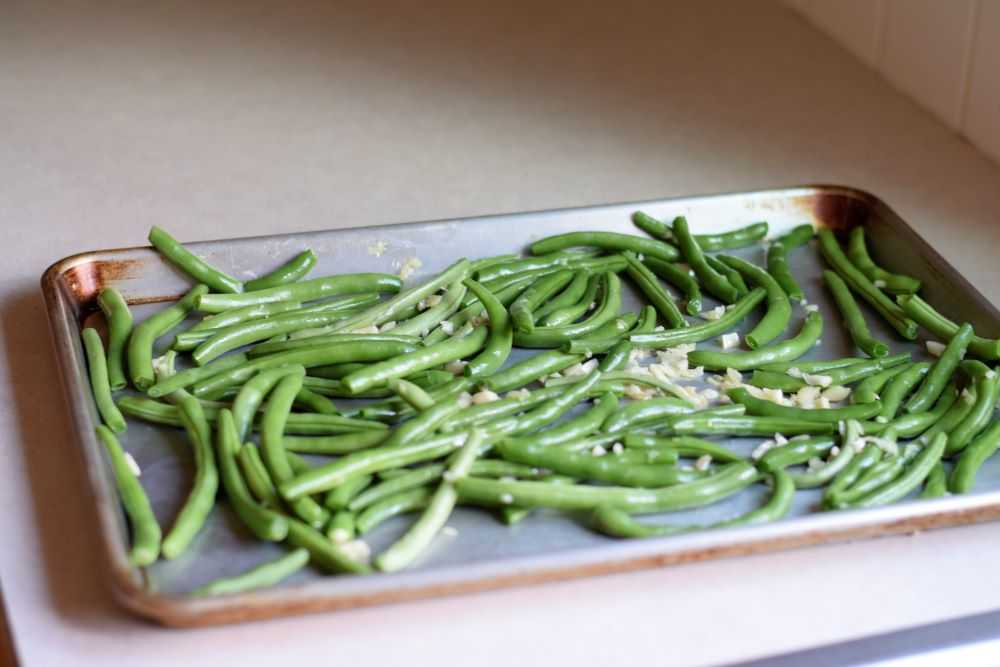
After the beans are ready to go, make sure they are mostly dry and spread them out on a large baking sheet.  Sprinkle the garlic over the top and drizzle with the olive oil.  Sprinkle with salt to taste.  Toss everything together with your hands and then shake the pan to even the beans out into a single layer. You want the beans to touch each other as little as possible or they will steam rather than roast.  They are now ready to go in the oven!

Green beans on a sheet pan.
Add the garlic, oil, and salt to the beans. Use your hands to mix everything together and spread it into an even layer.

Cook the Beans

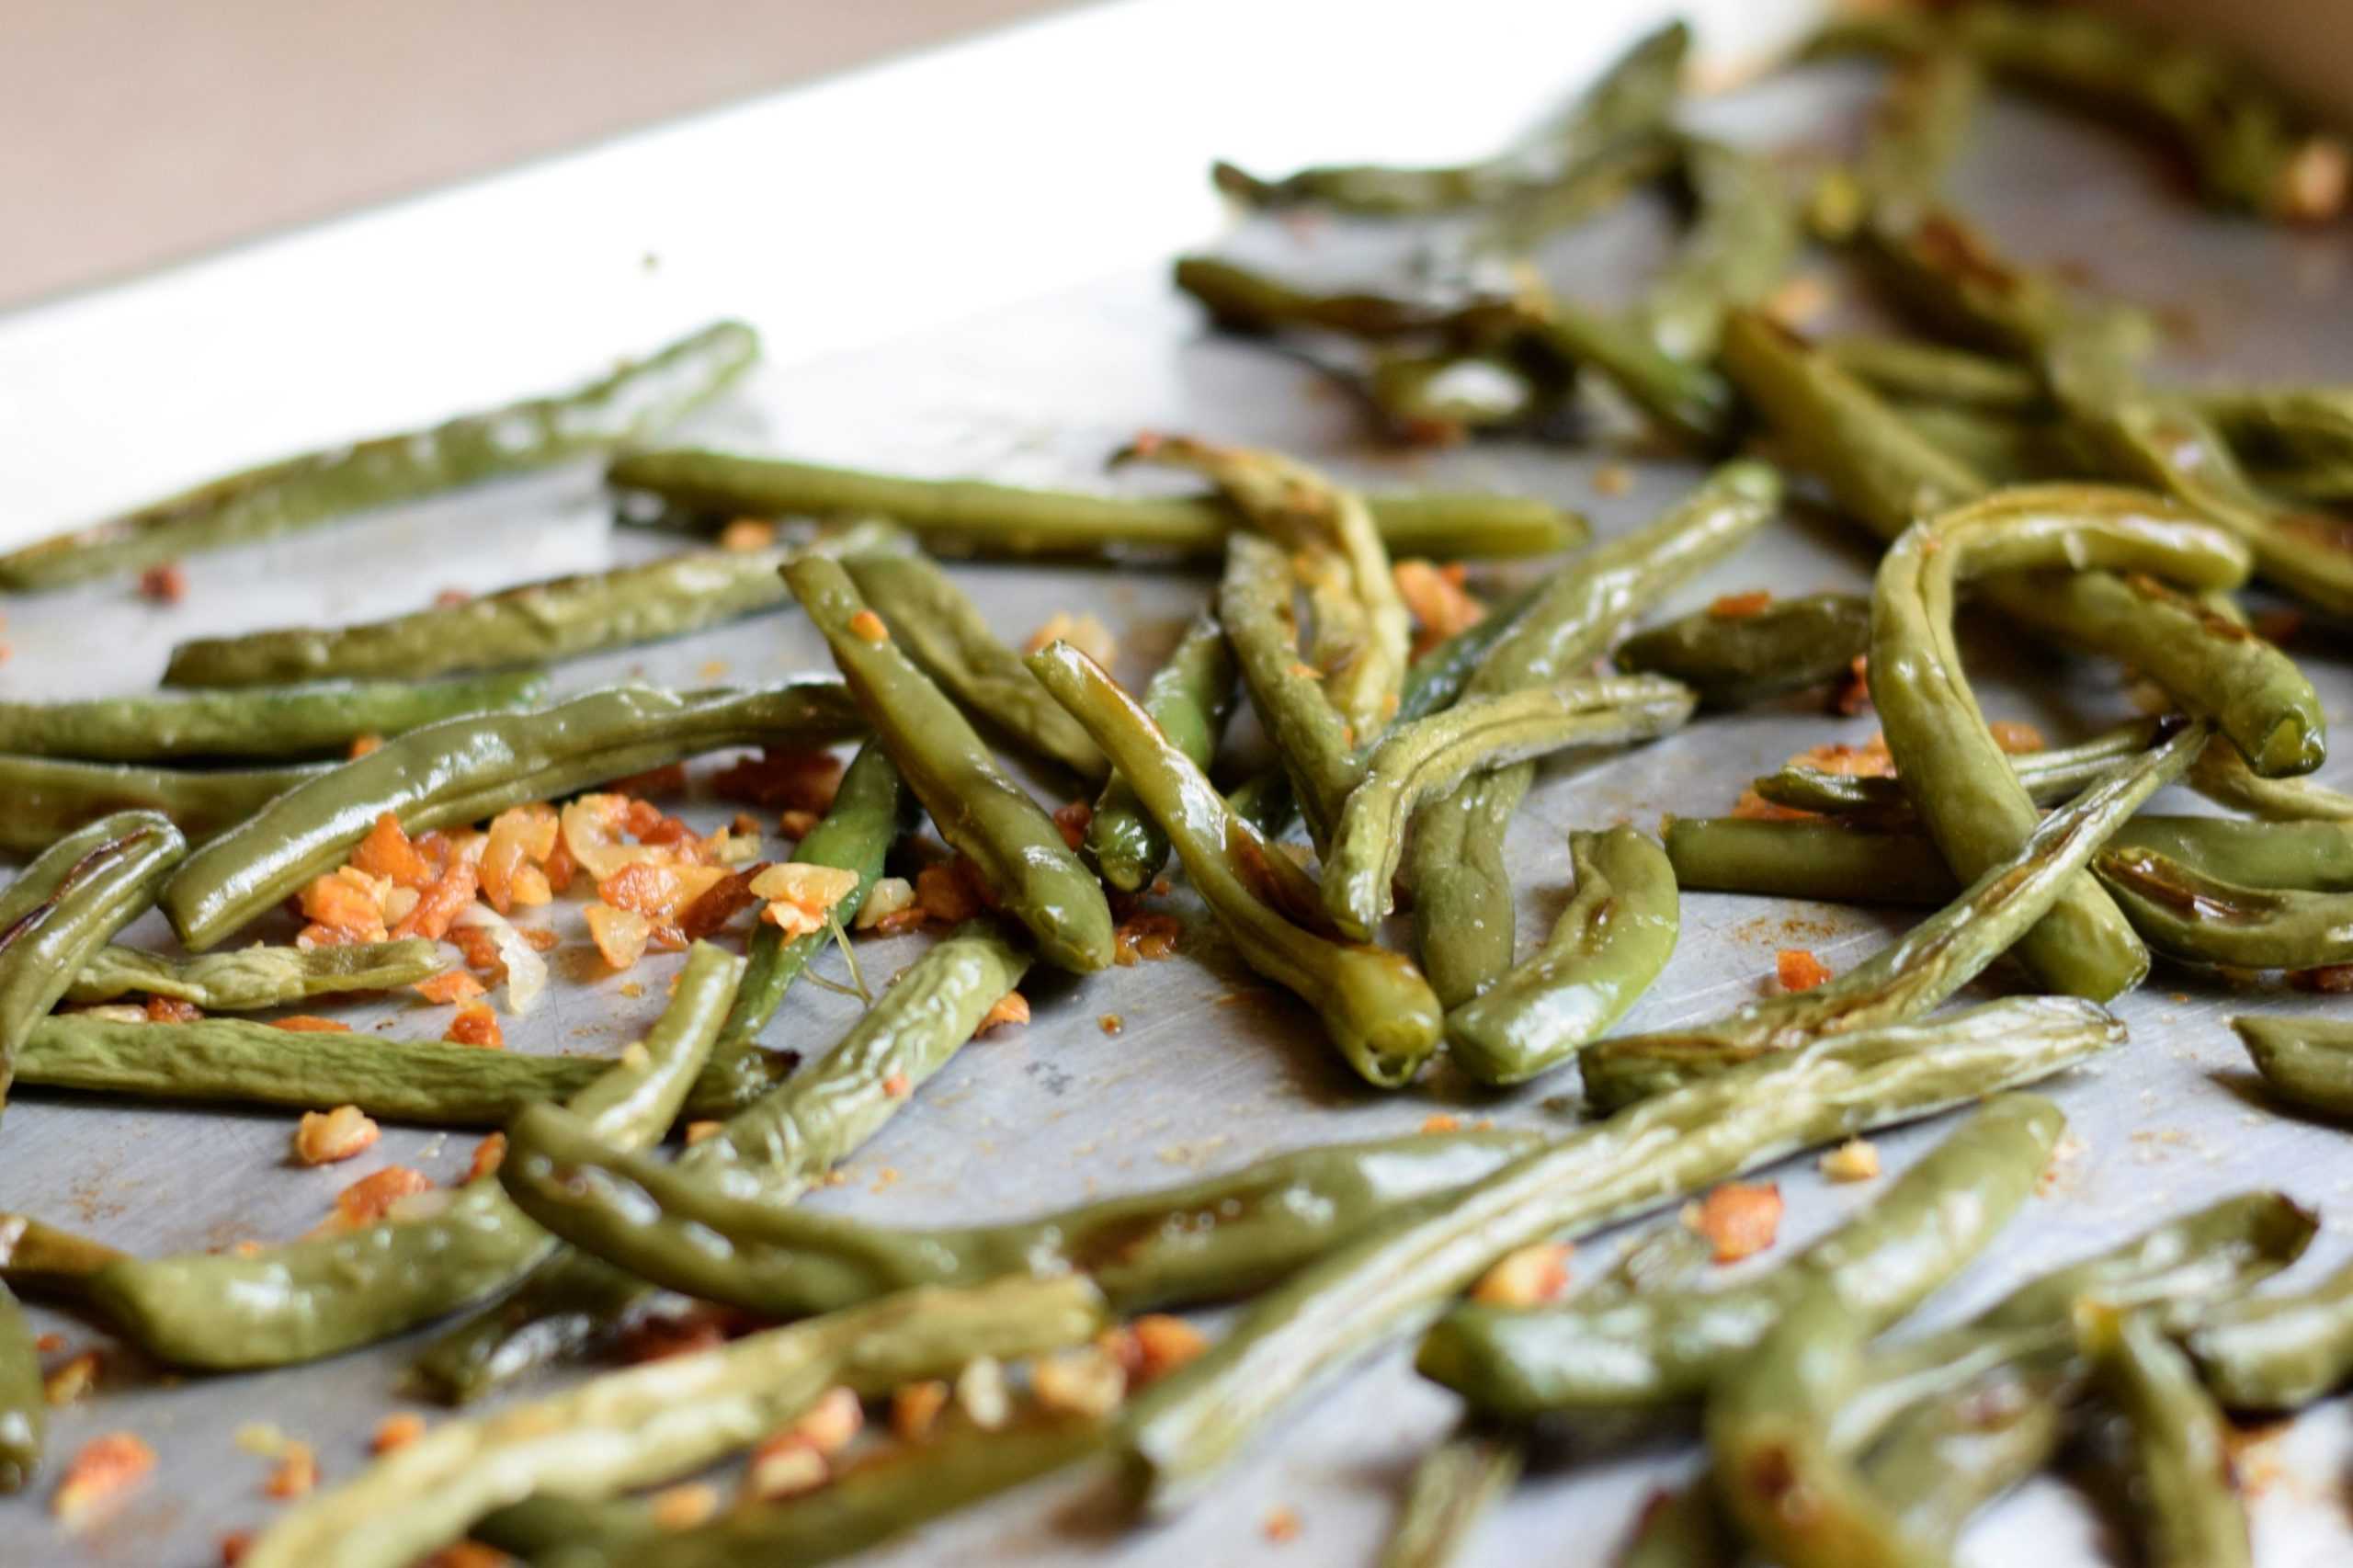
Cook the beans at 425 degrees for about 20-25 minutes.  I usually put them on the bottom rack to help them brown.  Stir them about halfway through the cooking time and watch them carefully so they do not burn.  You want the beans to be tender, slightly shriveled, and lightly browned.

Garlic roasted green beans on a pan

Serve

Serve these beans hot out of the oven.  They go well with just about anything.  Be prepared to fight over the yummy crunchy garlic stuck to the bottom of the pan.  You may never go back to canned green beans ever again 🙂

I hope you get to try these green beans soon!  Let me know how it went in the comments below. Happy Cooking!

Garlic roasted green beans on a pan

Garlic Roasted Green Beans

Recipe by: Mandy
This is the perfect way to enjoy green beans fresh from the garden. They are simple to prepare and taste delicious!
Prep Time 10 minutes
Cook Time 25 minutes
Total Time 35 minutes
Servings 4

Ingredients
  

  • 1 lb fresh green beans
  • 4-5 cloves garlic, finely chopped
  • 1 tbsp olive oil
  • salt, to taste

Instructions

  • Preheat the oven to 425°.
  • Wash the green beans and snap off the ends. Pat them dry and place the beans on a large baking sheet.
  • Drizzle with olive oil and sprinkle with garlic. Season with salt to taste. Use your hands to thoroughly mix all ingredients.
  • Even the beans out into a single layer. Bake at 425° for 10 minutes.
  • Stir the beans and return them to the oven. Bake for 10-15 minutes longer, or until the beans are tender, slightly shriveled, and lightly browned. Watch them carefully so they do not burn.
  • Serve warm as desired.

Notes

If you do not have fresh garlic you may substitute garlic powder.  Use 1/4 teaspoon or to taste.

Be sure to pin for later!

Garlic Roasted Green beans

Powered by WordPress & Theme by Anders Norén