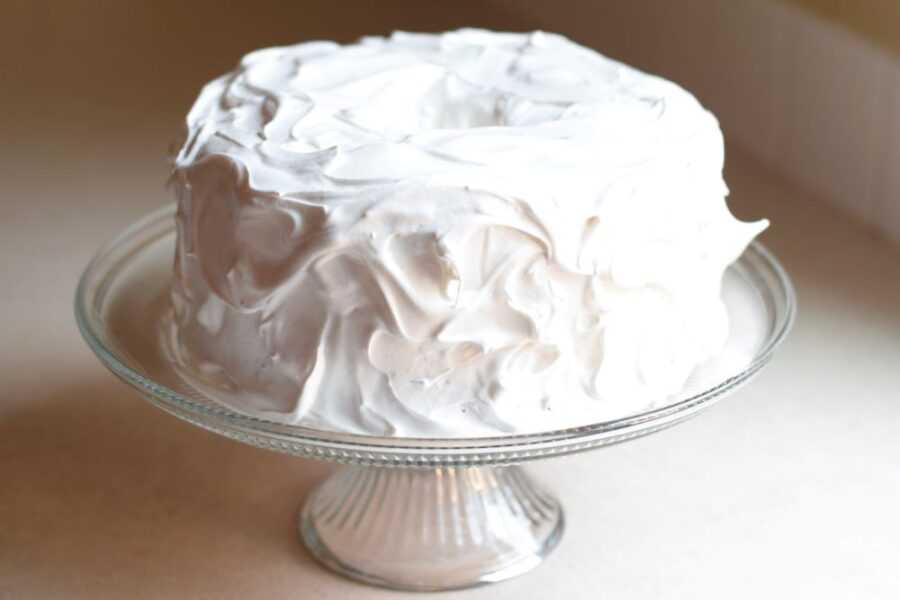
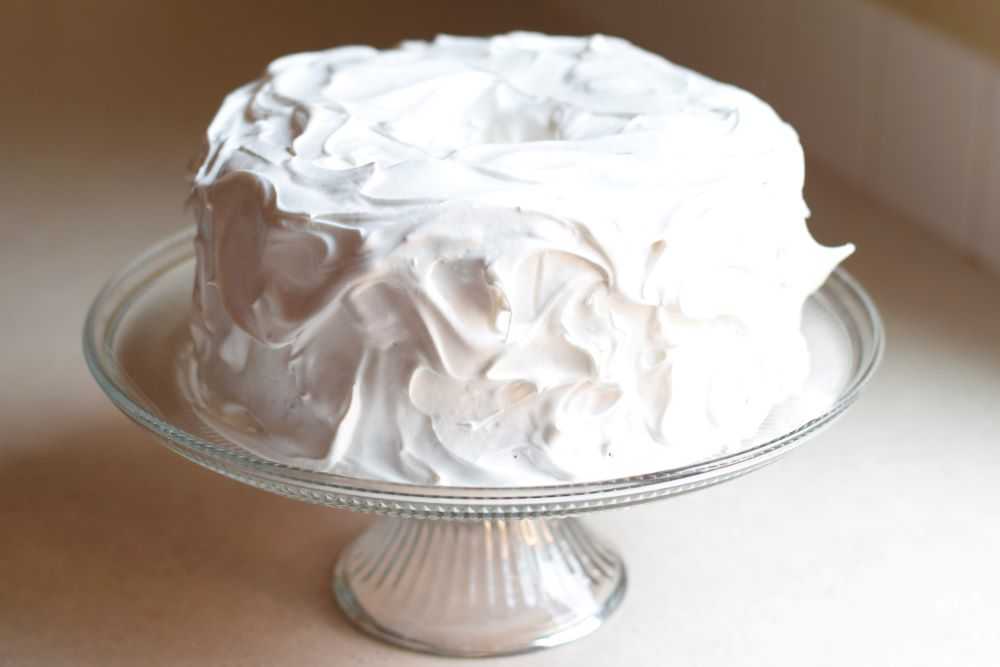
Fluffy white frosting is pillowy soft and looks gorgeous swirled on your favorite cake. It is easy to make and ready in about 20 minutes!
If you have never made fluffy white frosting before you are in for a treat! Unlike buttercream frosting, this fluffy white frosting contains no butter or fat. It is made by making a hot sugar syrup on the stove and then slowly drizzling it into beaten egg whites. The frosting is then beaten for a few minutes until it holds its shape. It becomes light, airy, and amazing!
What does Fluffy White Frosting taste like?
Fluffy white frosting tastes like soft marshmallow cream! It is light and sweet and spreads easily on your cake.
How is Fluffy White Frosting different from 7-Minute Frosting?
Fluffy white frosting is very similar to the ever popular 7-minute frosting. Both are cooked frostings and both have a similar taste. However, I find fluffy white frosting to be even easier to make and it is my favorite “go-to” frosting. Instead of beating it over a water bath for 7 minutes, a hot sugar syrup is slowly drizzled into beaten egg whites and the mixture is beaten until stiff. No boiling water and no mixing it by hand for 7 minutes. Simple!
Ingredients for Fluffy White Frosting
Fluffy white frosting requires only 6 ingredients. We will go through them now:
Egg Whites – Beaten egg whites give the frosting structure and help give it a light and fluffy texture. Make sure your egg whites are free from any traces of yolk, which may prevent the egg whites from beating properly.
Sugar – Gives it some sweetness. Use regular granulated sugar.
Water – For cooking the sugar syrup.
Cream of Tartar – Cream of tartar is an acid and it helps to stabilize the egg whites.
Salt – Brings out the flavor and cuts down on the sweetness a bit.
Vanilla – Gives the frosting some flavor. If you have clear vanilla this helps the frosting to stay a bright white color. You may substitute other flavorings too if you would like.
How to Make Fluffy White Frosting
Step 1: Cook the Sugar Syrup
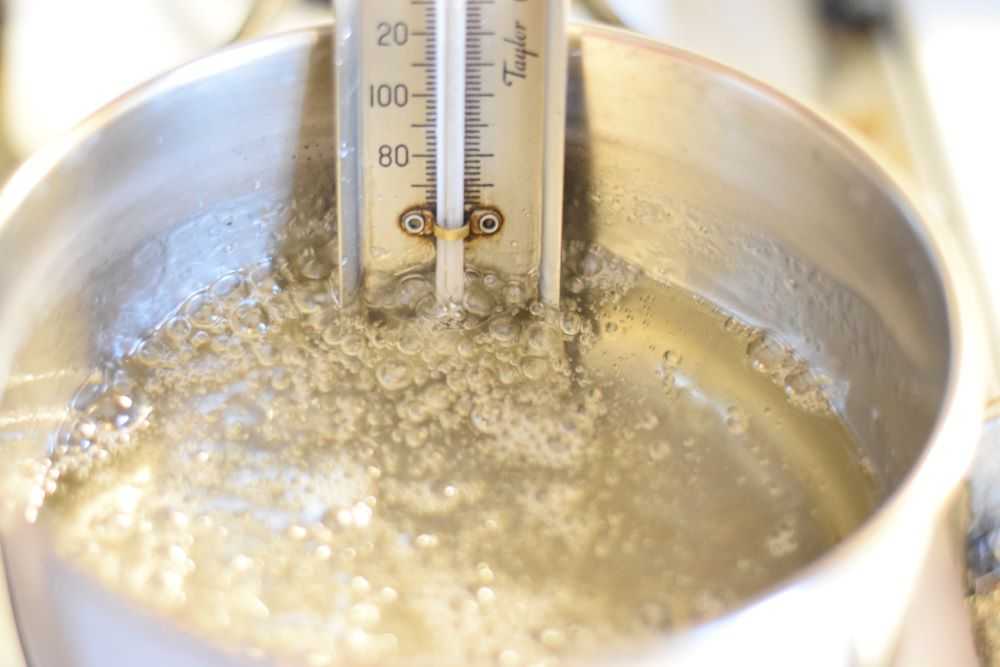
Stir the sugar, water, cream of tartar, and salt together in a small saucepan. Heat over medium high heat until the mixture boils. Wash down any sugar crystals that are stuck on the side of the pan. Continue cooking until the sugar mixture reaches 242°.
Step 2: Beat the Egg Whites
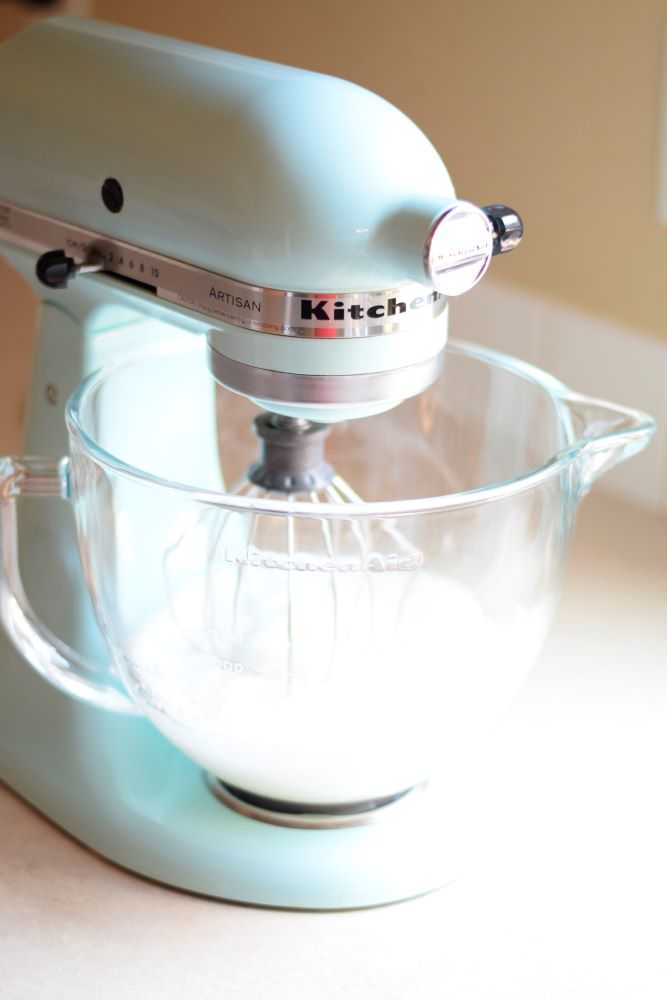
While your sugar syrup is boiling, place the egg whites in a large mixing bowl. Just before the sugar syrup reaches the proper temperature, start beating the egg whites at high speed until soft peaks form.
Step 3: Drizzle the Sugar Syrup into the Egg Whites
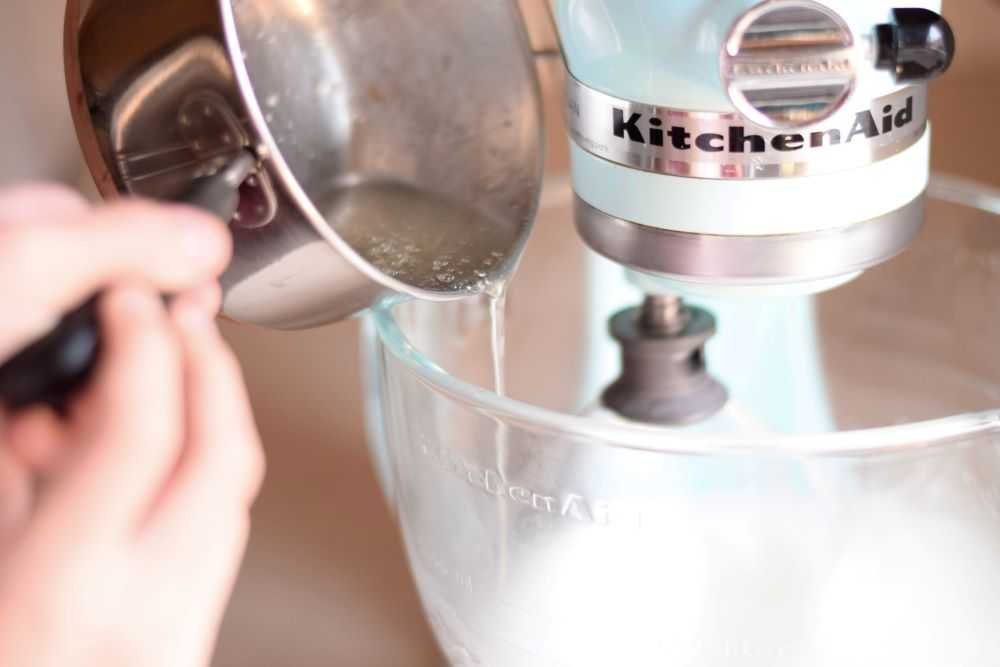
With the mixer still on high speed, pour hot syrup very slowly in a thin stream into the egg whites. Add the vanilla and continue beating until the frosting is thick and white and holds its shape.
Step 4: Frost Your Cake
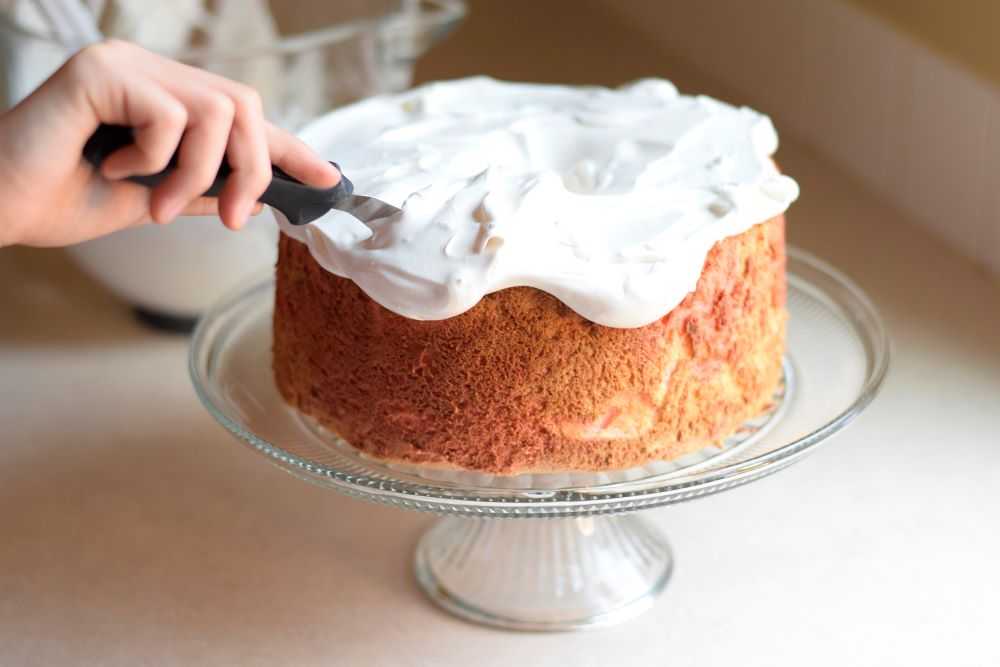
Immediately spread the frosting on a cooled cake. This frosting is pillowy soft and spreads easily. Use your spatula or the back of a spoon to make beautiful swirls in the frosting. Here I am frosting my peppermint angel food cake. Yum!
Serve
Decorate your cake as desired. This frosting is best served the same day it is made and will last up 2-3 days at room temperature.
Hope you get to try this fluffy white frosting soon! Enjoy!
Recipe Tips
- Do not make the frosting too far ahead. This frosting is best served the same day it is made. It is much more delicate than other types of frosting (like buttercream) and will slowly deflate over time. It will last 2-3 days before it starts to get pretty flat.
- Start with clean equipment. Make sure there is no grease on your beaters or mixing bowl. Any trace of fat may prevent the eggs from beating properly.
- Separate the eggs carefully. Egg yolks contain fat, which can prevent the egg whites from beating up properly. Inspect each egg carefully for any traces of yolk.
- Cook the sugar syrup to the proper temperature. Make sure to check the temperature with a candy thermometer. This will ensure that the frosting is the proper consistency.

Fluffy White Frosting
Ingredients
- 2 egg whites
- 1 cup sugar
- ⅓ cup water
- ¼ teaspoon cream of tartar
- dash salt
- 1 teaspoon vanilla
Instructions
- Stir the sugar, water, cream of tartar, and salt together in a small saucepan. Heat over medium high heat until the mixture boils. Wash down any sugar crystals that are stuck on the side of the pan. Continue cooking until sugar mixture reaches 242°.
- While the sugar syrup is boiling, place the egg whites in a large mixing bowl. Just before the sugar syrup reaches the proper temperature, start beating the egg whites at high speed until soft peaks form.
- With the mixer still on high speed, pour the hot syrup very slowly in a thin stream into the egg whites. Add the vanilla and continue beating until the frosting is thick and white and holds its shape.
- Immediately spread the frosting on a cooled cake. This frosting will be pillowy soft and spread easily. Use your spatula or the back of a spoon to make beautiful swirls in the frosting.
- Decorate your cake as desired. This frosting is best served the same day it is made and will last up 2-3 days at room temperature. Enjoy!
Notes
- Do not make the frosting too far ahead. This frosting is best served the same day it is made. It is much more delicate than other types of frosting (like buttercream) and will slowly deflate over time. It will last 2-3 days before it starts to get pretty flat.
- Start with clean equipment. Make sure there is no grease on your beaters or mixing bowl. Any trace of fat may prevent the eggs from beating properly.
- Separate the eggs carefully. Egg yolks contain fat, which can prevent the egg whites from beating up properly. Inspect each egg carefully for any traces of yolk.
- Cook the sugar syrup to the proper temperature. Make sure to check the temperature with a candy thermometer. This will ensure that the frosting is the proper consistency.
Don’t forget to save for later!