Category: Gardening Page 1 of 3

How to Germinate Seeds in Paper Towels

Germinating seeds in paper towels adds an extra step before planting but often leads to better outcomes. It is easy to do and takes just a few minutes!
Start Seeds in paper towels for better germination and a head start on the season.

Have you ever planted seeds just to wonder why they aren’t germinating? Maybe the seeds are old? Maybe the growing conditions aren’t right? Did I plant them too deep? If you have ever tried to start seeds indoors you know it can sometimes be a frustrating process.

Germinating seeds in paper towels before you plant them in containers adds an extra step but often leads to better outcomes. Seeds germinate more quickly and you can easily check on your seeds as they start to grow. Best of all, it is easy to do and just takes a few minutes.

Now we will go through this process step-by-step. Let’s get started!

Advantages to Germinating Seeds in Paper Towels Before Planting

You may be wondering, why germinate seeds in paper towels at all? Why not plant them directly in the soil and skip this step all together?

Excellent questions! Here are some reasons why I germinate many of my seeds in paper towels before planting:

  • I use a lot of seeds that I have saved from previous years. It is impossible to know if seeds are still good just by looking at them. Within a couple of days I will know if the seeds are still viable or if I need to purchase new ones.

  • Putting the seeds in a damp paper towel in a plastic bag makes greenhouse-like conditions which often leads to faster germination.

  • You can see exactly which seeds have germinated so you only plant seeds that are sure to develop.

  • It is fun to check you seeds each day and watch them grow!

What types of seeds to germinate in paper towels?

If you have seeds saved from previous years, this method can be used to test germination of pretty much any type of seed. Place a few seeds in the paper towel and see if they start to grow. If all are duds, it is time to purchase some new seed!

Most of the time though, I just start seeds that I am going to start as transplants rather than seeds I would sow directly in the garden. Good choices for transplants are vegetables with a longer growing season than would be damaged from cold and frosty conditions. This way you can start them earlier and get a head start on the season.

Here are some of the seeds I regularly start inside:

  • Tomatoes
  • Peppers
  • Pumpkins
  • Zucchini
  • Squash
  • Cucumbers
  • Melons
  • Some flowers

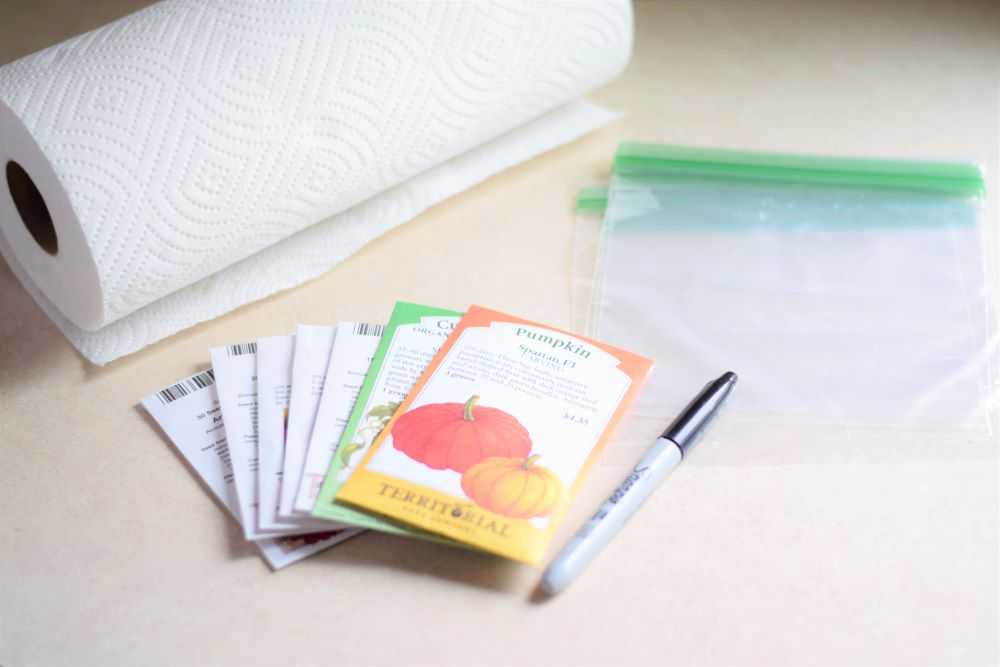
Materials

To germinate seeds in paper towels you will need:

  • Paper towels
  • Sandwich sized zip-top bags
  • A permanent marker
  • Seeds
Seed packets with paper towels, bags, and a marker

How to Germinate Seeds in Paper Towels

Start by wetting a paper towel. I usually use about 2 paper towels per type of seed. You want the paper towel to be fully moist but not dripping wet.
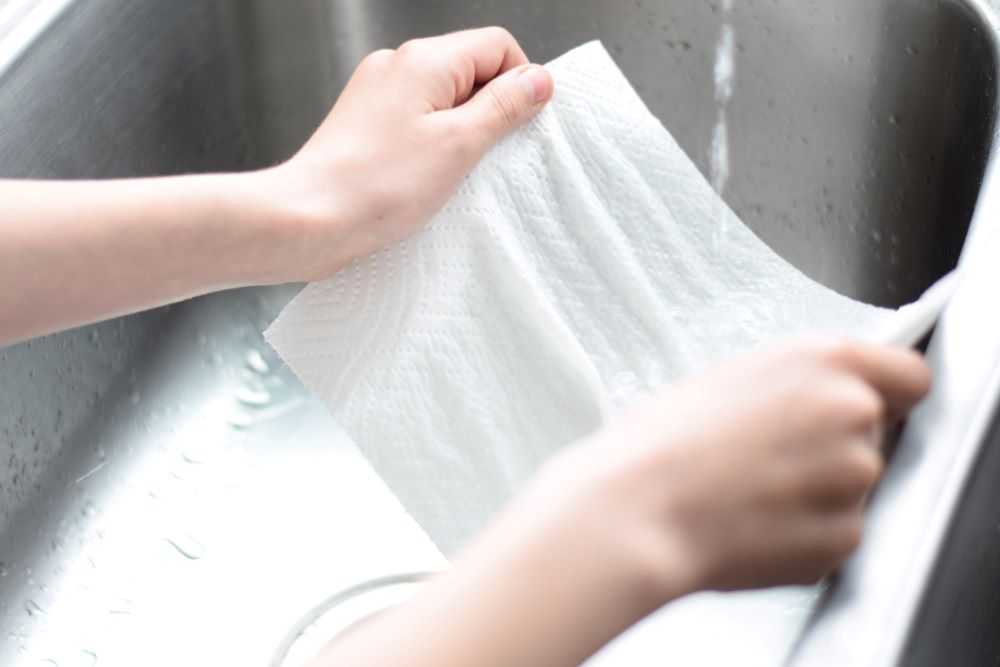
Holding a paper towel under running water.
Start by wetting a paper towel or two. You want them moist but not dripping wet.

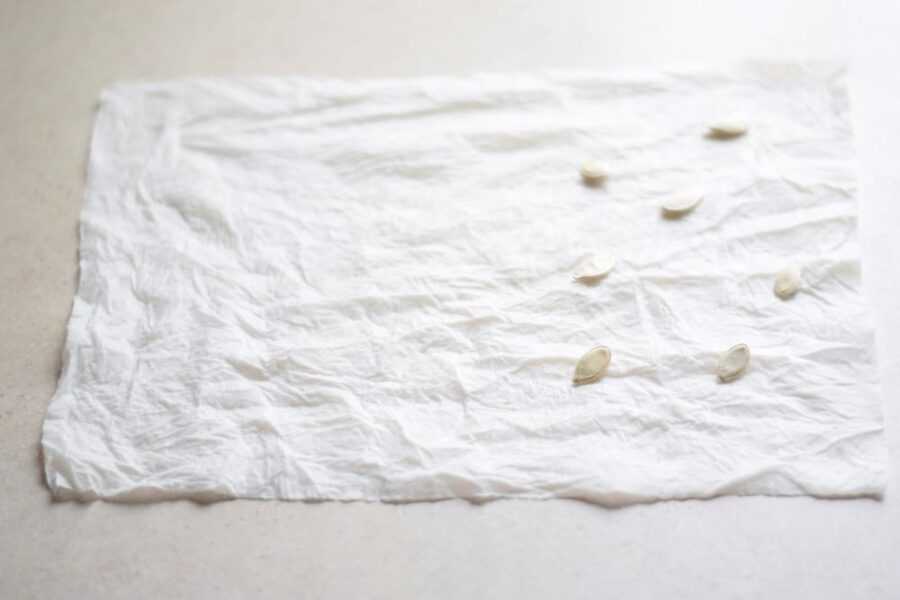
Lay the paper towels flat and place the seeds on one side. You can put however many seeds you want as long as you leave some space between them. This way they will not crowd each other as they start to grow. It is a good idea to start a few more seeds than you think you need because you will rarely get a 100% germination rate.
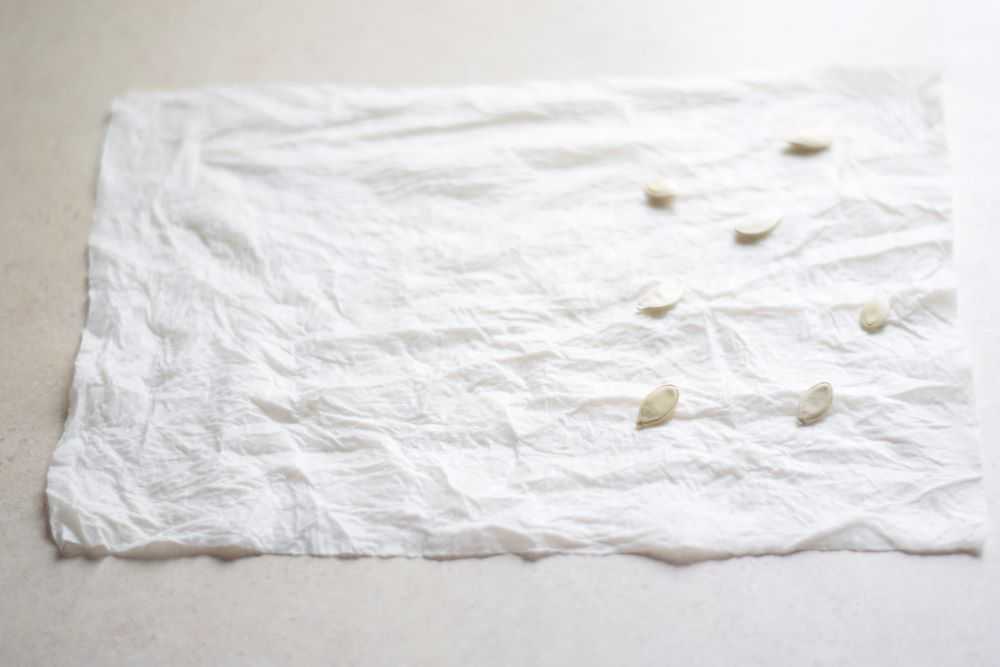
Pumpkin seeds on a damp paper towel
Lay the seeds on one side of the towel. It is a good idea to start a few more seeds than you think you will need.

After you have placed your seeds fold the paper towel one or two more times so it will fit in your zip top bag. Place it inside the bag and seal it closed. Label the bag with the permanent marker.
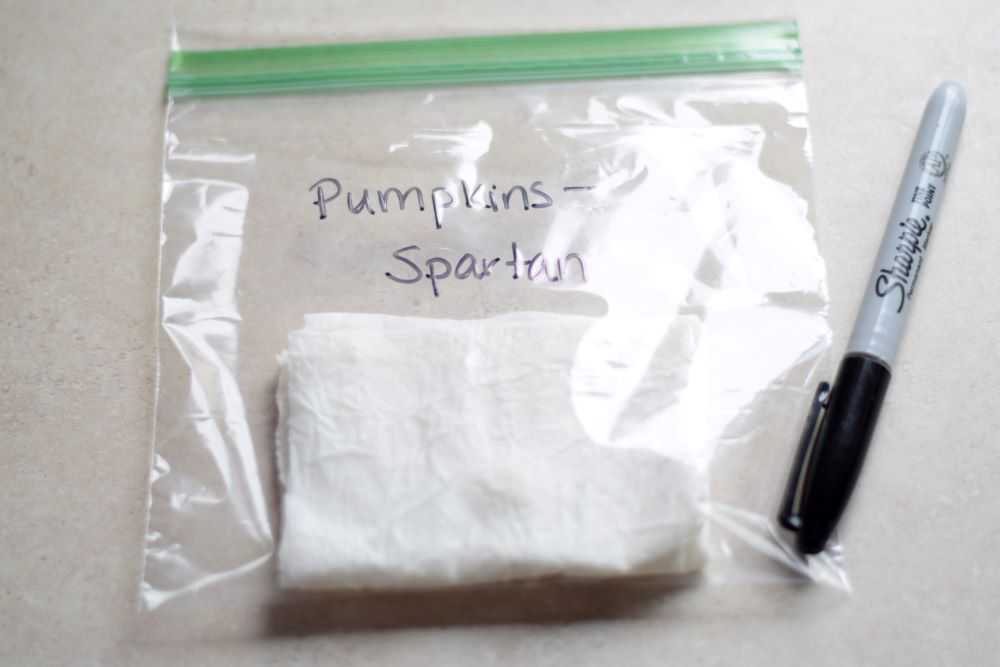
folded paper towel in a zip-top bag
Label the bag so you know what is inside!

Place the plastic bags where they will not be disturbed. Since many seeds germinate well at room temperature, I usually just leave mine on the kitchen counter. This way I will not forget to check them often. Make sure you keep the seeds out of direct sunlight because they will easily become too hot.

Make sure you check your seeds every day for progress and signs of growth. If the paper towels seem like they have dried out, add a little more water to keep them moist.
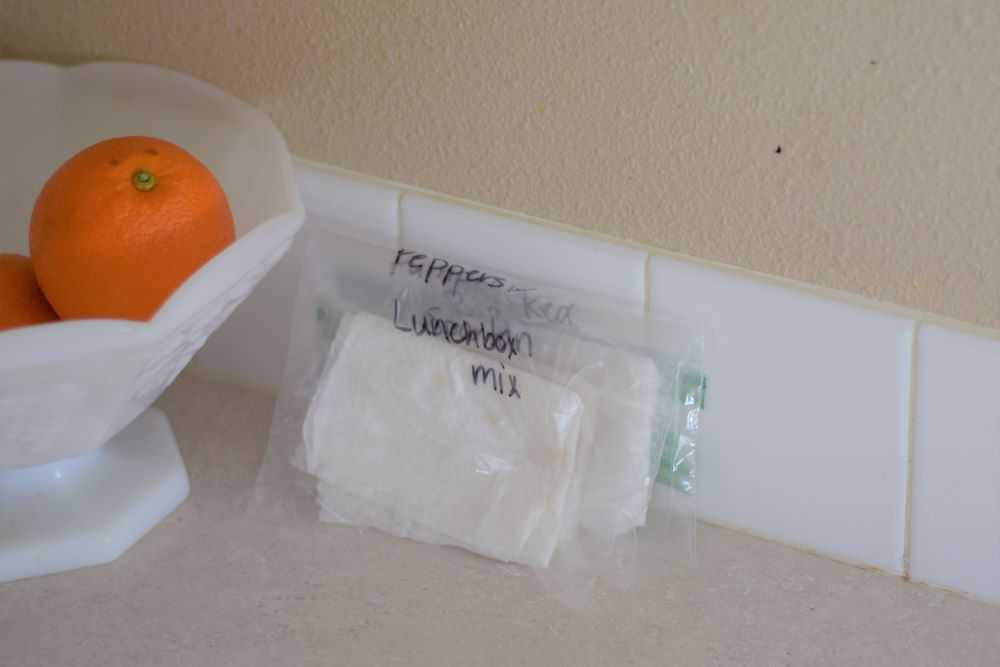
starting seeds in paper towels
Leave seeds where you remember to check on them often. I usually put mine on the kitchen counter.

When to Plant Your Seeds

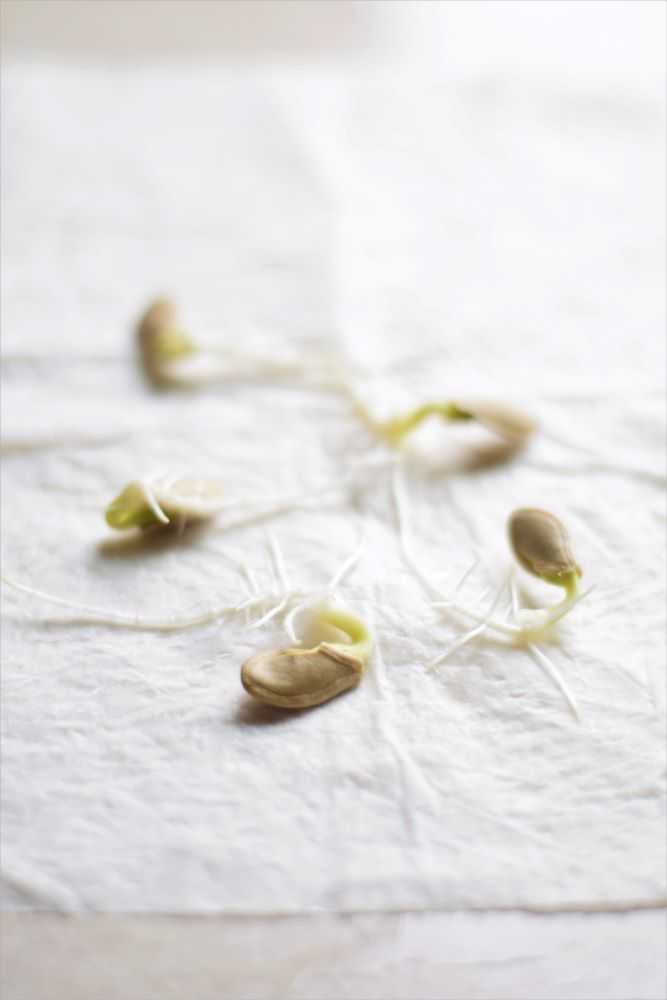
Most seeds take 3-5 days to germinate. I have had some that have taken up to a week. As soon as you see some root growth you can plant them in peat pots, egg cartons, or plastic containers.

Transplanting the seeds as soon as possible makes is less likely that the roots will become damaged, which may impede growth and proper development. If you wait too long, the roots will become long and tangled in the paper towel and root damage is more likely to occur. After you plant your seeds, it generally takes 2-5 more days for the seedlings to emerge.
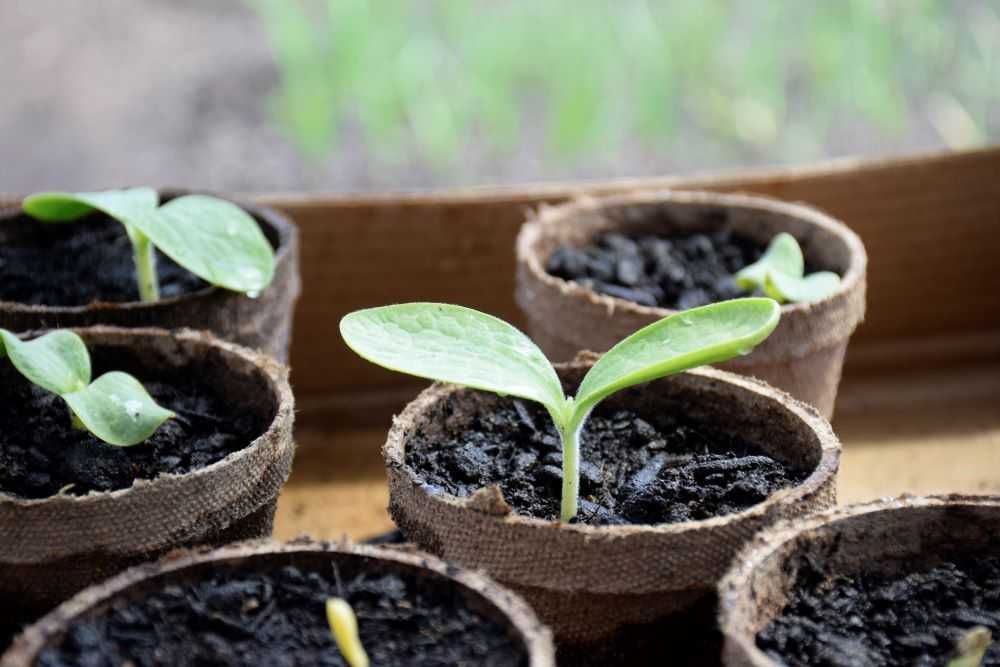
pumpkin seedlings in peat pots
After your seeds germinate plant them in pots. They will usually emerge in a few more days.

Hope you get better and faster germination this year by starting your seeds in paper towels before transplanting. Happy Gardening!


Not ready to plant right now? Be sure to pin for later!
Start Seeds in paper towels for better germination and a head start on the season.

You may also like:
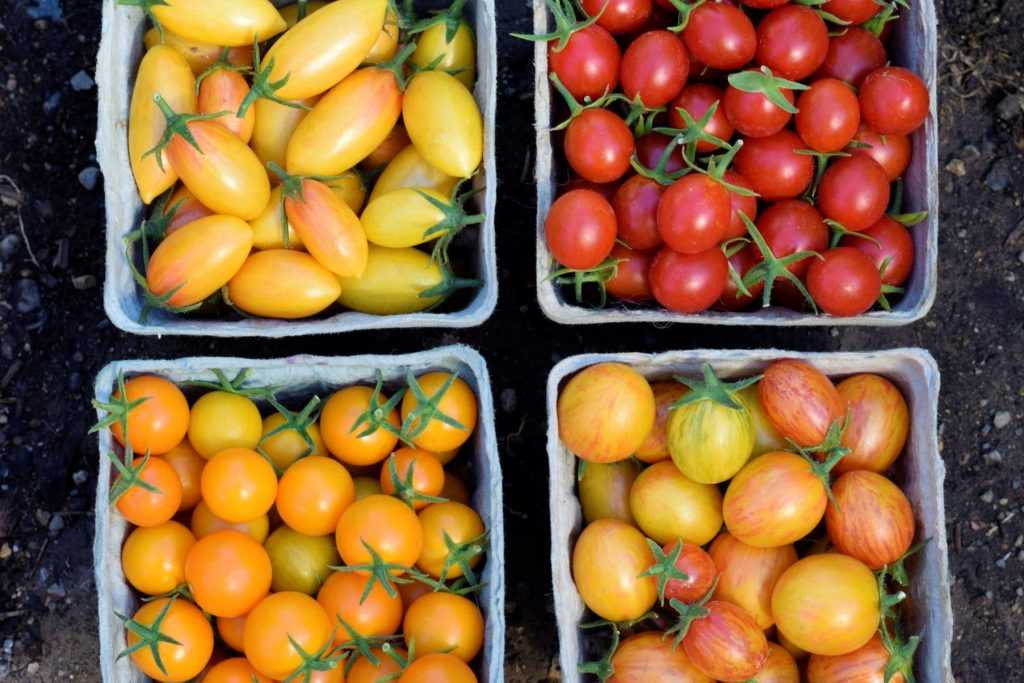
Orange yellow red cherry tomatoes

Cherry Tomato Taste Test


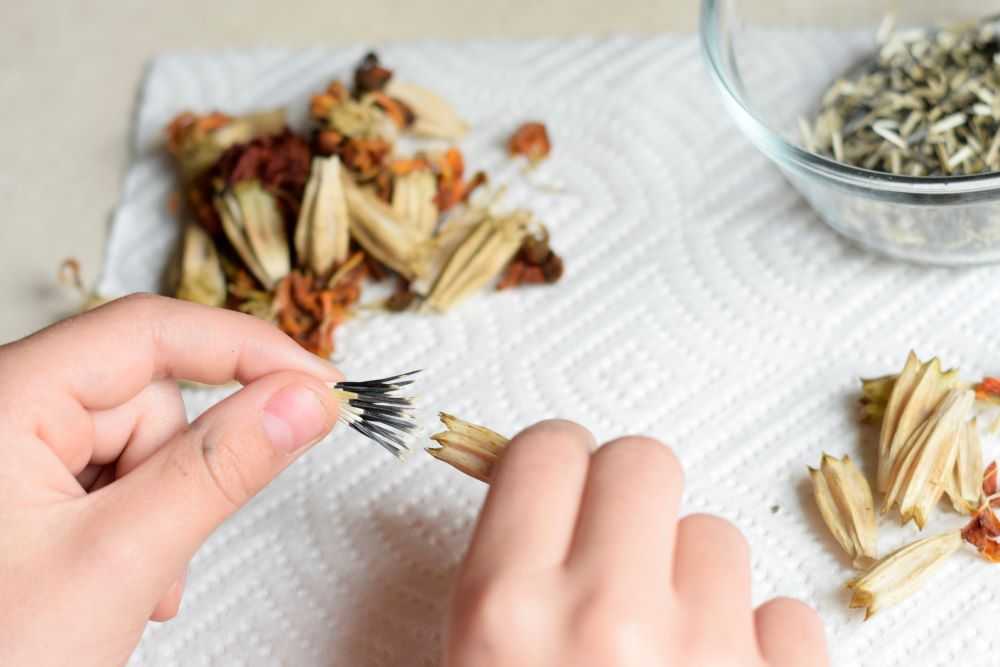
Taking marigold seeds out of seed heads

How to Save Marigold Seeds


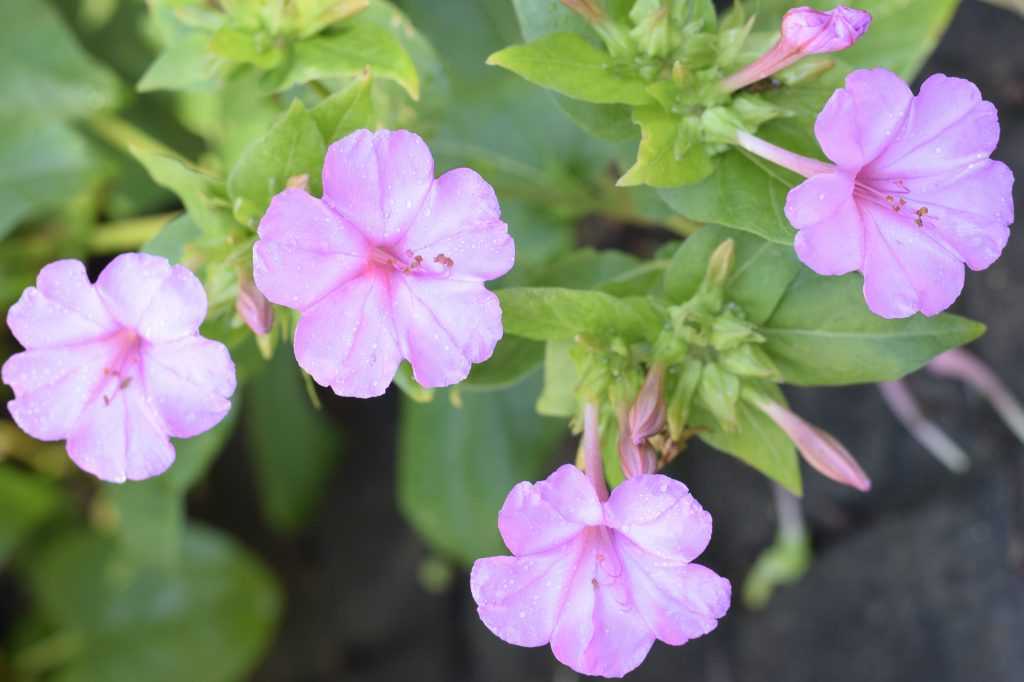
pink four o'clock flowers

How to Grow Four o’Clock Flowers

Garden Update – January 2021

The new year is here! It has been a challenge to get outside this month in between rain storms but luckily we have had some nice days too. Most of my time has been spent on planning, pruning, and other maintenance tasks. Here is what is going on in the garden this month:

Peas

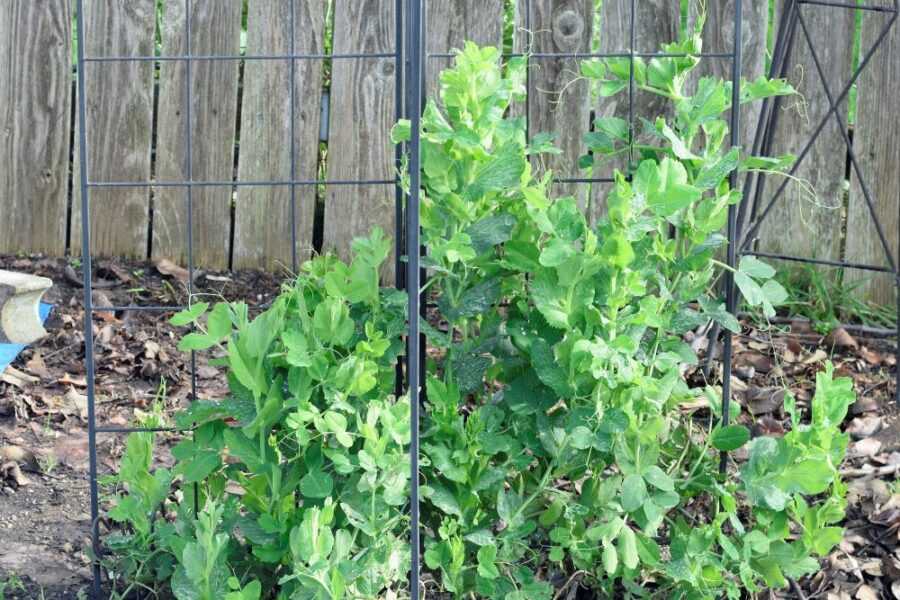
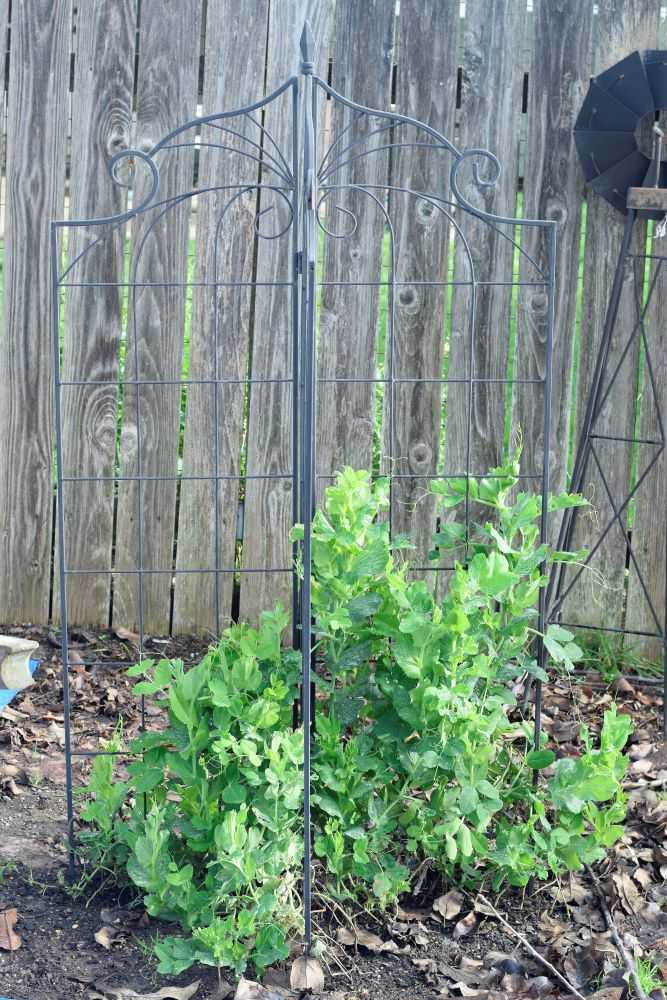
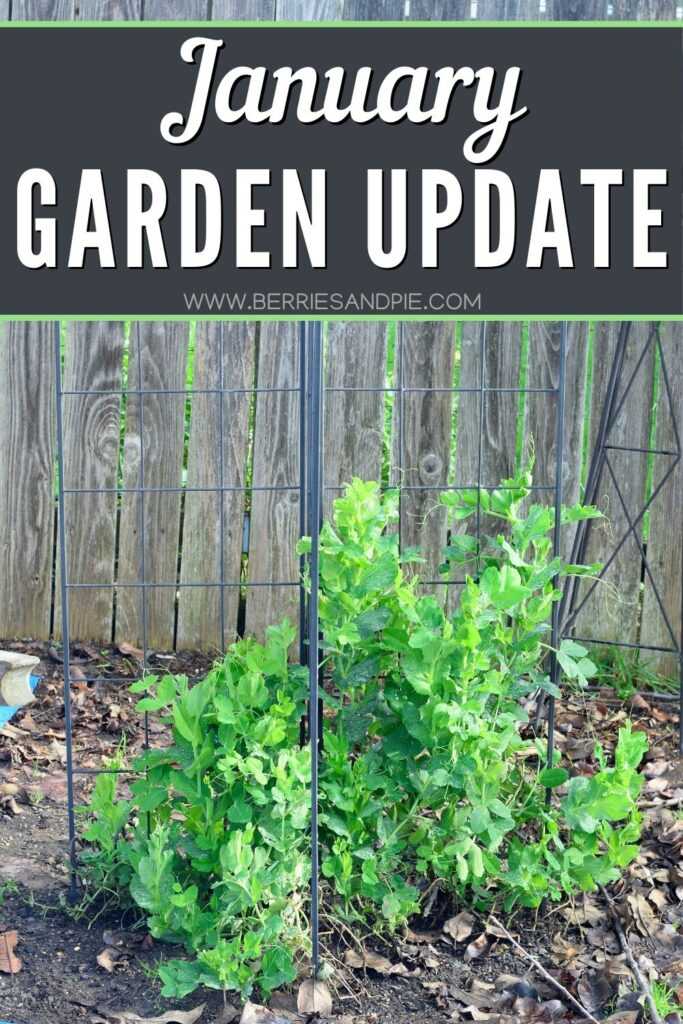
My peas are still doing well! I planted them last fall and they continue to grow and look very healthy. The birds have been pecking at them but luckily the damage is minor since the plants are well established. If the peas were still small seedlings the damage would be much more severe. I am looking forward to fresh peas in the next few months!

Related Post: How to Overwinter Peas

Overwintering peas in January
My peas are healthy and continue to grow!
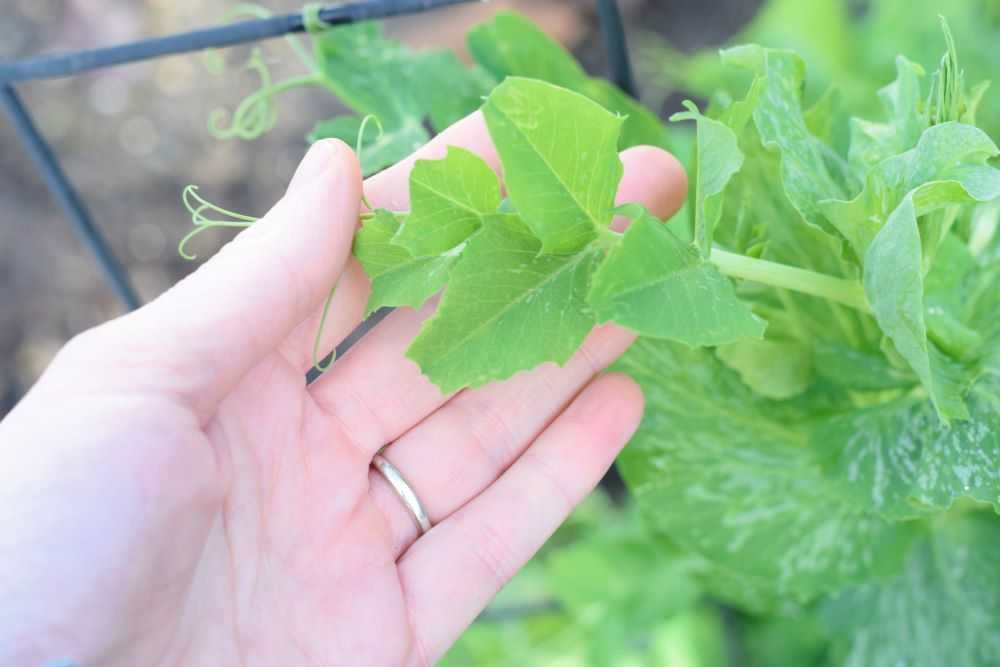
Bird damage on pea leaves
The birds have been pecking the edges of some of the leaves. Luckily the plants are large enough to withstand this damage.

Garlic

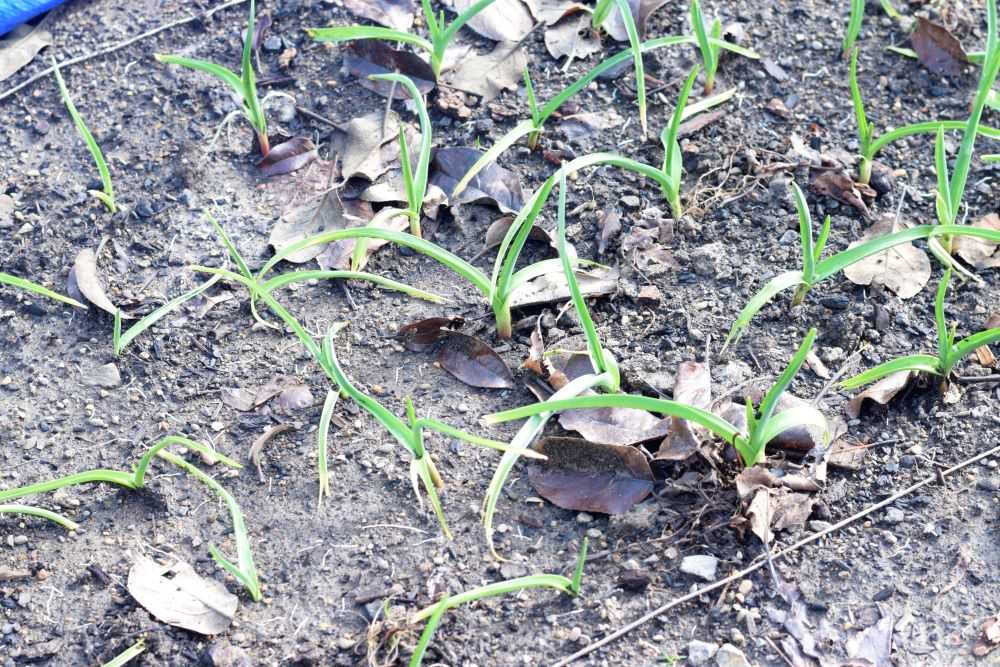
My garlic is still doing well after planting it last fall. Since we have been having mild weather this month, I was able to remove the mulch covering the garlic. The leaves greened up nicely and they are now 5-6 inches tall.

Related Post: How to Plant Garlic in the Fall

Overwintering garlic
My garlic is healthy and growing well!

Fruit Trees

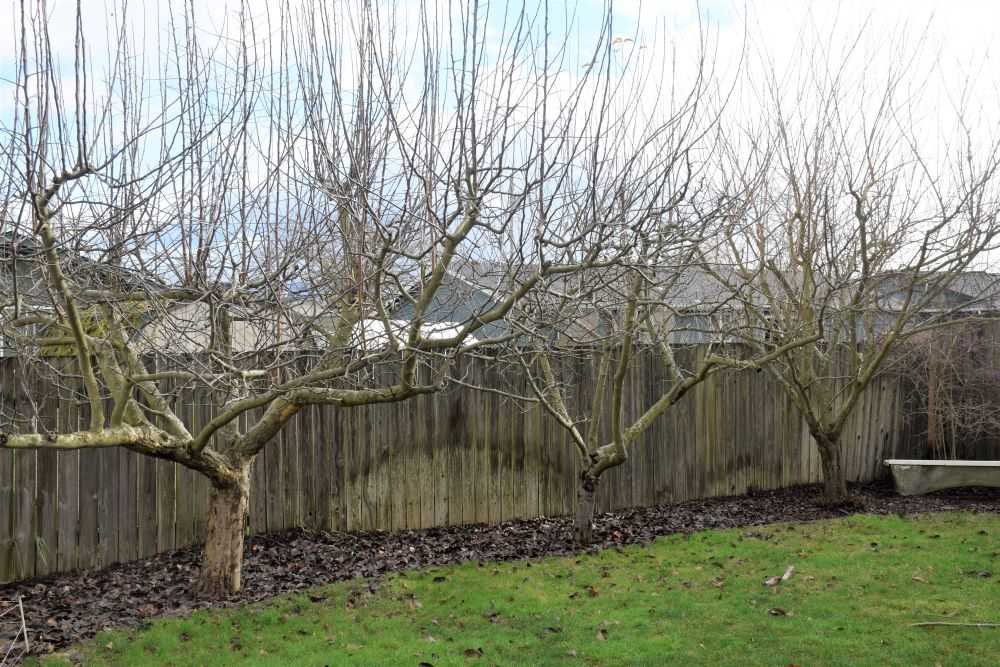
We have two apple trees, a plum tree, and two cherry trees. I have been pruning them over the last month, a little at a time between rain storms 🙂 My trees are 11 years old now and always put on a large amount of growth during the season. This makes pruning a big job. But this is what it takes to keep the trees open, healthy, and productive. I am looking forward to our fruit harvests this summer!

Related Post: How to easily clean rusty pruners

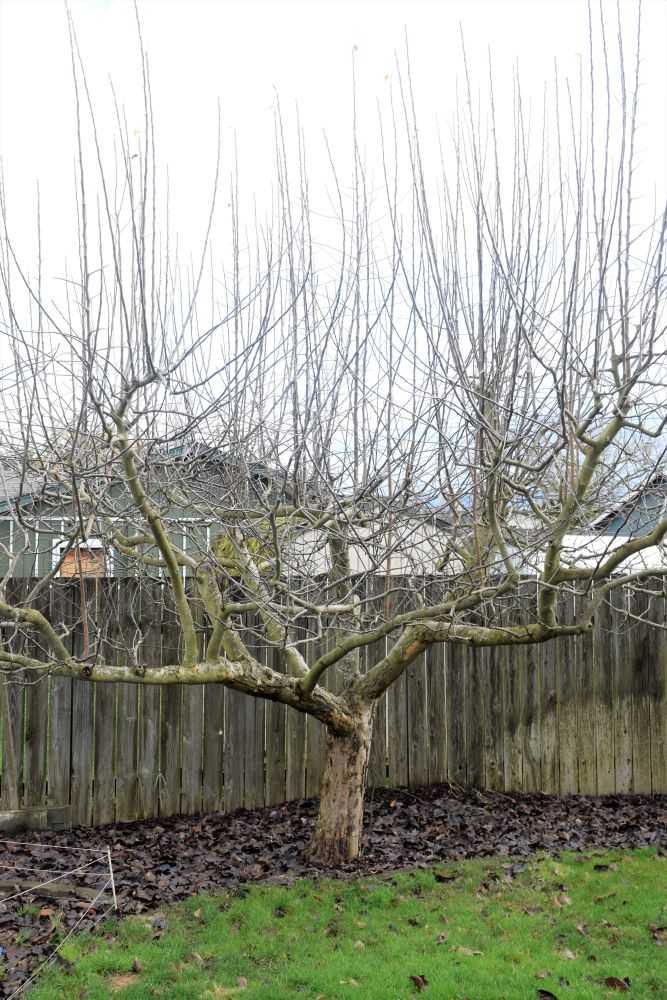
Fruit trees before pruning
My fruit trees this winter before pruning. My trees usually put on a lot of growth during the season so pruning is a big job!

Strawberries

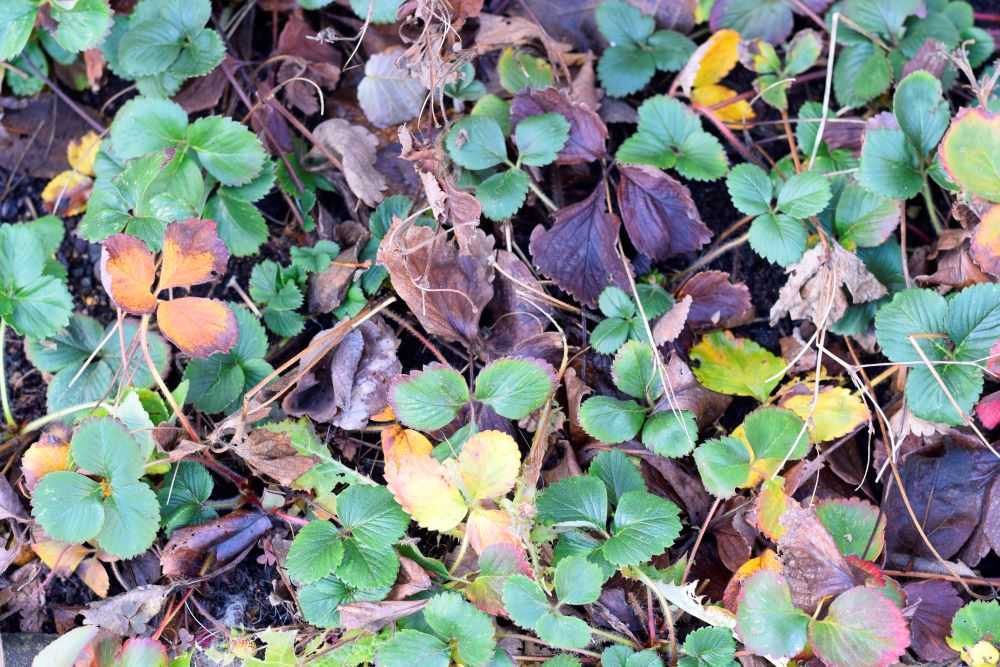
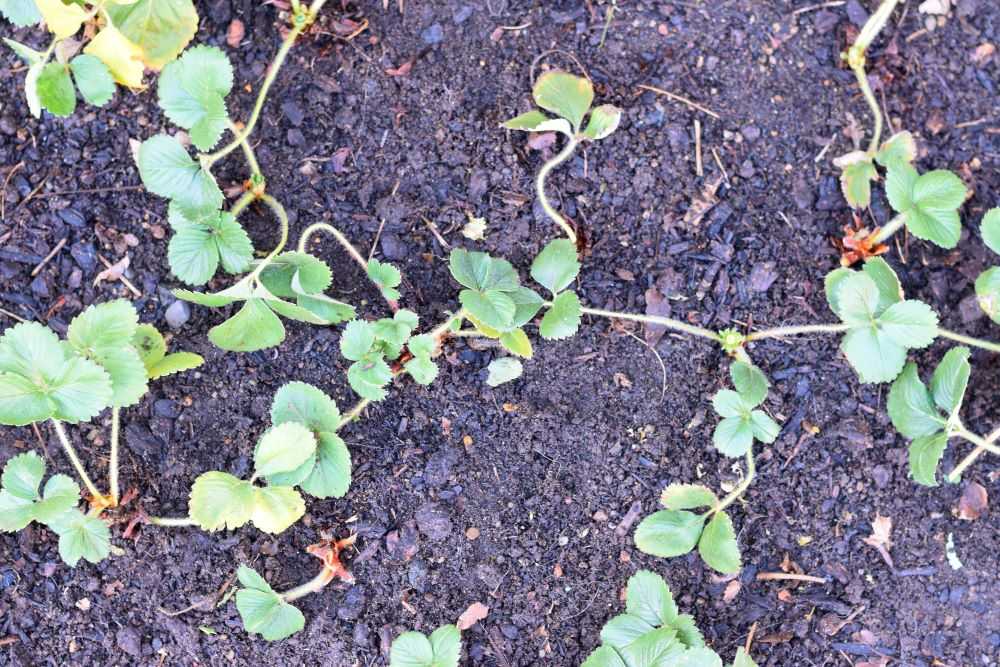
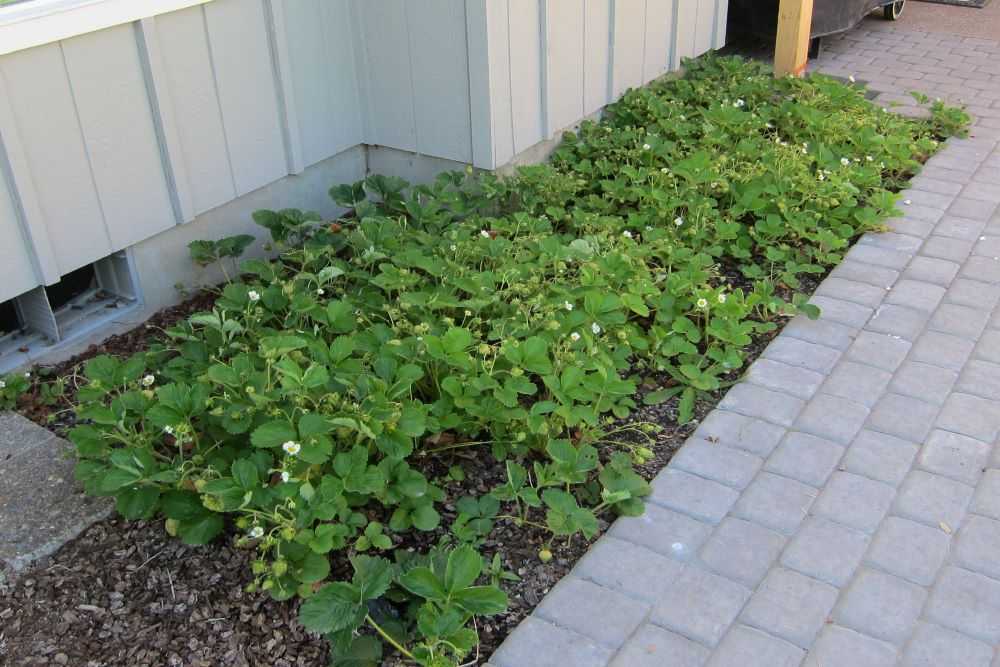
I cleaned up my strawberry patch earlier this month. It was very crowded from last year’s vigorous summer growth. I removed dead plants, dead leaves, and runners. I also adjusted the spacing on plants that were too close together. I am looking forward to a large harvest of sweet strawberries this spring!

Related Post: How to Clean Up Strawberry Beds

Strawberry plants with dead leaves over the winter
Before pruning my strawberries were a tangled mess.
Cleaned up strawberry beds
Afterwards they were spaced appropriately with all dead leaves and runner removed. Now the plants will be much healthier and productive!

Flowers

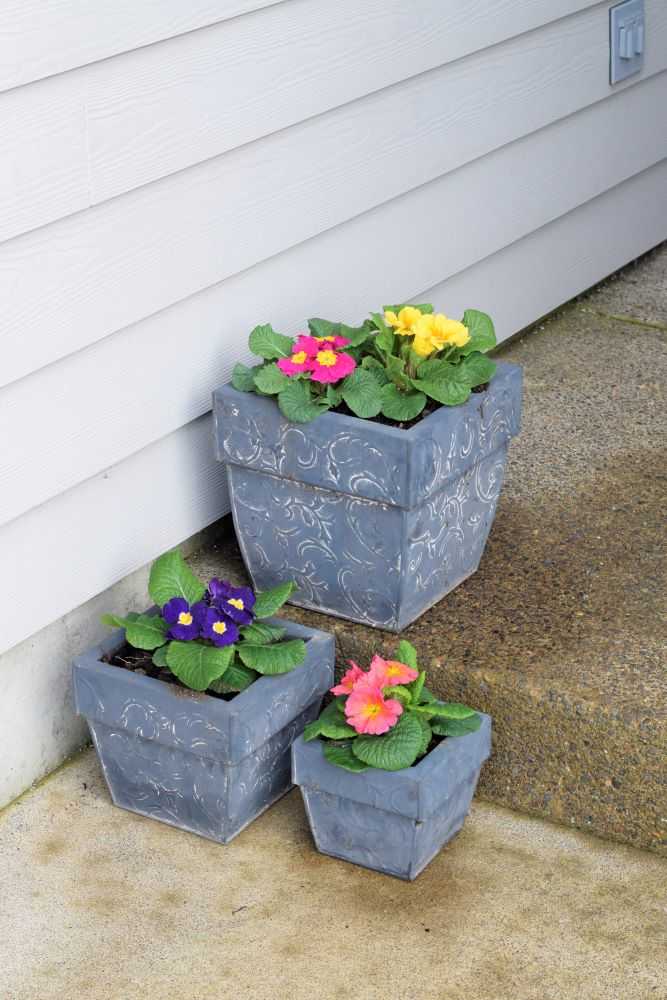
Last weekend I planted some primroses out front. Primroses are very cold hardy which makes them an excellent choice for this time of the year. I love the cheery colors!

Primroses add cheery color in the winter.
Cheery primroses add some color to our front porch.

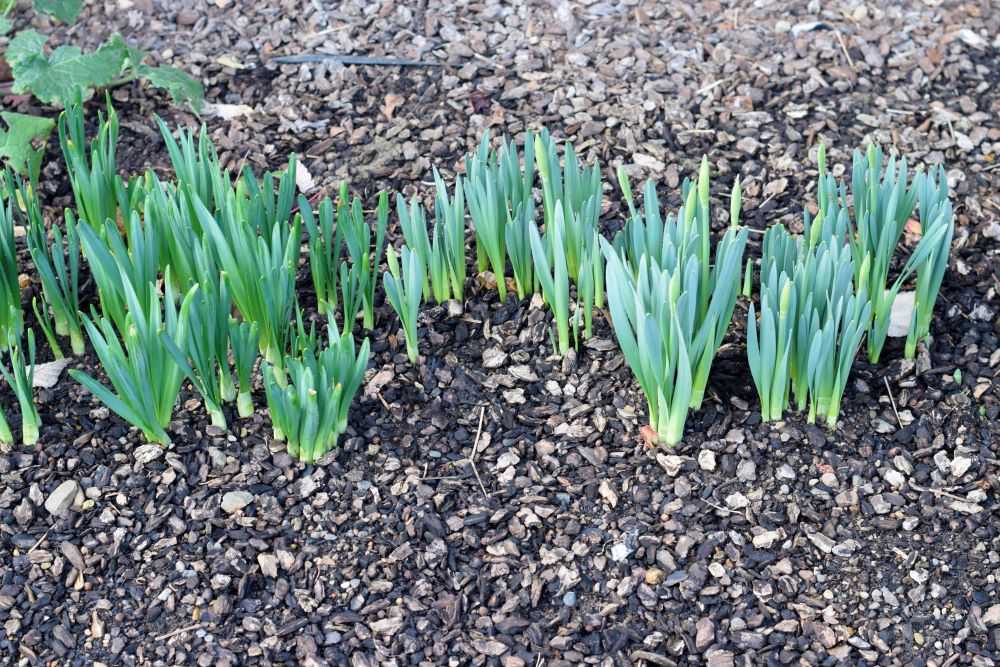
My daffodil bulbs are also starting to come up in my flower beds. This is a sign that spring is on it’s way!

Daffodils beginning to emerge.
Our daffodils are starting to emerge. Spring will be here soon!

Final Thoughts

Well, that’s it for January! It is hard to believe that spring will be here in only two short months 🙂 What have you been up to in your garden this month? Let me know in the comments below!

As always, Happy Gardening!


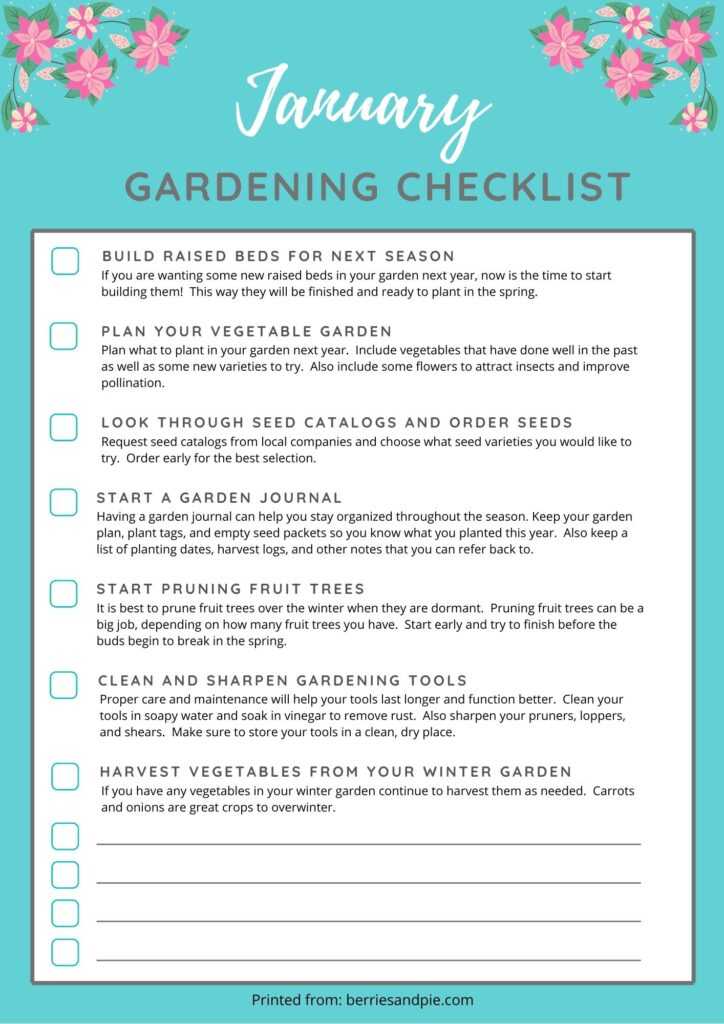
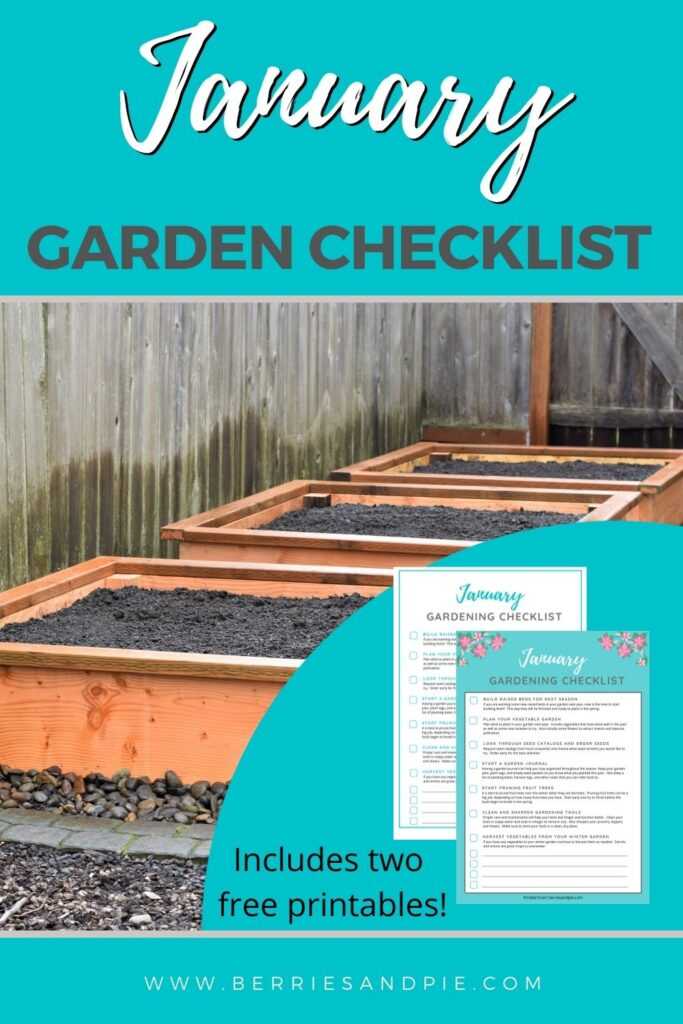
January Garden Checklist

The weather is cold but there is still plenty to do in the garden! Here are some tips and ideas for your garden this month.

The new year is here! Here in Oregon the weather is often very cold and wet in January which makes it difficult to get outside. Luckily there is still plenty to do indoors on these rainy days!

January is a great time to focus on planning, indoor projects, and maintenance tasks so you will be well prepared for the season ahead. The list below is based on my garden in zone 8, and you may need to adjust timing based on your specific climate and geographic location. Here are this month’s chores:

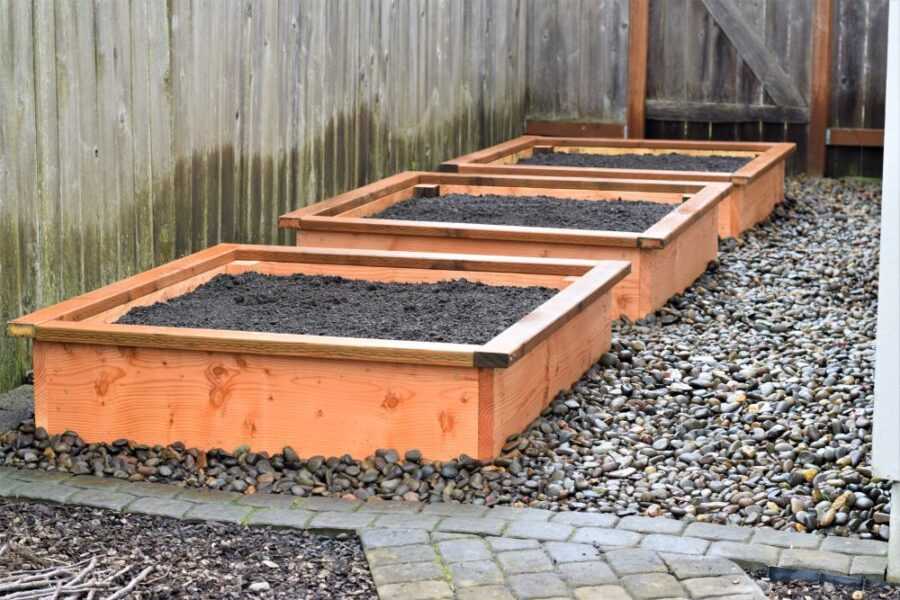
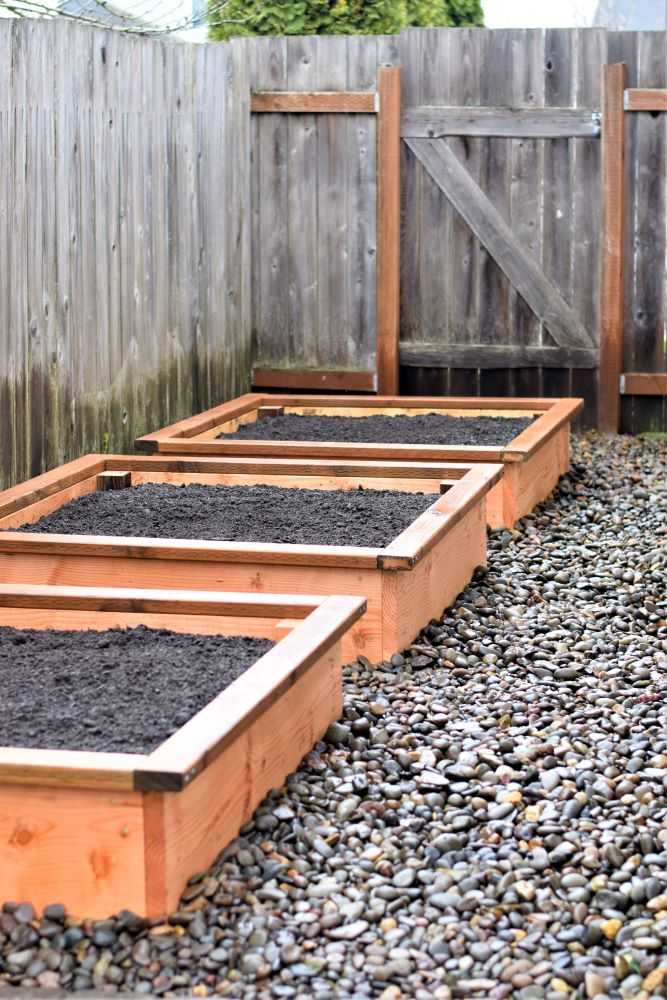
1. Build raised beds for next season

If you are wanting some new raised beds in your garden next year, now is the time to start building them! This way they will be finished and ready to plant in the spring.

raised garden beds

2. Plan your vegetable garden for next year

Now is the time to start planning what you want to include in your garden next year! Plan to include vegetables that have done well in the past as well as some new varieties that you will like to try. Also include flowers such as marigolds to help attract bees and other beneficial insects to improve pollination.

I usually plan my garden on a piece of graph paper. I always work in pencil because my plans are sure to change! After you are done place it in a plastic page protector. This will help to keep it clean and dry when you take it outside to plant your garden in the spring.

garden plan on graph paper

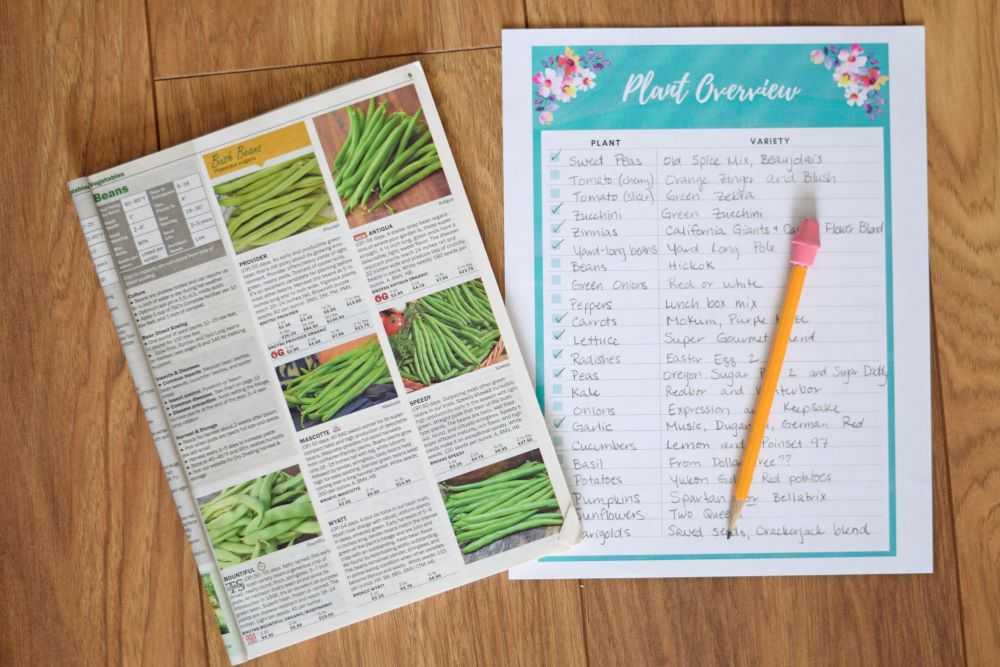
3. Look through seed catalogs and order seeds

Nothing beats the winter doldrums better than getting a seed catalog in your mailbox! Many seed companies will send you a free catalog if you request one on their website.

My absolute favorite seed catalog is from Territorial Seed because they are located in Oregon where I live. They carry varieties that do well in my specific climate and I have had great success with seeds I have purchased from them. Other popular seed companies are Park Seed, Burpee Seed, Botanical Interests, and Johnny’s Selected Seeds.

Enjoy going through the catalog and dreaming about what seed varieties you want to try. Be sure to order early for the best selection.

Look through seed catalogs and make a list

4. Start a garden journal

Having a garden journal can help you stay organized throughout the season. Keep your garden plan, plant tags, and empty seed packets so you know what you planted this year. Also keep a list of planting dates, harvest logs, and other notes that you can refer back to. Next year you can look back at what went well and what you learned.

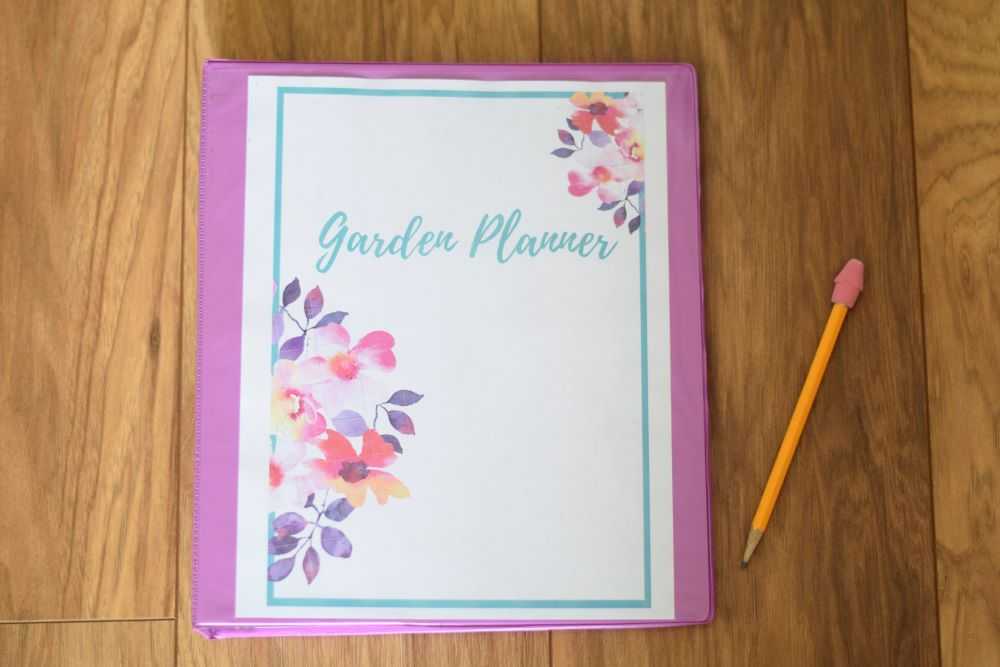
Start a garden journal by finding a notebook that you like. I like to use a 3-ring binder so I can easily add and remove pages. Record whatever information you find the most useful. Use dividers to help keep everything organized.

Use a 3 ring notebook as a garden journal

5. Clean and sharpen gardening tools

Now is a great time to clean and sharpen your garden tools so they are ready for the season ahead. Proper care and maintenance will help your tools last longer and function better.

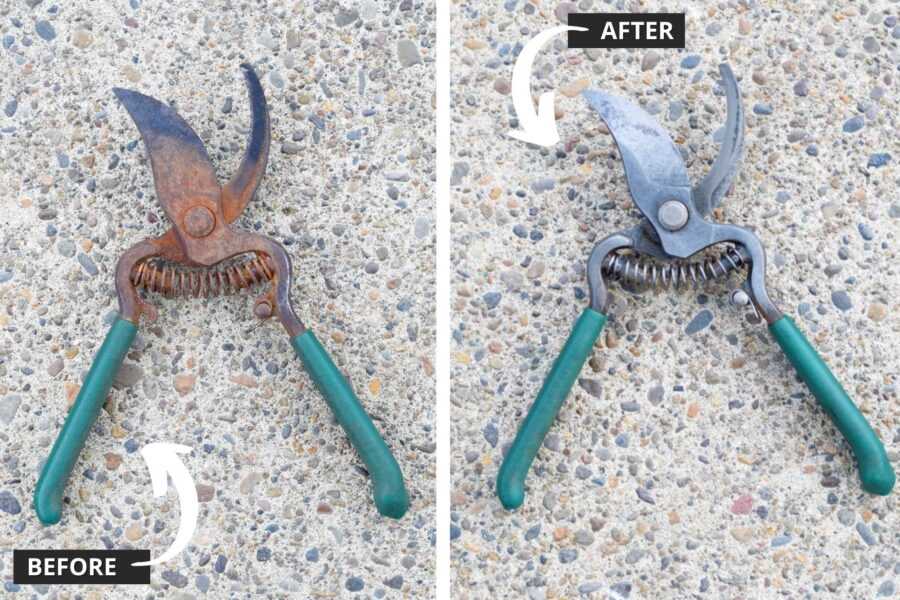
Clean your tools in soapy water and soak in vinegar to remove rust. Also sharpen your pruners, loppers, and shears. Make sure to store your tools in a clean, dry place.

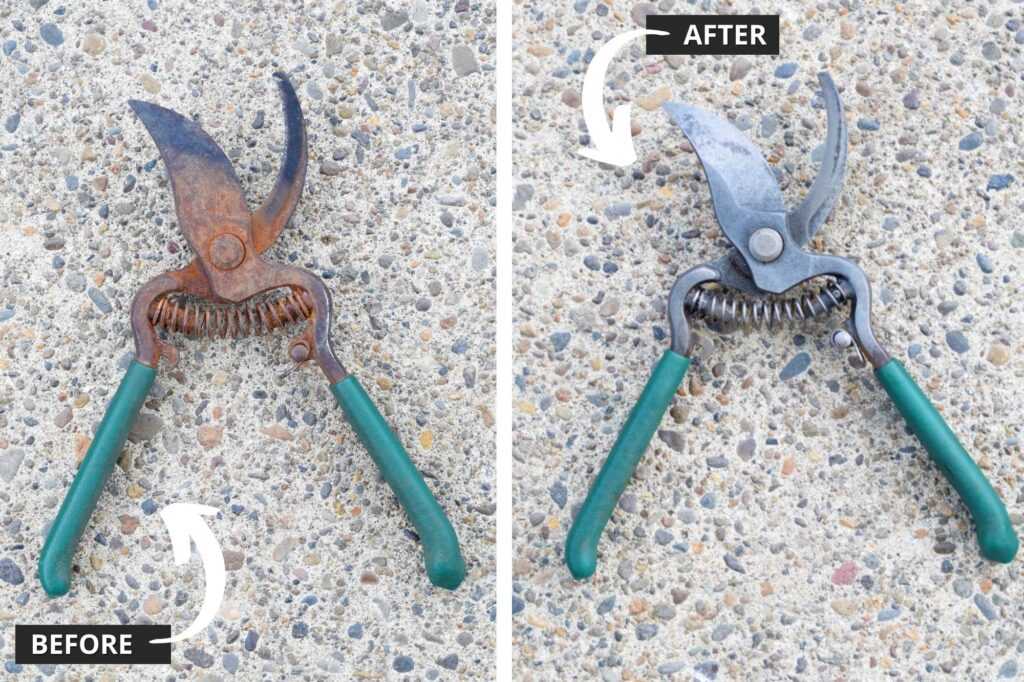
Related Post: How to easily clean rusty pruners

How to easily clean rusty pruners

6. Start pruning fruit trees while dormant

Regular yearly pruning will help develop a strong structure so your trees can handle the load of heavy fruit. It will also help to keep the trees healthy and improve fruit quality.

The best time to prune fruit trees is in the winter months when they are dormant. Winter pruning is easier on the tree and also easier for you because you can better see the framework of the tree without the all the leaves in the way. Pruning fruit trees can be a big job, depending on how many fruit trees you have. Start early and try to finish before the buds begin to break in the spring.

an apple tree that needs to be pruned

7. Harvest vegetables from your winter garden

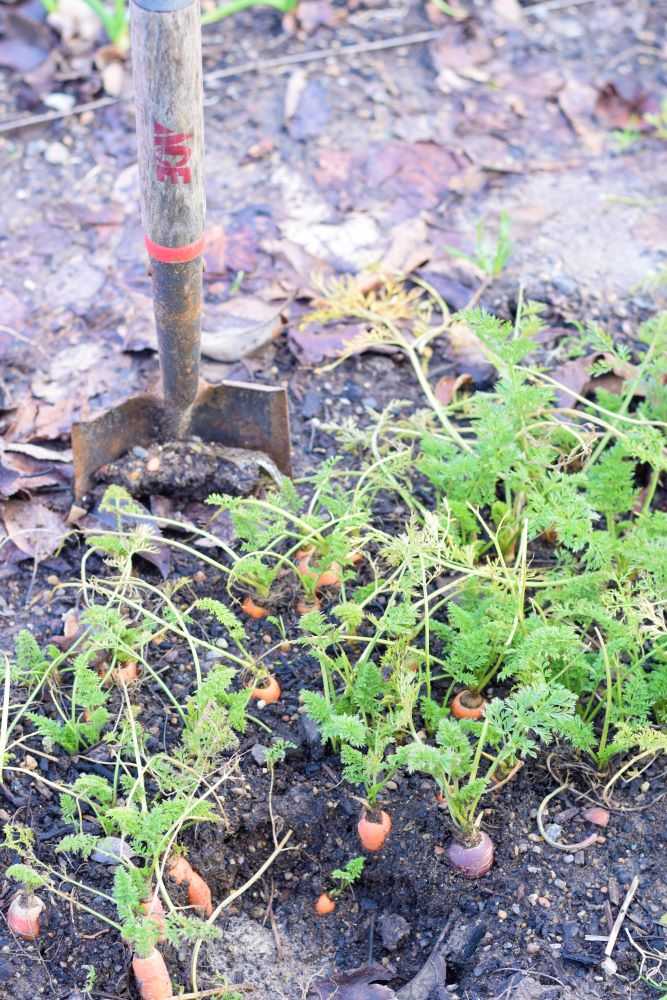
If you have any vegetables in your winter garden continue to harvest them throughout the season as needed. Carrots, onions, beets, turnips, and other root crops can be stored in the ground and harvested throughout the winter as long as the ground temperature stays above 20-25 degrees or so. The tops will die back but the roots will be crunchy and sweet. Make sure to dig all your root crops before spring because the quality will start to decline when growth begins again.

Harvest carrots throughout the winter

Final Thoughts

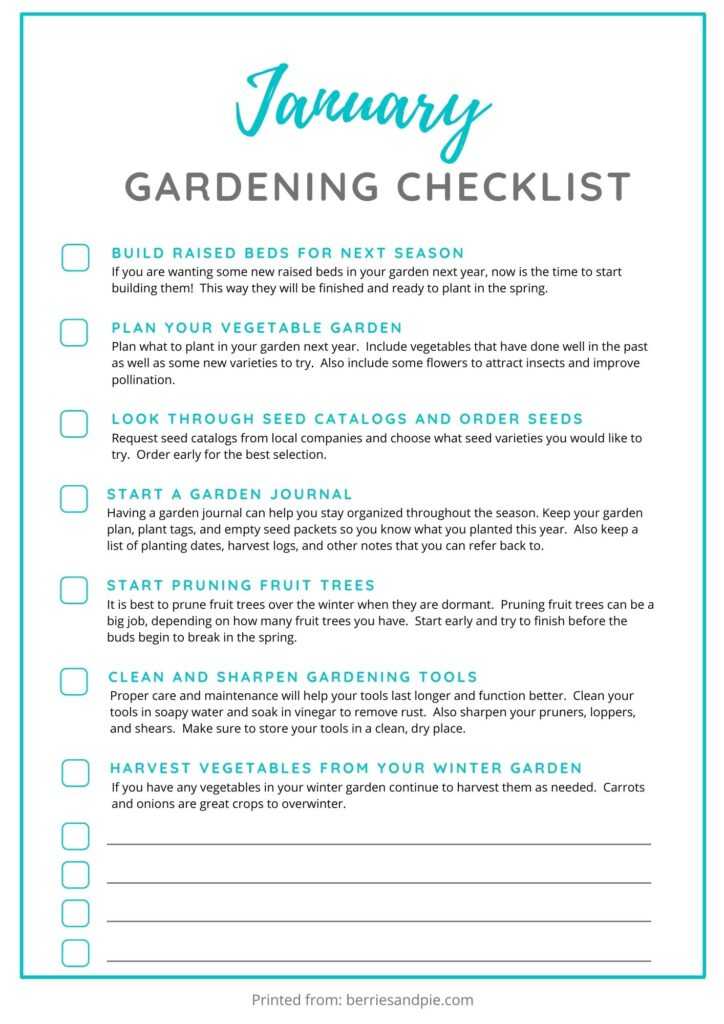
Hope you find some time to get in the garden this month! Print the checklist below to help keep you on track. There are also some blank areas so you can add your own items to the list. Happy gardening!


Free Printables:

January Garden Checklist (color version)

January Garden Checklist

January garden checklist

You may also like:
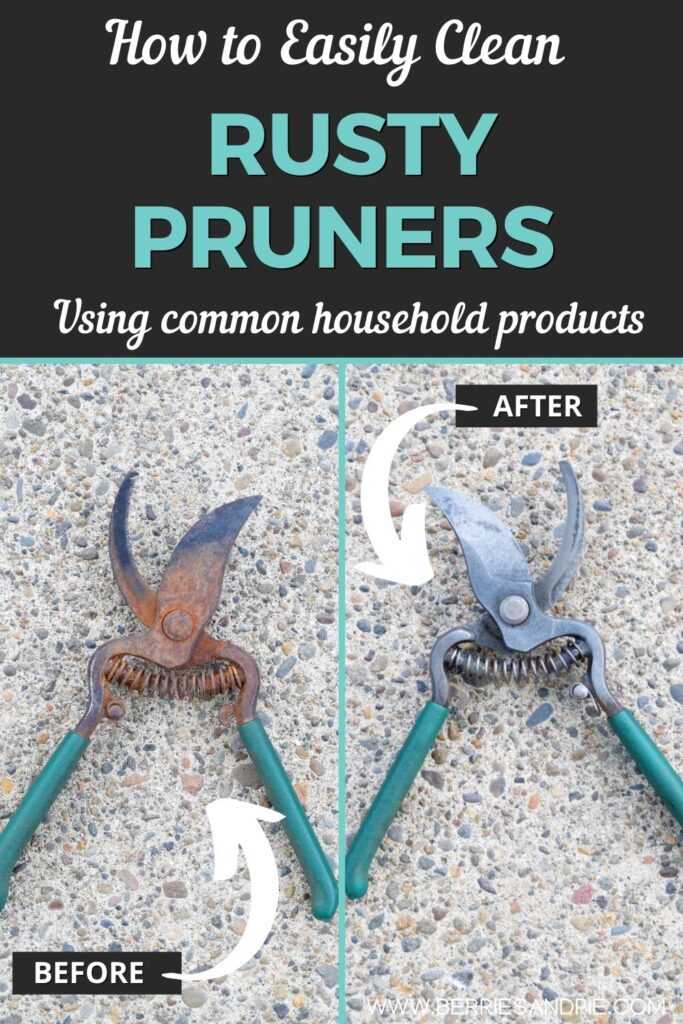
How to easily clean rusty pruners

How to Easily Clean Rusty Pruners

How to easily clean rusty pruners

How to Easily Clean Rusty Pruners

Learn how to easily clean rusty pruners to help keep them looking and working like new.

How to easily clean rusty pruners using common household products

Have you ever accidently left your pruners outside? They get wet from the rain or sprinklers and then you have unsightly rust covering one of your most used garden tools.

Rusty tools not only look bad but most importantly the rust can affect their function because they become stiff and will not open and close smoothly. I have even had some pruners that were rusted completely closed! Luckily, rusty pruners are very easy to clean with just a few common household products and they will be good as new in a day or so. Read on to learn how to get your pruners back into tip-top shape!

As a side note, I recommend NOT buying pruners with a green handle. I cannot tell you how many times I have set these down and not been able to find them because they were so camouflaged among my plants. This is probably why they got left out and rusty in the first place 🙂

Materials Needed to Clean Rusty Pruners

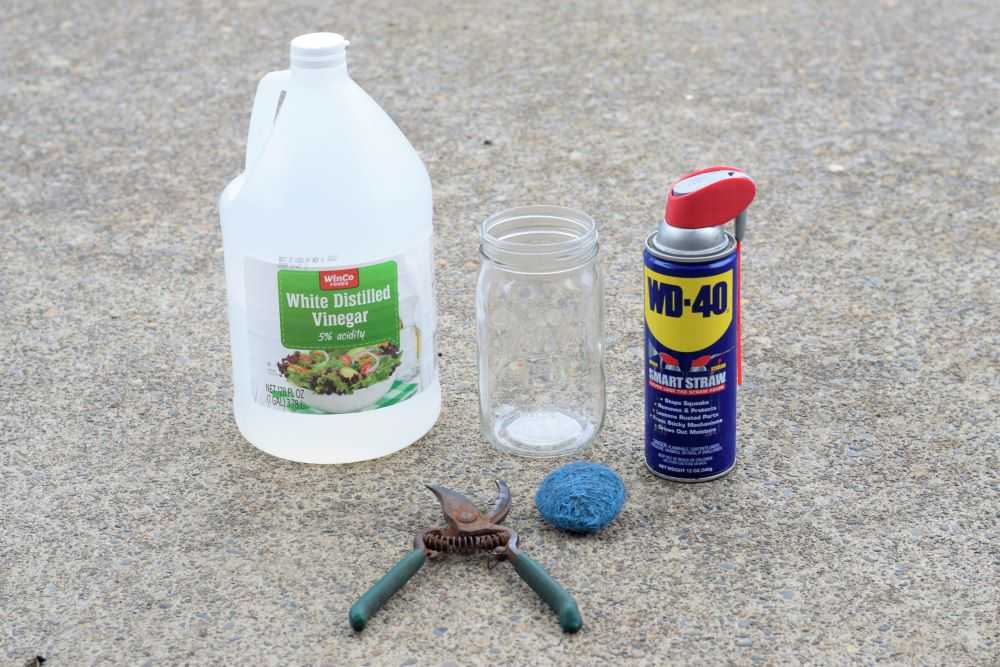
Materials to clean rusty pruners

Luckily, you only need a few common household items to remove rust from your pruners. You will need:

  • A glass jar, tall plastic tub, or small bucket big enough for your pruners to fit inside
  • Vinegar, 3-4 cups or enough to cover the rusty parts of your pruners
  • A scouring pad, steel wool, or a wire brush
  • WD-40 or other lubricant
  • A pliers or a wrench to take your pruners apart so they are easier to clean (optional)

How to Clean Rusty Pruners

Step 1: Soak the Pruners in Vinegar Overnight

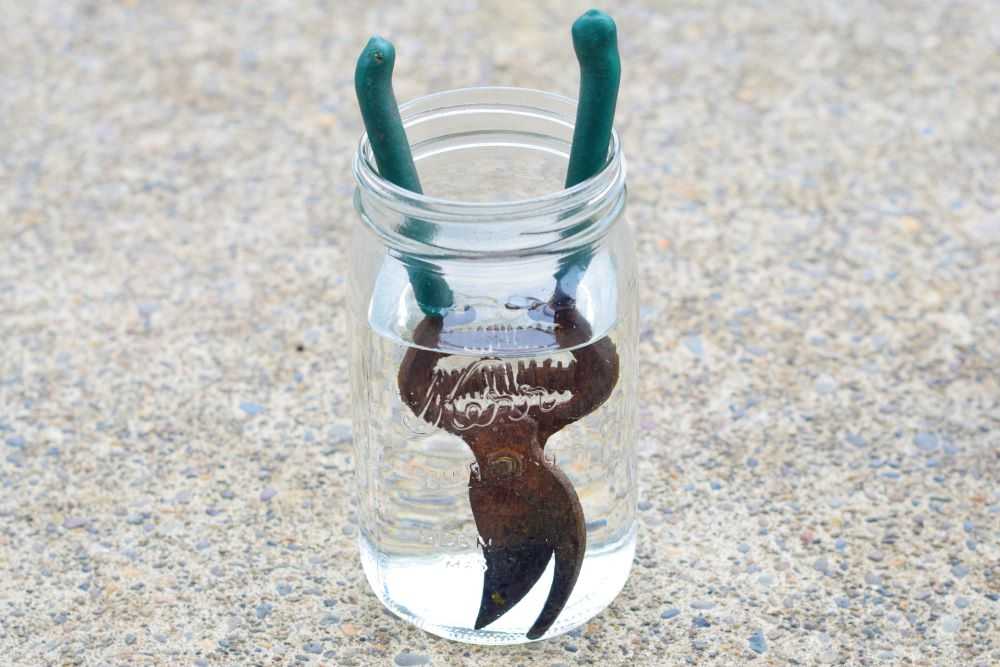
Place your rusty pruners in a glass jar or plastic tub. Any container will work as long as it is deep enough for the rusty parts to be submerged.

Pour in enough vinegar to cover the rusty parts of the pruners. This may be 3-4 cups depending on the size of your container. Let this sit overnight.

Soak the rusty pruners in vinegar

Step 2: Take the Pruners Apart (optional)

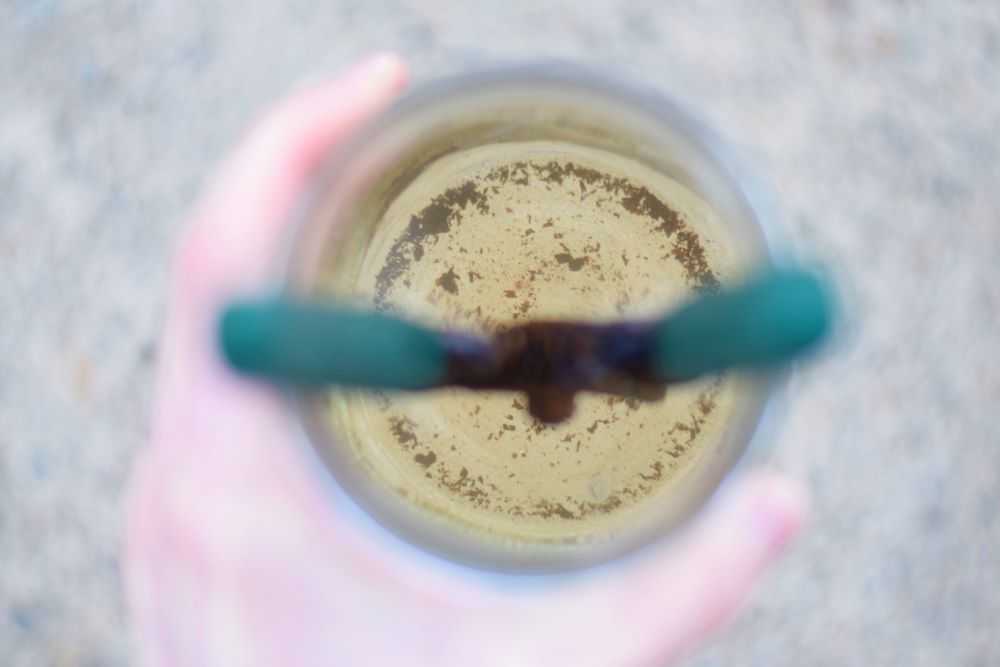
After the pruners have sat in the vinegar overnight the vinegar will become cloudy and you will see some of the rust has already started to come off.

Rust comes off after soaking in vinegar

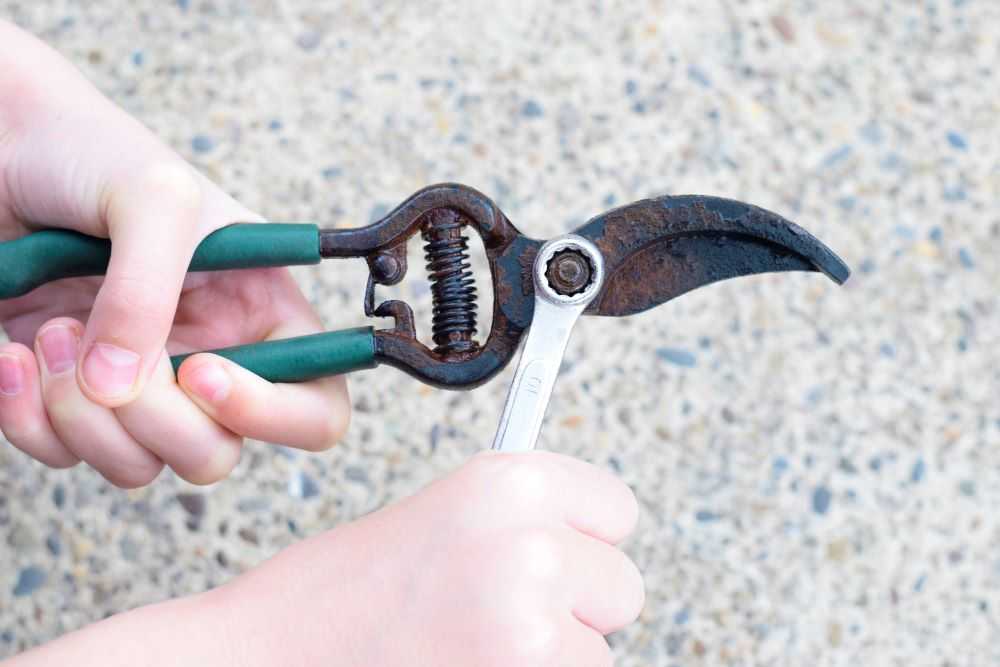
If you have the type of pruners that can come apart, I highly recommend doing this so they are easier to clean in the next step. Take pliers or a small wrench to remove the bolt. Put it in a safe place so you do not lose it!

Take the pruners apart

Step 3: Clean the Pruners with a Scouring Pad

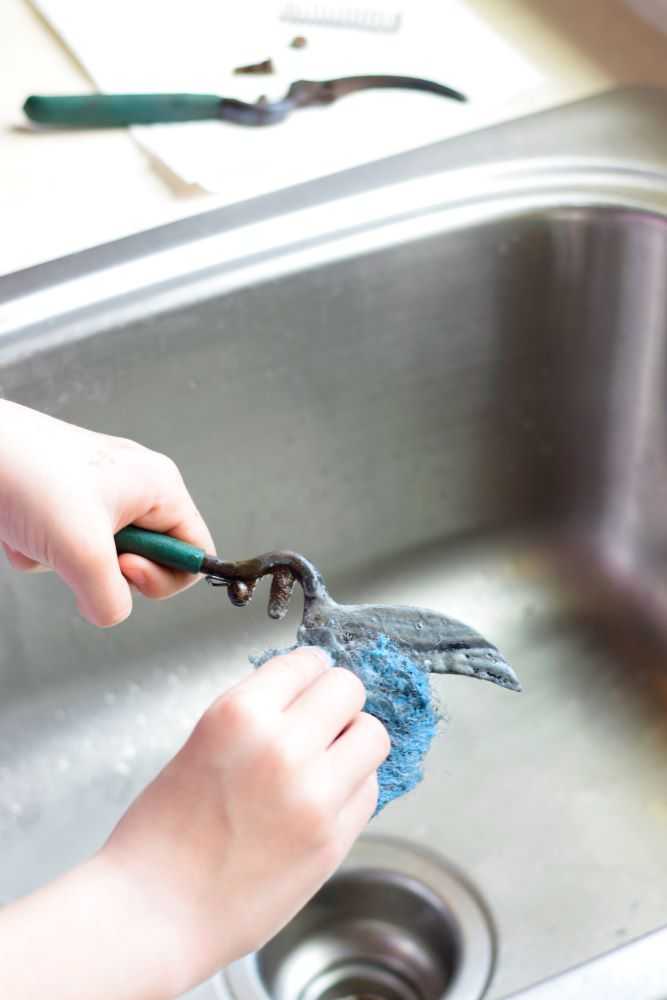
Use a scouring pad to clean the remaining rust off of the pruners. The rust should have softened considerably overnight and be easy to remove. I like to use steel wool but a wire brush is also very helpful to get in the small areas. Give the pruners a final rinse and then dry thoroughly with a cloth or paper towel (you don’t want them to get rusty again!). If you took your pruners apart earlier, now is the time to reassemble them.

Clean the pruners with steel wool

Step 4: Apply Lubricant

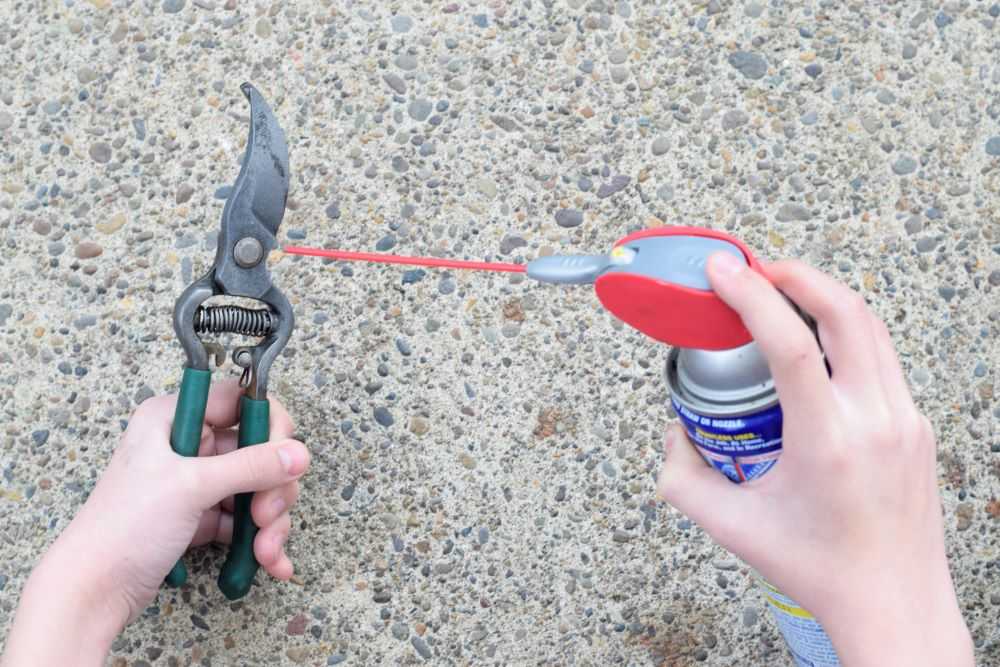
Apply some WD-40 or other lubricant so the pruners open and close easily. This will also help to protect them from rust in the future. When you are finished store your pruners in a dry place to help them stay in tip-top shape!

Add some WD-40 to protect the pruners

Final Thoughts

There you have it! Now you know the best way to clean your pruners so they are ready for the season. As always, happy gardening!

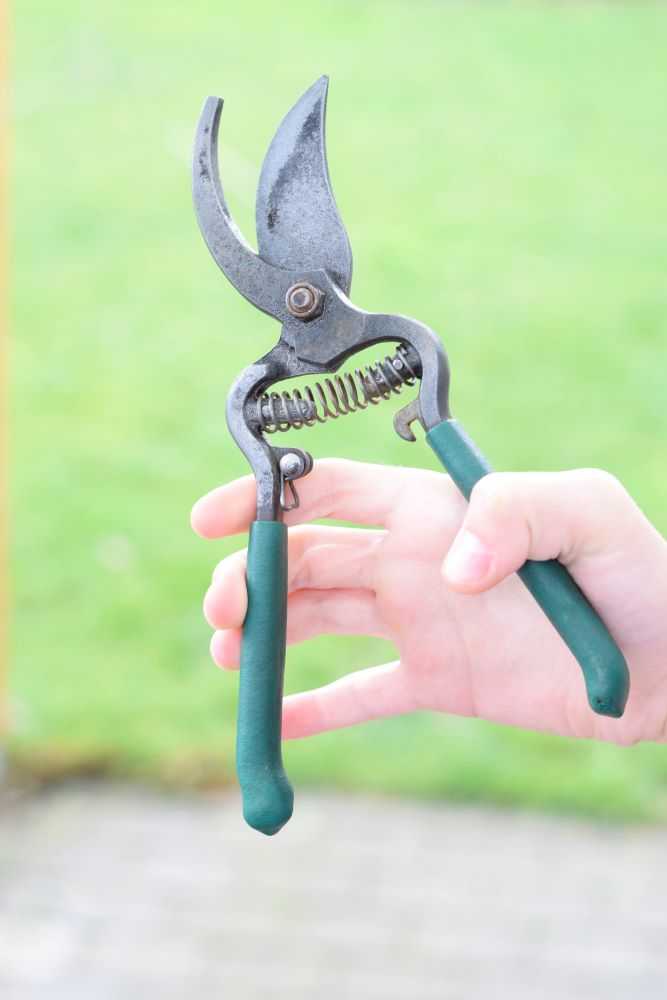
Rust free pruners

You may also like:

Strawberry plants with dead leaves over the winter

How to Clean Up Strawberry Beds

Strawberry plants with dead leaves over the winter

How to Clean Up Strawberry Beds

Strawberries are a wonderful plant to include in your home garden! With proper care they can produce sweet juicy strawberries for many years. However, strawberry plants can take a beating over the winter. Leaves die and if you did not prune your runners the previous summer your berry patch can easily become a tangled mess like the picture below:
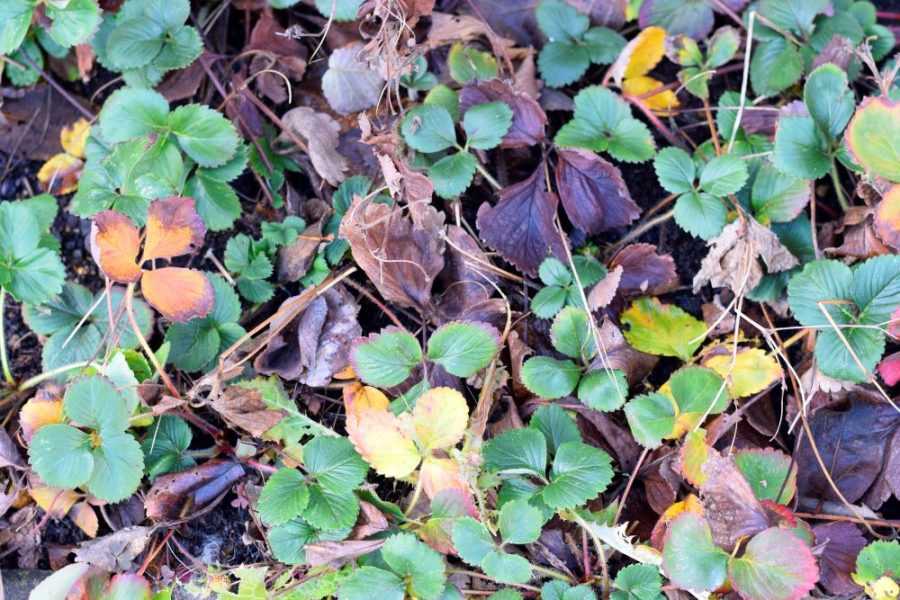
Strawberry plants with dead leaves over the winter
Strawberry plants can easily become a tangled mess over the winter. Cleaning them out before growth starts will help to keep the plants healthy and maximize yields the following spring.

Today I will show you how to clean up your strawberry beds so they are ready for growth in the spring. Let’s get started!

Why to Clean Up Your Strawberry Beds

There are several reasons to clean up your strawberry beds before growth starts in the spring:

  • Old leaves and plant materials left behind can propagate diseases.
  • Snails and slugs can become a problem when there are a lot of dead leaves and places for them to hide.
  • Dense plantings compete for light and nutrients, which will decrease productivity and lead to smaller berries.
  • Pruning increases air circulation which will reduce the chance of diseases to spread.

When to Clean Up Strawberry Beds

One of the best times to prune strawberries is in the summer, right after the final harvest of the year. However, since leaves may die over the winter months, strawberries should be cleaned up and pruned a second time in late winter. This is past when any damage will occur due to cold weather but before they put on lush spring growth. Late January through early March is generally a good time.

How to Clean Up Strawberry Beds

Step 1: Pull up old plants

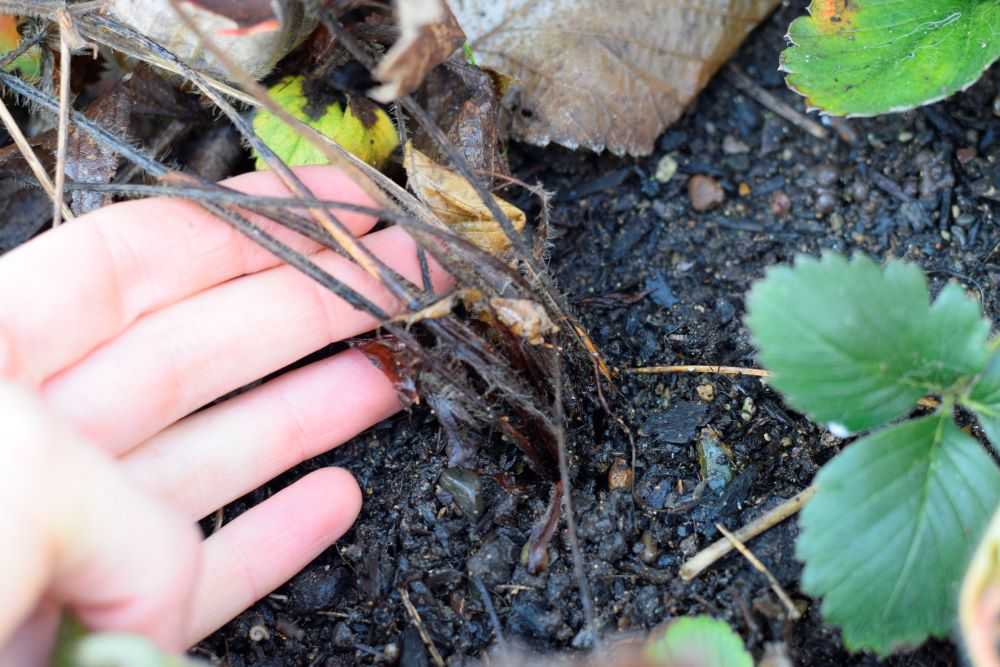
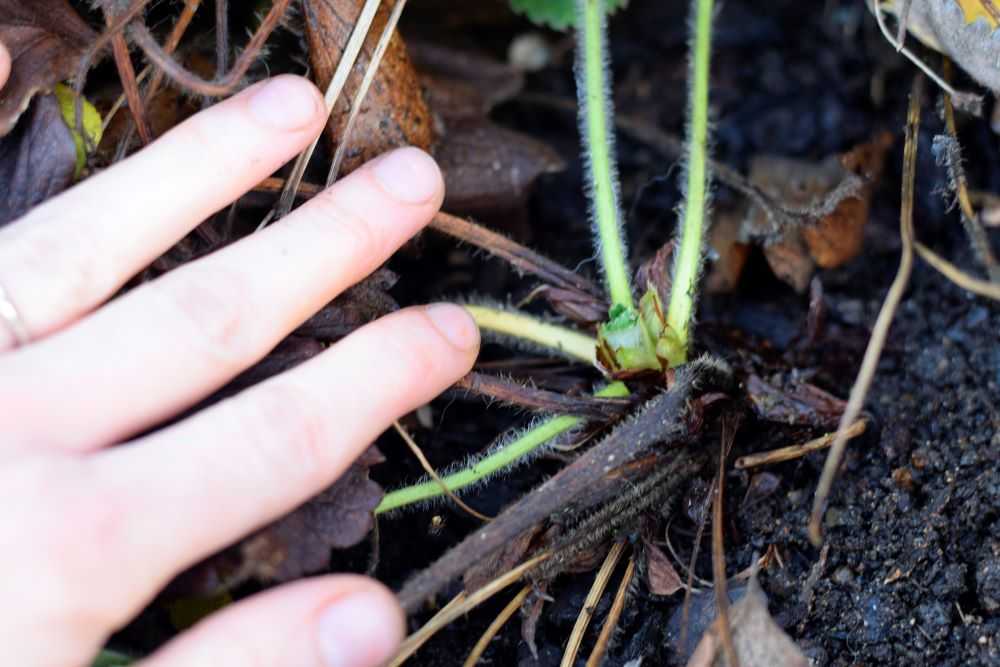
Strawberry plants die for a number of reasons and they need to be removed from your strawberry bed. You can recognize these plants because the leaves are dead and there is no green growth at the crown. Since strawberry plants naturally decline in productivity after about three years, also pull up any plants that are hard and woody and show little new growth.

a dead strawberry plant
This plant has brown, dead leaves and no green growth at the crown. Pull it up and remove it from your strawberry bed.

Step 2: Prune away dead leaves, runners, and flower stalks

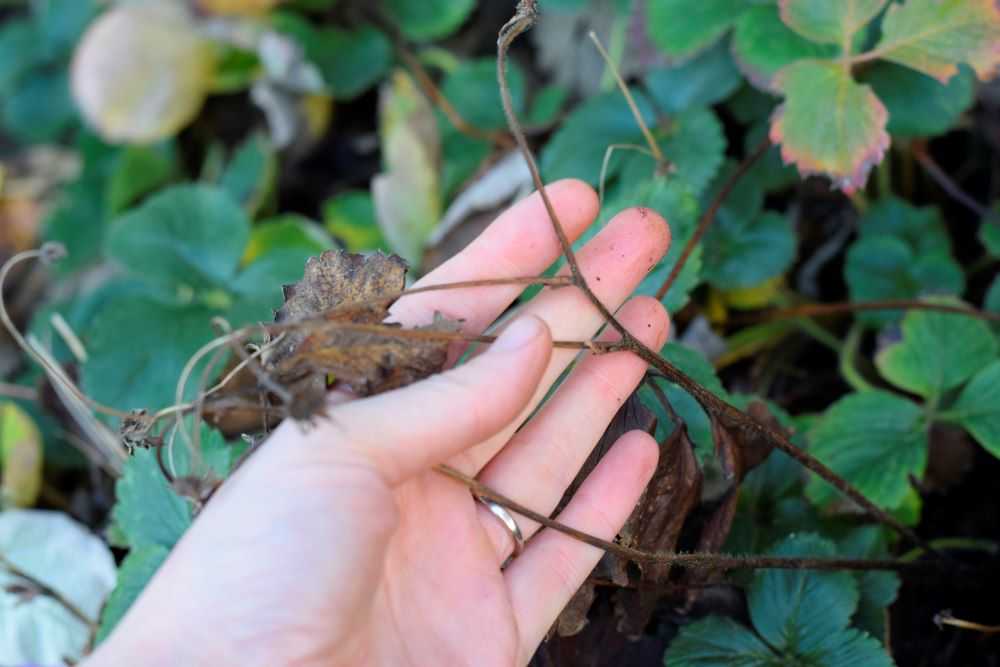
Dead leaves are of no benefit to the plant and can spread diseases. They also give a place for snails, slugs, and other pests to hide. Prune these off at their base, being careful not to damage the crown of the plant. Also remove older leaves that are very long and dull, or leaves that are red or yellowed. Leave the healthy green leaves growing close to the crown of the plant.

Cut away dead leaves at the base of the strawberry plant.
Prune away dead leaves at their base. Leave healthy green leaves and be careful not to damage the crown of the plant.

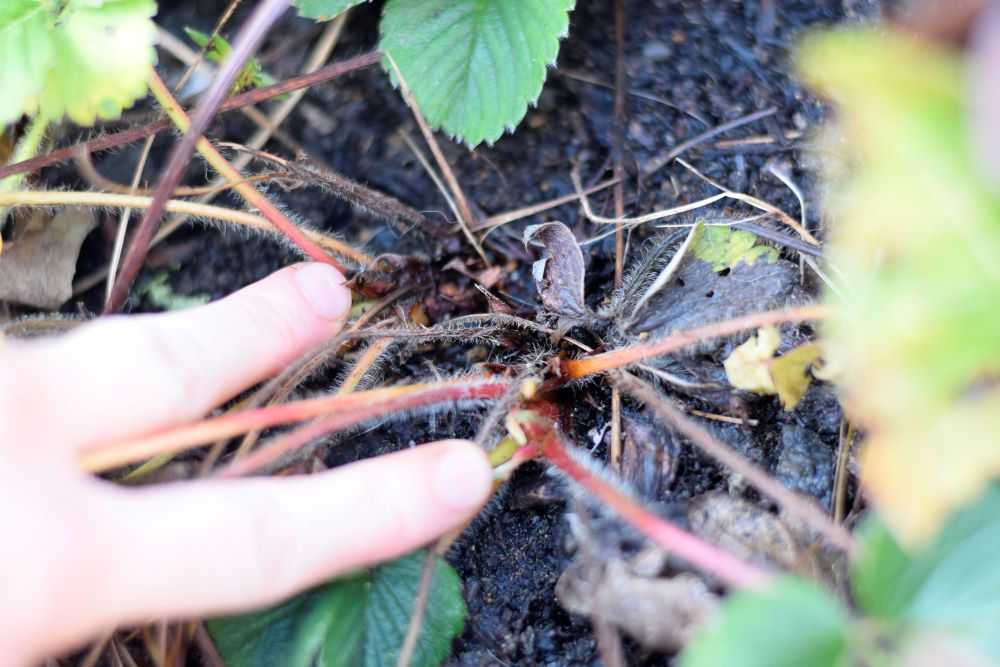
Sometimes old flower stalks are still attached to the plant. They serve no purpose at this point so make sure to remove them as well.

Also remove runners, or the stems that go between plants, as these can become rather tangled. If the daughter plants are rooted and healthy, I usually leave these in the ground but take them out if they look unhealthy or if they have not rooted properly.

a dead flower stalk on a strawberry plant
Remove old flower stalks as well as the runners that go between plants.

Step 3: Pull up plants that are overcrowded or not where you want them

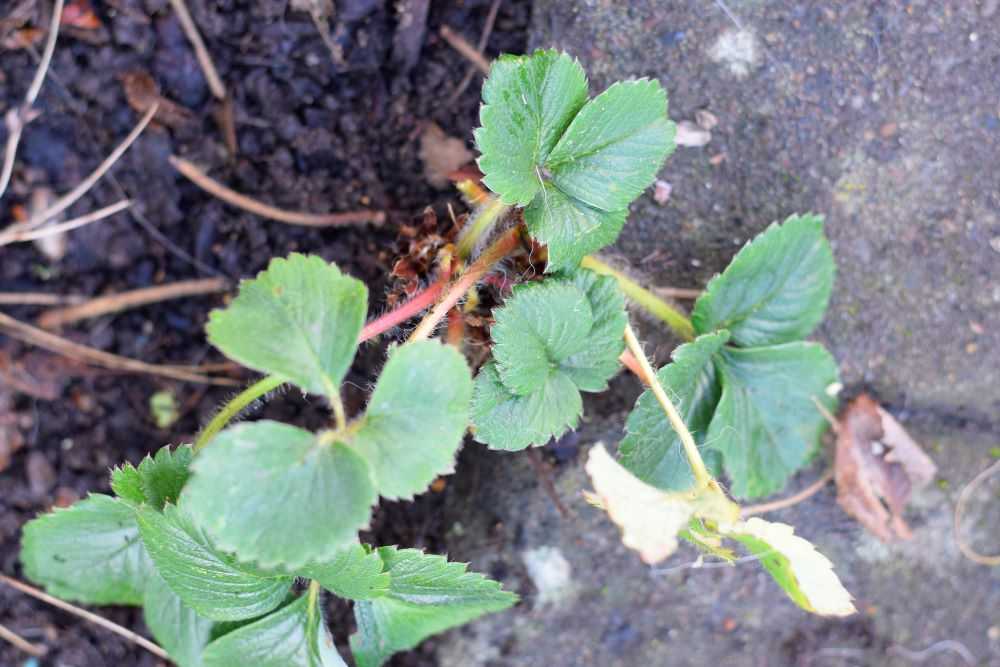
In the summer months strawberries send out a multitude of runners in every direction. If not pruned off these take root and form a new plant. Sometimes these runners end up in a good location, and sometimes they are not where you want them. Do not be afraid to dig these up and transplant them elsewhere in your planting bed. For example, the strawberry plant below ended up too close to my walkway so I carefully dug it up and moved it to a different location.

a strawberry plant
Although this strawberry looks very healthy, it is too close to my walkway. In this location, it will not be able to develop a full root system. I carefully dug it up and replanted it elsewhere in my bed.

Also remove strawberry plants that are too close to each other. Strawberries that are too close together they will compete for light and nutrients which will decrease productivity and lead to smaller berries. Dense plantings also reduce air circulation, trap moisture, and spread diseases.

How should your strawberry plants be? Plants should be spaced at least 6 inches apart so they have plenty of room to grow.

If you find plants too close together carefully remove one of them. If the plant looks healthy you can move it to another location in your strawberry bed. Or, you can plant it in a pot or share it with a friend.

two strawberry plants growing close together
These two plants are too close together. I kept one and moved the second plant to a new location.

Eventually this is what we want to end up with: healthy strawberry plants, spaced at least 6 inches apart, with dead leaves and runners removed. This is such a big difference from where we started out!

strawberry bed after pruning
After pruning strawberries are spaced appropriately with unhealthy plants, dead leaves, and runners removed.

Growing Tips

Now that your strawberry beds are cleaned up, here are a few more growing tips:

Add Mulch

When you are finished cleaning up your strawberry bed you can add some mulch around the base of your strawberry plants. This will help to keep the soil moist, prevent disease from spreading as easily, regulate the soil temperature, and keep the berries off of the dirt. Clean straw works well for this.

Water Regularly

Spring rains usually provide enough water for your strawberries but make sure to water them if you have a dry spell. The soil should be kept moist but not overly soggy. Strawberries need about an inch of water per week.

Wait to Fertilize Until After Harvest

As tempting as it is, now is not the best time to give strawberry plants a big dose of fertilizer. This can lead to too much leafy growth and poor berry production in the spring. The best time to fertilize your berry patch is after they are done producing berries for the year in June or July.

Final Thoughts

There you have it! Now that you know how to clean up your strawberry beds you will be rewarded with beautiful sweet strawberries in the spring. They are perfect for eating fresh, strawberry shortcake, or homemade strawberry jam! As always, Happy Gardening!

a healthy strawberry patch
Strawberry plants put on lush new growth in the spring.
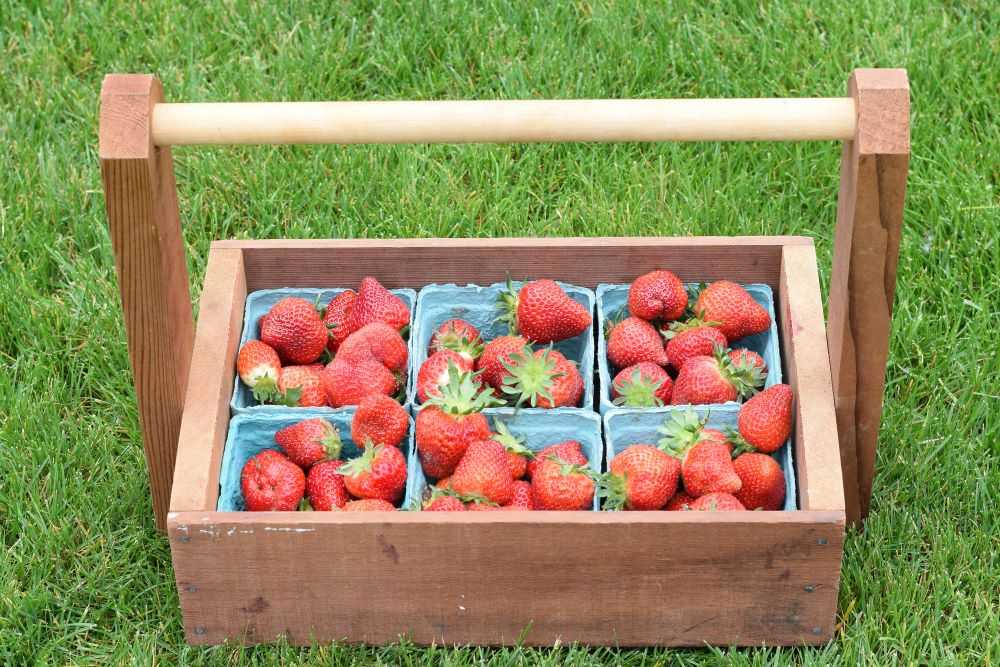
fresh strawberries
Enjoy your sweet strawberries!

Be sure to pin for later!

Garden Update – December

December is here already! It is definitely starting to feel like winter and the weather has been changing a lot this past month. We have had lots of rain and on clear days the temperature routinely gets down to freezing at night. Despite this, I am still working in the garden on the few sunny days we have. Here is what has been going on in the garden this month:

Getting the Garden Ready for Winter

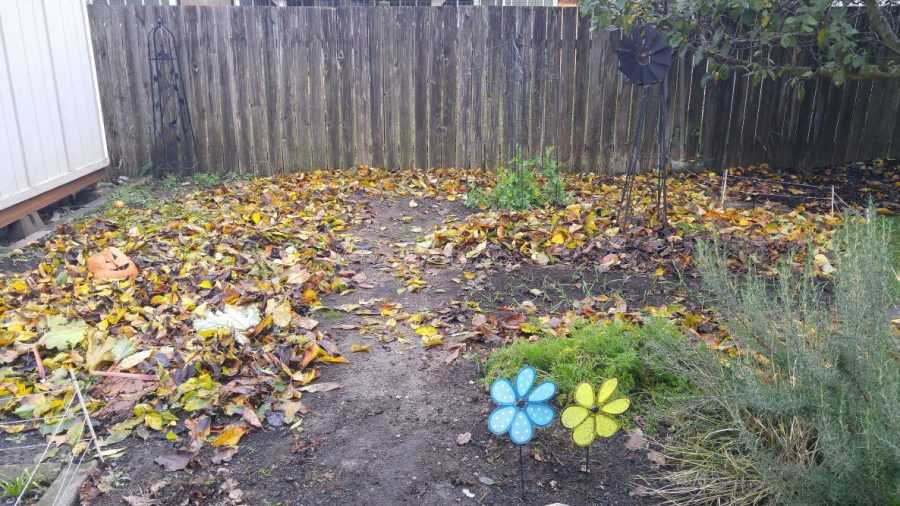
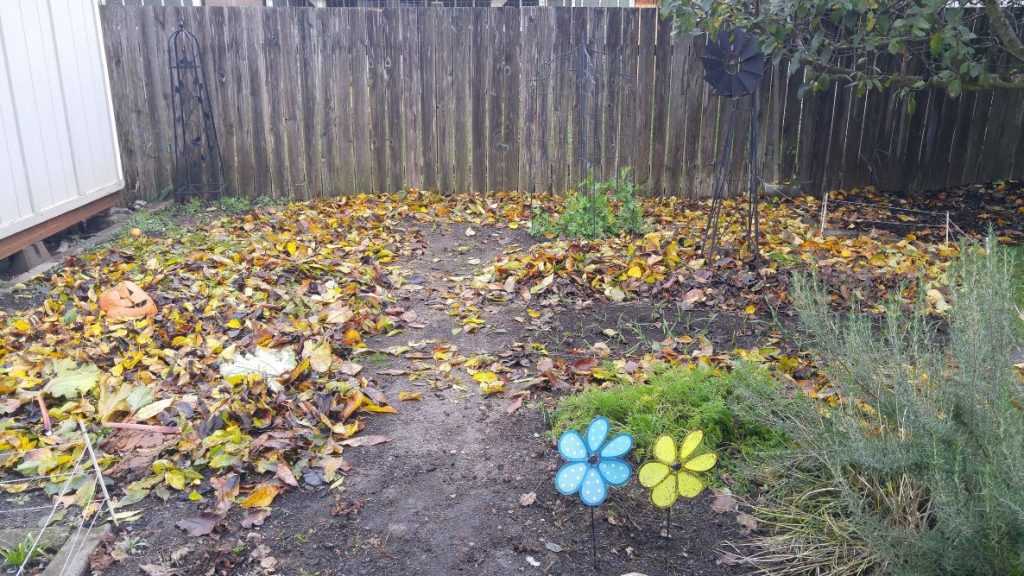
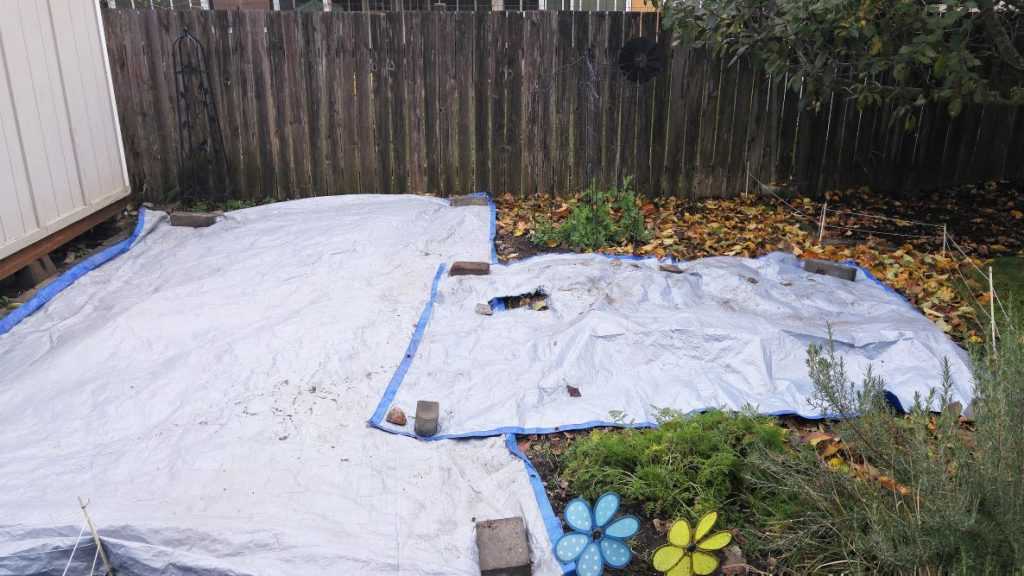
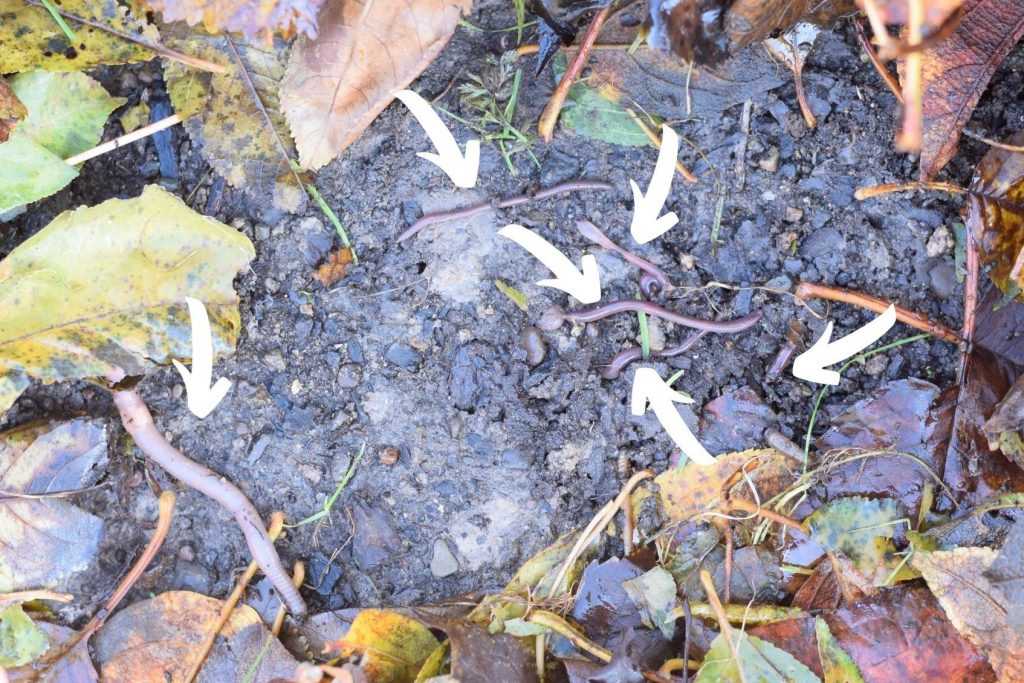
The main thing I have been working on is putting the garden “to bed” for the winter. I covered the garden with a thick layer of leaves from our trees and covered it with a tarp. The tarp helps to hold the leaves in place so they do not blow away. Also, it prevents soil erosion and leeching of nutrients from the heavy rains. The worms will be very happy and hopefully by spring most of the leaves will start to break down into the soil.

Cover the garden with leaves
We cover our garden with a layer of leaves. They will break down over the winter and add organic matter to the soil.
Garden covered with leaves and a tarp
After the leaves are on we covered our garden area with a tarp to hold them in place.
Worms in the leaves
Look at all these worms! They will help to break down the leaves over time.

Garlic

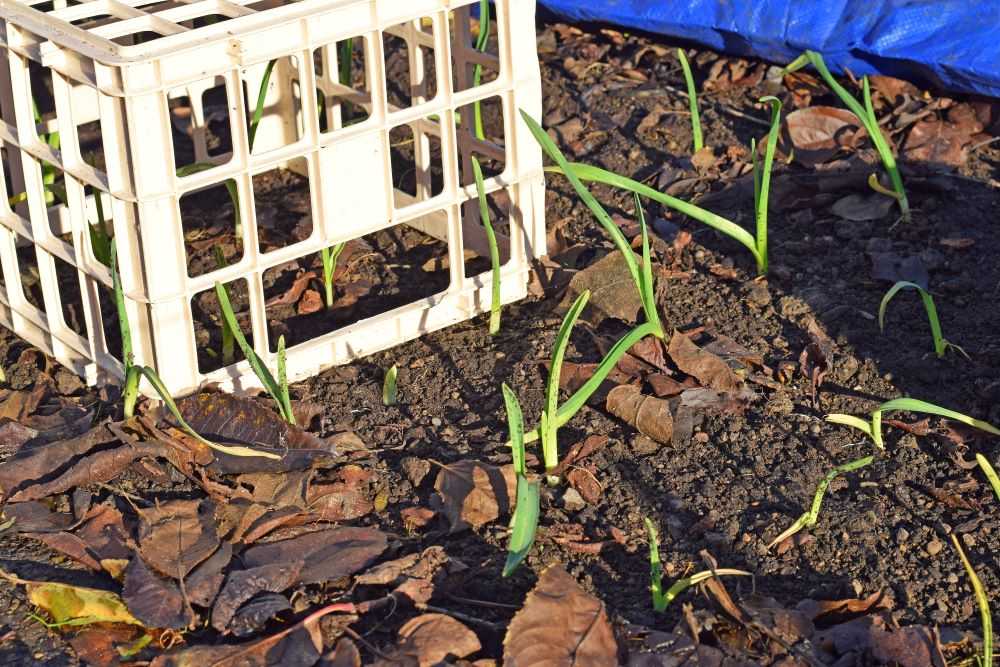
I planted our garlic at the beginning of October. We had some very nice weather and it grew about four inches tall by November. Since the weather is colder now it has slowed its growth. I mulched around the garlic shoots with leaves. Since I covered much of my garden with a tarp over the winter, I put some overturned buckets and a crate over my garlic so the tarp (and heavy rainwater) would not be sitting directly on the plants. I will uncover them in the early spring when temperature warm and growth begins.

Related Post: How to Plant Garlic in the Fall

Garlic growing in December
Since I covered our garden with a tarp over the winter, an overturned crate or bucket will prevent the tarp (and heavy rainwater) from sitting directly on the plants.

Peas

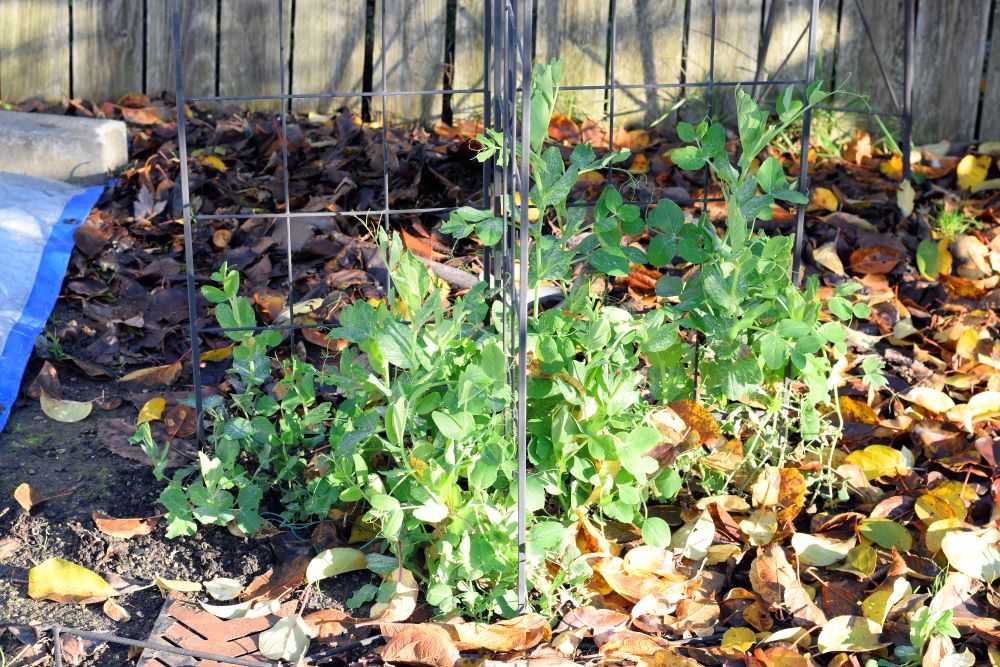
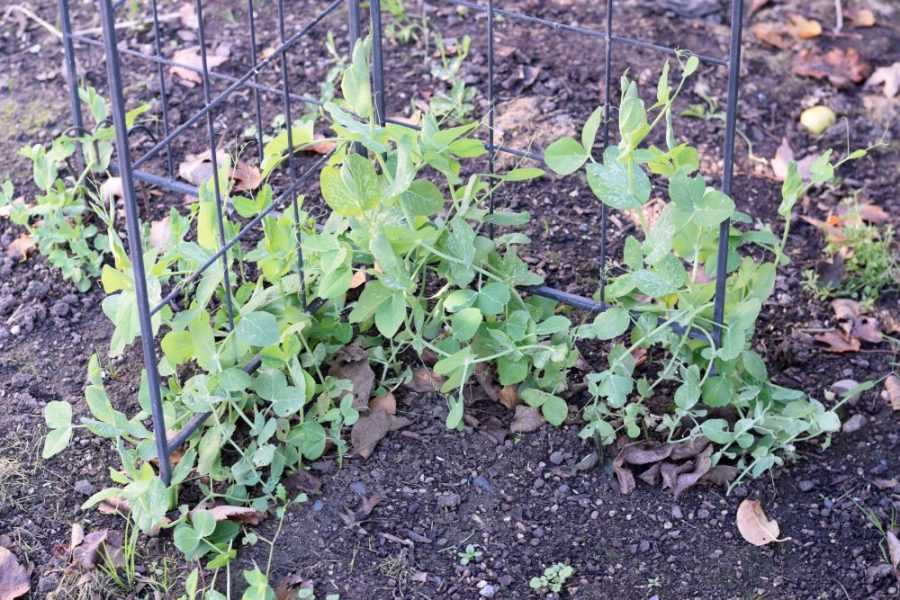
My peas are still doing great! They are about 12-18 tall now and very healthy. Yesterday we had temperatures in the high 20’s and a hard frost. The peas looked fine as soon as the frost melted later in the day. Although peas should be hardy down to about 20 degrees, I will cover them with a blanket if the temperatures get down to the mid-20’s or below because I do not want to chance any damage. I am looking forward to earlier peas in the spring!

Related post: How to Overwinter Peas

Overwinter peas in garden
Our peas are doing great despite some heavy frosts. I am already looking forward to our peas next spring!

Carrots

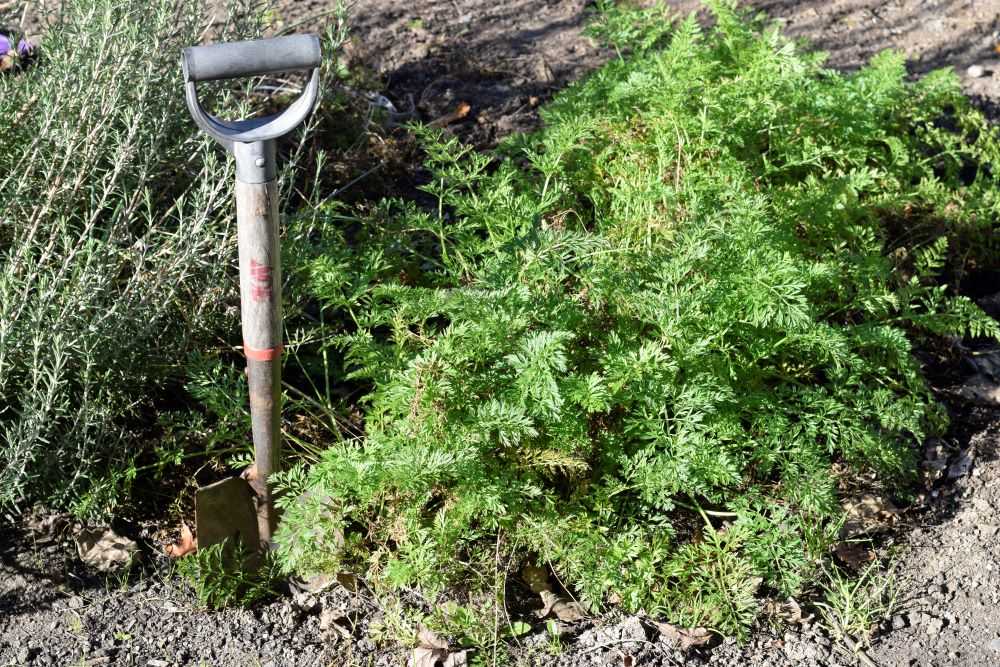
Our carrots are one of the few crops still in the ground. We have just a few carrots left this season, which is a real treat. Storing them in the ground has kept them crisp and crunchy. It is nice knowing that I can go outside and dig some fresh carrots whenever I need them!

Blackberries

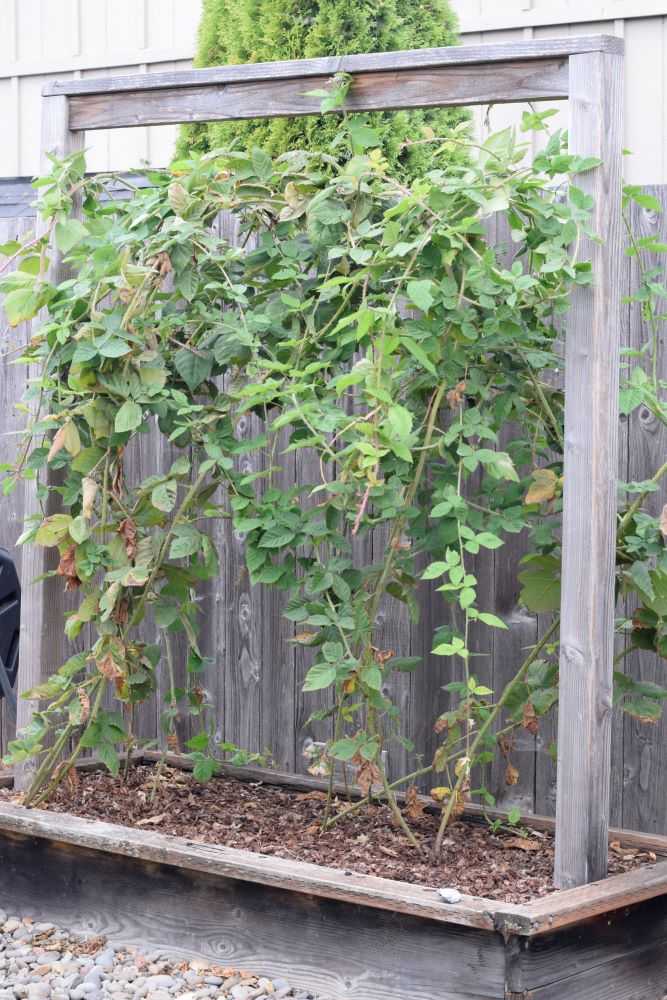
My blackberries have gone dormant for the winter and have lost some of their leaves. We had some strong winds that blew the canes off of their trellis so I had to go outside and carefully wrap the canes back around the wires.

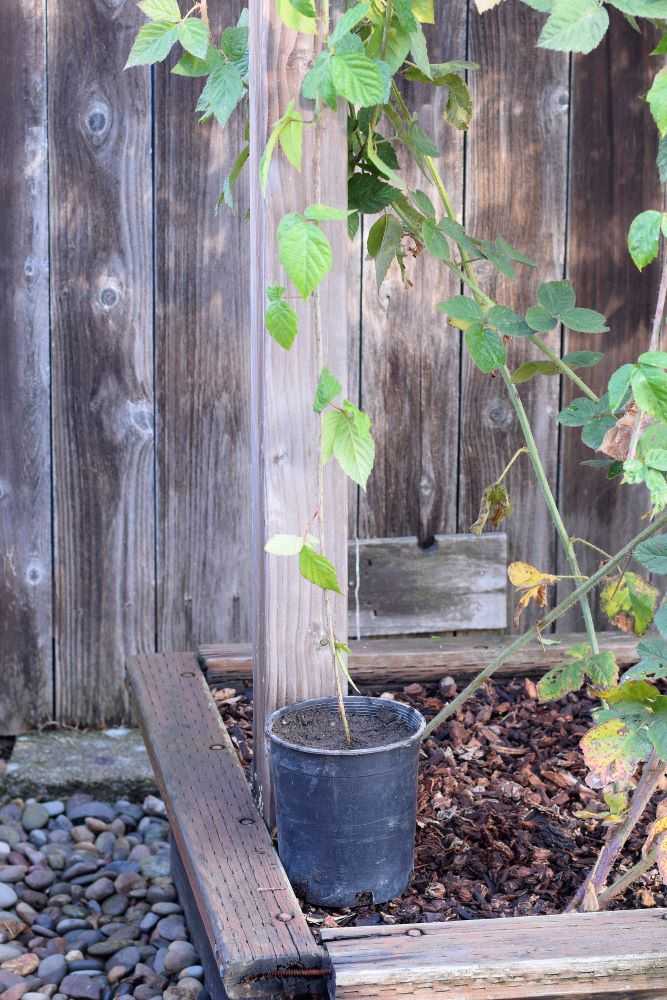
Several weeks ago I decided to start a few new blackberry plants, so I allowed them to root both in a pot and in a new area in my planting bed. You can read more about propagating blackberries here.

Propagate blackberries
It is very easy to propagate blackberries! Here I started one in a pot for a friend.

Raspberries

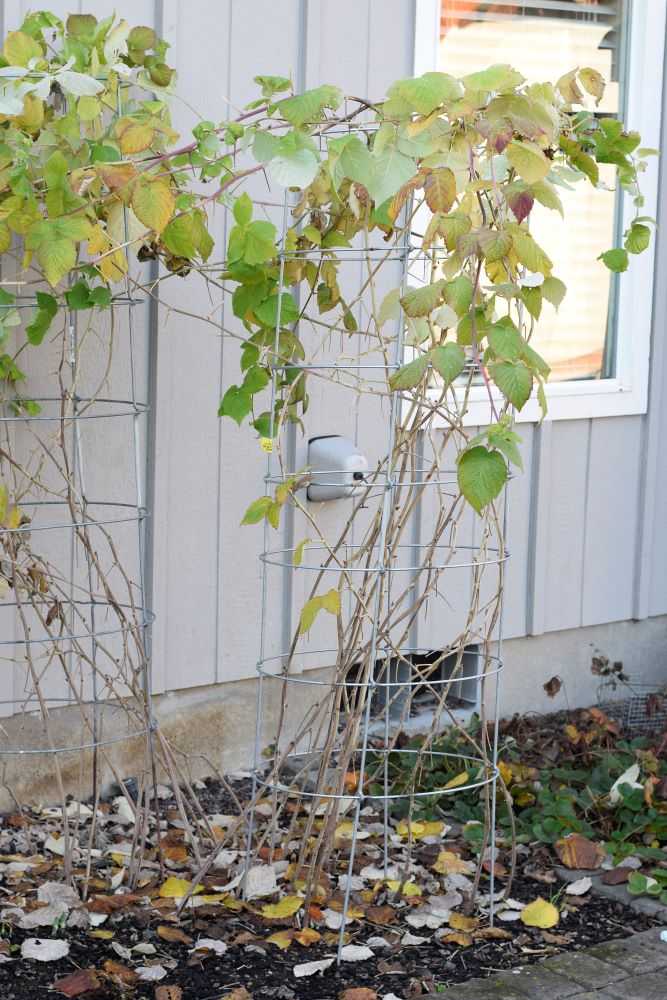
Our raspberries have stopped growing for the year and they have lost most of their leaves. I planted them a year and a half ago as an experiment and they took off and did much better than expected! I do not have a permanent trellis for them yet (one of my projects for next year!) so I put them in tomato cages to keep the canes off of the ground. That seems to do the job, although they do not look too pretty. I pruned away some of the excess shoots as I was putting them in the tomato cages so the plants are not overcrowded. The raspberries look very healthy and I am looking forward to a large harvest next summer!

Raspberry canes in tomato cages
Tomato cages are helping to keep my raspberry canes off of the ground this winter. I plan to make a permanent trellis next year.

Final Thoughts

It has been a slower month around here and nice to finish up some last gardening chores for the year. Have you been doing anything in your garden this December? Let me know in the comments below!

As always, Happy Gardening!

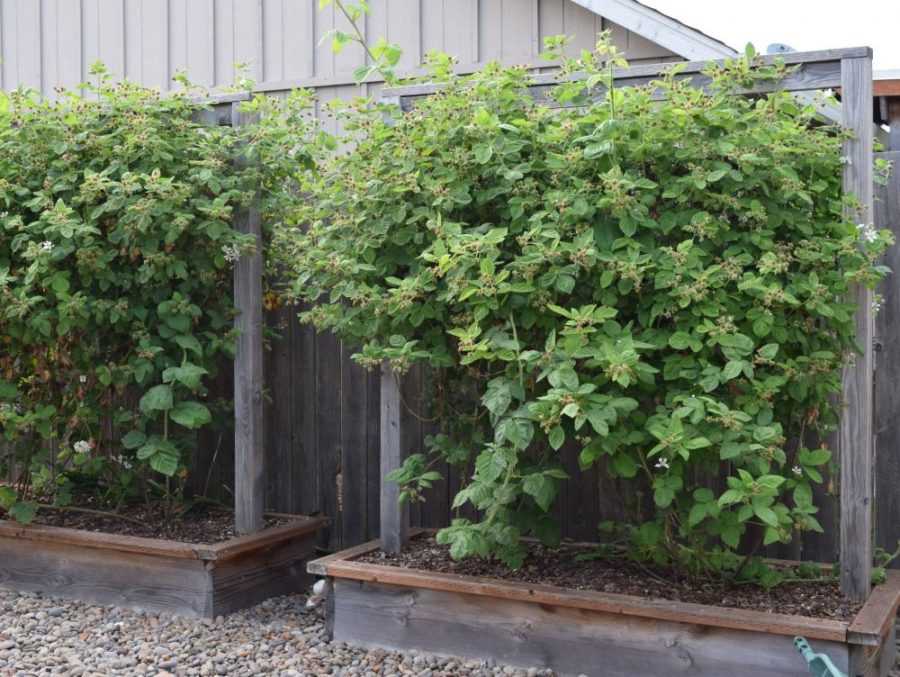
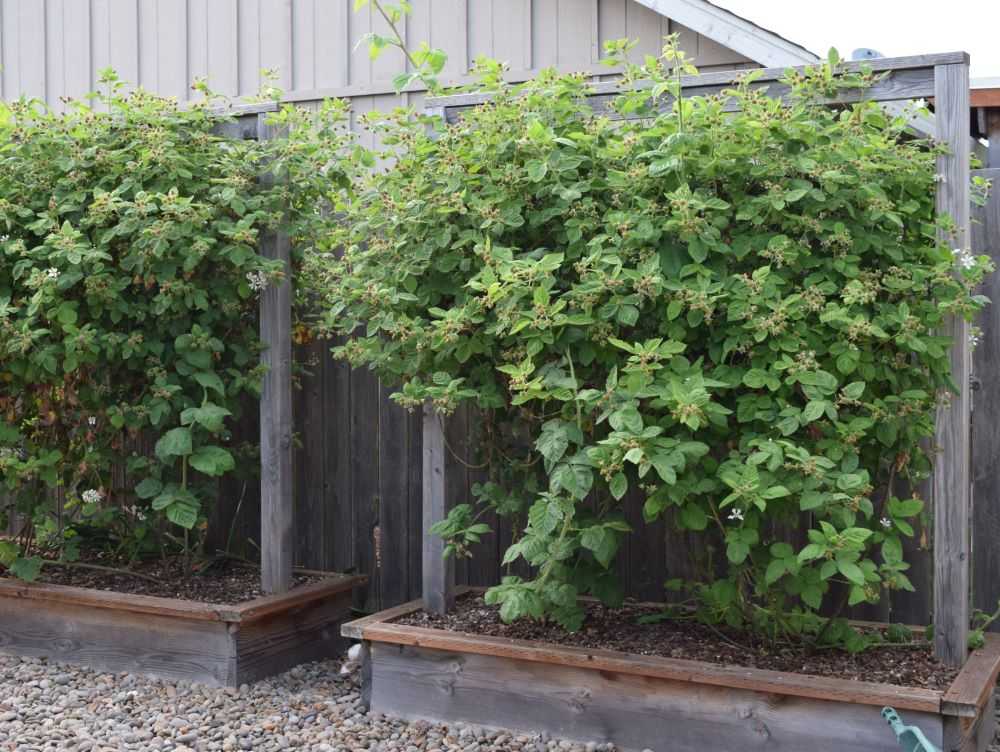
Blackberry vines

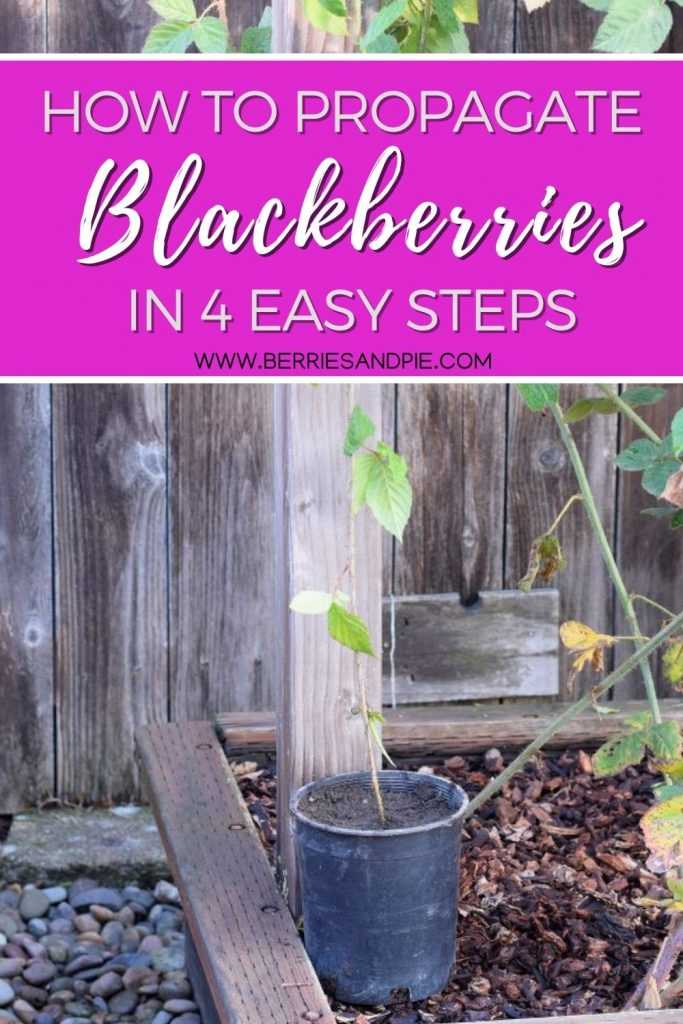
The Easiest Way to Propagate Blackberries

Blackberries are a wonderful plant to include in your garden! They produce large harvests of delicious berries and are very easy to care for. But after many years, productivity can start to decline and you may want to start over with a new plant. Luckily it is very easy to propagate blackberries and you will soon have plenty of healthy starts to plant in your garden or to give away to friends!

Blackberry vines
Blackberries are easy to grow and produce large harvests year after year!

When to Propagate Blackberries

Late summer to early fall is generally the best time to propagate blackberries. By this time your plants are done producing berries for the year and new stems (primocanes) are actively growing. Also, your new plants will be able to become established before cold winter weather arrives.

How to Propagate Blackberries

While there are a few different ways to propagate blackberries, I think the absolute easiest way to start new blackberry plants is through a process called tip layering. Tip layering is where the end of a healthy vine is covered with soil so it forms roots. We will now go through this process step-by-step:

Step 1: Select a Healthy Primocane

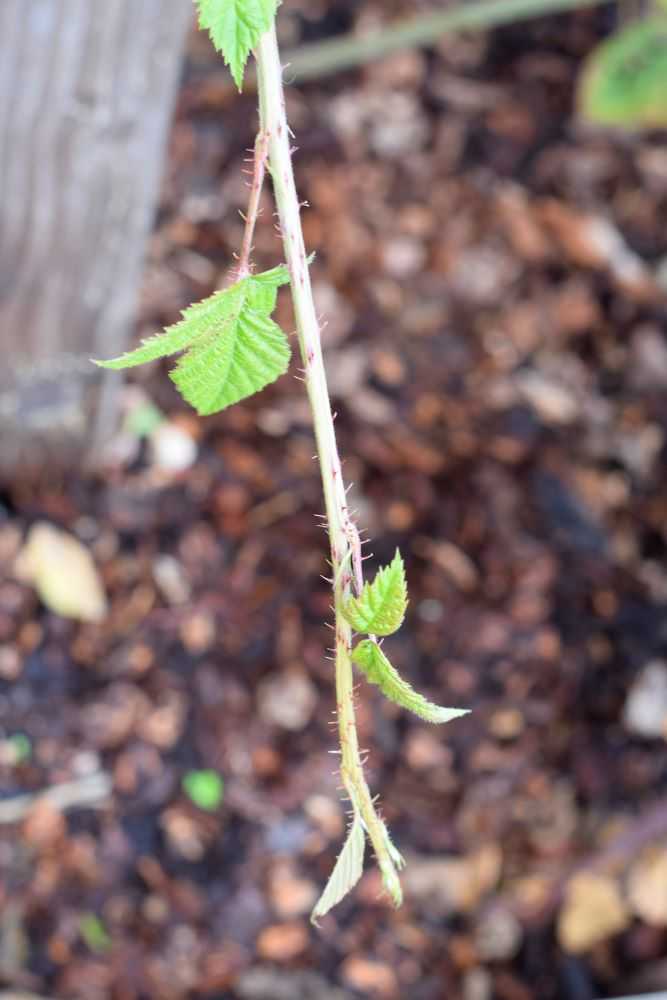
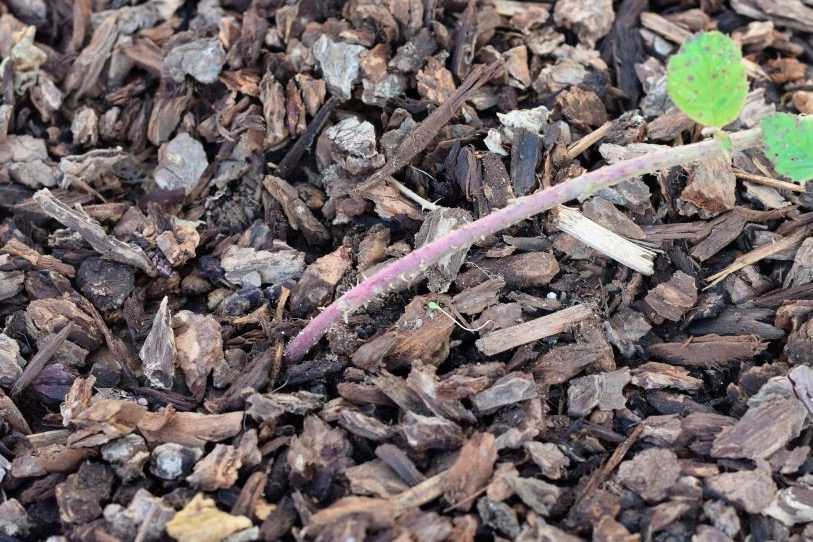
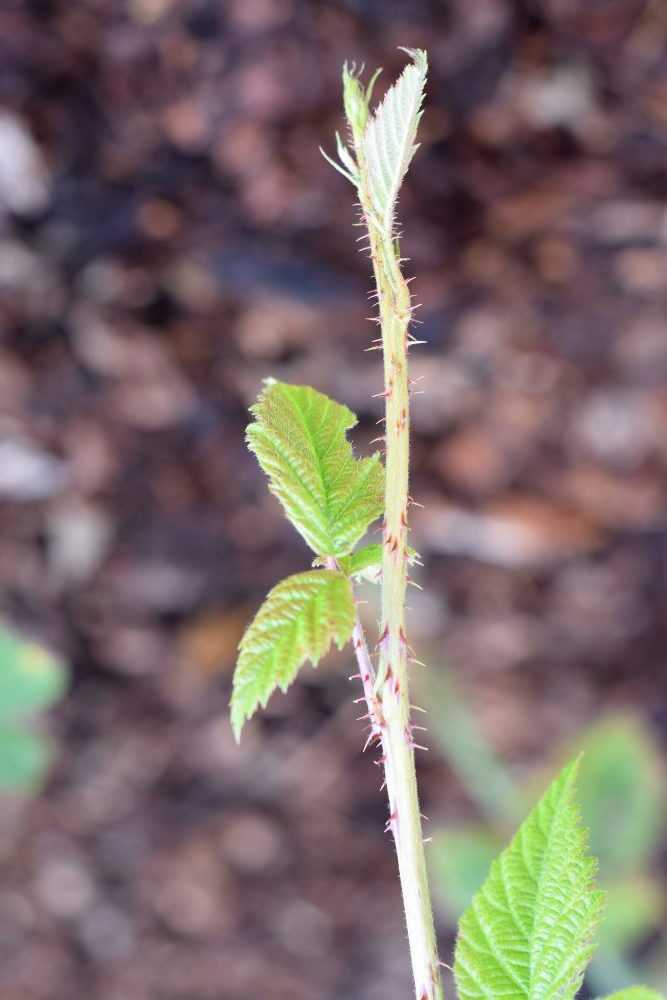
A primocane is a blackberry stem that is in its first year of growth. Choose a healthy primocane that is at about the diameter of a pencil to ensure vigorous, healthy plants. If you have your vines on wires or a trellis, make sure the primocane is long enough to reach the ground.

Blackberry primocane for propagation
Choose primocanes that are about the same diameter as a pencil.

Step 2: Plant the Tip of the Primocane

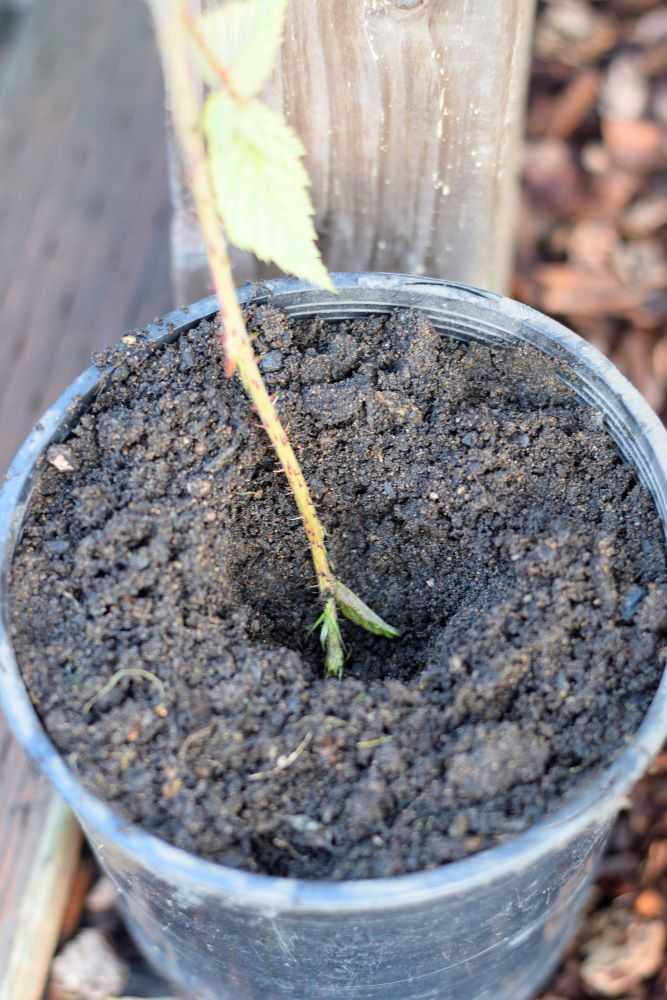
Next choose where you want to plant your blackberry start. If you want to plant it in a new location (or start one for a friend) the easiest way is to start the blackberry in a large pot filled with planting soil or potting mix. I usually use a 1-gallon pot so the roots have plenty of room to get established.

Dig a small hole in the soil and plant the tip of the primocane about 2-3 inches deep. Carefully remove any large leaves on the side of the stem that would be under the soil line but make sure to leave the tip of the stem intact. Gently firm the soil around the stem.

If the blackberry vines are long enough to reach, you can also start them directly in the soil where you want your new plants to grow. That is what I did in the picture below:

A new blackberry plant

Step 3: Water Lightly and Keep the Soil Moist

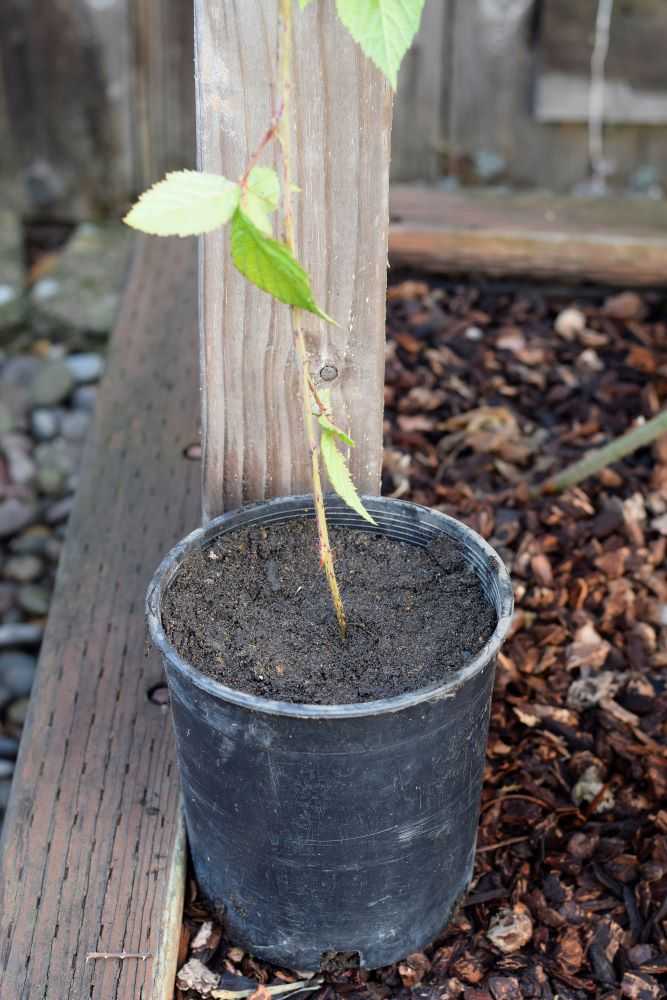
Water the pot lightly and keep the soil from drying out. Set the pot where it will not be disturbed.

A new blackberry start in a pot

Step 4: Cut the Stem from the Parent Plant

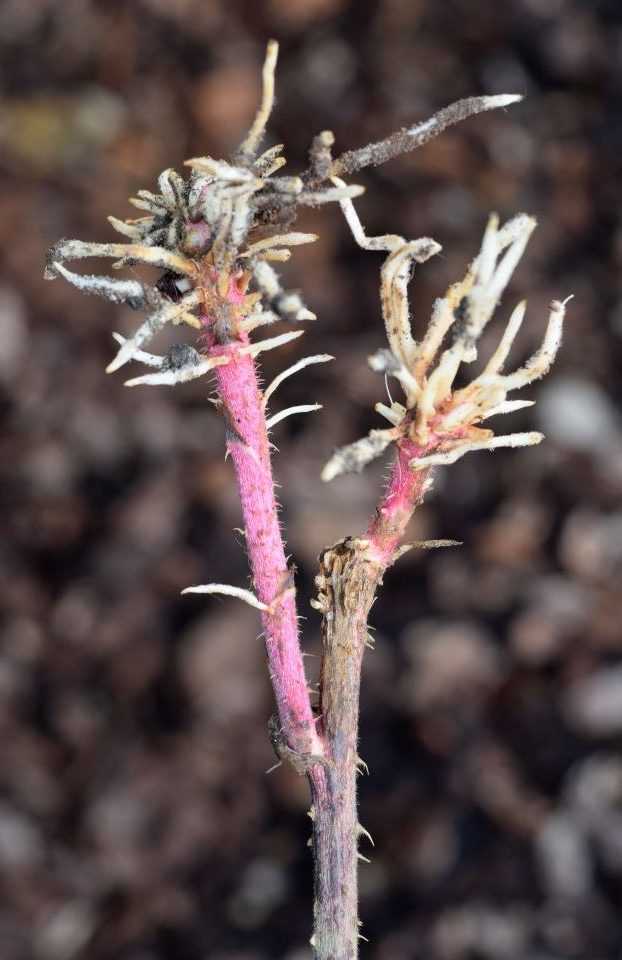
After about a month you can test to see if your blackberry plant has grown roots. You can do this by very gently tugging at the stem. If it feels firm and stays in place, the blackberry has started to grow roots and is ready to separate from the parent plant.

Cut the stem about 1-2 feet above the soil with using sharp pruners. Your new blackberry start is now ready to plant!

When to Plant Your Blackberry Starts

You can choose to plant your blackberry start immediately or wait until the spring. One advantage of fall plantings is that the blackberries can get a good root system established over the winter. Blackberries may also be more susceptible to cold weather if they are in a pot rather than in the ground.

The first year after planting your new blackberry plant will not produce any berries. But new primocanes will start growing and it will come into full production in the following year or two. You will soon be enjoying large harvests of sweet juicy blackberries!

Marionberries

Hope you get to enjoy blackberries in your garden year after year. Happy Gardening!


Be sure to pin for later!

How to Propagate blackberries in 4 easy steps

Garden Update – November

The weather is getting COLD! We had our first freeze here in Oregon at the end of October, which is about a month ahead of schedule. I have been preparing my garden for the winter and finishing up for the year. Here’s what’s happening in the garden this month:

Carrots

Carrots are one of the few crops still in the ground. We have quite a few carrots left this season, which is a real treat. I like to leave them in the ground because it acts like a big refrigerator, keeping them crisp and crunchy to use over the winter. Although the tops are starting to die back, the roots are big and healthy. It is nice knowing that I can go outside and dig some fresh carrots whenever I need them!

Carrots in November
Although the tops are starting to die back, my carrots are still in the ground and doing well!
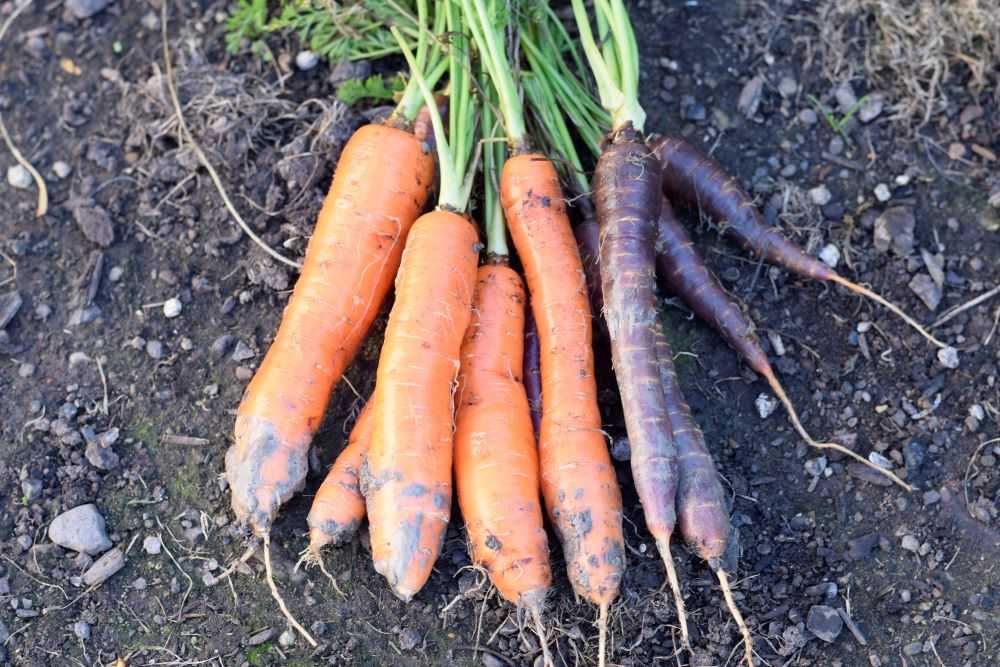
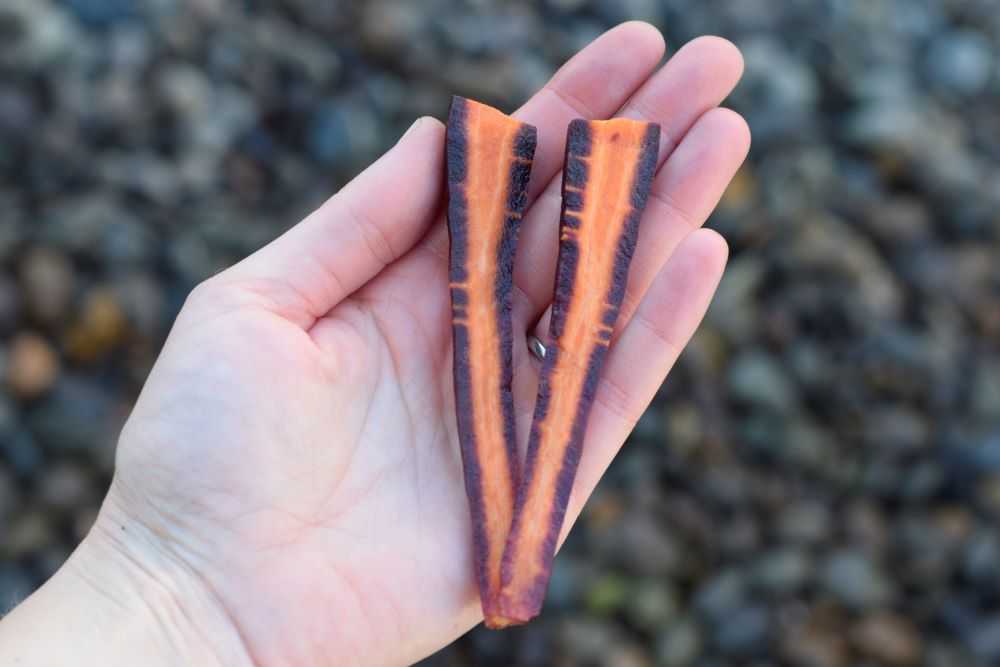
Bolero carrots and Purple Haze Carrots
Beautiful home grown freshly dug carrots! Purple Haze and Bolero are shown here.
Purple Haze Carrots
Purple Haze carrots are absolutely beautiful! They are crispy and sweet too!

Garlic

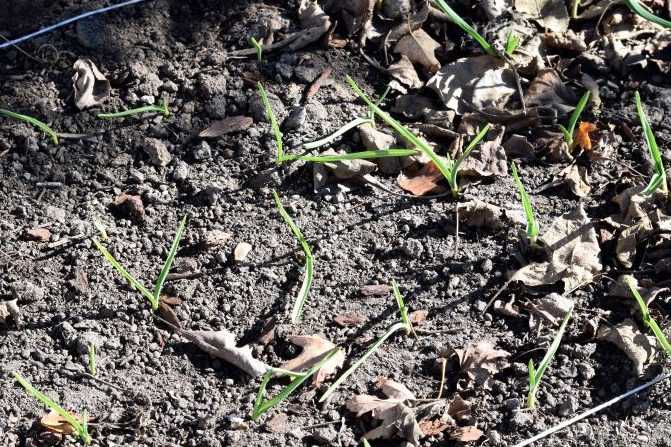
I planted our garlic at the beginning of October. We had some very nice weather and it has green shoots that are already a few inches tall! Next year I will plant it a little later to prevent this because the green shoots make the bulbs more susceptible to winter injury. I will continue to mulch around them with leaves to insulate and protect them over the winter.

Related Post: How to Plant Garlic in the Fall

Garlic in November
My garlic is about 4 inches high now. I will mulch around the shoots to protect them over the winter.

Peas

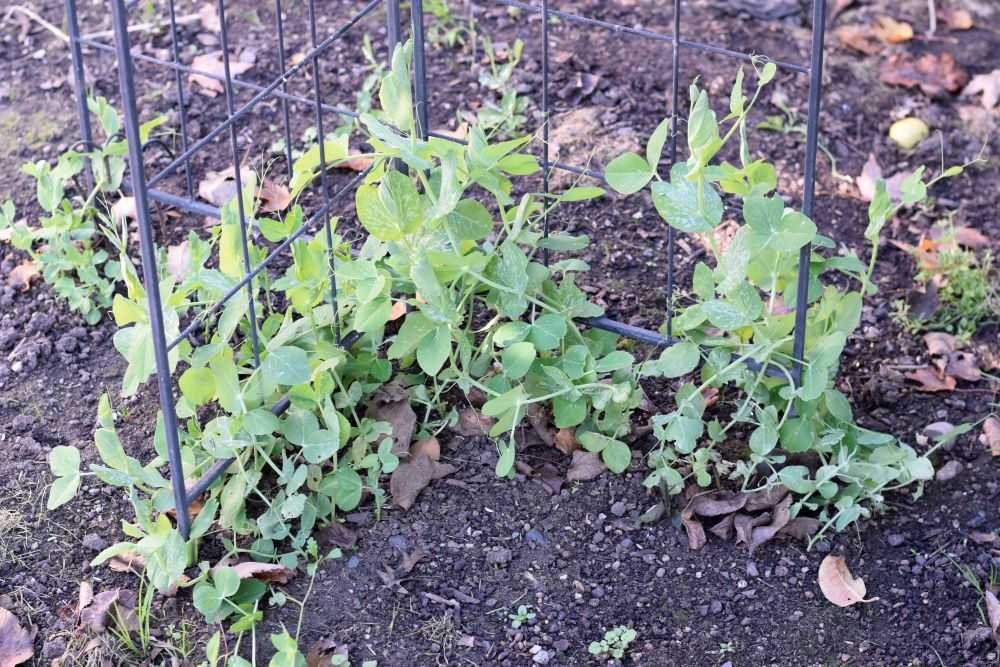
My peas are doing great! They are about a foot tall now and very healthy. The slugs and snails have been bothering them a little so I have been putting some slug bait out to take care of the problem. I will mulch around them as soon as the weather gets colder. I am looking forward to earlier peas next year!

Related post: How to Overwinter Peas

Overwinter peas
My peas are about a foot high now. Next spring they will have a head start and start producing earlier.

Popcorn

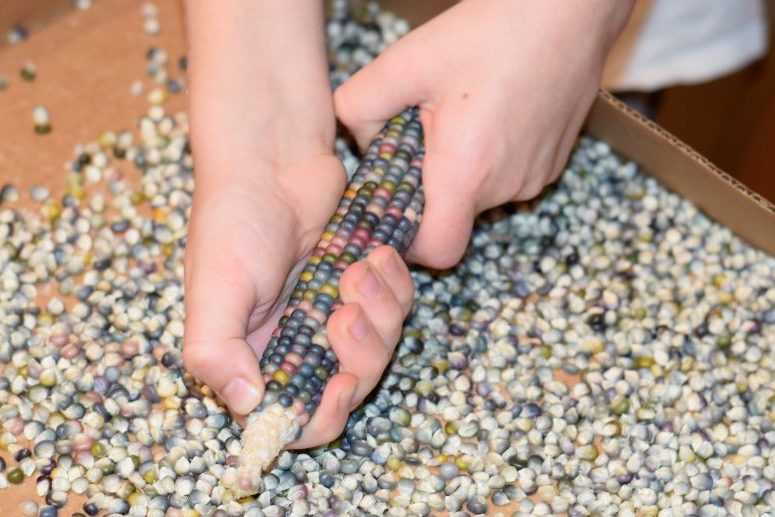
We had so much fun this year growing popcorn! We harvested it last month and then let the cobs dry in the garage for a few weeks before removing the kernels. My kids enjoyed helping with this part!

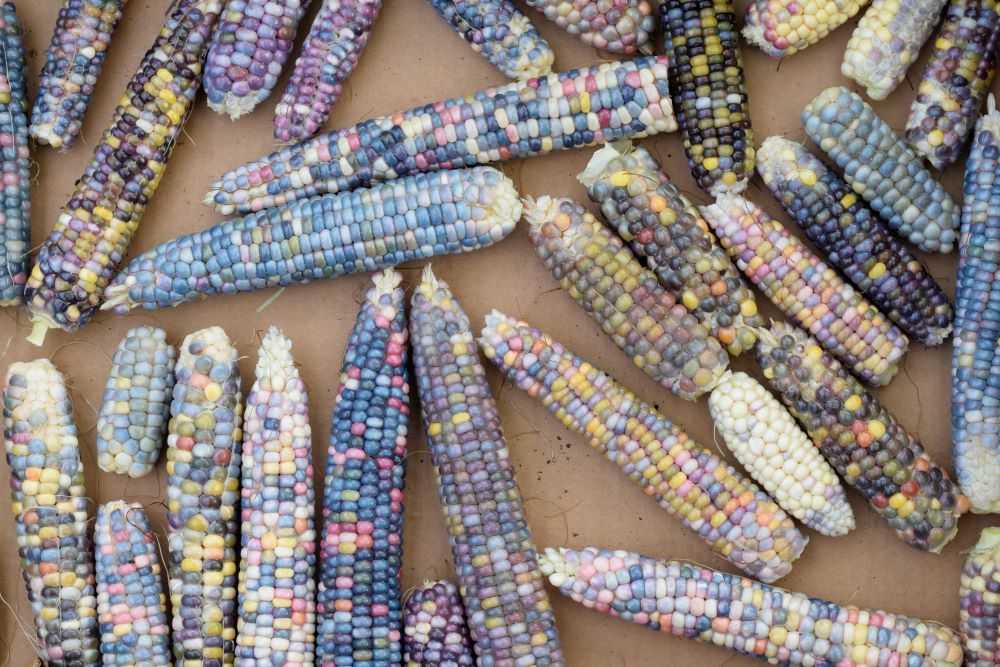
Removing kernels from glass gem popcorn.
My kids enjoyed helping to remove the popcorn kernels from the cobs. We got about 4 cups of popcorn this year!

Since the seeds were still not all of the way dry yet, I spread them out on a big pan and set them on top of the cabinets where they would not be disturbed so they could continue to dry. I tested a few kernels every few days until they popped well. Then I transferred them to pint jars for longer term storage.

We got around 4 cups of popcorn kernels from our small 4 x 4 inch raised bed, which does not include the 10 or so ears that we saved for decoration around the house. It was such a fun thing to include in our garden this year!

Getting the Garden Ready for Winter

I have been starting to rake leaves and scatter them over the garden. I also spread some lawn clippings around to enrich the soil for next year. Once all of the leaves have fallen at the end of November I will cover most of the garden (but not where I have things planted) with a large tarp to help hold the leaves in place so the worms can go to work! As much as I love working in the garden, I am looking forward to a few months off!

Are you done with your gardening chores for the year? Let me know how things are going in the comments below. As always, Happy Gardening!

Garden Update – October

It is hard to believe it is already October! The weather is changing and cooler weather is here. We had a challenging gardening month because wildfires stretched across Oregon and the thick smoke hid the September sun for weeks. Despite this, it has been a very busy month in the garden! Here is what we’ve been up to:

Apples

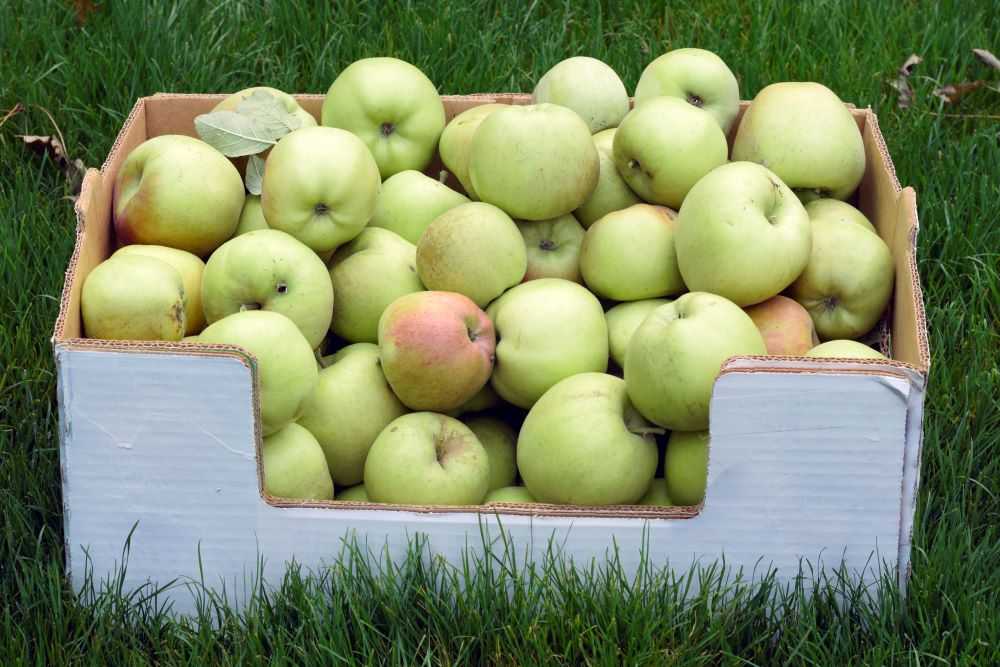
Our apple trees are doing great! I love having a 5-way grafted tree because apples ripen over a much longer season. While our gravenstein apples are ready in July, our other types are ready now. A few weeks ago I picked a 33 pound box of apples. And there are still plenty more on the tree!

What have we been doing with all these apples? Most of them have been eaten fresh. We also made some apple crisp, which is my absolute favorite fall dessert! You can check out the recipe here.

Box full of apples.
Lots of apples for apple crisp!

Beans

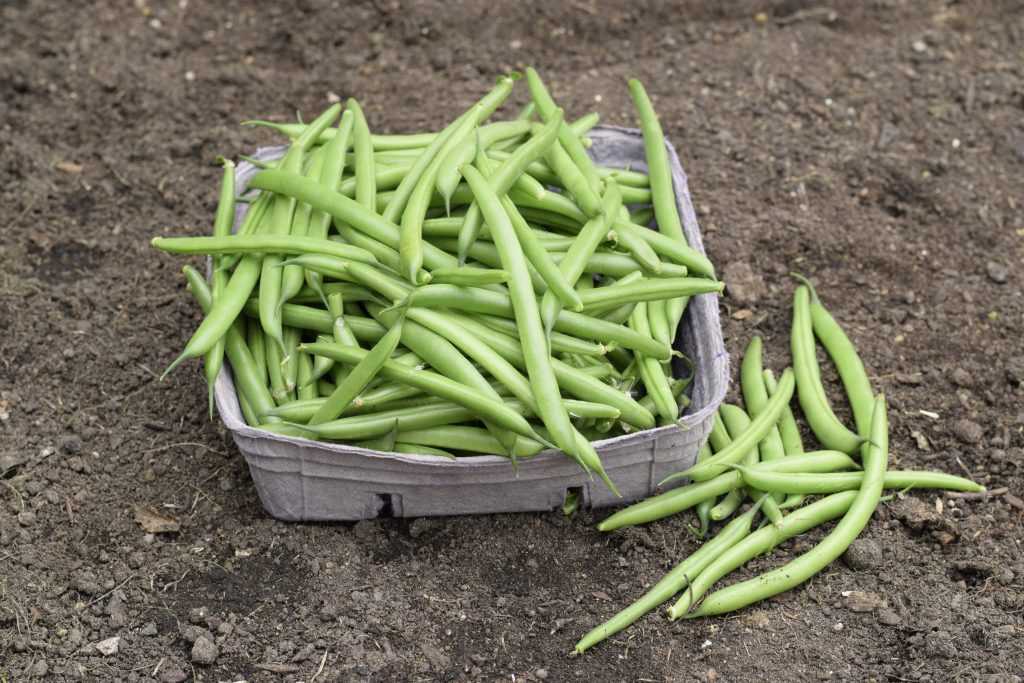
I cannot remember bean plants ever being as productive as ours have been this year. The variety I planted was Hickok from Territorial Seed. After setting a large crop in July, we got a second large crop a month later. In mid September we still had flowers and small beans on our plants!

I finally had to pull the bean plants after the weather started getting cooler at night. We have been enjoying lots of garlic roasted green beans! Yum!

Hickok green beans.
We picked beans up through the middle of September. It was a great year!

Beets

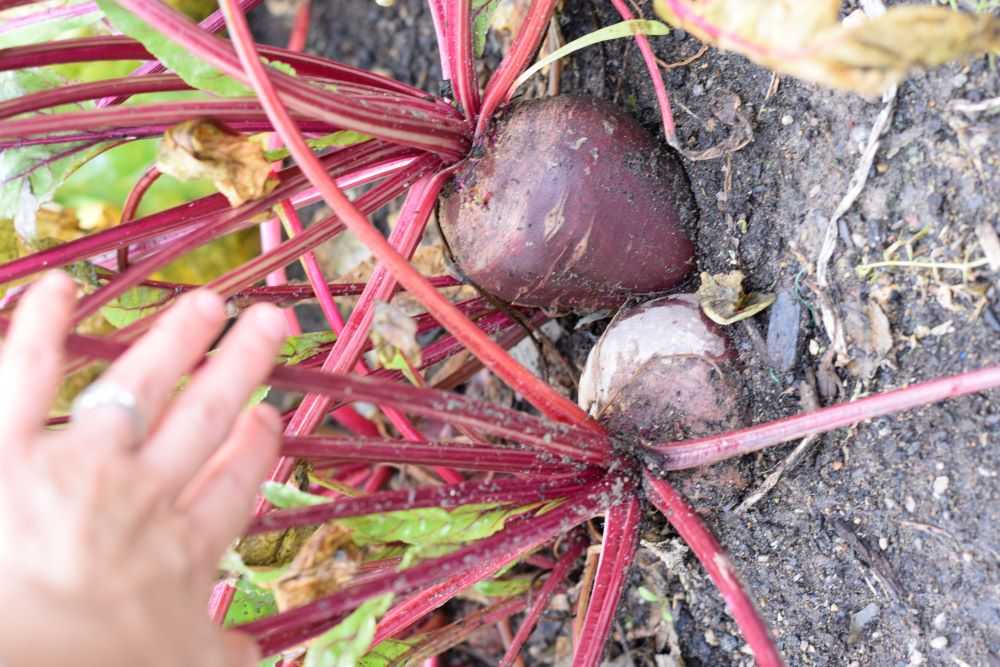
I did not plant many beets this year. After our radishes were done in June I poked a few seeds in here and there. I was surprised that they got as big as they did! I will have to plant more next year.

Blackberries

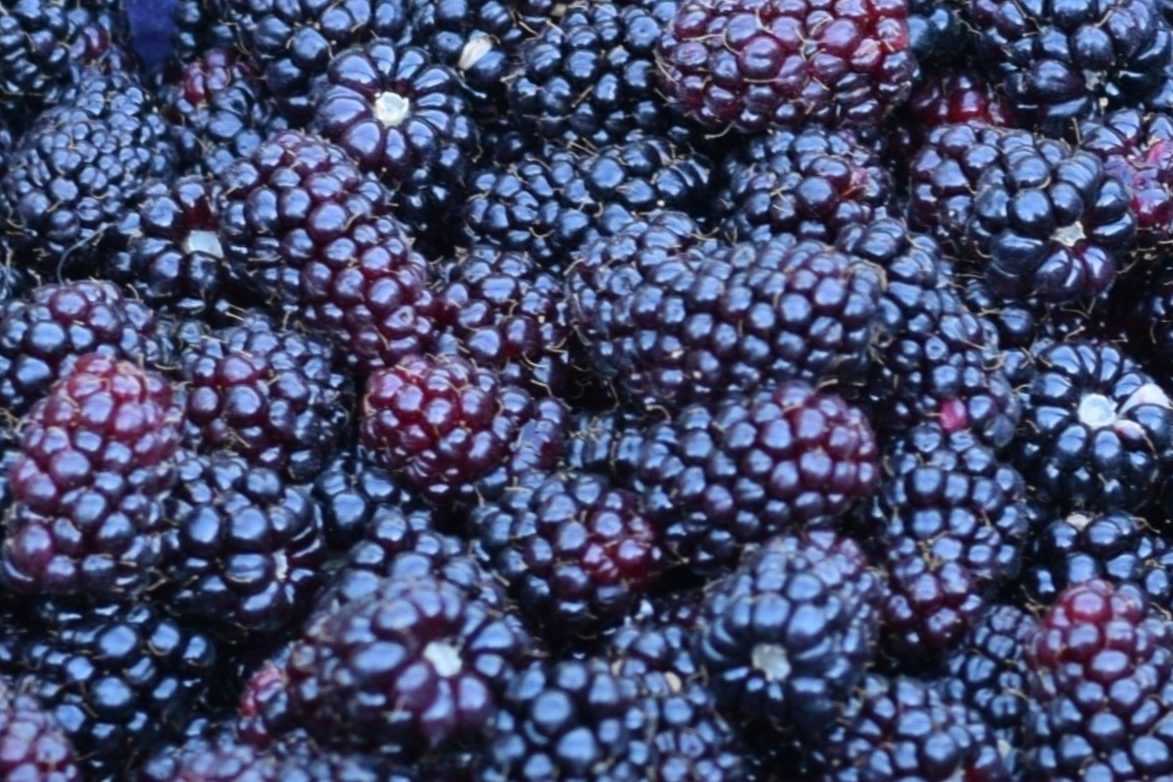
The canes for our marion berries are growing long! I wound them around the trellis so they were not dragging on the ground. This also prevents them from sprouting new plants. The blackberries seem healthy and strong so think we will have a pretty good harvest next year!

Marion berries on a trellis.
I wound the blackberries around the trellis so they do not drag on the ground. I think we will have a great harvest next year!

Marigold Flowers

I finally took our marigolds out last week. I saved the seeds and you can read more about that here. Marigolds produce SO MANY SEEDS and I will have plenty to plant next year!

Taking marigold seeds out of seed heads
It is easy to save marigold seeds for next year!

Peas

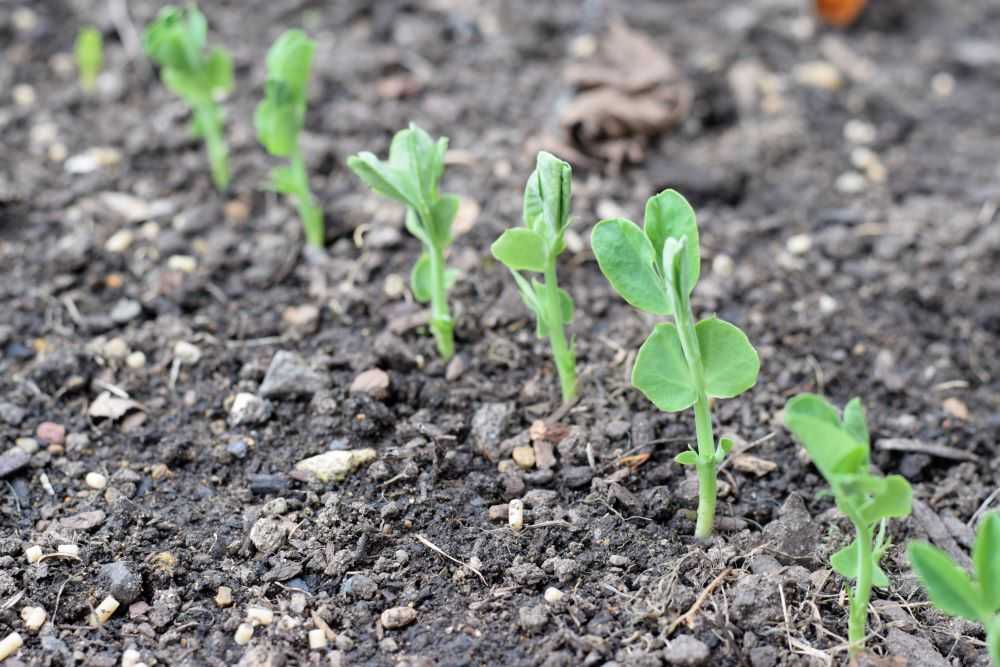
I planted peas a few weeks ago and the seedlings are about 4 inches tall now. I usually start my peas in the fall and overwinter them for a bigger and earlier crop. You can learn more about overwintering pea plants here.

Related post: Why Garden Planning Starts in September

Sweet Peas

Shortly after I planted my peas, I also planted my sweet pea flowers. After I saw “volunteer” sweet peas coming up already I knew the seeds would sprout easily. I planted a row along the bottom of my trellis so they can get established before winter comes. I am looking forward to early flowers in the spring!

Related post: How to Save Sweet Pea Seeds

Popcorn

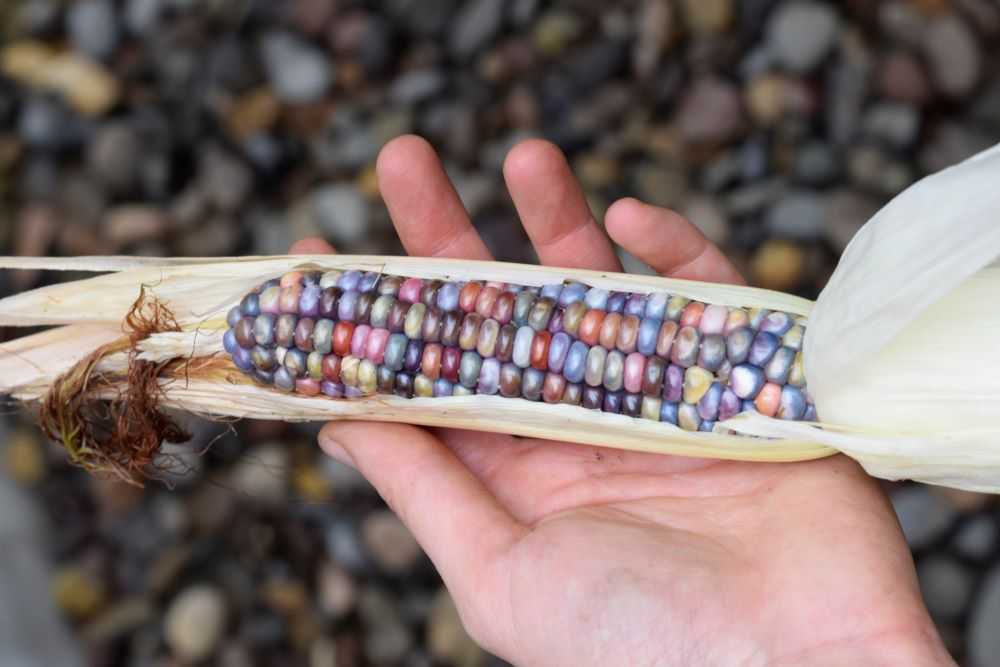
Each year we grow something we have never tried before, and the kids chose popcorn to grow this year! We planted the popcorn after the weather warmed in June. However I did not realize that popcorn takes 110-120 days to mature, which is significantly longer than regular sweet corn. It FINALLY got ripe and the end of September.

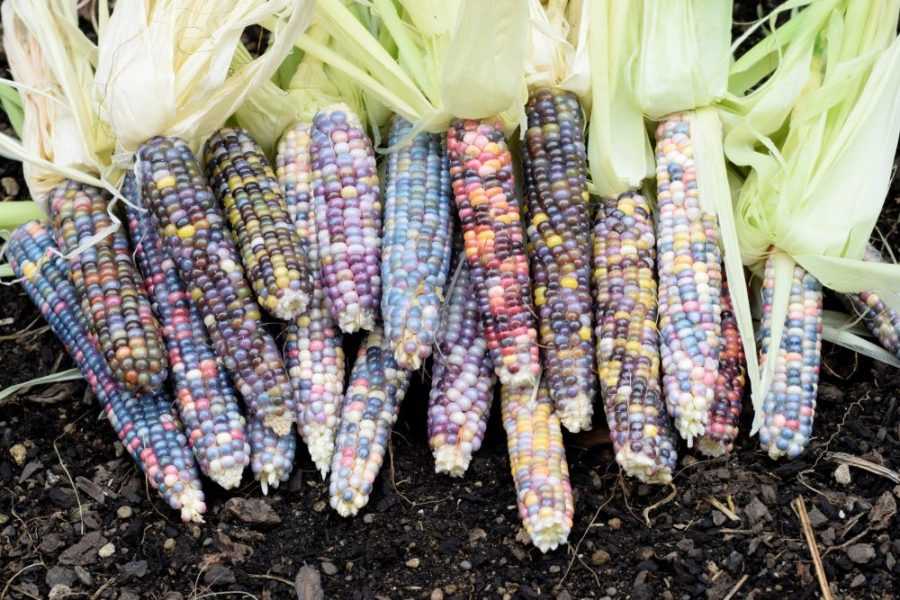
Glass Gem popcorn.
The popcorn is finally ready. It is SO pretty!!!

Ideally we would have let the popcorn dry in the garden but we had to pick it and bring it indoors since the weather has been so wet. The ears were so beautiful! We pulled the husks back and displayed some of the prettiest ears around the house.

We peeled the rest of the corn and put it in a box in the garage to dry out. We put one ear in the food dehydrator to speed up the process. It was very difficult to get the moisture content just right but finally we got it to pop! So fun!

Place the popcorn in a box to dry.
We peeled the rest of the popcorn and put it in a box in the garage to dry out. It is so pretty to see the variety of different colors!

Pumpkins

We finally picked our pumpkins for the year! One weighed in at 15 pounds and the other was 25 pounds. We did not get as many pumpkins as we do some years. This may be because they were planted in a little more shade. The kids are already looking forward later in the month when they will get to carve them!

Sunflowers

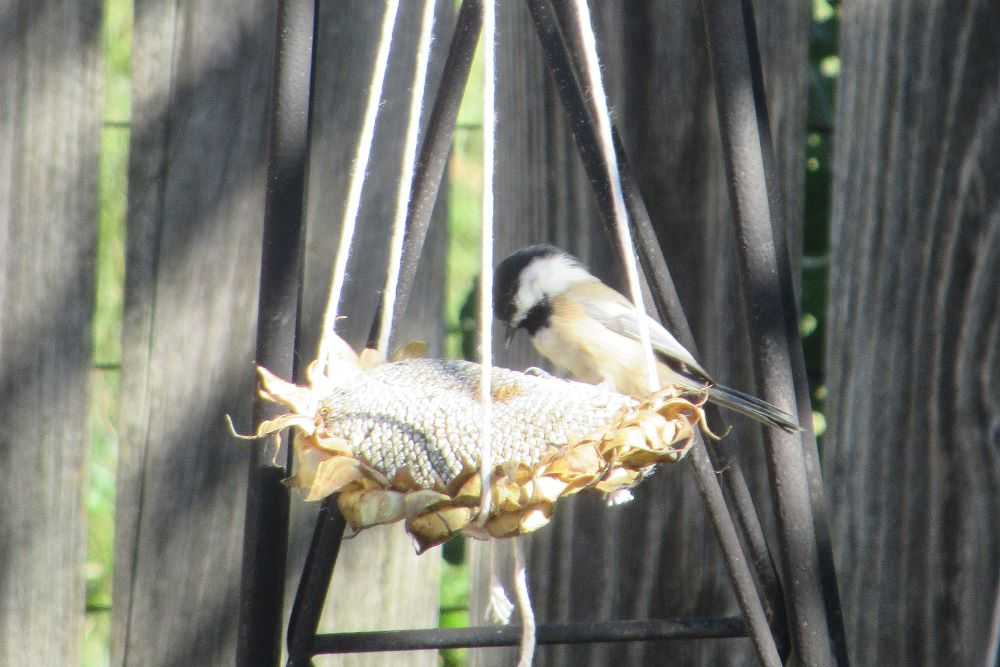
I had to take some of my sunflowers out of the front yard so I made these cute DIY sunflower bird feeders. The birds found them right away and the seeds are almost gone already. It has been a lot of fun to watch the birds out our back window!

Chickadee bird on DIY sunflower birdfeeder.
The birds love these sunflower bird feeders!

Tomatoes

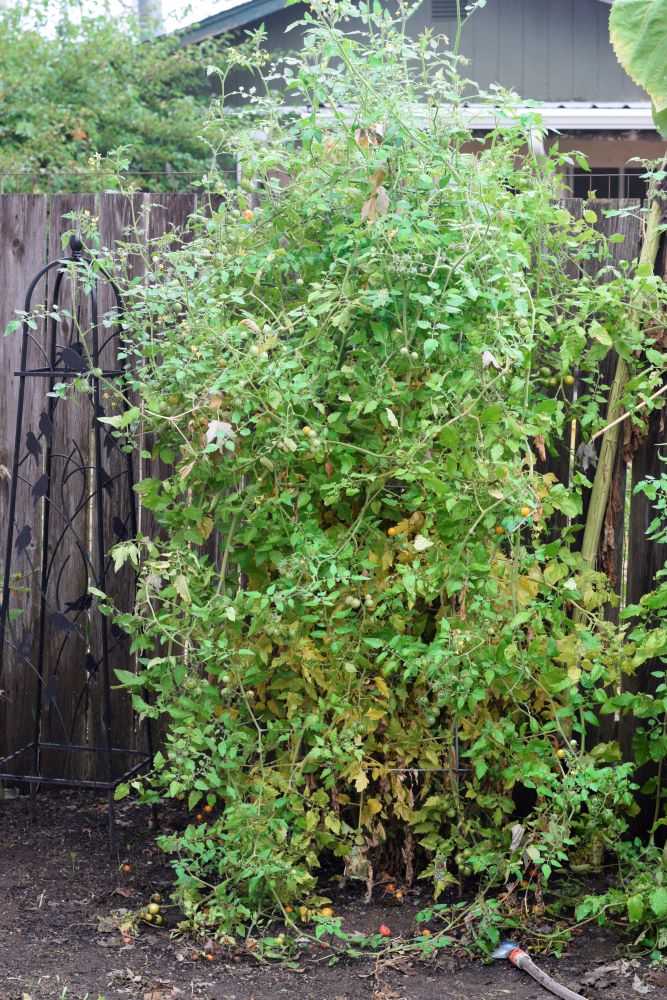
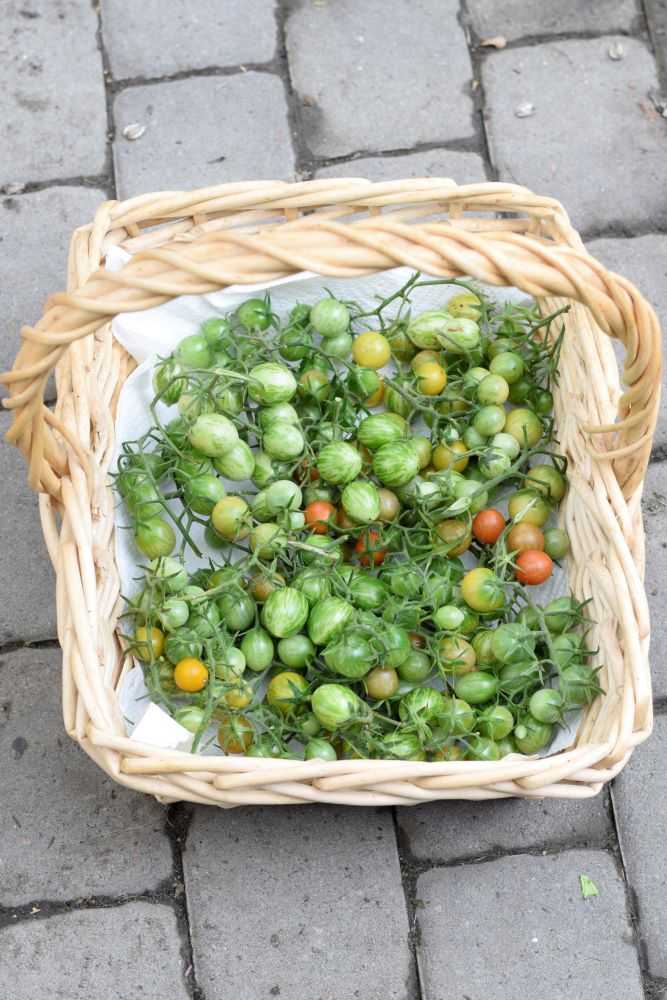
I took out my tomato plants a few weeks ago. The weather has been getting cooler and the tomatoes started ripening much slower. Before I pulled my plants I picked off all of the green fruit to ripen inside. You can read more about ripening green tomatoes here.

Only nine months to go until fresh tomatoes again next year! I am already thinking of what varieties I want to plant 🙂

Related: Cherry Tomato Taste Test

Final Thoughts

It has been a busy month around here but a lot of fun to harvest everything. What have you been up to in your garden? Let me know in the comments below!

Hope you are able to enjoy this beautiful fall weather! Happy Gardening!

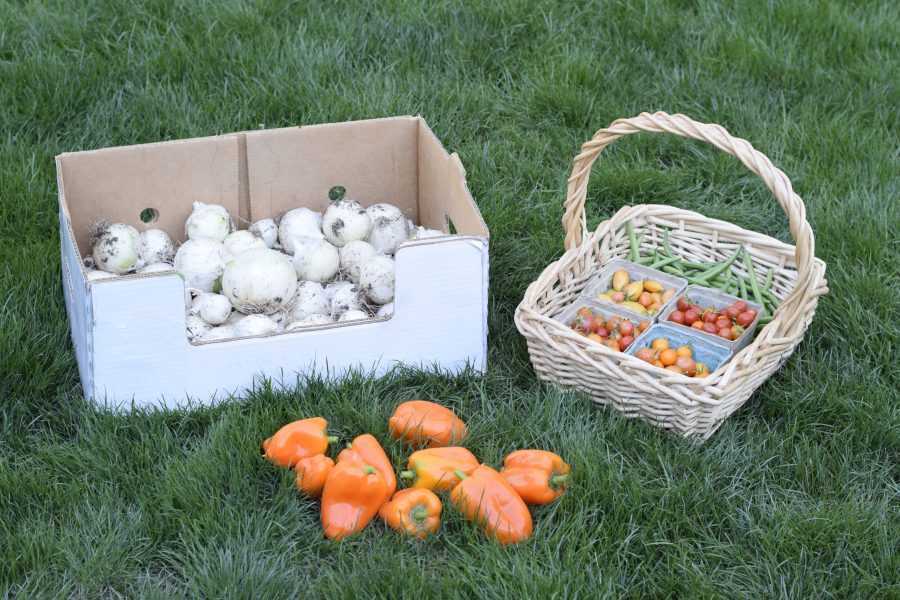
Onions, peppers, tomatoes, and green beans

Garden Update – September

September is here and the mornings are getting cooler. Fall is right around the corner! Although the garden is slowing down for the year we are still getting plenty of fresh vegetables. Here is what has been happening this past month:

Apples

Our second apple tree has many apples that are getting ripe. We picked a box full and got over 20 pounds of apples! We have been eating them fresh as well as making apple pie and apple crisp. Yum!

Cucumbers

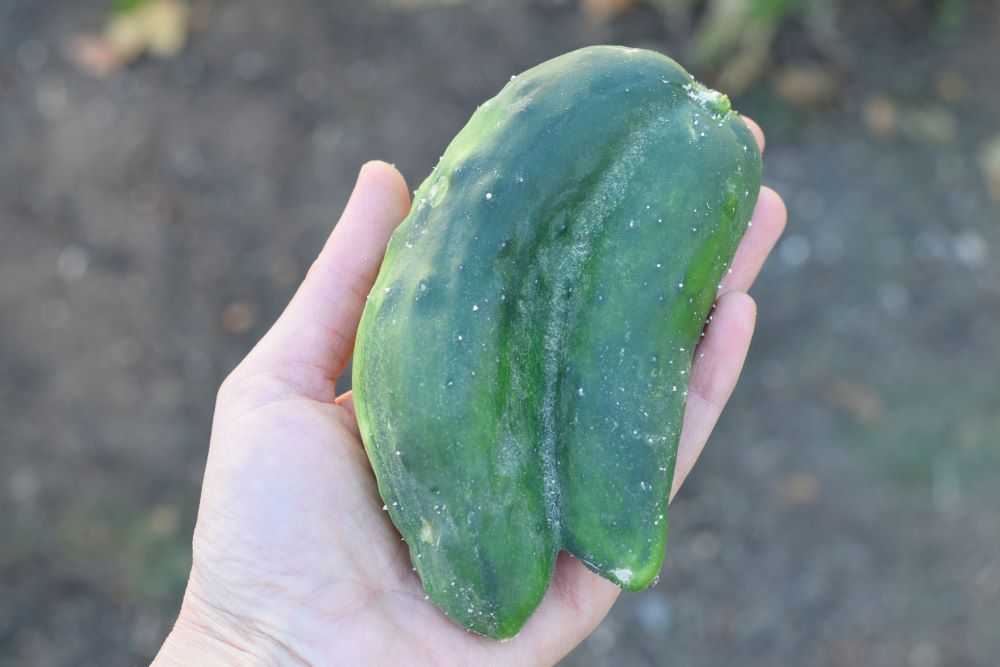
I finally pulled up our cucumber plants. They were not as productive as some years and I think they did not get enough water. Look at this funny cucumber we got today:

Two cucumbers grown together
A double cucumber!

Green Beans

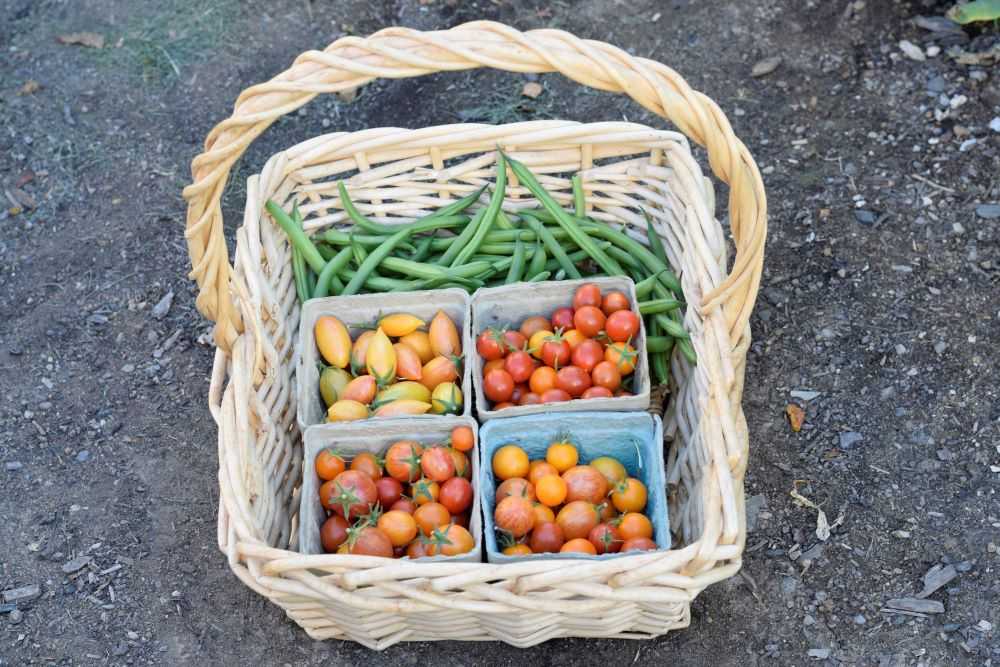
Our green beans are still doing very well. Although production has slowed down we are still getting enough for 1-2 meals per week. There are lots of blooms and small beans still on the plant so we will get at least a few more weeks of picking before they are done for the year.

Related: Garlic Roasted Green Beans

Cherry tomatoes and green beans in a basket
Our green beans are still hanging in there. It has been a great bean season!

Onions

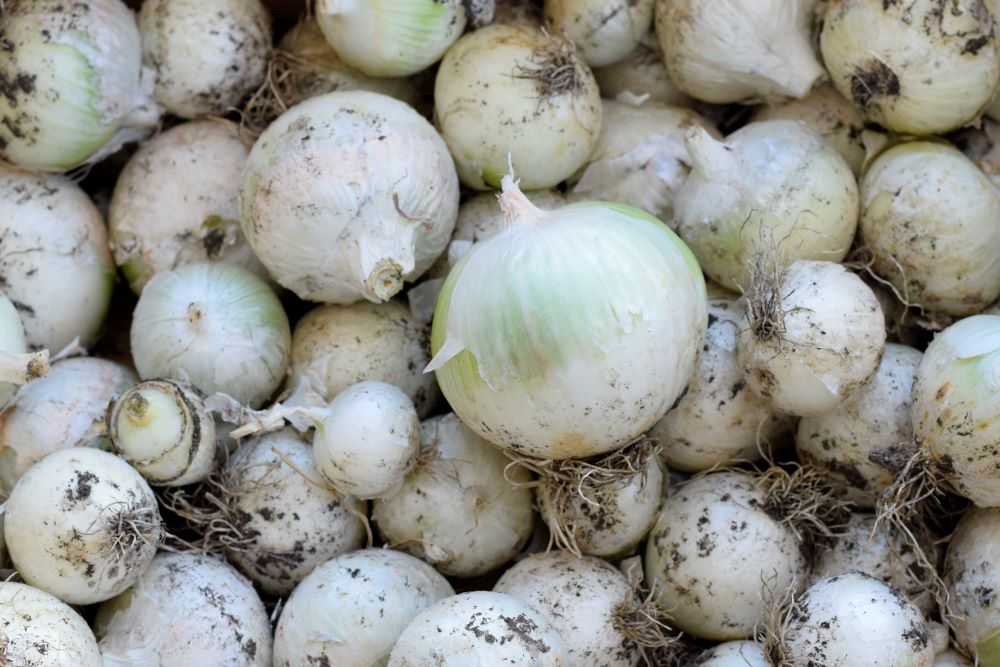
We pulled all of our onion plants a few weeks ago and got over 25 pounds! After cutting off the stems we put them in a big box in our garage. We use onions in everything and it is so nice to have them fresh from our garden!

White onions
Lots of onions! We use them in everything though so they won’t last long 🙂

Peppers

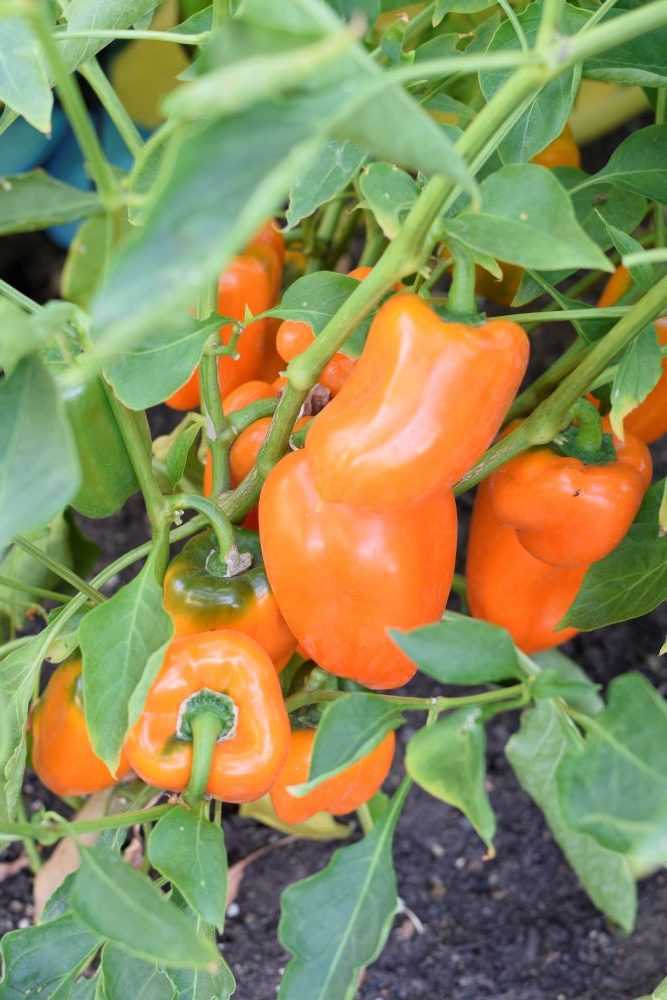
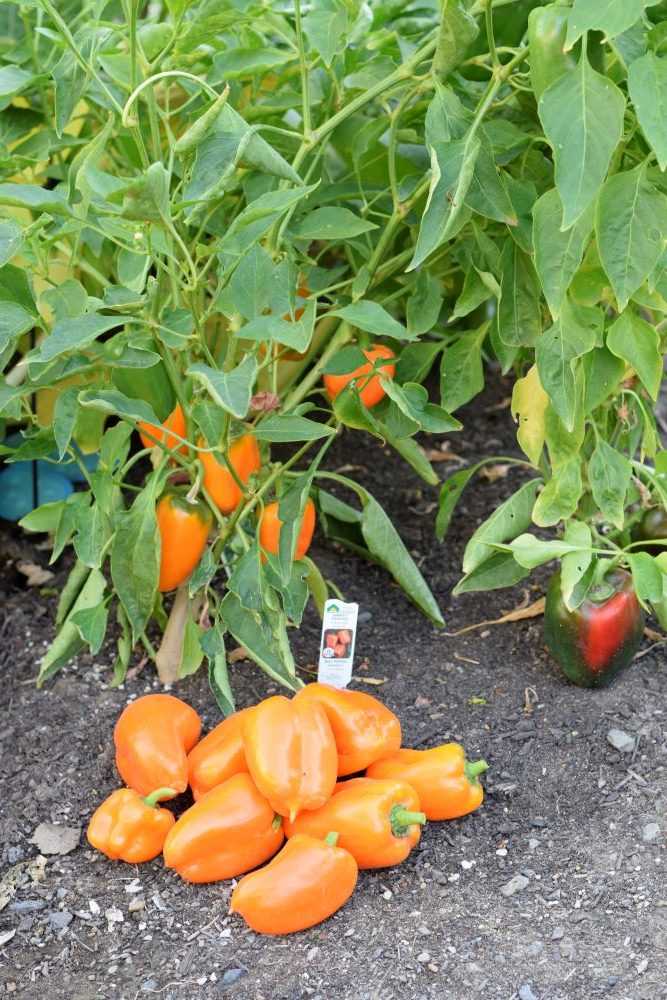
Our sweet bell peppers are FINALLY getting ripe. We could have picked them when they were green but we love allowing them to get fully ripe and sweet! I planted one orange bell pepper this year and it has outperformed my red peppers by a mile. It is amazing how productive this plant is! See how many beautiful ripe peppers it has?

This variety is called Orange Blaze, and it is an AAS winner. It produced over 20 peppers on one plant. It will be going in my garden next year for sure!

Popcorn

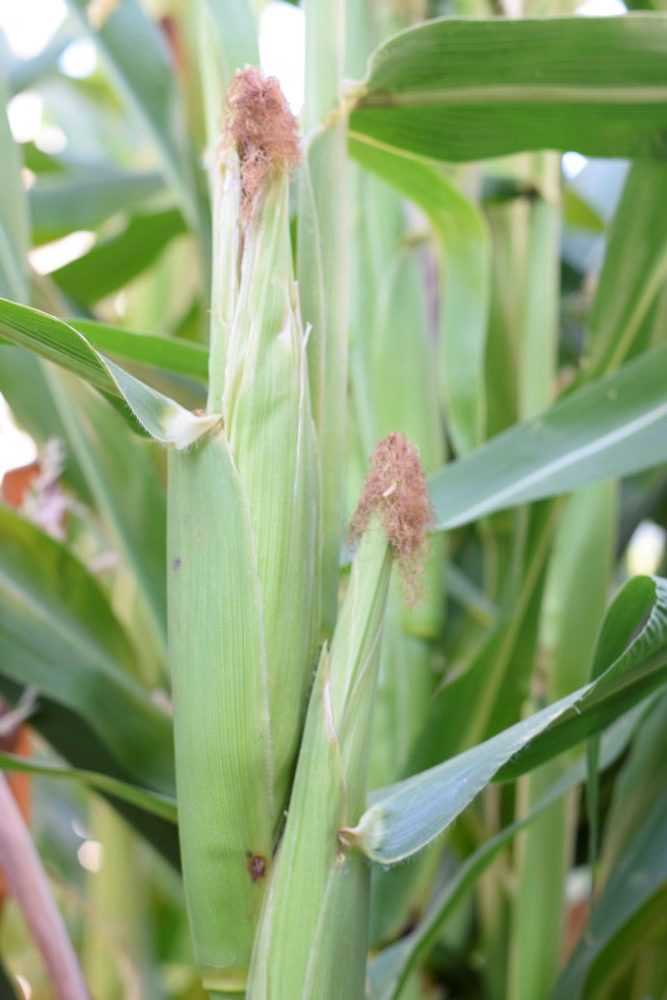
Our popcorn is still ripening. We had some hot days and the plants did not like it. There are 2-4 ears of popcorn on each stalk but they still need a few weeks before they will be ready to pick. Hopefully they will be ready before the cold weather sets in!

Pumpkins

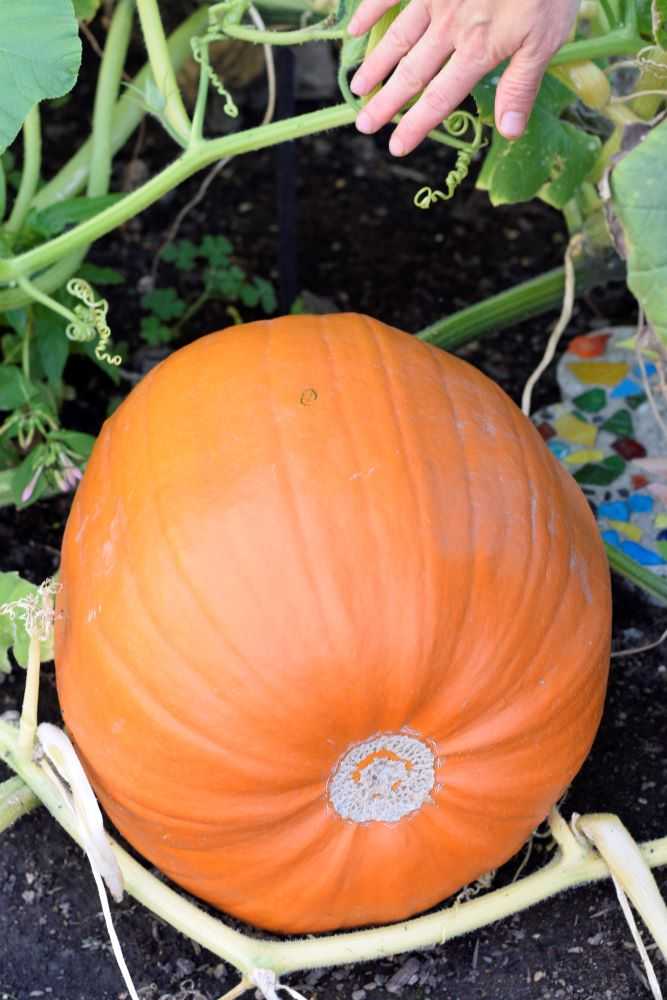
Our pumpkins are now fully orange and I am just letting them sit in the garden to finish ripening. One pumpkin plant is still flowering and trying to produce a pumpkin, so I will not take out the plants quite yet. The kids are looking forward to carving their pumpkins this year!

Orange pumpkin in the garden
Our pumpkins are getting big!

Sweet Pea Flowers

I took our sweet peas out last week. I saved the seeds and you can read more about that here. In a week or two I will plant the seeds and overwinter them so we will have earlier blooms in the spring.

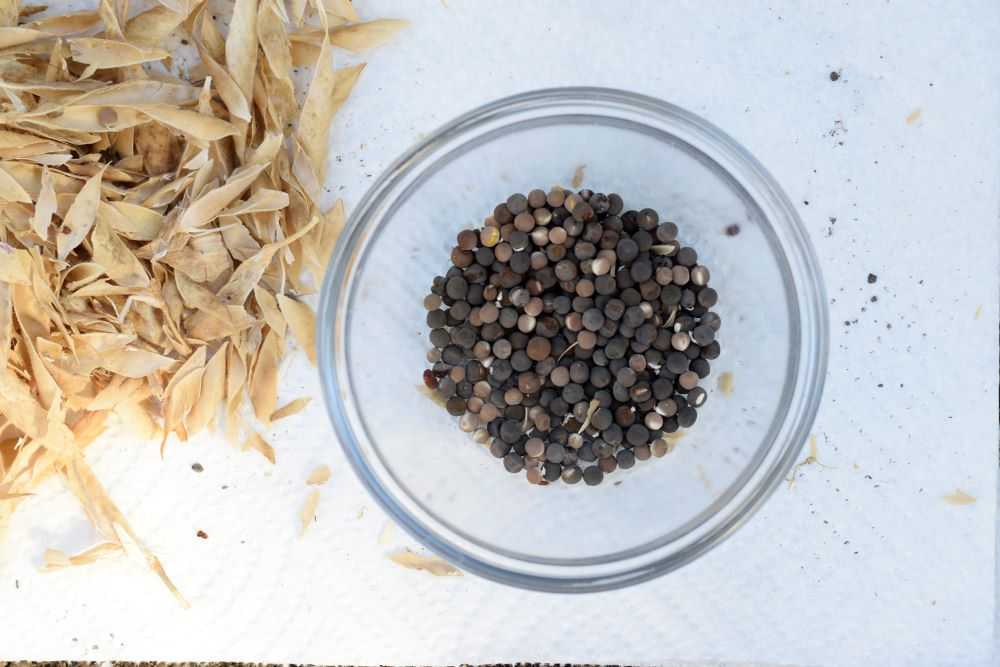
Brown sweet pea seeds in bowl.
We have plenty of sweet pea seeds for next year!

Tomatoes

Our tomato plants are still doing great! We are still getting several pints of cherry tomatoes each week. I have been freezing the extras to use in soups during the winter months. You can read more about that here.

Related: Cherry Tomato Taste Test

Final Thoughts

It has been a great year so far but I will probably have to take out most of my plants soon with the weather getting cooler. What have you been up to in your garden? Let me know in the comments below!

Hope you are able to enjoy the last few weeks of summer! Happy Gardening!

Page 1 of 3

Powered by WordPress & Theme by Anders Norén